5 Easy DIY Soil Tests To Do At Home
Years after years, we go into the garden equipped with our tools, favorite seeds, and ready seedlings to start another round of gardening. And while we pay so much attention to the plants “are they being watered enough?”, “is there enough sun?” – we often forget about the source of their success: the soil. Without good soil, plants simply cannot thrive. Soil that is lacking will leave you feeling disappointed in your gardening. The produce won’t be bountiful, the flowers won’t bloom and you will be left wondering where it all went wrong. So, to save yourself from the heartbreak,...
Years after years, we go into the garden equipped with our tools, favorite seeds, and ready seedlings to start another round of gardening. And while we pay so much attention to the plants “are they being watered enough?”, “is there enough sun?” – we often forget about the source of their success: the soil. Without good soil, plants simply cannot thrive. Soil that is lacking will leave you feeling disappointed in your gardening. The produce won’t be bountiful, the flowers won’t bloom and you will be left wondering where it all went wrong. So, to save yourself from the heartbreak, professionals recommend conducting an easy soil test before you start planting. This way you can easily find out if your soil is deficient in any way and what you can do to nourish it. You can conduct some super easy DIY soil tests at home to find the problem.
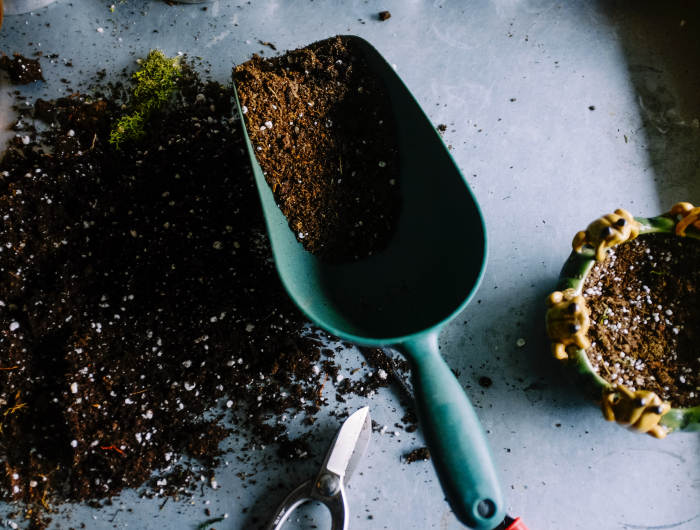
Soil that is lacking will leave you feeling disappointed in your gardening
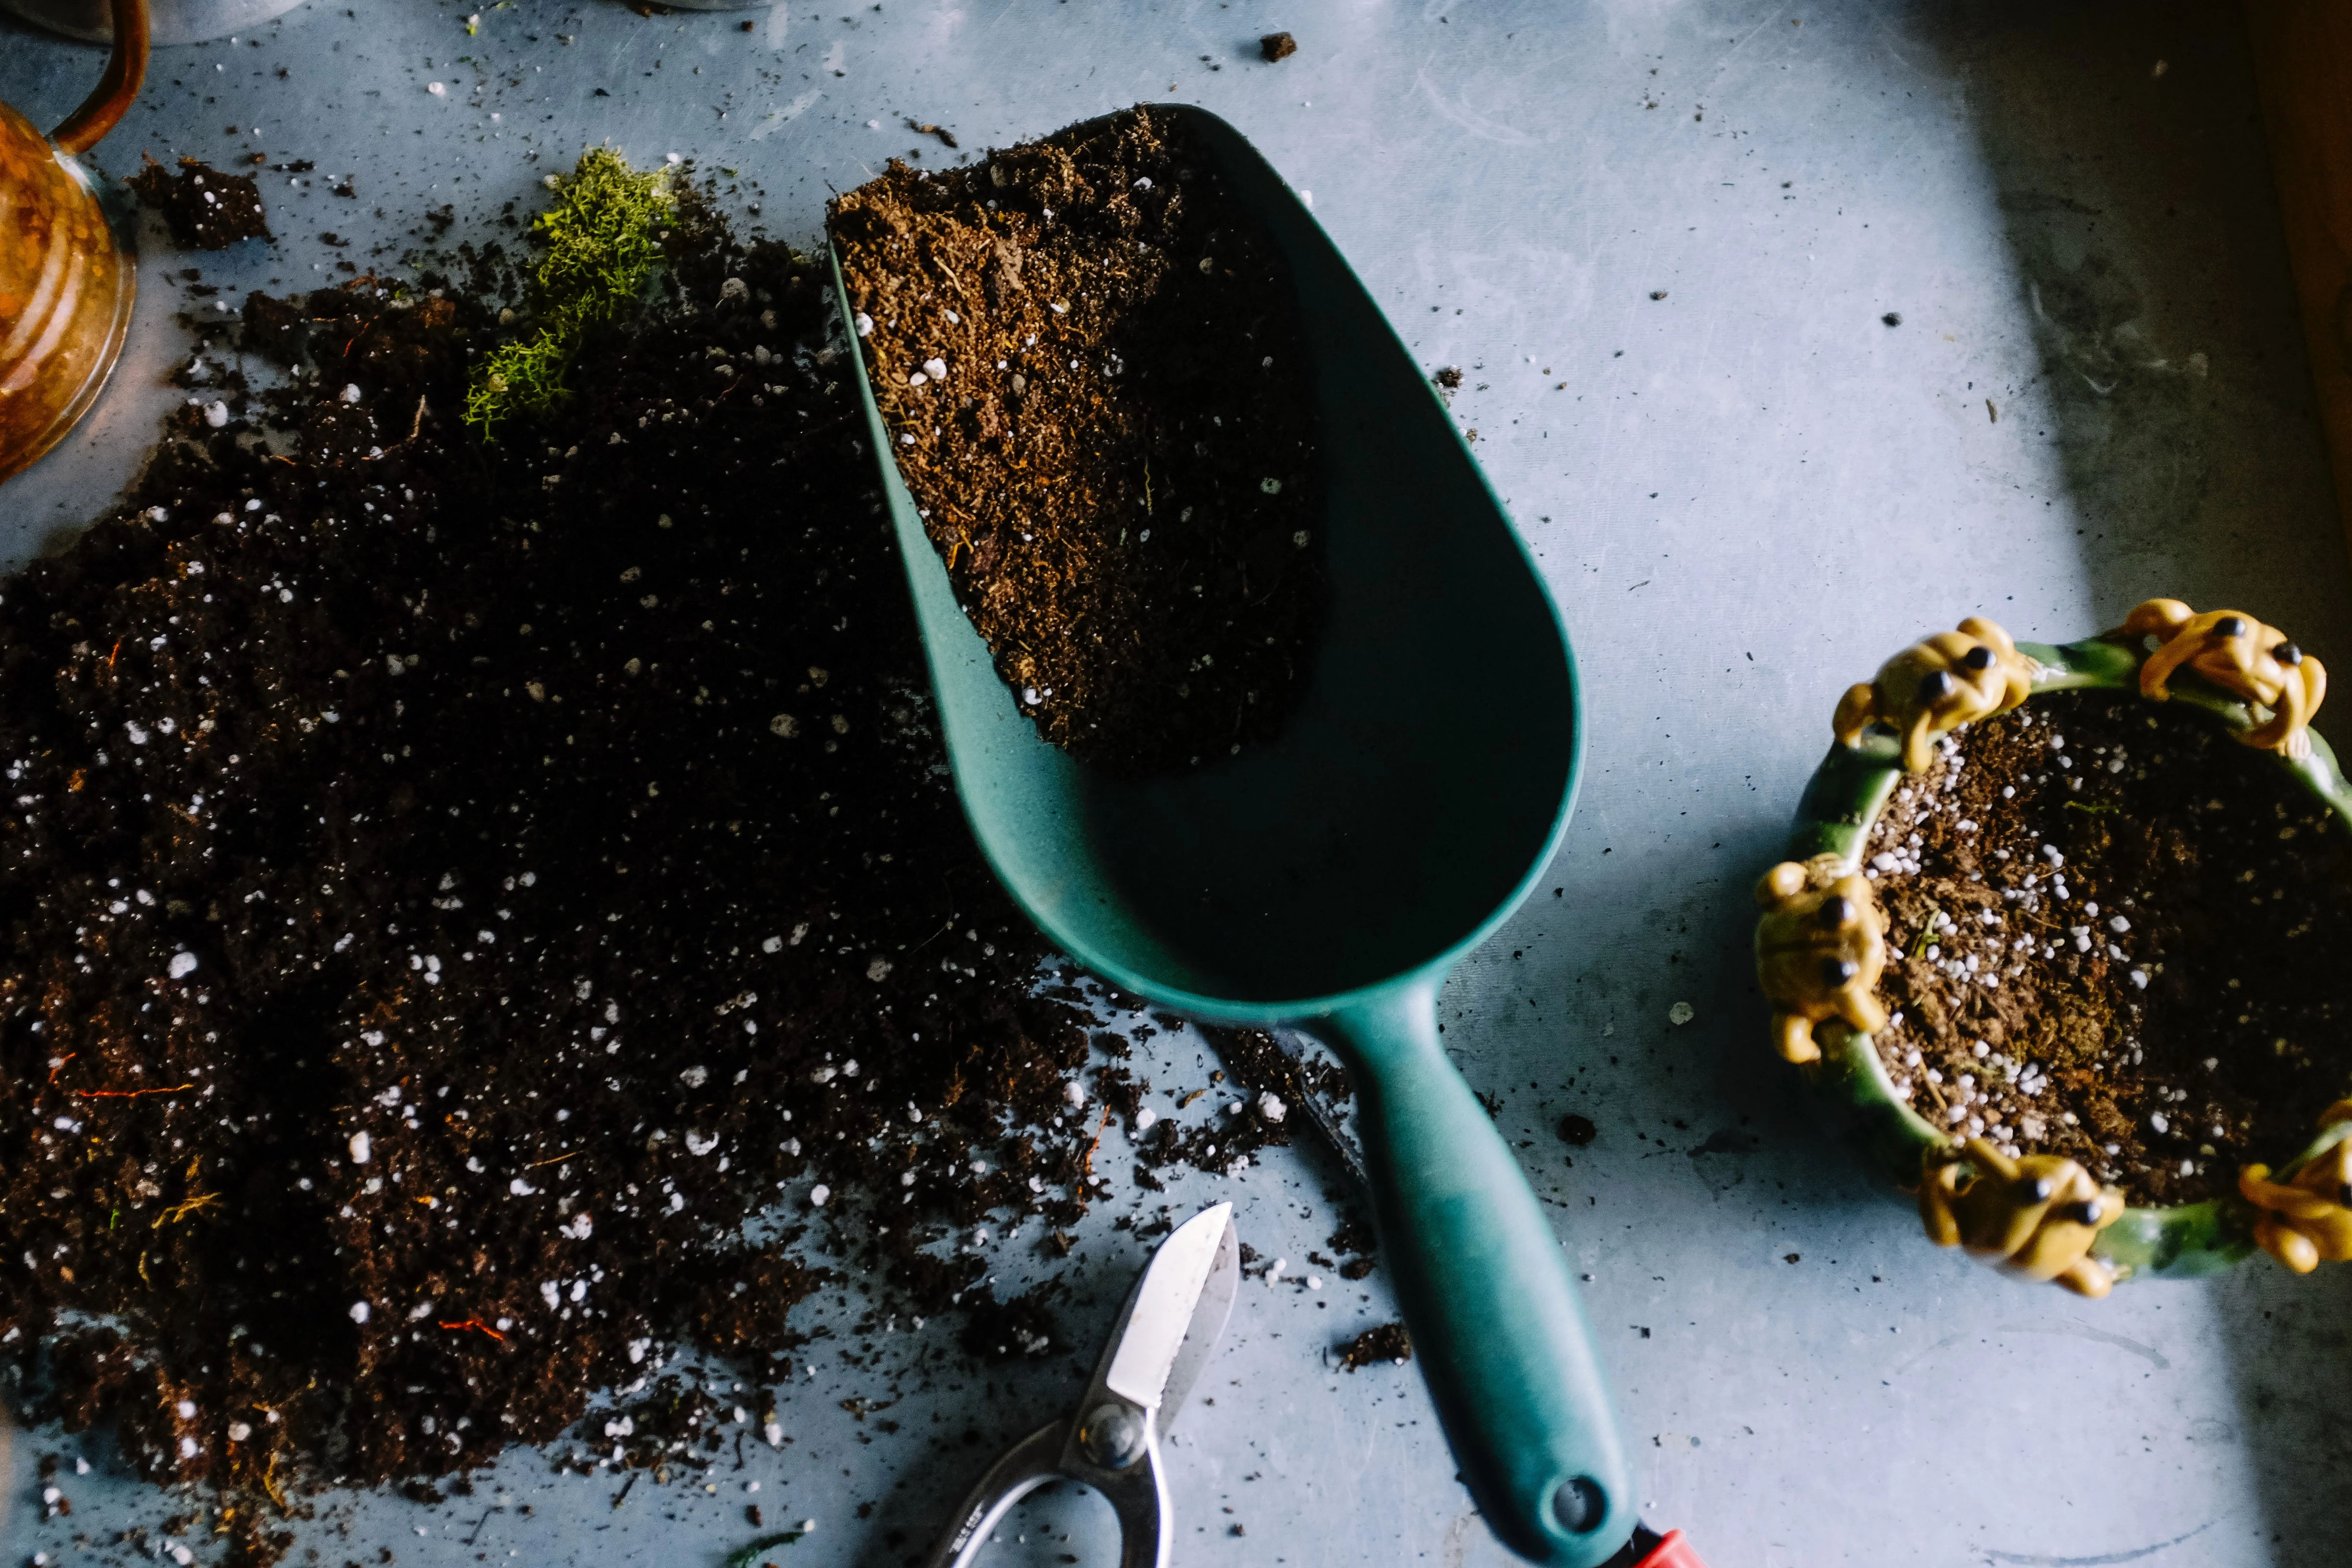
Professionals recommend conducting an easy soil test before you start planting
Is Soil Testing Worth It?
In short, soil testing is very much worth it. As we mentioned, soil tests are done as a way to measure your soil’s fertility and health levels. This way you know if and what nutrients the soil may be lacking. Figuring out what wrong is the first step to fighting the problem. Then, you will easily fix it. Once you get the results, you can help replenish the soil’s needs. In return the soil will help you grow strong, healthy plants with beautiful blooms and bountiful harvest.
Figuring out what wrong is the first step to fighting the problem
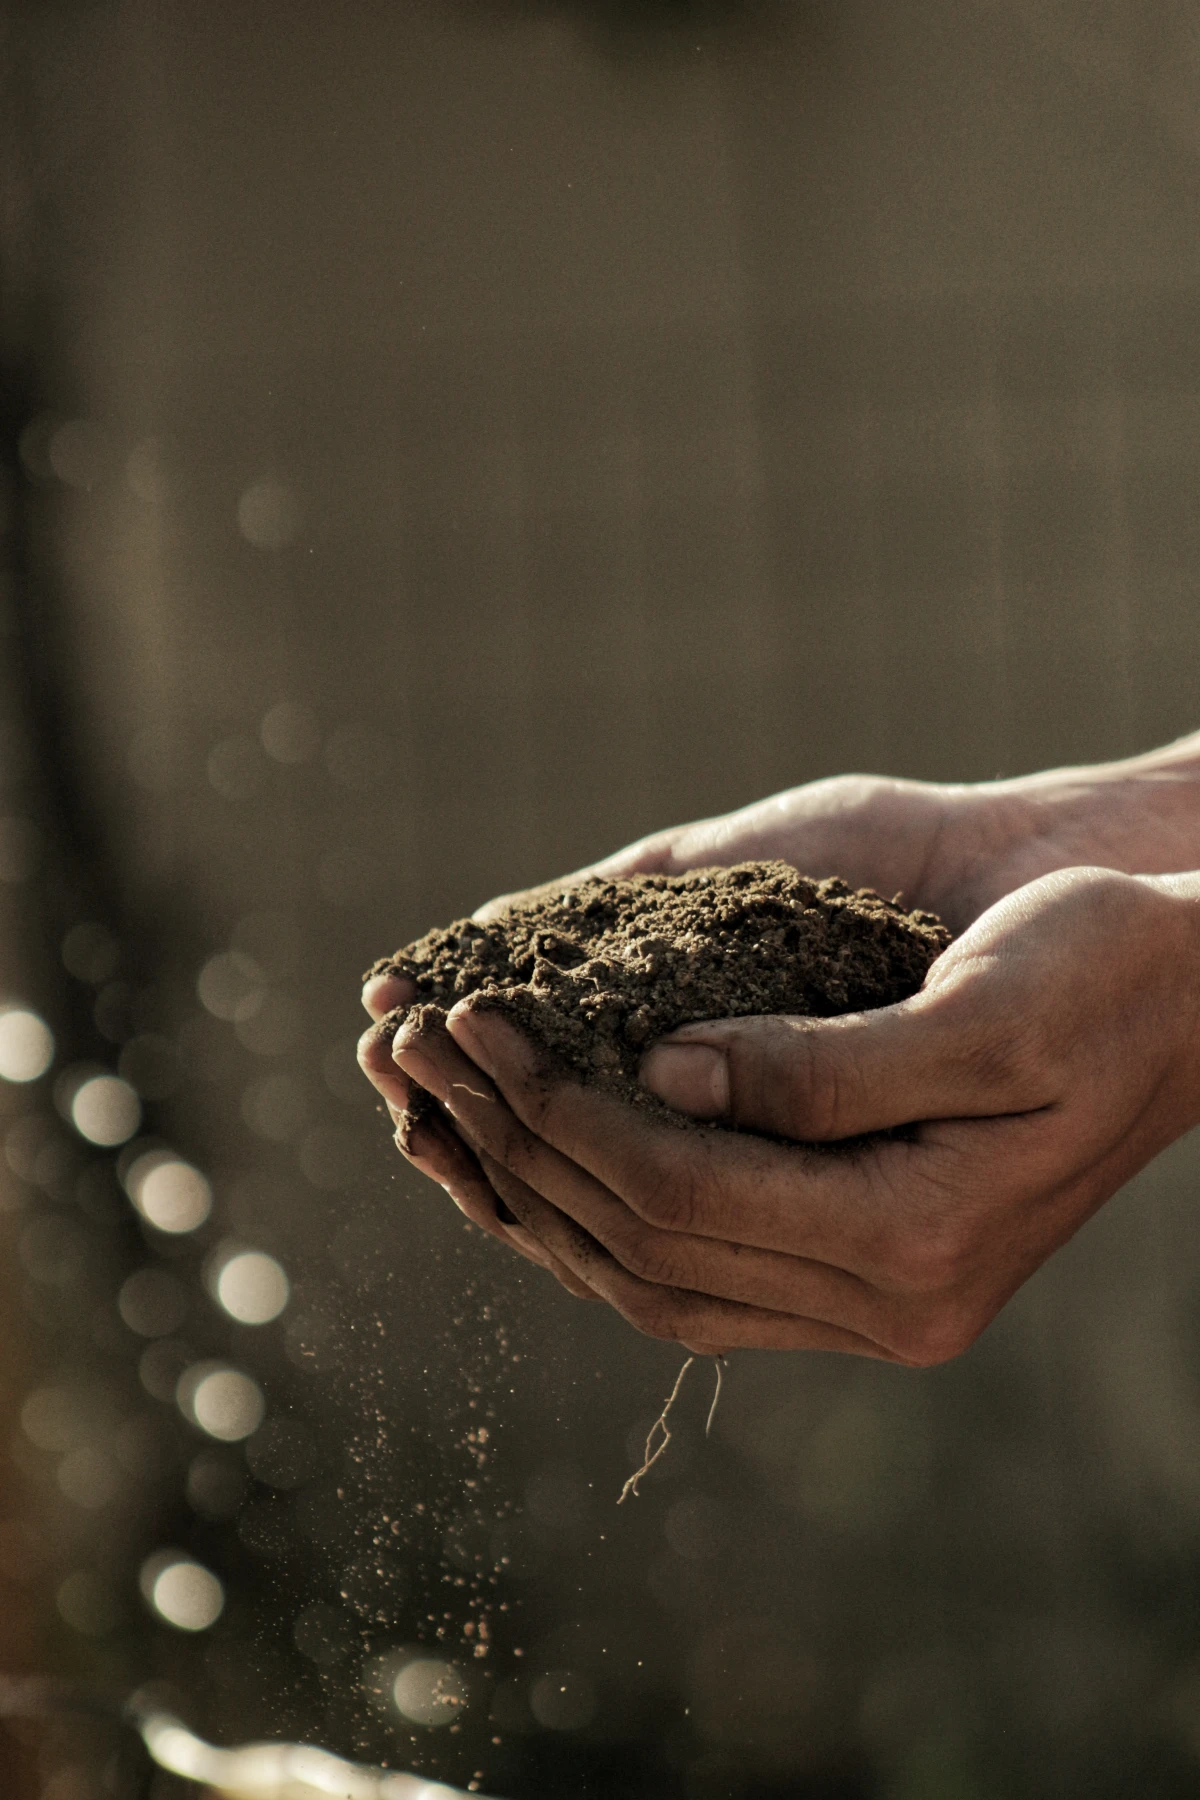
Easy DIY Soil Tests
Usually most soils can offer all the needed nutrients to the plants. However, this is only valid if the soil’s pH levels are between 6 and 6.5. If the pH levels rise, nutrients like iron and phosphors become less available. And on the other end is the pH is too low, the soil can be considered toxic. That’s why a soil test is a must. Instead of wondering what’s wrong, it will help give you the answer. While you can buy a kit from the store, here are some also great, easy DIY soil tests alternatives you can try out.
Usually most soils can offer all the needed nutrients to the plants
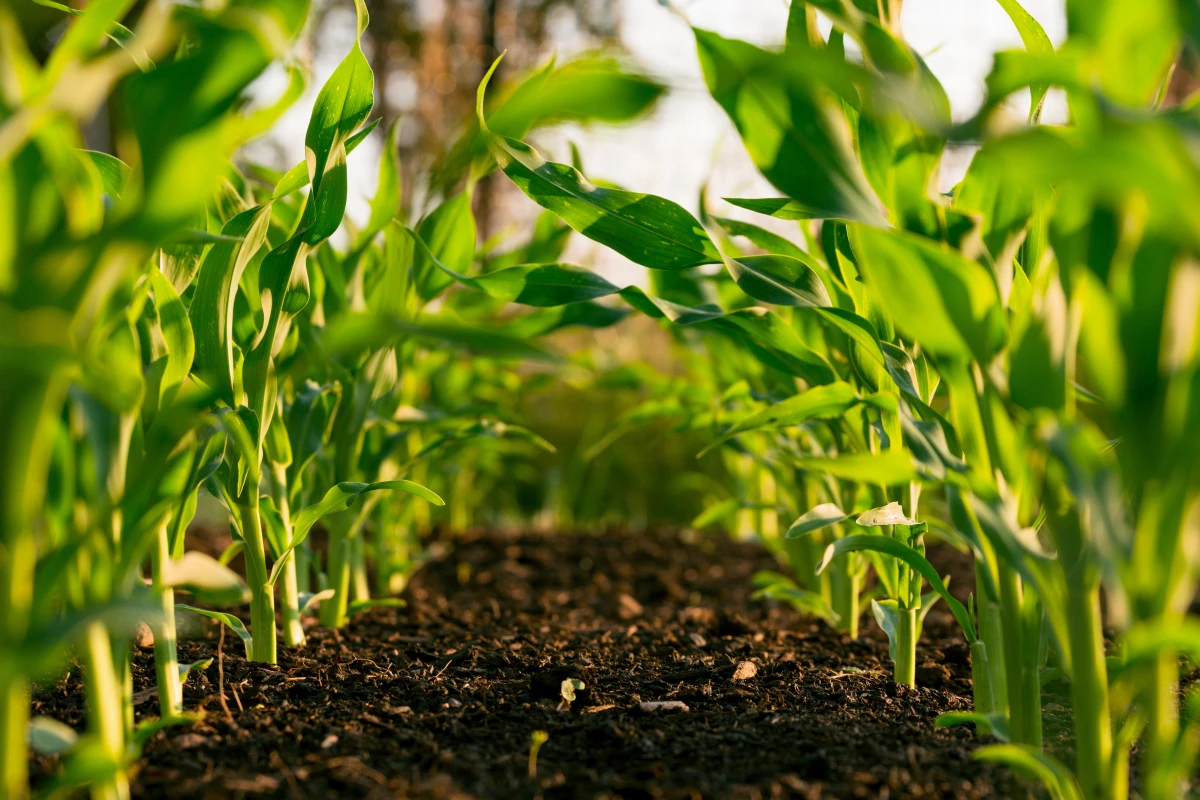
#Squeeze Test
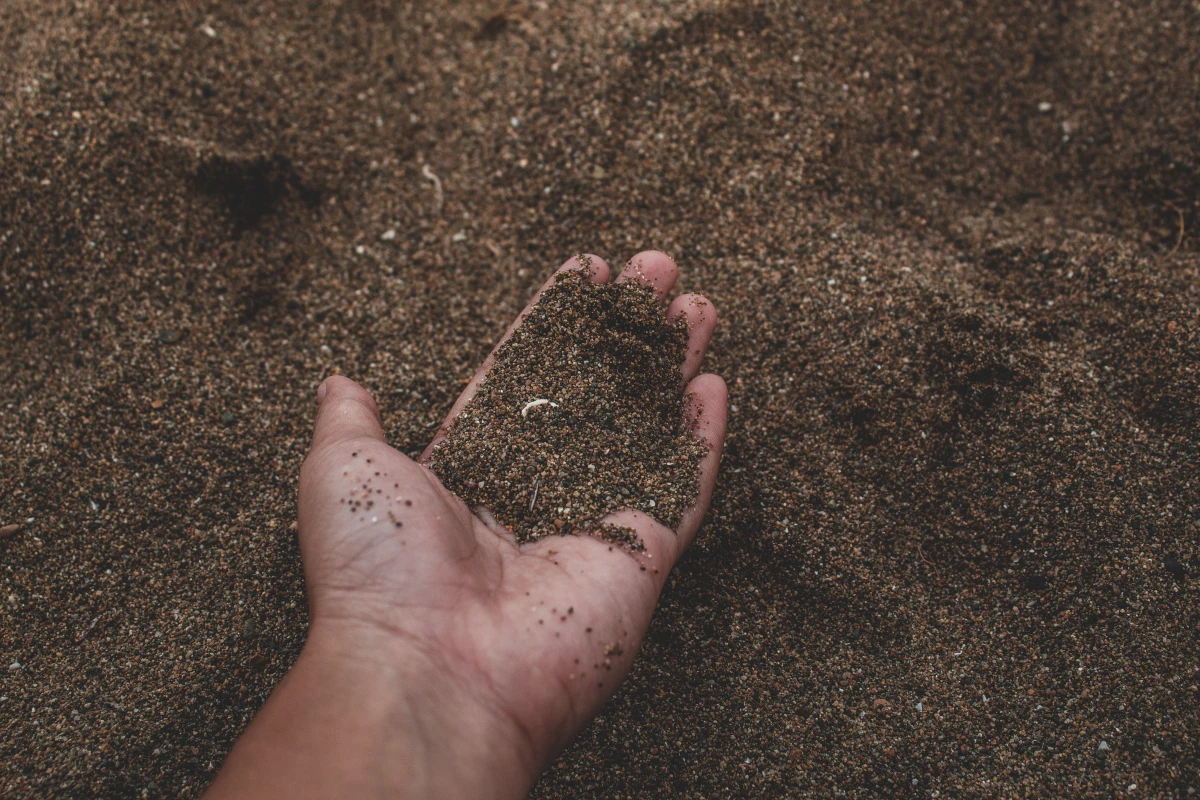
There are three main types of soil: sandy, clay, or loamy. Sandy souls are quick draining, but don’t retain moisture well and also don’t retain a lot of nutrients. Clay soil is very rich in nutrients, but has a hard time draining. And finally, loam soil is considered the ideal, as it retains moisture and has plenty of nutrients without being soggy. The squeeze test is maybe the simplest of test you can do and will help determine your soil type, so you know what you are working with. Do this test the day after rainfall. Just grab a handful of moist soil and squeeze in your hand. Now squeeze. When you open your palm, pay attention. If the soil holds it shape and crumbles when you poke it, you have hit the jackpot, as you have loam soil. However, if it holds its shape but also sits in one place when you poke it, you have clay soil. Finally, if you open your hand and it crumbles, you are dealing with sandy soil.
There are three main types of soil: sandy, clay, or loamy
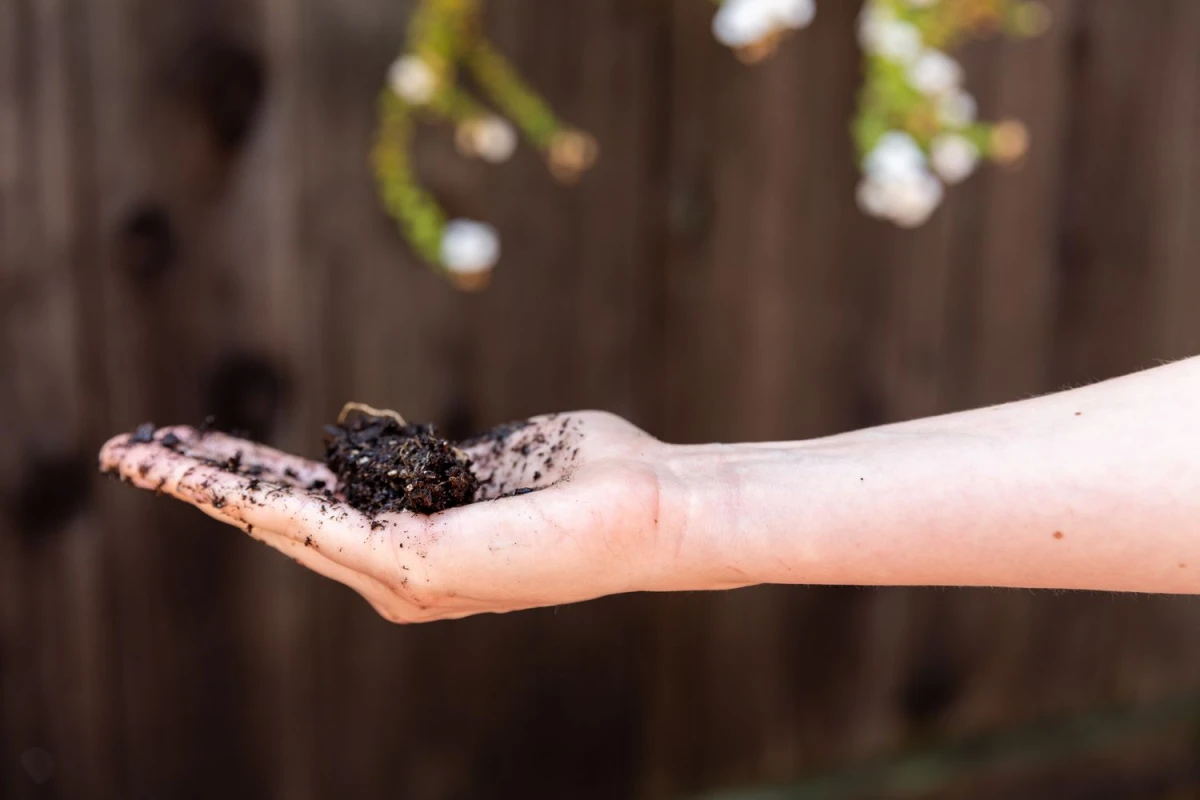
#Sediment Test
This is another great (less messy) way to find out what type of soil you have. The healthiest of soils usually consists of a ratio of 20% clay, 40% silt, and 40% sand. To see this you need to find a jar with a lid, some water, and some patience. Go to the garden into the area you want to test and dig to root level, which is around six inches. Then dig up enough soil to be able to fill up your jar between one-third and one-half full. Take the soil jar and fill the rest of it with water. Let the soil soak up the water and then shake the jar hard for a couple of minutes. Set it aside for around a day for the best results. Sand will be at the bottom, slit in the middle, and clay on top. See how thick the layers are in relation to one another. This way you can determine their ratio and understand what type of soil you have.
This is another great way to find out what type of soil you have
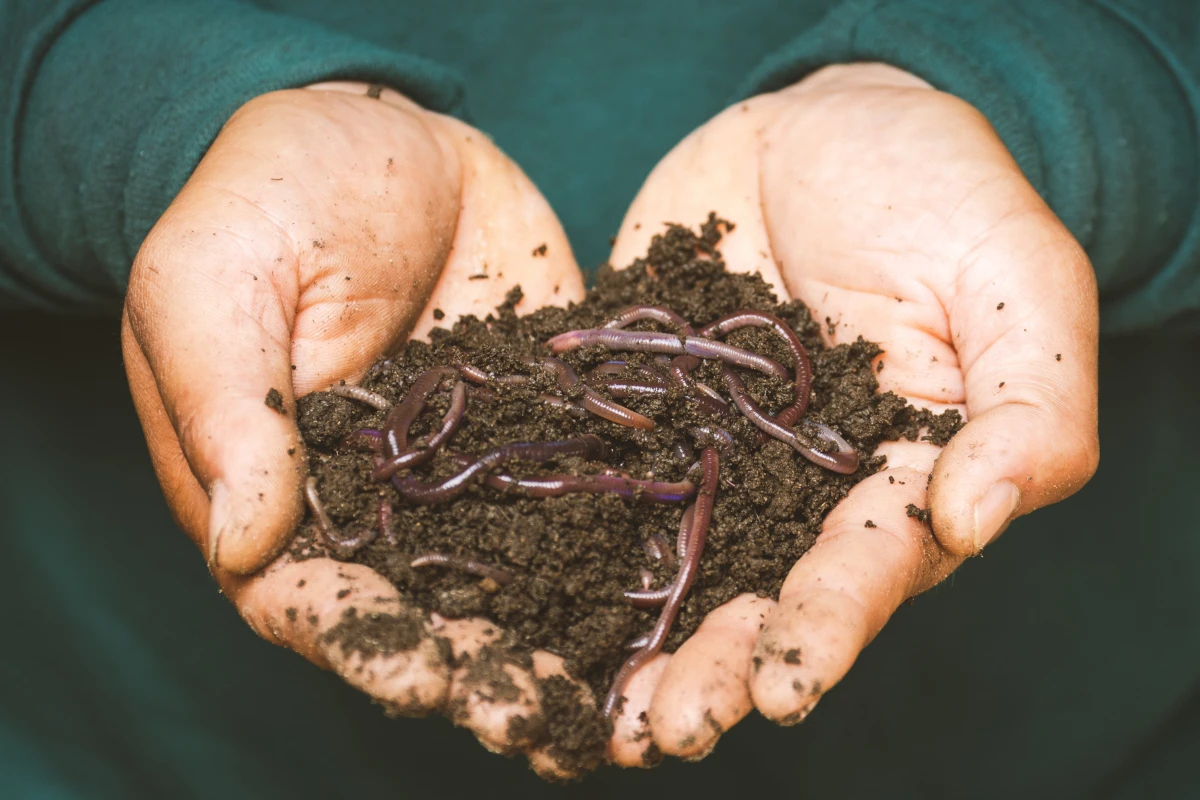
#Earthworm Test
Earthworms are a really good indicator of your soil’s health. This is because worms love to live in soil that is packed with beneficial microbes and nutrients. These microbes and nutrients make the soil healthy, which means you can grow strong plants. To do this test, the soul needs to have warmed to at least 55 degrees or more and it is should be moist, but not soaking. Just dig a hole that is one-foot deep and one-foot across. Place the dug up soil on a tarp or in a bucket. Then start to sift through the soil, counting all the worms you find. If this amount of soil has at least ten worms, your soil is doing pretty well. Less than that may mean your soil is too acid or alkaline.
Earthworms are a really good indicator of your soil’s health
#The Pantry Test
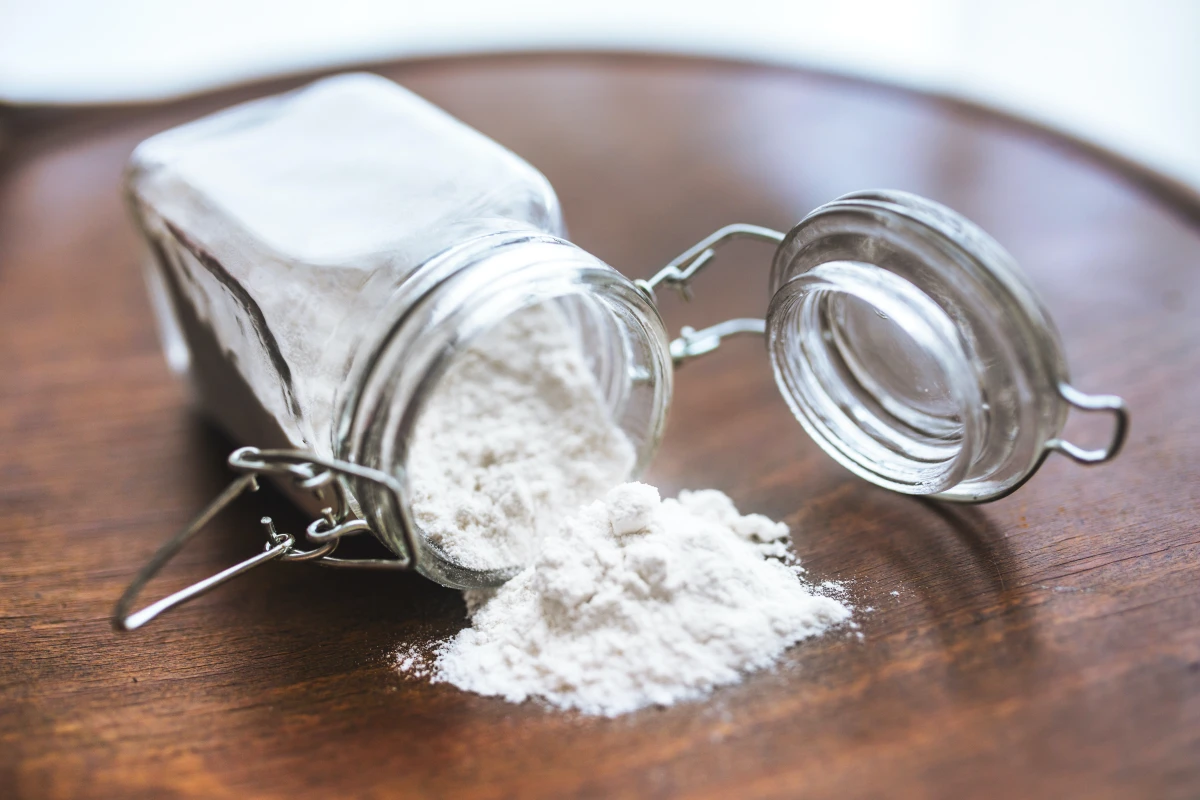
If you have doubts that your soil may be acidic or alkaline, try out this vinegar test. To find out if the soil is alkaline, all you need to do is get a bowl, two tablespoons of your soil, and half a cup of vinegar. If the mixture starts to fizz, then your soil is probably alkaline. To find out if you have acidic soil you will need a bowl filled with two tablespoons soil and some water to moisten it up. Then add half a cup of baking soda to the soil. If it starts to fizz, then the soil is acidic. If you do both these tests and there is no reaction, the soil has a neutral pH. Neutral soil is what we the soil needs to be if you want healthy plants.
Add half a cup of baking soda to the soil to see if it fizzes
#Drainage Test
It is very important to find out if your soil has drainage problems or not. While the typo of soil you have can give you a general sense, this test can help you know for sure. Some plants don’t handle their roots being too wet and will rot, so you need to know before planting. To do this test all you need to do is dig a one-foot deep hole that is around six inches wide. Then fill said hole with water and let it drain. Once it has drained completely, fill it up again. Now make sure you keep track of how long it will take for the water to drain. If it needs more than four hours, your soil has poor drainage.
Some plants don’t handle their roots being too wet and will rot
How Many Times Do You Need To Soil Test?
It’s recommended you do a soil test every two to three years. Every five years at least if all is going well. However, keep in mind that soil that is under intensive cultivation may need annual testing. If you are also planting in a new area for the first time, then a soil test is a must. Another good tip to remember is that sampling for any area should be done around the same time as the previous test was conducted.
It’s recommended you do a soil test every two to three years
These were some easy DIY soil tests you can do at home. We hope you found this article useful. Now you know why soil testing is so important and how to do the needed testing before sowing your seeds. Soil testing will save you from a lot of disappointments and will help you grow the healthy and strong plants.
These were some easy DIY soil tests you can do at home
