50+ Happy Thanksgiving pictures, creative ideas and fun suggestions to try this holiday season
Autumn is officially here – the weather is getting colder, the drinks are getting warmer and most of us are already looking forward to the festive season. With our Halloween preparations out of the way, and less than a month left until Thanksgiving, now is the perfect time to stock... The post 50+ Happy Thanksgiving pictures, creative ideas and fun suggestions to try this holiday season appeared first on Architecture E-zine.

Autumn is officially here – the weather is getting colder, the drinks are getting warmer and most of us are already looking forward to the festive season. With our Halloween preparations out of the way, and less than a month left until Thanksgiving, now is the perfect time to stock up on creative ideas and inspiration. Whether you need fun tutorials for DIY decorations, table setting suggestions or happy thanksgiving pictures to send to your friends and loved ones, you’ve come to the right place! Our treasure-trove of Thanksgiving ideas is worth exploring, and is guaranteed to brighten up even the rainiest of autumn days.
Finding the right center piece for your Thanksgiving dinner can be a daunting task – the market is full of overpriced and unoriginal goods. Why not opt for a more affordable and fun alternative? This golden pumpkin and glittering pine-cones display will add the perfect touch of stylish glamour to your table!
Glamorous and stylish, this is one of our favorite Happy Thanksgiving pictures. All you need to recreate it in your own home is some gold paint, a few pumpkins and your creativity!
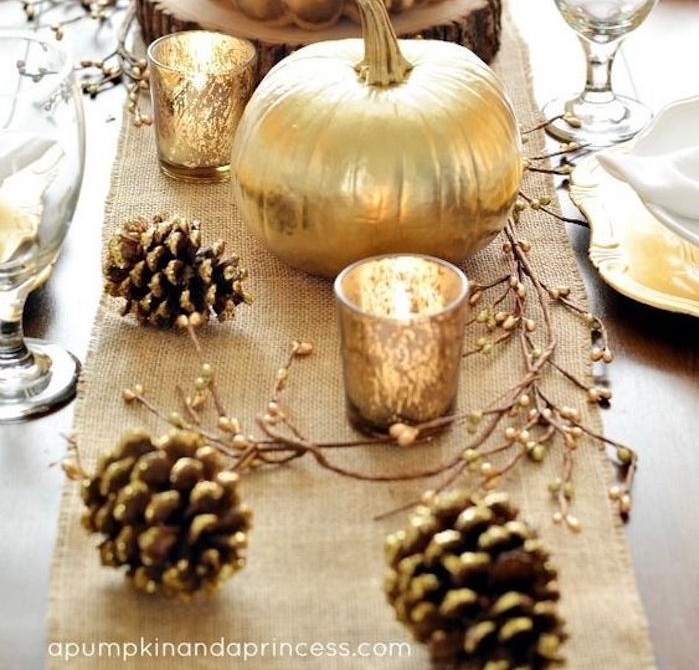
DIY pumpkin centrepiece
Materials:
3 differently sized lightly-colored pumpkins (preferablywith a smooth surface, without blemishes or scratches, as it will make the painting process easier)
several large pine-cones
2-3 budding twigs
acrylic gold paint (you can use also use latex paint or any other type, as long as it’s not watercolor)
big and small paint brushes
some old newspapers
craft sealant
a can of spray sealer (if desired)
Instructions:
- Gently clean your pumpkins from any dust or grime with a dry or slightly damp cloth, being careful not to scratch their surface.
- Put them on the old newspapers and spray them with sealer (optional). The sealer will help the paint on the pumpkins stay longer, and will lessen the chance of it rubbing off or fading. Use a brush to distribute the sealer evenly on the pumpkins’ surface and give it some time to dry before you start painting. If you do not have sealer – don’t worry! The end result will be just as pretty, if not as durable.
- Start painting! We advise you to use acrylics but if you have other types of gold paint at home and want to use them instead, first try them on a small portion of the pumpkin to be safe. Some paint types do not stick well smooth surfaces.
- When you finish painting, leave the pumpkins aside an let them dry completely. Then, spray them with craft sealant.
- Now it’s time to make your golden pine-cones and budding branches. With a small paint brush dipped in golden paint, color the buds of the branches and the tips of the pine-cones’ scales. Leave them aside to dry and arrange your beautiful center piece!
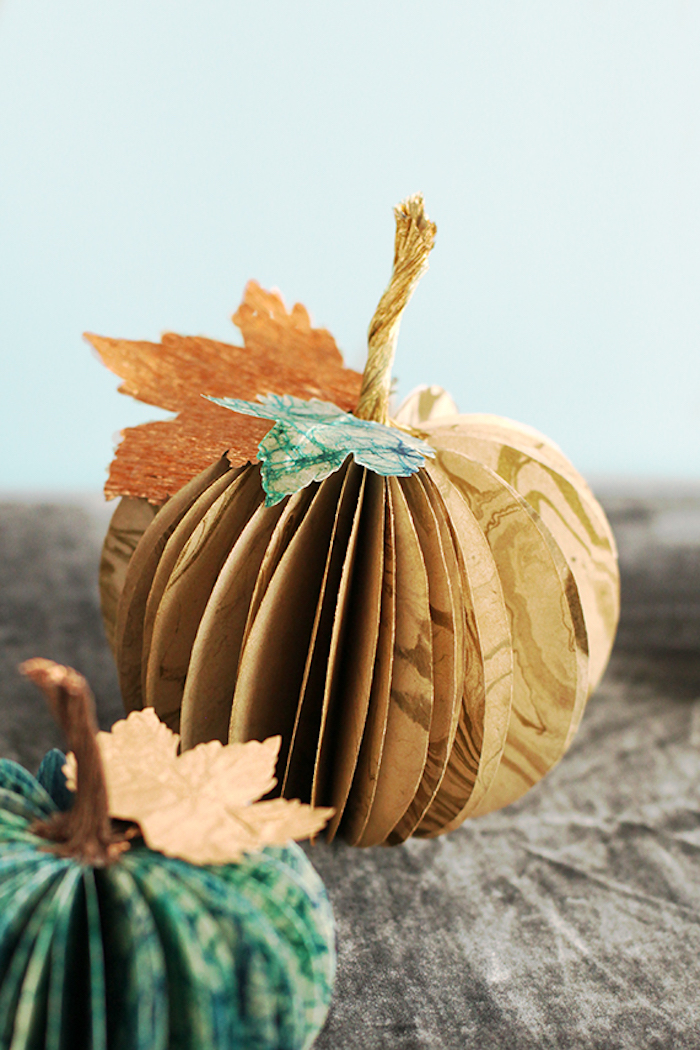
This cute and simple paper pumpkin ornament is another fun suggestion for a DIY project. It can be yours in six easy steps!
DIY pumpkin ornament
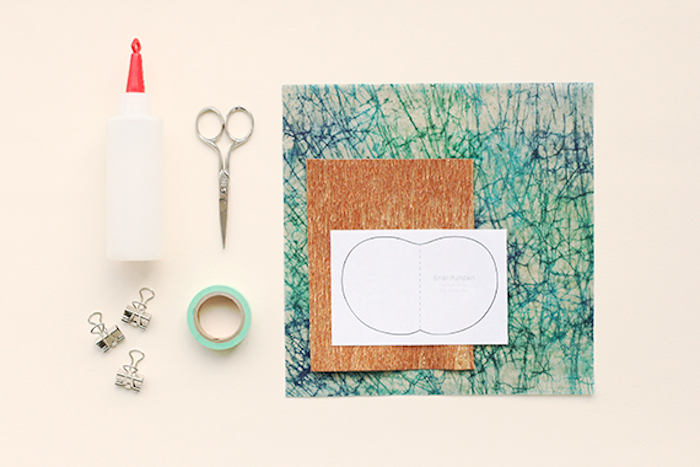
Materials:
several sheets of decorative paper in your preferred colors
some masking tape
a pair of scissors
glue
binder clips
Instructions:
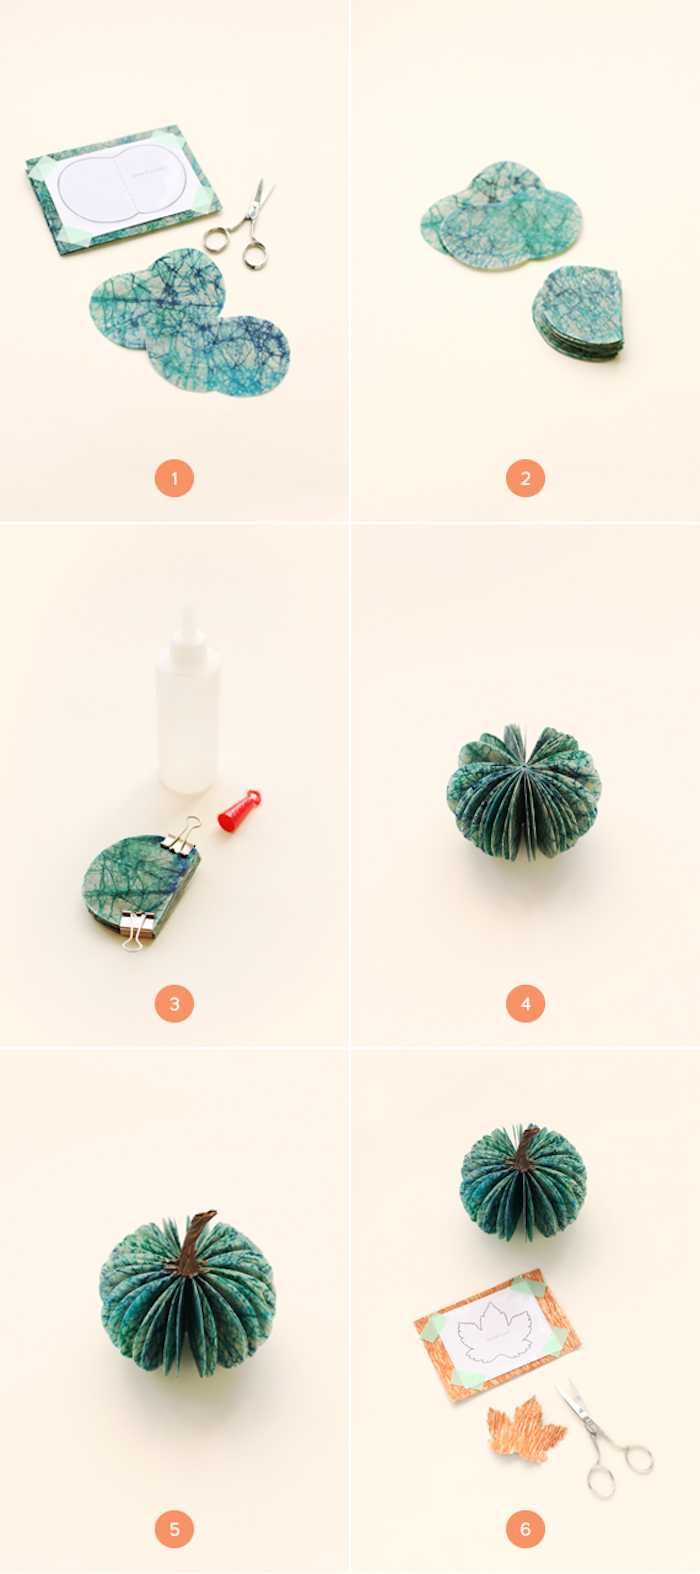
- First you need to outline your pumpkin. You can do so yourself, or, if you prefer, you can print out a template here. Fold the decorative paper several times but make sure it’s bigger than your pumpkin’s outline. Then, stick the outline onto the decorative paper with some masking tape and cut around the pumpkin shape, going through all layers at once. Repeat, until you have minimum 20 pumpkin cutouts. If you prefer, you can use more than 20, depending on how thick your paper is and how full you want your finished pumpkin to look.
- Fold each cutout in half.
- Stack the folded pumpkin pieces on top of each other and hold them in place using binder clips. Cover the folded edges with glue. If you want to make sure they stick, use a discarded piece of paper or a paint brush to spread out the glue. Leave to dry for a few minutes.
- Fan the pumpkin out, add more glue if necessary
- Cut a little bit of paper to serve as a stem, twist it and glue it on top of the pumpkin.
- If desired, make some leaf-shape cutouts and glue them near the stem. Your beautiful decoration is ready!
Here are some photos of the required materials, as well as a comprehensive step-by step photo guide to help you through the process:
Since we really love fun DIY projects, and firmly believe that candles make everything better, we prepared another great tutorial for you! Why not make yourself a fun turkey autumn leaf luminary? It’s a great decoration for your Thanksgiving table and can be a fun family activity for your kids.
Easy to make turkey autumn leaf luminaries
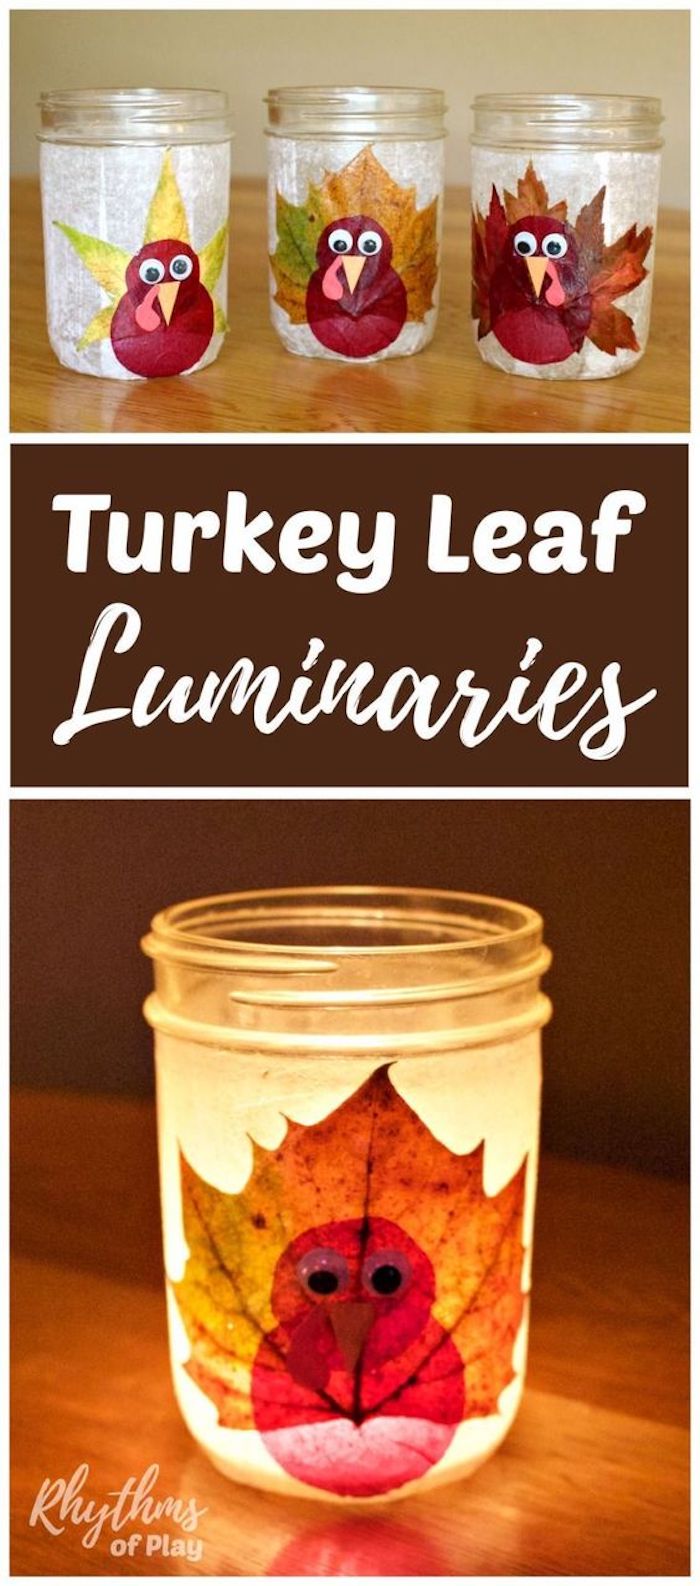
DIY autumn leaf luminaries
Materials:
several empty clear mason jars
autumn leaves in different shapes, sizes and colors
a few sheets of translucent white vellum paper
a few pieces of orange and red craft paper (for the turkey’s beak)
a pack of stick-on googly eyes
decoupage glue and flat paintbrush
scissors
Instructions:
- Make sure your mason jar is clean and dry, and then cut a strip of white vellum paper, big enough to go around the jar top to bottom. Wrap the paper around the jar and cover it with decoupage glue, using a flat paint brush. Make sure the glue is distributed evenly and the paper is fully covered and well attached to the jar.
- Stick a big leaf on the vellum paper. This will be your turkey’s tail. Chose two leaves in a color different to the tail, and shape them into a big and a small circle using scissors. Stick both shapes on top of the tail – the larger circle will be your turkey’s body while the smaller one will be its head.
- Cut a small triangle of yellow craft paper and use it to make your turkey’s beak.
- Finally, go over the leaves with decoupage glue, ensuring that they are properly stuck. Wait for the jar to dry completely and stick some googly eyes on your turkey.
- Now you can place your favorite candle inside the jar, light it up and enjoy its festive glow!
Here is a more mature and stylish take on the autumn leaf luminaries:
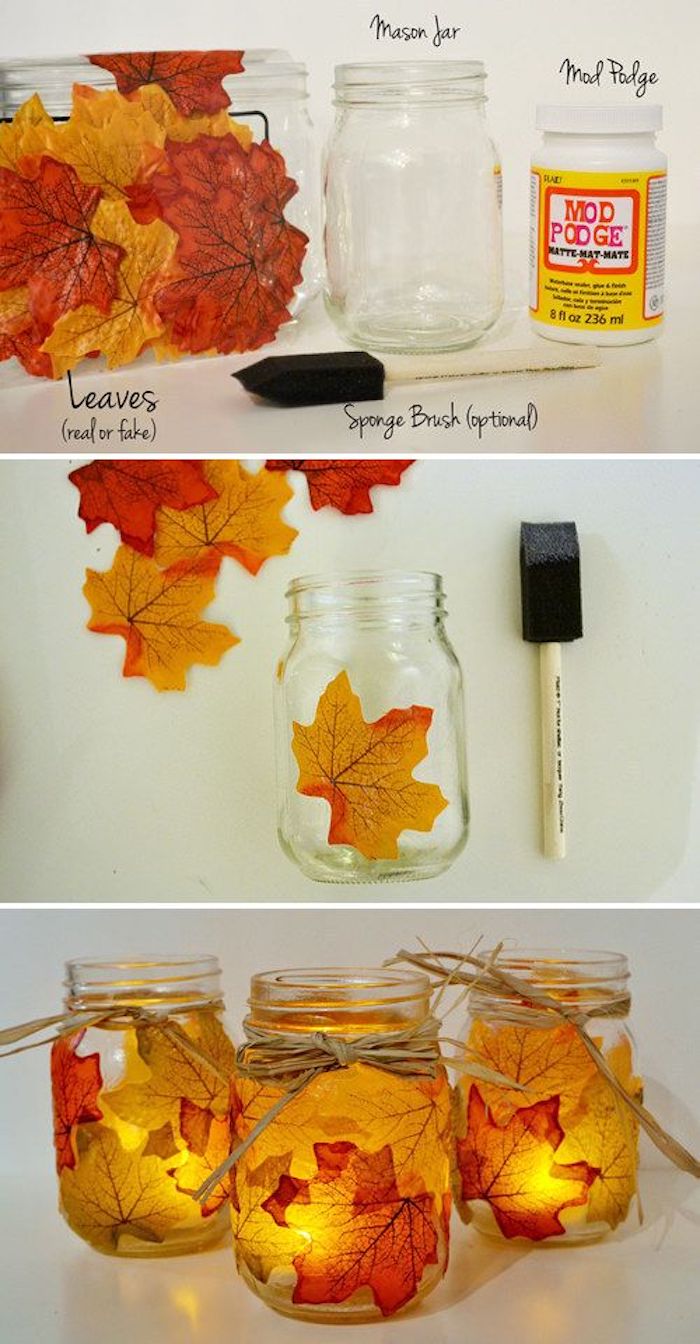
If these ideas are not enough for you – don’t worry! We have plenty more fun and beautiful suggestions, as well as a whole lot of happy Thanksgiving pictures for you to enjoy!
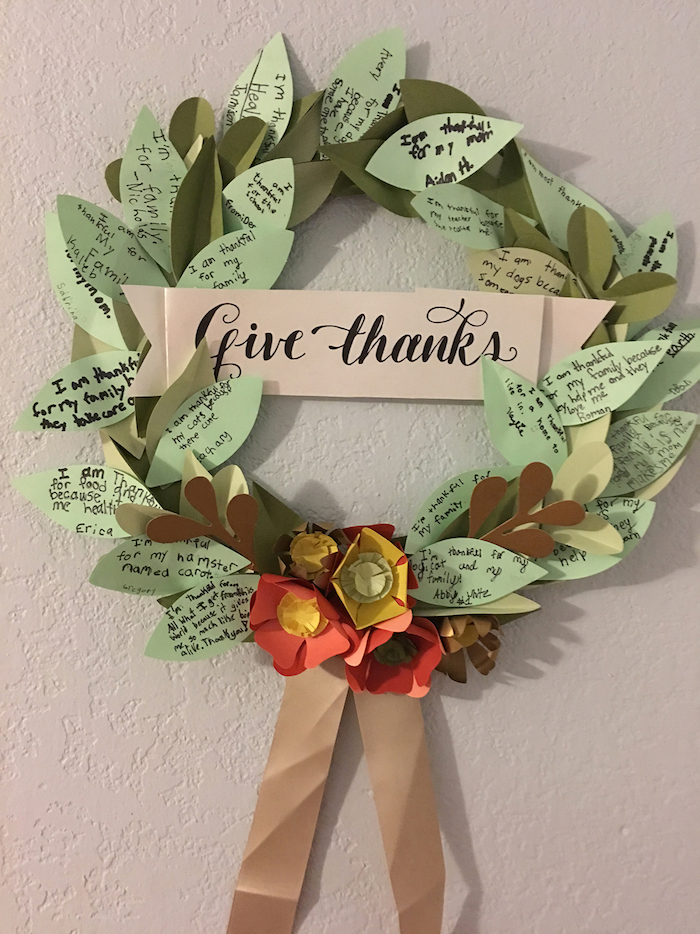
How about this gorgeous paper wreath? It’s not only a great ornament for your front door or living room wall but you can also count your blessings by writing something you’re thankful for on each of its leaves!
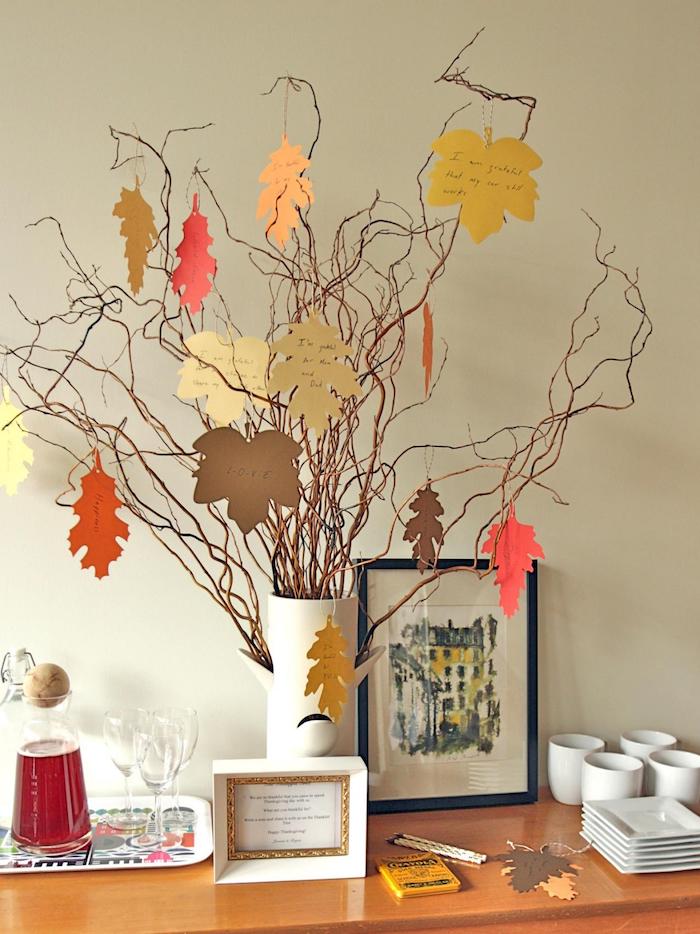
A different, easier to make variation of this idea is the gratefulness tree. Simply take a few discarded branches, tie colorful leaf-shaped paper cutouts on them and get your family to write all the things they are grateful for.
And here are even more creative, easy, fun and incredibly effective Thanksgiving decoration suggestions:
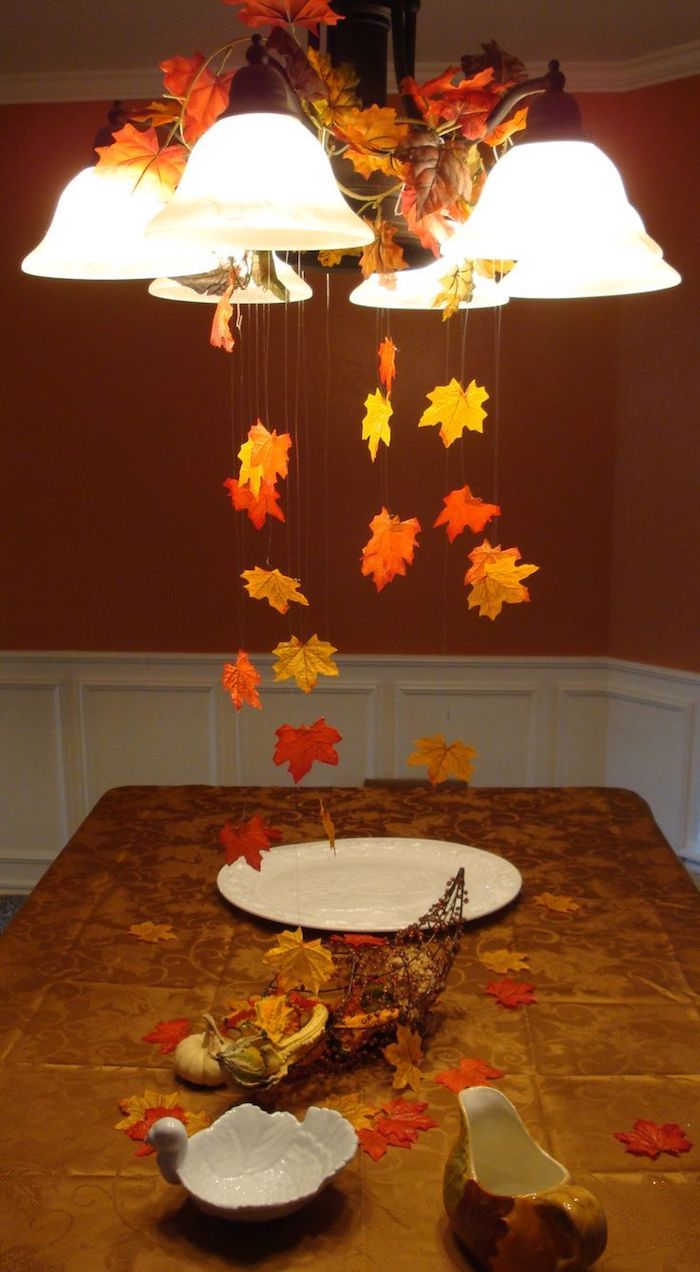
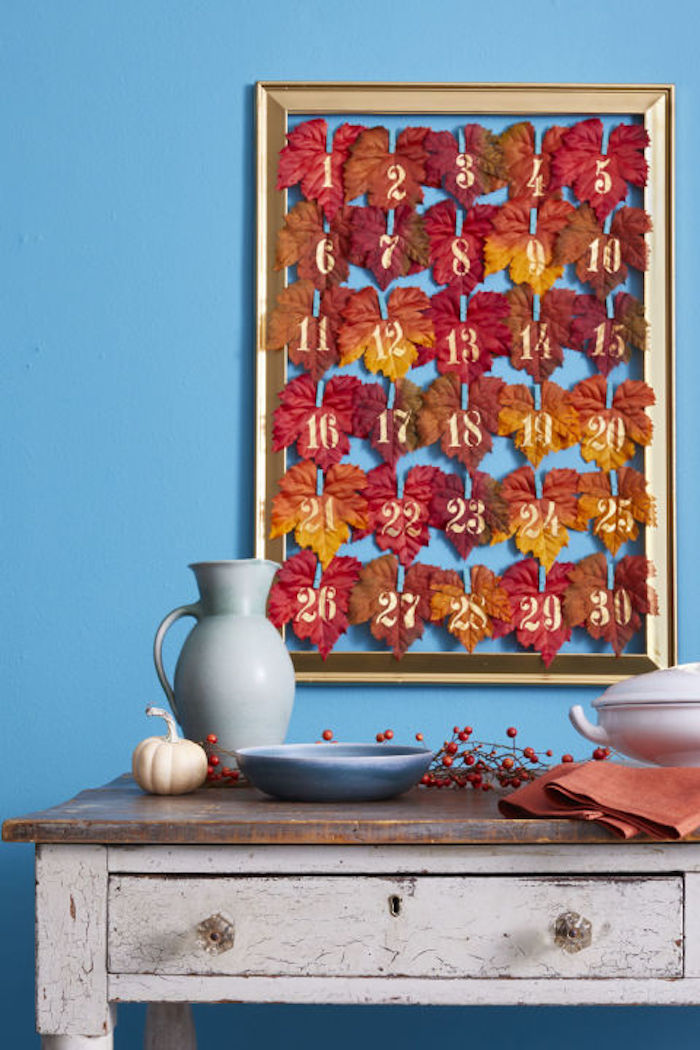
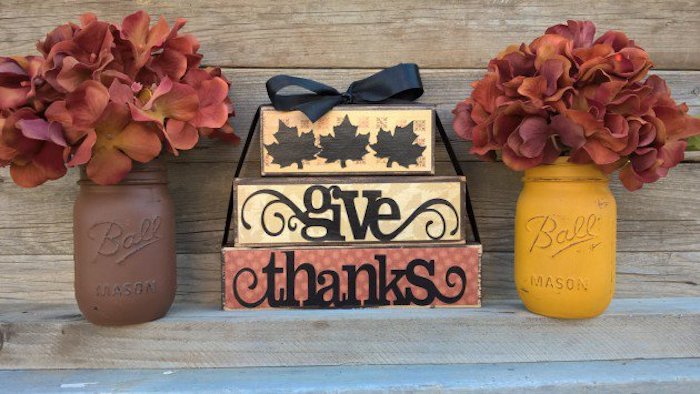
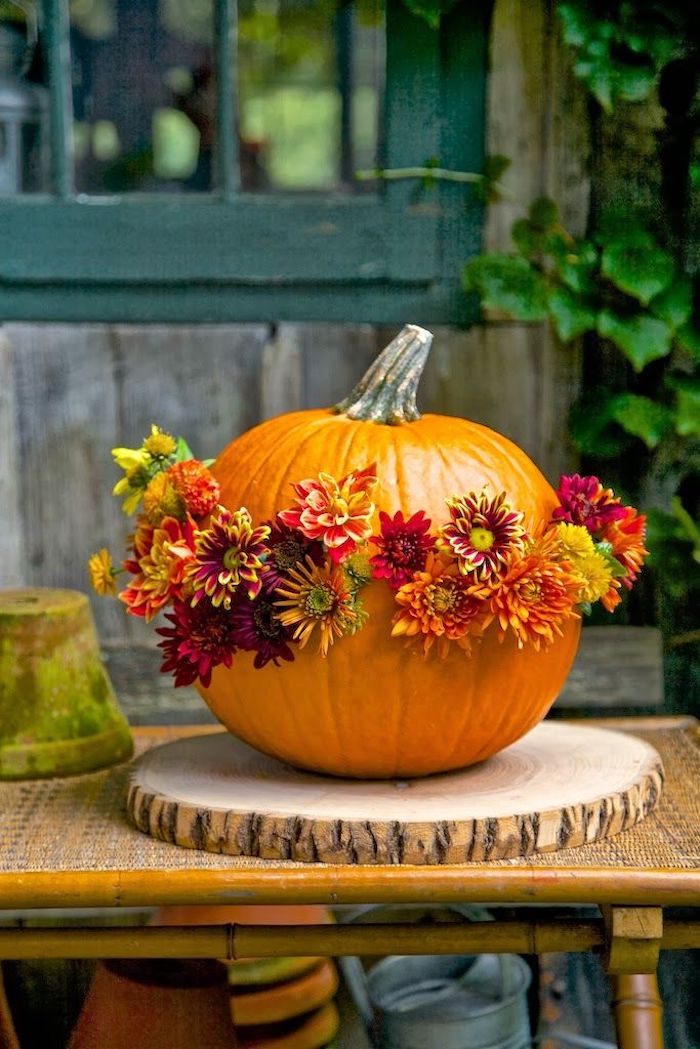
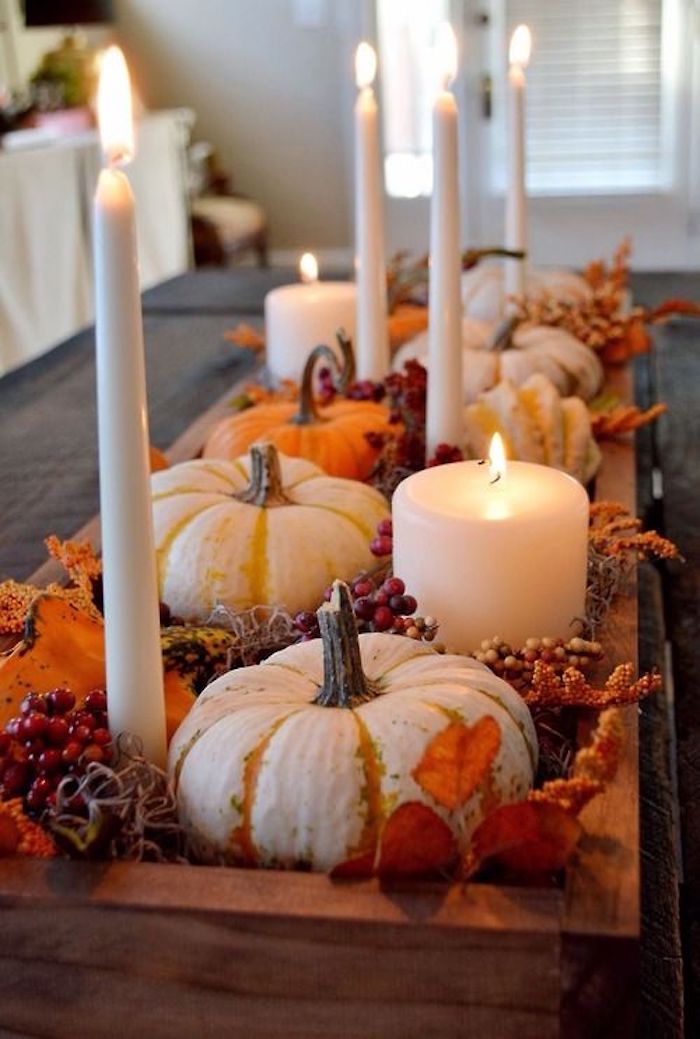
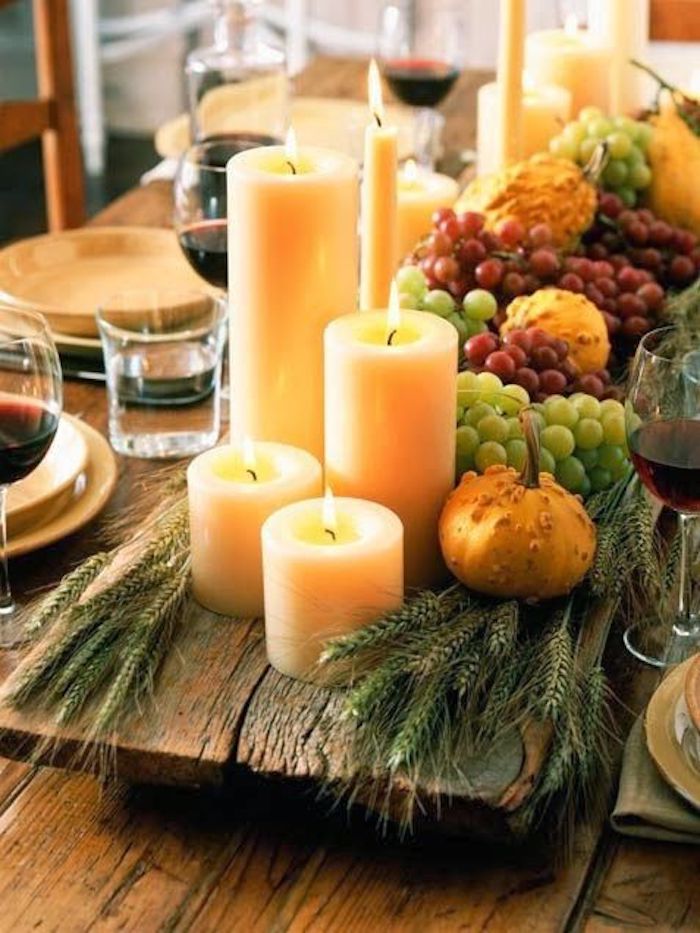
You can never have too many candles on Thanksgiving!
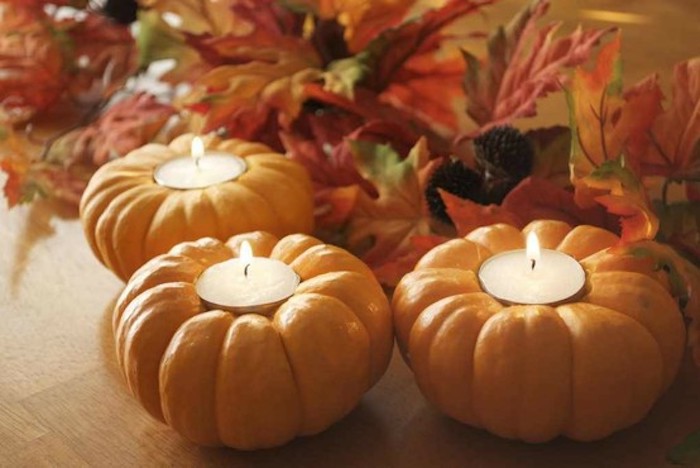
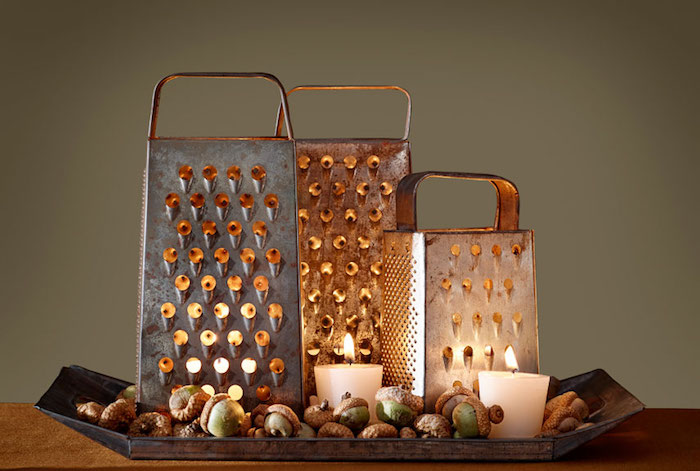
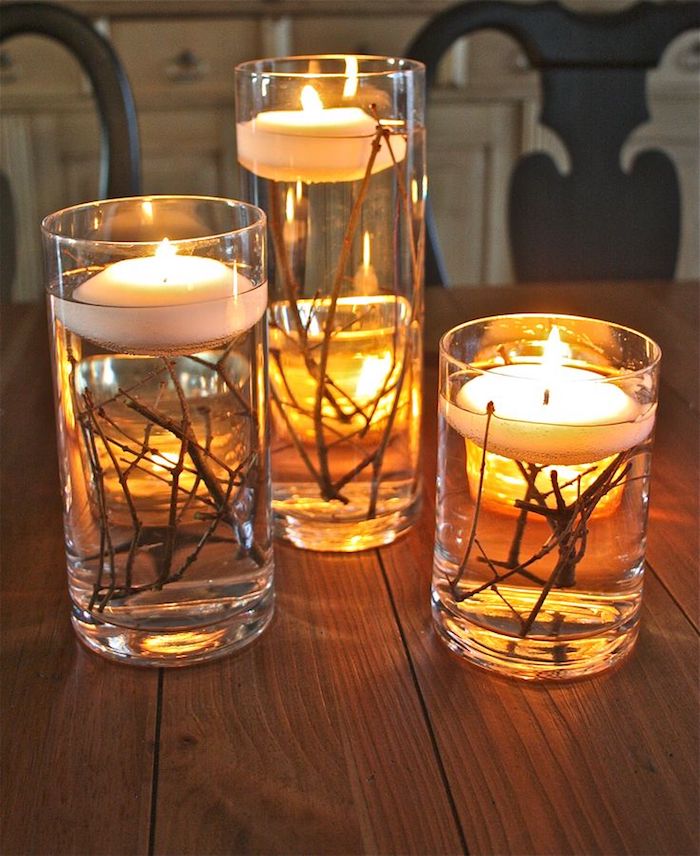
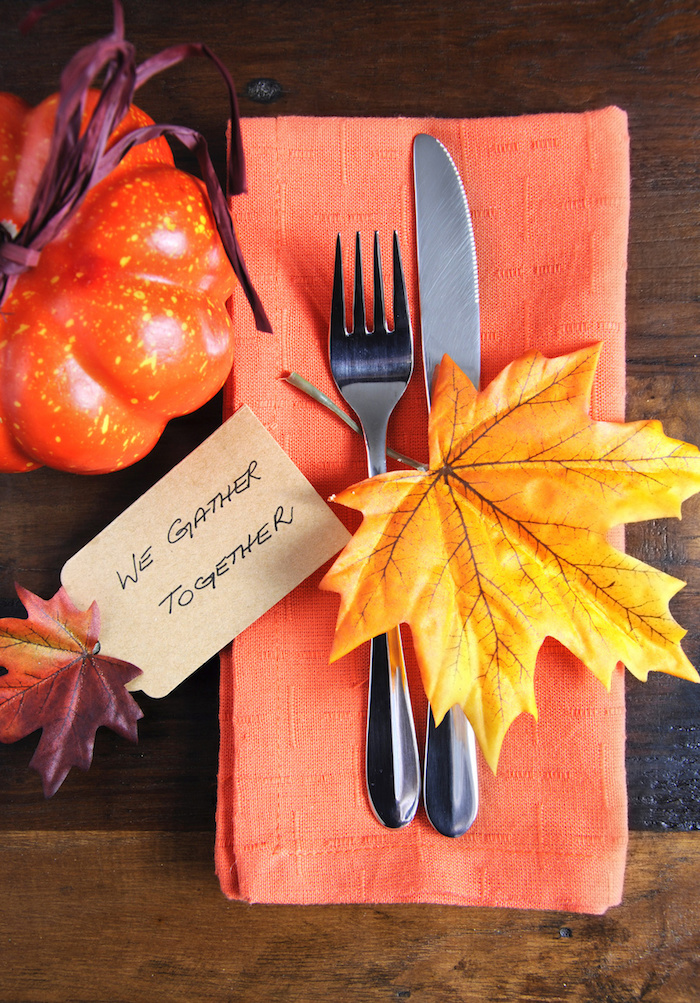
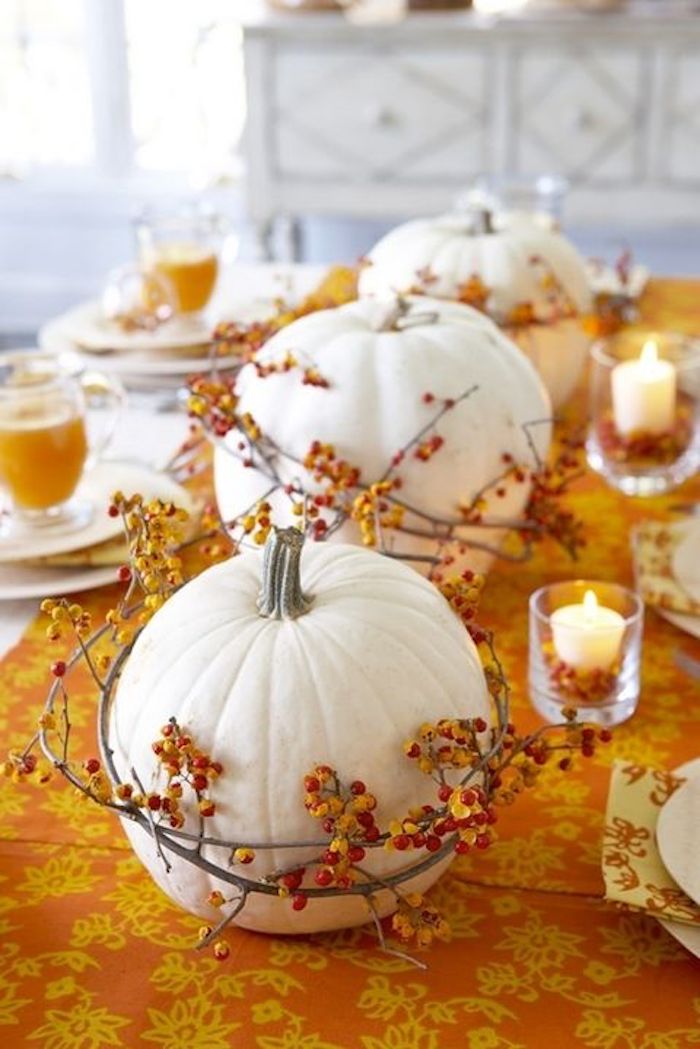
When we think of happy thanksgiving pictures we usually imagine a beautifully set table, ready for a feast. We have some inspirational images to help you chose the set-up best suited to your home!
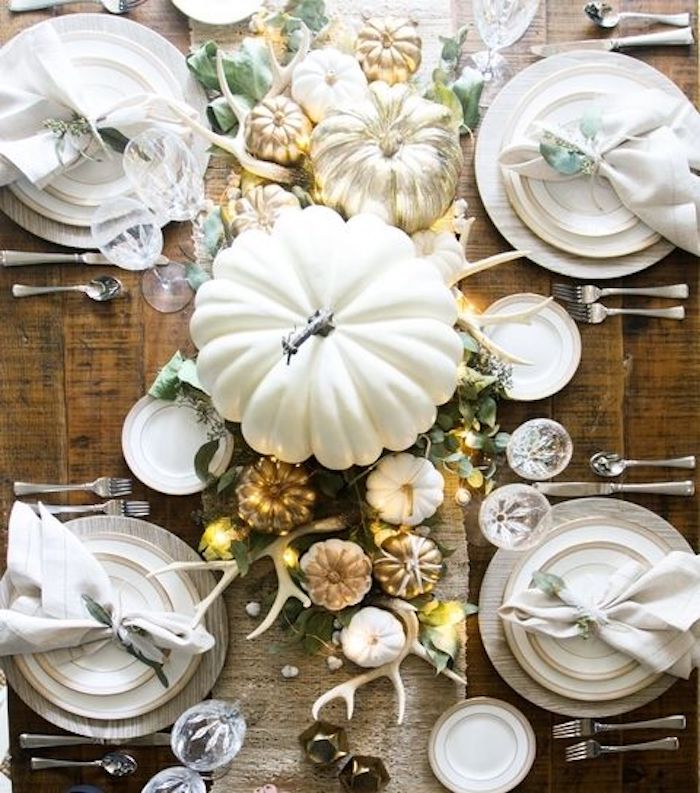
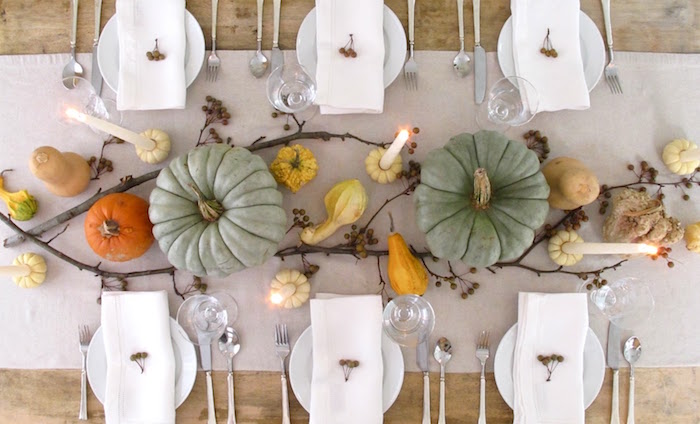
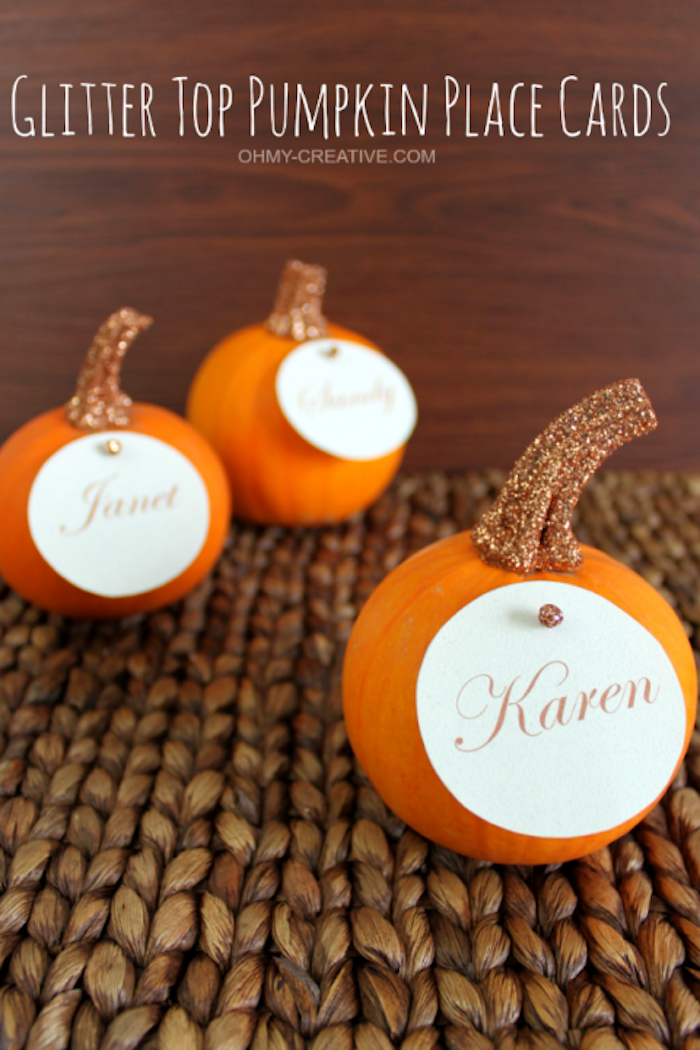
The right place cards can add a touch of style and festivity to your table. Aren’t these little hand painted place savers adorable?
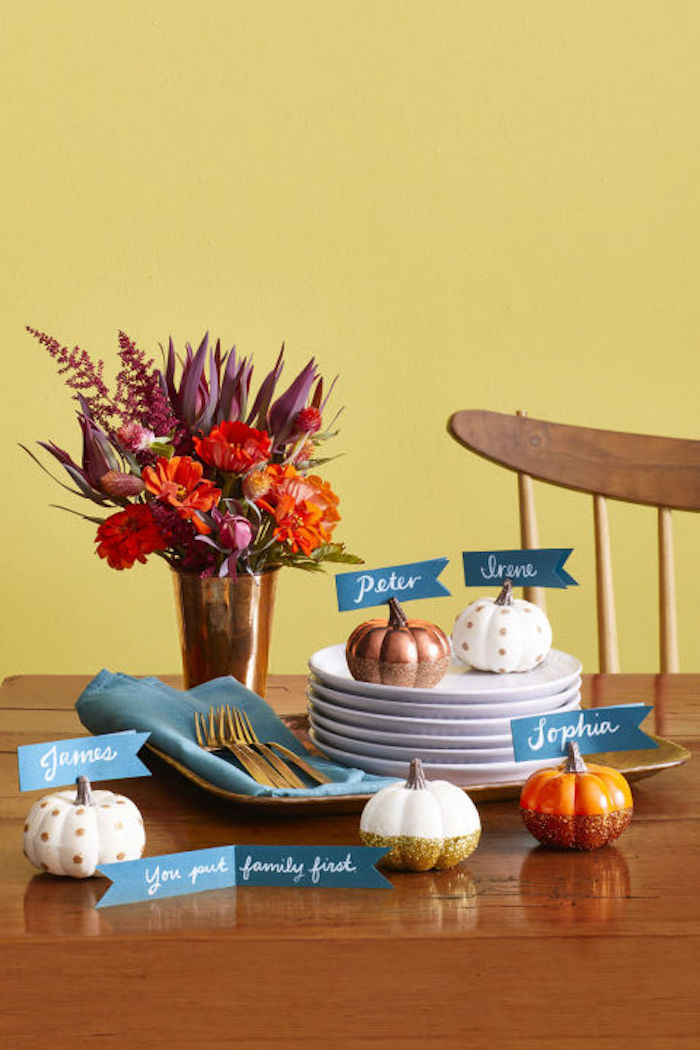
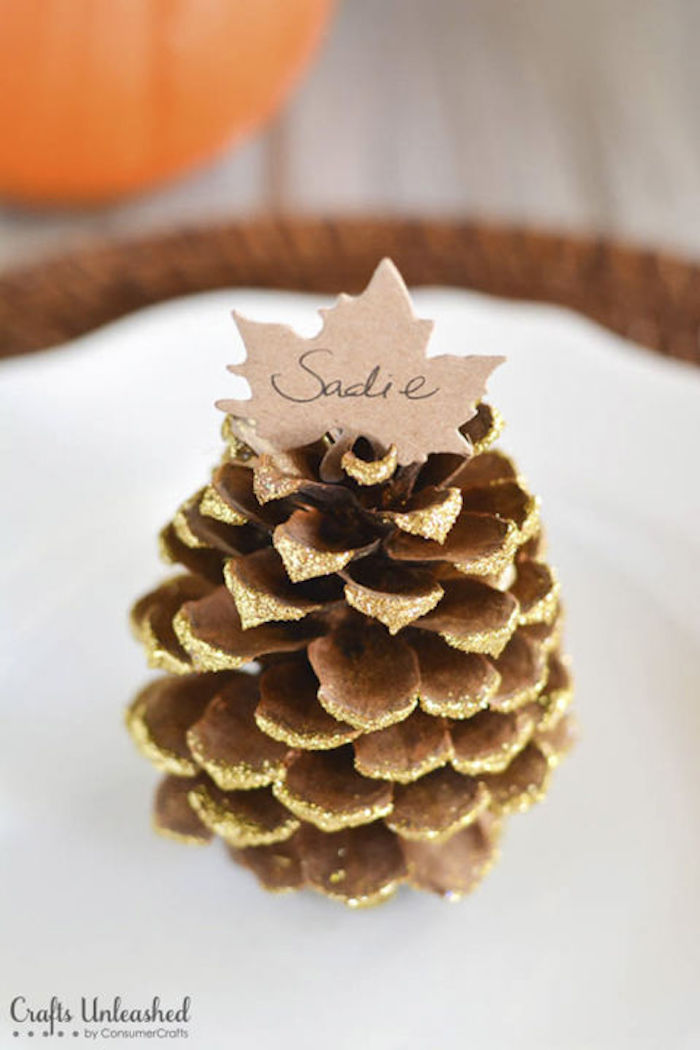
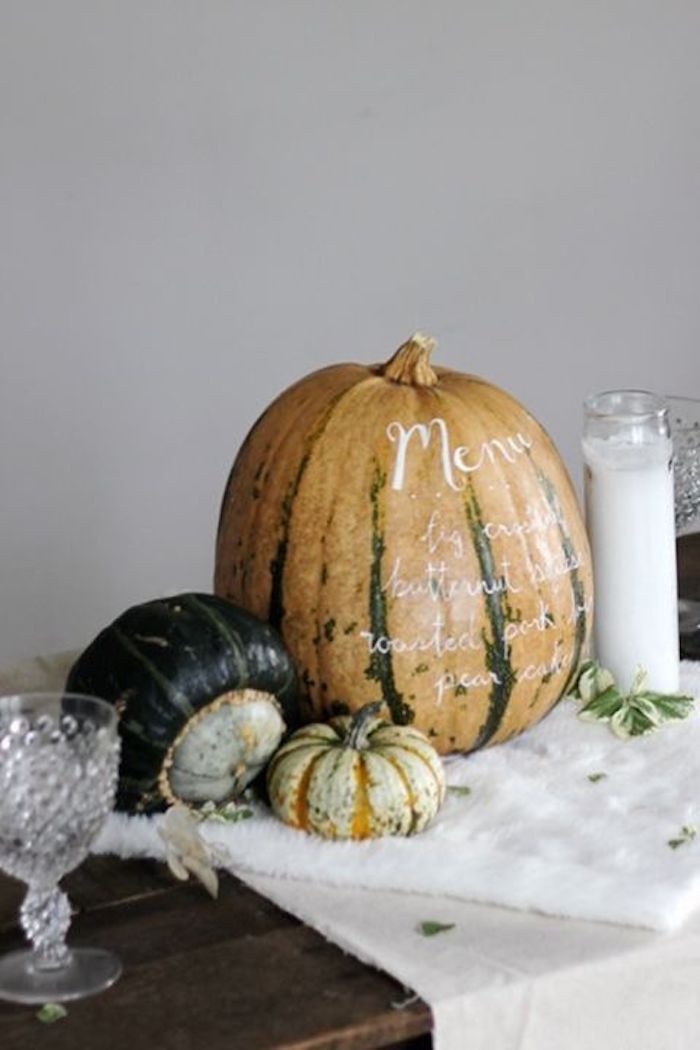
Pumpkins can be used for more than place holders though, as this cleverly designed Thanksgiving menu shows:
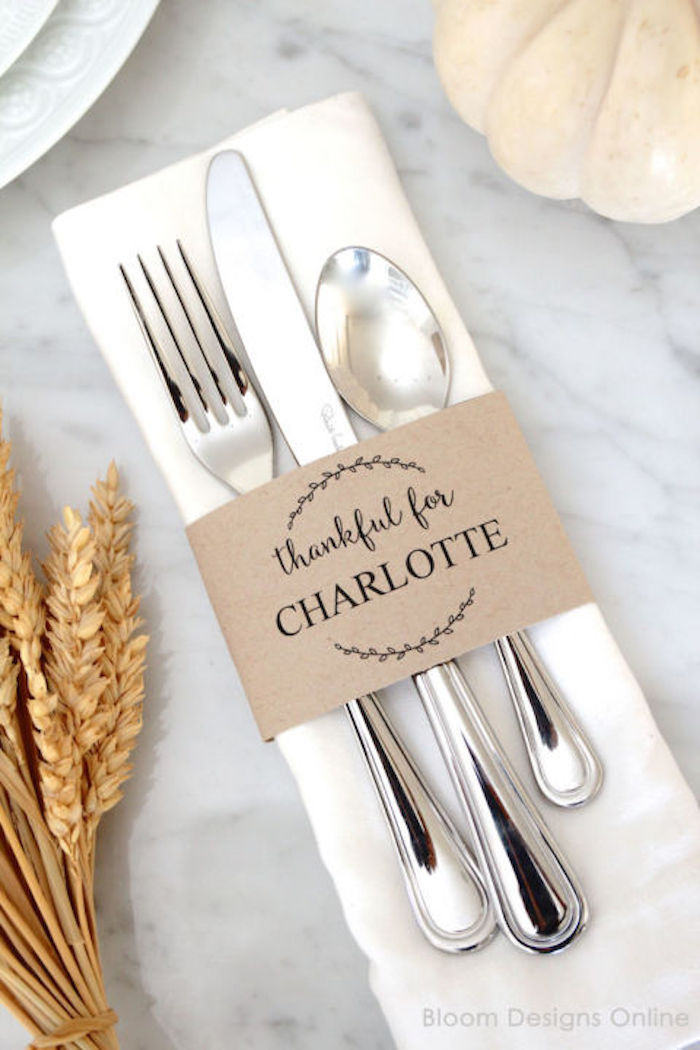
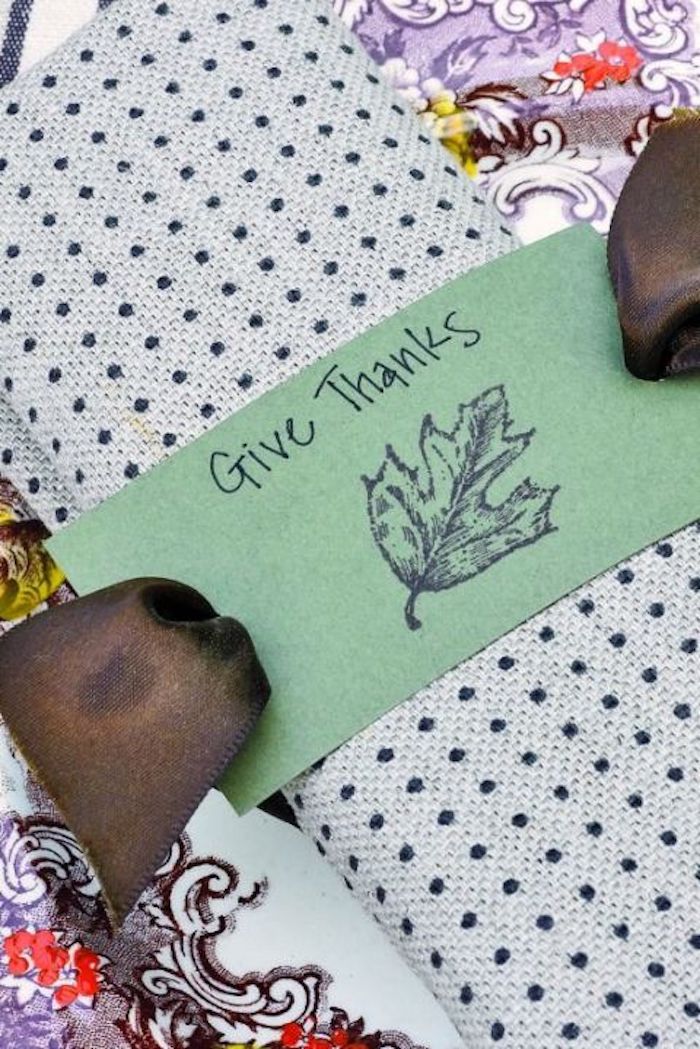
Little touches that remind your guests how thankful you are for having them in your life, and will also make your dinner more meaningful and personal.
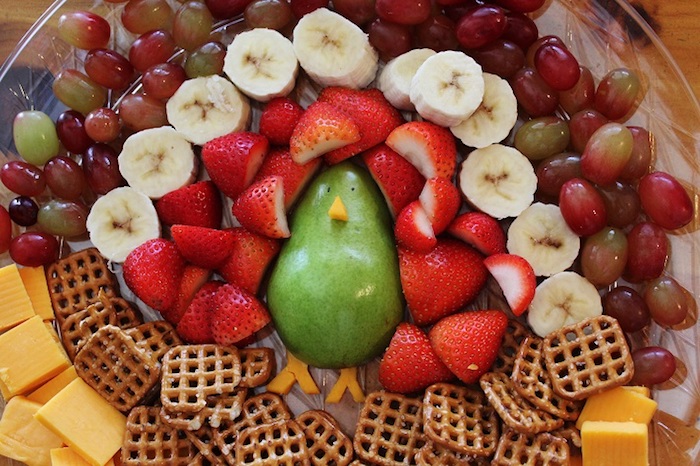
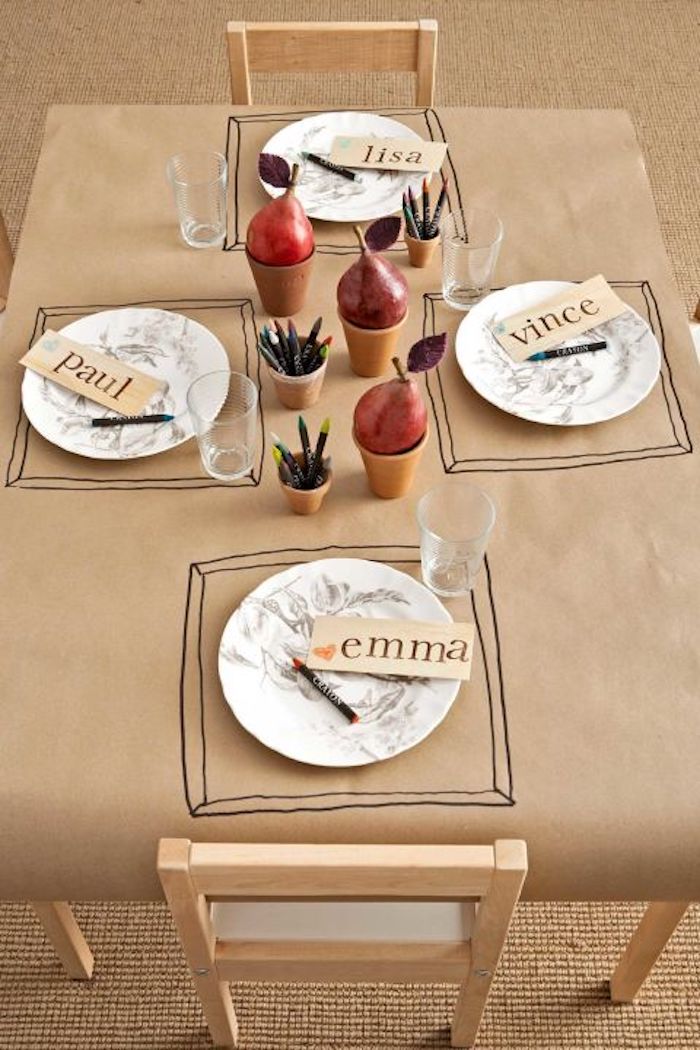
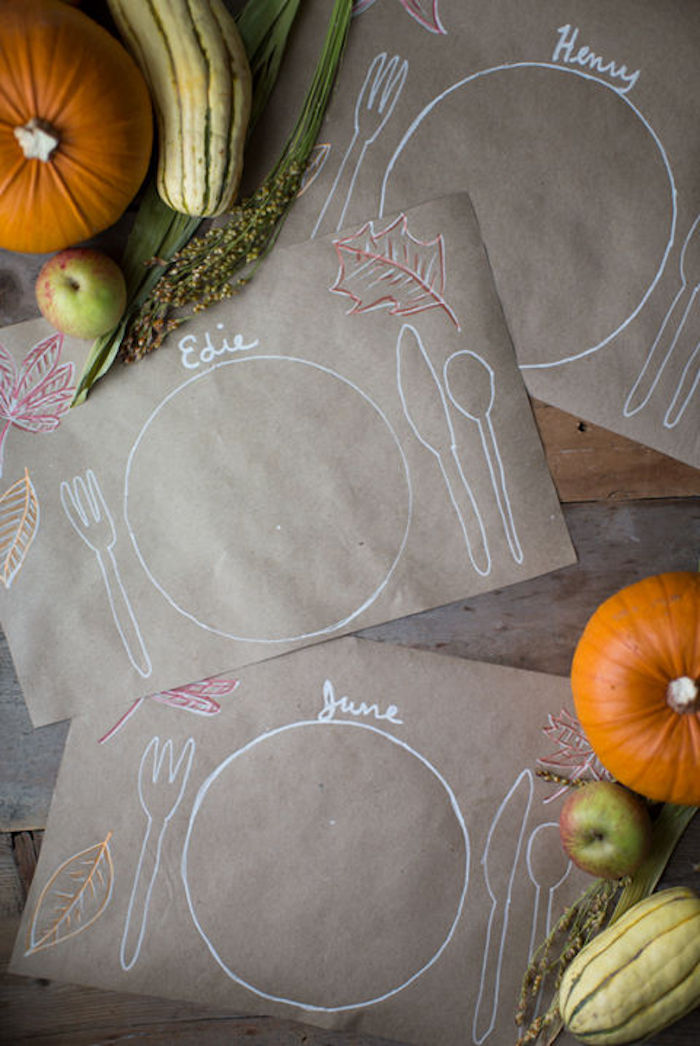
While the adults’ table needs to be a bit more formal, kids’ corners leave a lot of room for creativity, experimentation and fun! From this wonderful turkey-shaped fruit salad, to the draw-it-yourself paper tablecloths – there are plenty ideas to try!
Naturally, the dining room is not the only place in the house that needs decorating, so we have prepared some suggestions for your living-room too! We love this simple and understated but thoroughly elegant mantle set up.
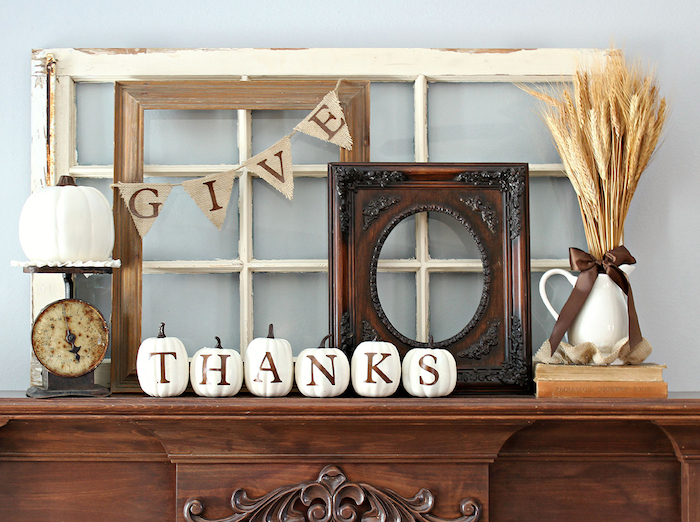
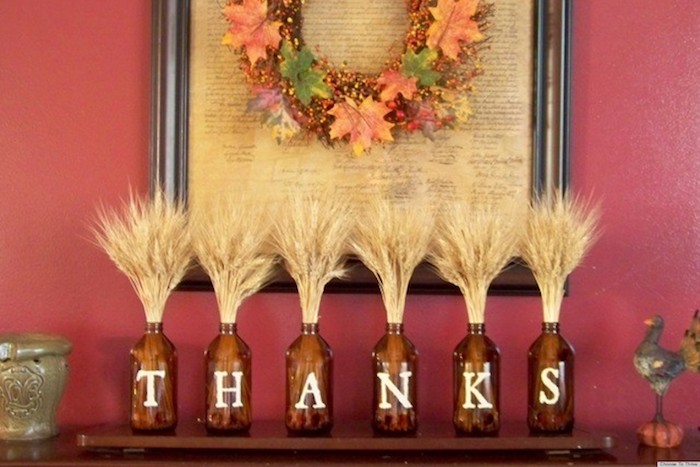
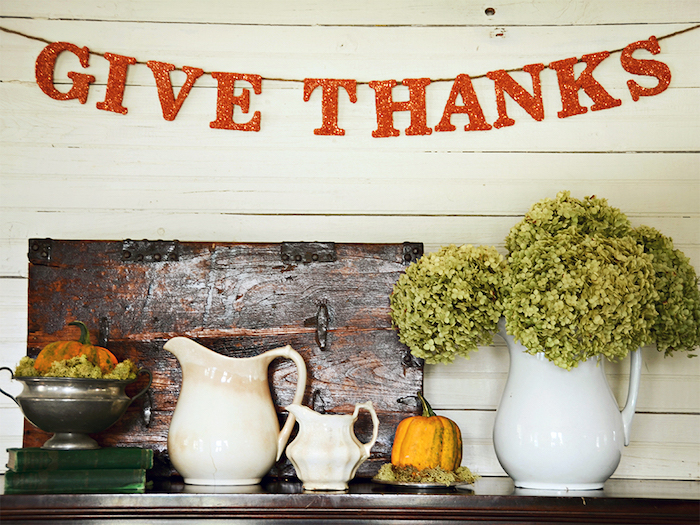
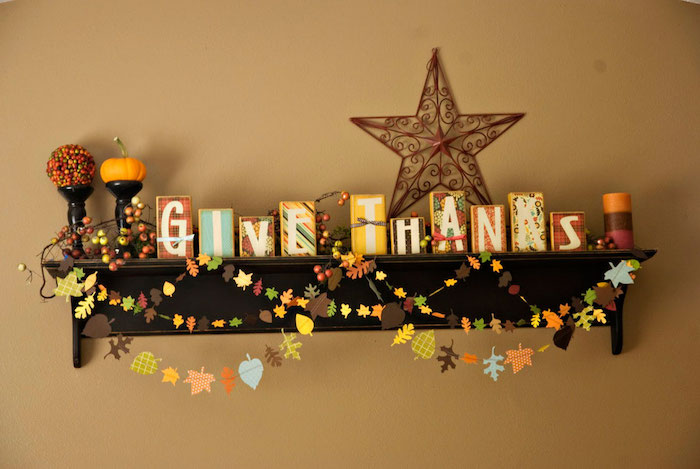
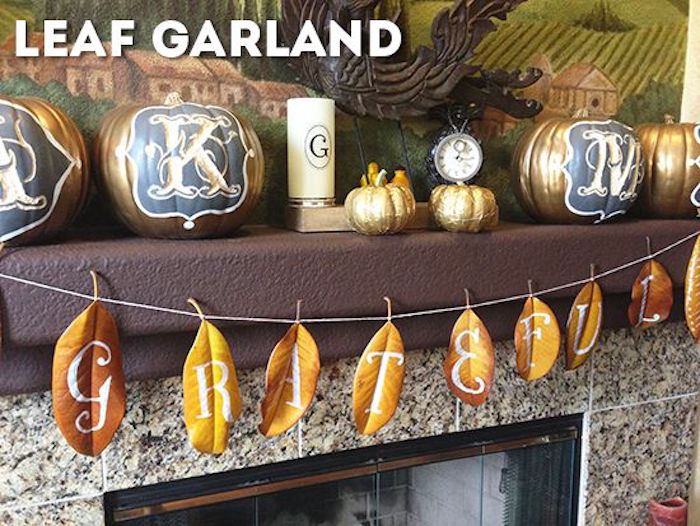
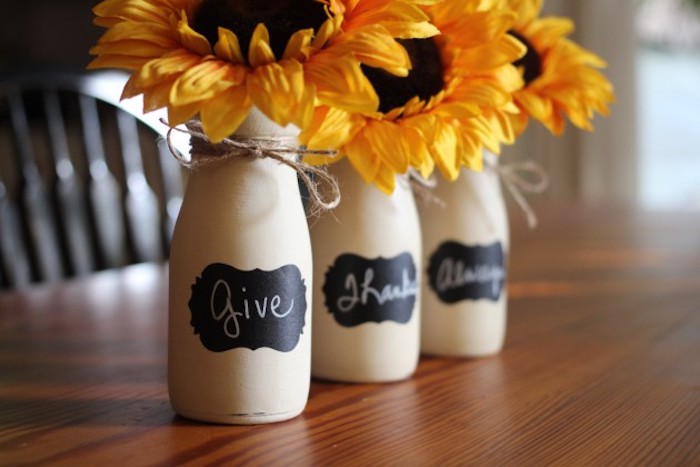
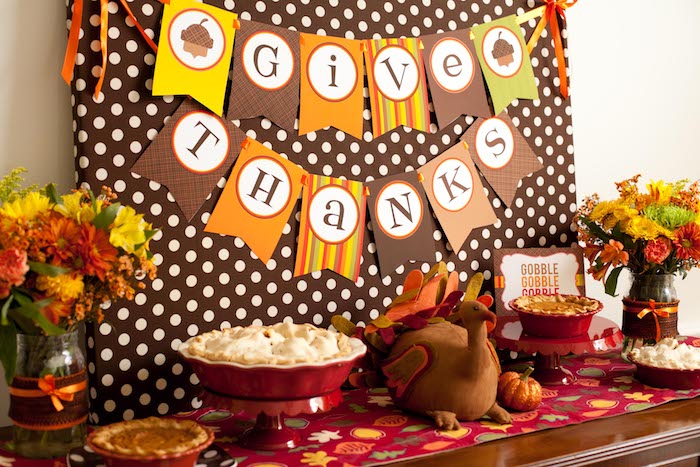
Never underestimate the power of simplicity! This beautiful jar decoration takes moments to make but can really brighten up your living room.
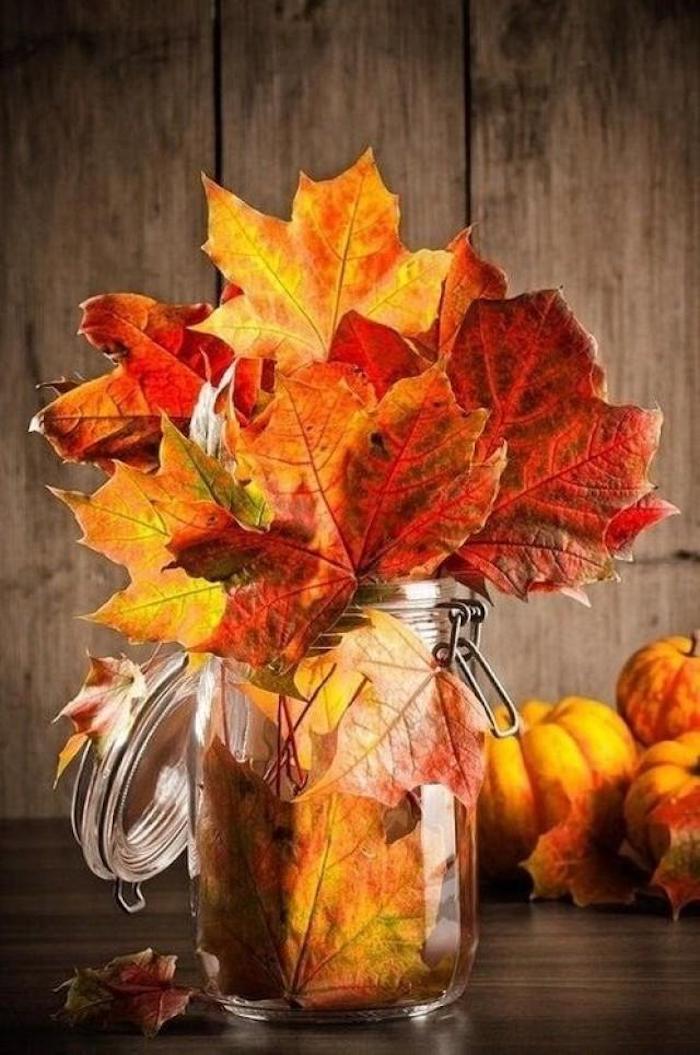
After choosing your preferred table set up and decorations, it’s time to pick some beautiful happy thanksgiving pictures to send to your friends and loved ones. We have a great selection of images to choose from.
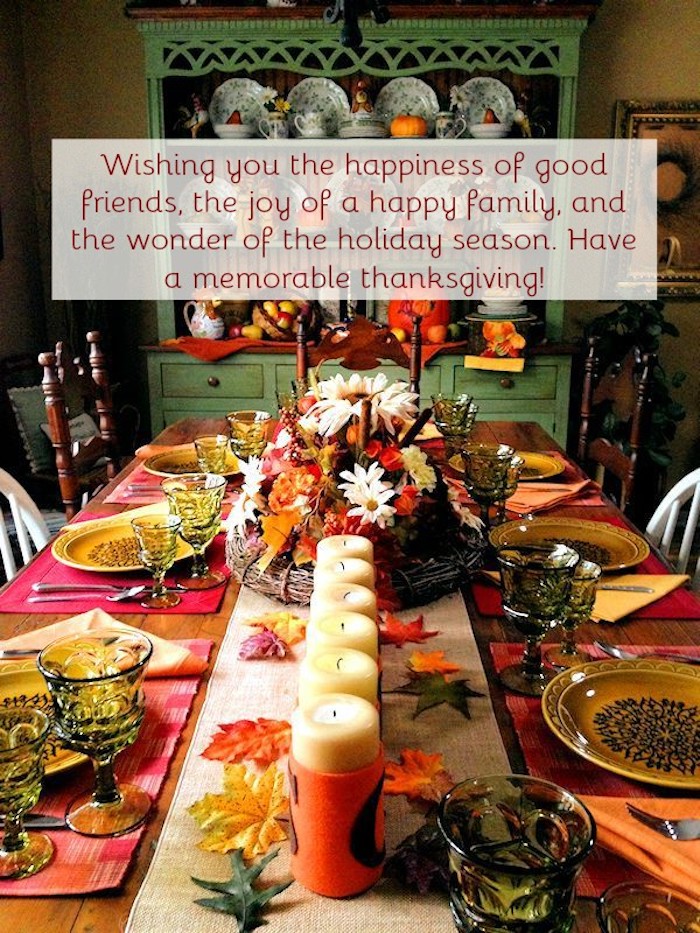
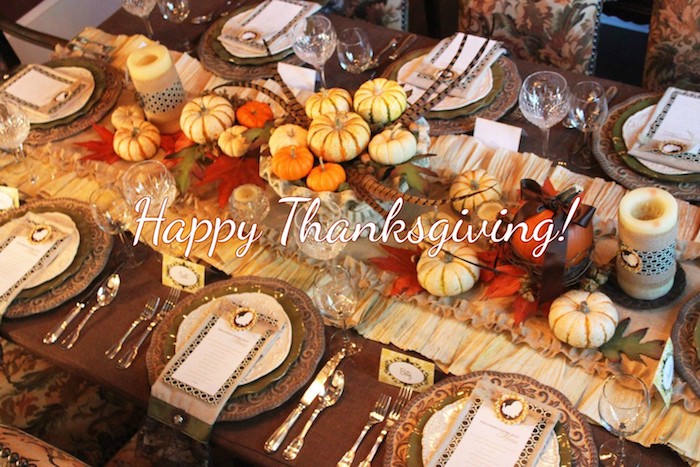



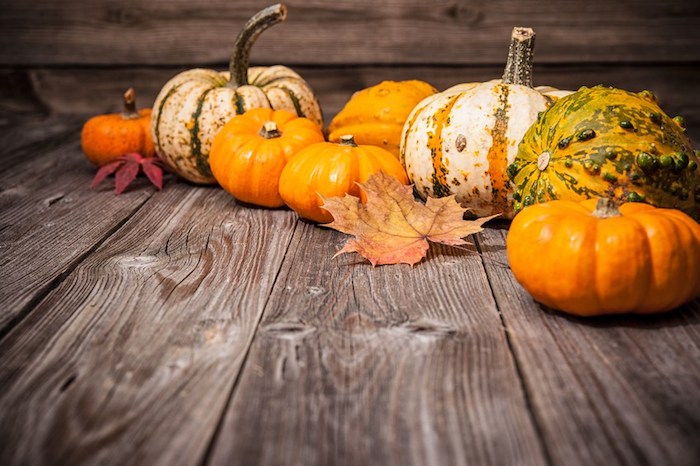
Simple, yet stylish, this beautiful rustic image is one of our favorite happy thanksgiving pictures.




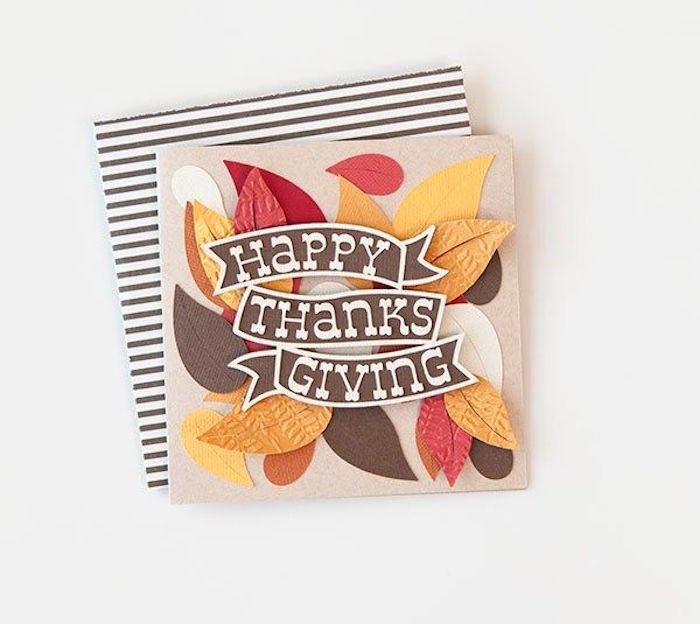





If you prefer more humorous happy thanksgiving pictures, how about this fun and cute bird-inspired images?
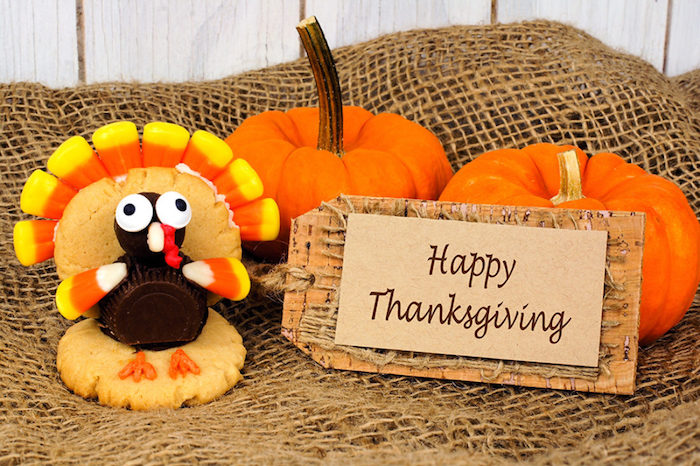

We hope you’ve enjoyed our list of happy thanksgiving pictures. We wish you a fun and warm festive season!
The post 50+ Happy Thanksgiving pictures, creative ideas and fun suggestions to try this holiday season appeared first on Architecture E-zine.

