70+ fun ideas for creating a DIY advent calendar
Advent calendars are among some the most beloved Christmas traditions, enjoyed by adults and kids alike. After all, is there a better way to count down the days left until Christmas, than indulging in a little treat every morning? Although you can buy pretty much any kind of advent calendar... The post 70+ fun ideas for creating a DIY advent calendar appeared first on Architecture E-zine.
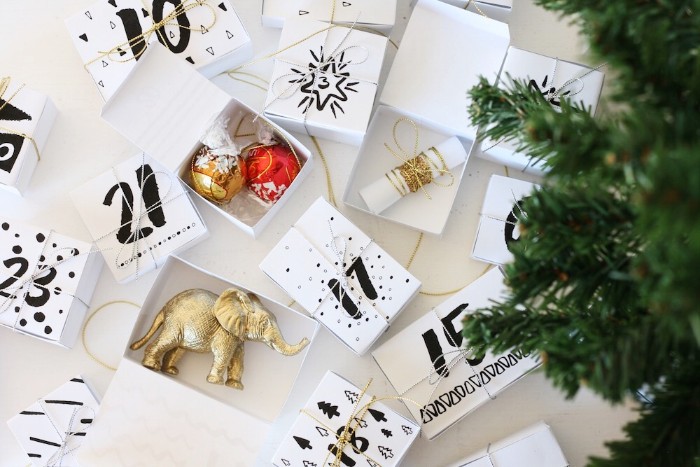
Advent calendars are among some the most beloved Christmas traditions, enjoyed by adults and kids alike. After all, is there a better way to count down the days left until Christmas, than indulging in a little treat every morning? Although you can buy pretty much any kind of advent calendar nowadays, it’s always a lot more fun to make your own – this way you will save some money, while ensuring that the end result is 100% unique. If you need some ideas to get started – we’ve got you covered! This article has 70 fun and creative DIY advent calendar suggestions.
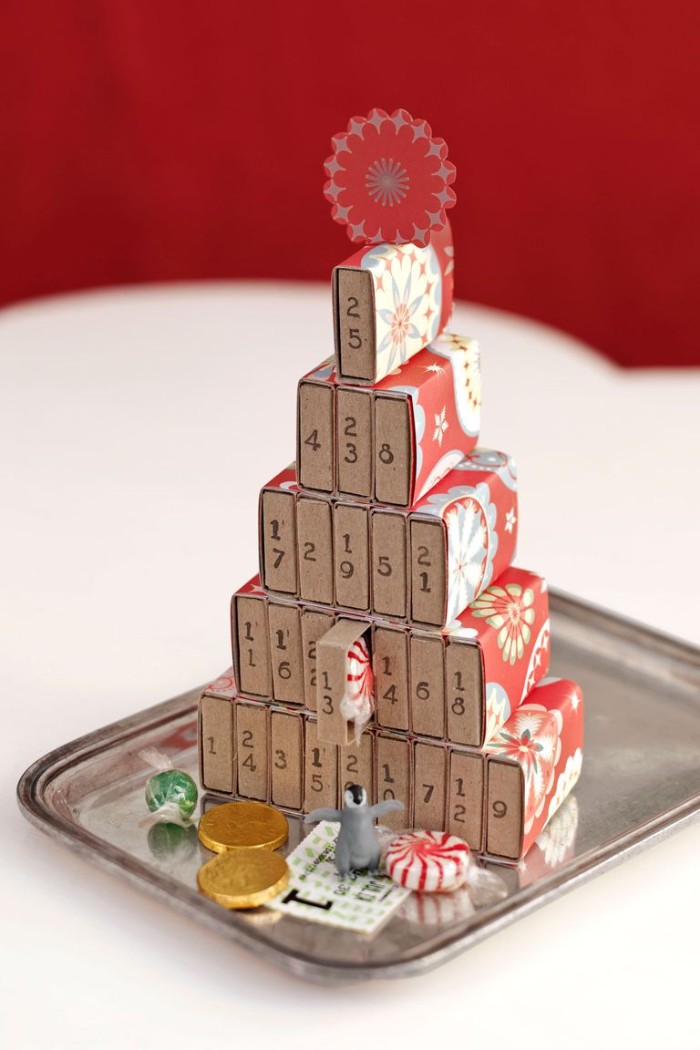
We love this creative DIY advent calendar, made from matchboxes and origami paper
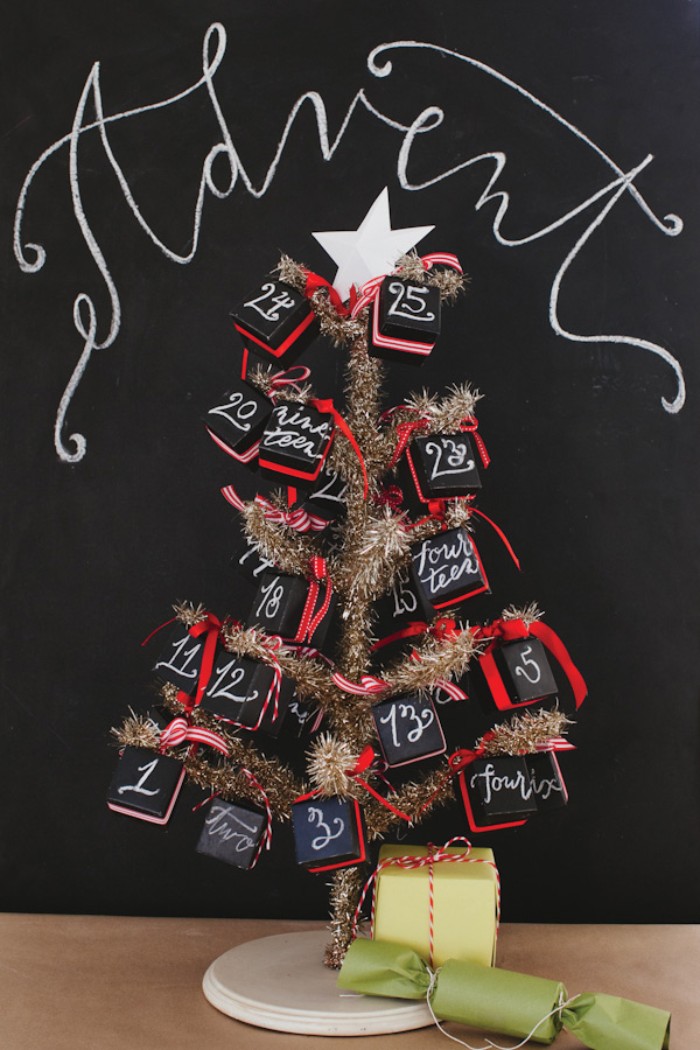
Cute DIY advent calendar
Our first idea is incredibly cute and works both as an advent calendar and a Christmas decoration! You can make it in just a few easy steps. All you need is:
- Several sheets of white card
- A can of chalkboard spray
- Some red ribbon/ striped red and white tread
- A piece of white chalk
- A small faux Christmas tree
Instructions:
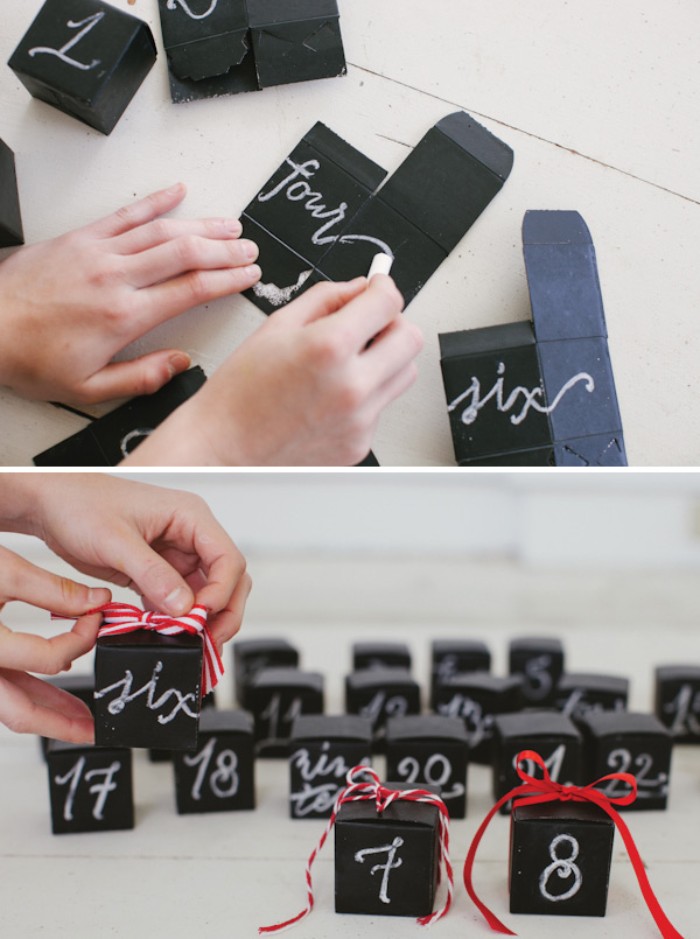
- Use a template to cut out 24 foldable cube shapes from white card.
- Once done, cover the surface of each shape with chalkboard spray and leave aside to dry.
- Using a small piece of white chalk, write a number from 1 to 24 on each of the shapes.
- Then, carefully fold them into small cube-shaped boxes.
- Place small items of your choice in each box. These can be anything you like – toys, sweets or stationary.
- Close the boxes and tie some red and white thread (or ribbon) around each one, to make it look like a present.
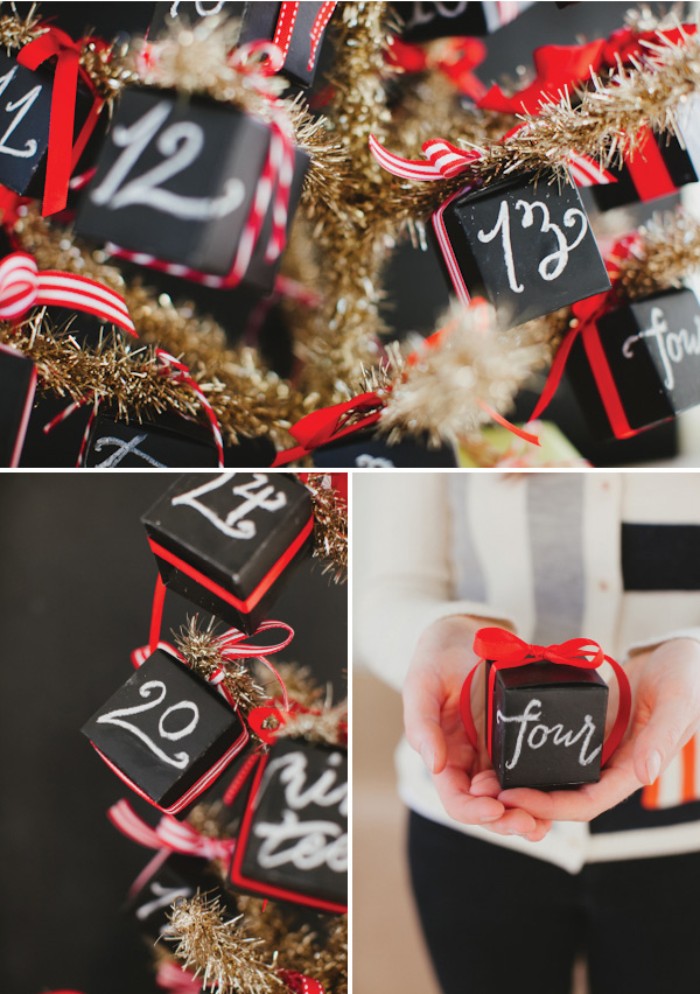
- Place the finished cubes on top of a small faux Christmas tree.
Your advent calendar is ready!
And, to make things easier, here is a quick and easy step by step photo tutorial:
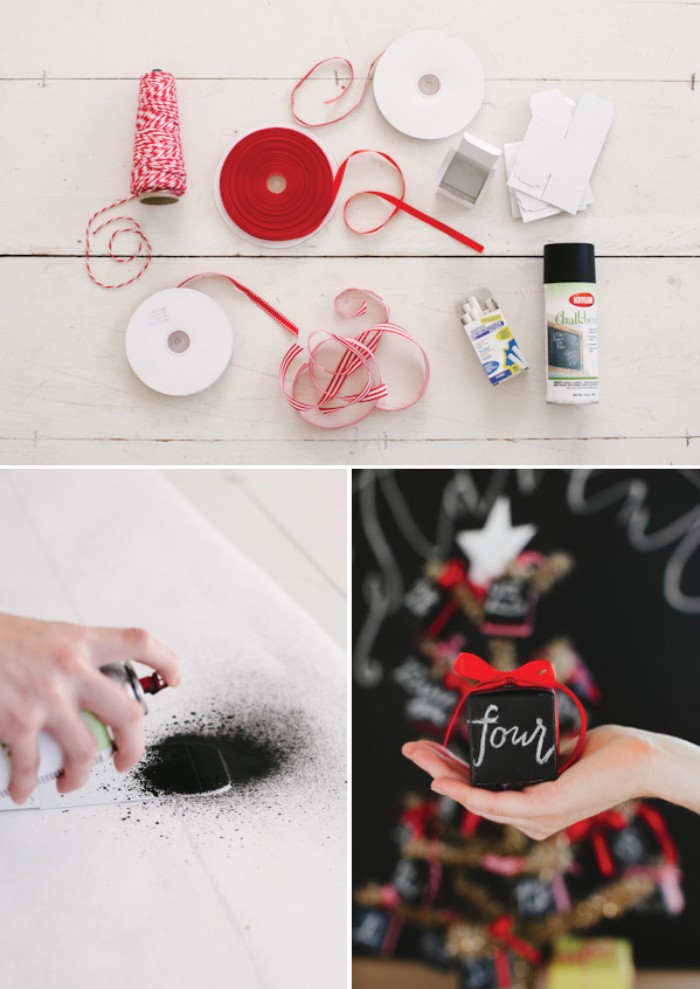
You can write the different dates with numbers or words
Aren’t they cute?
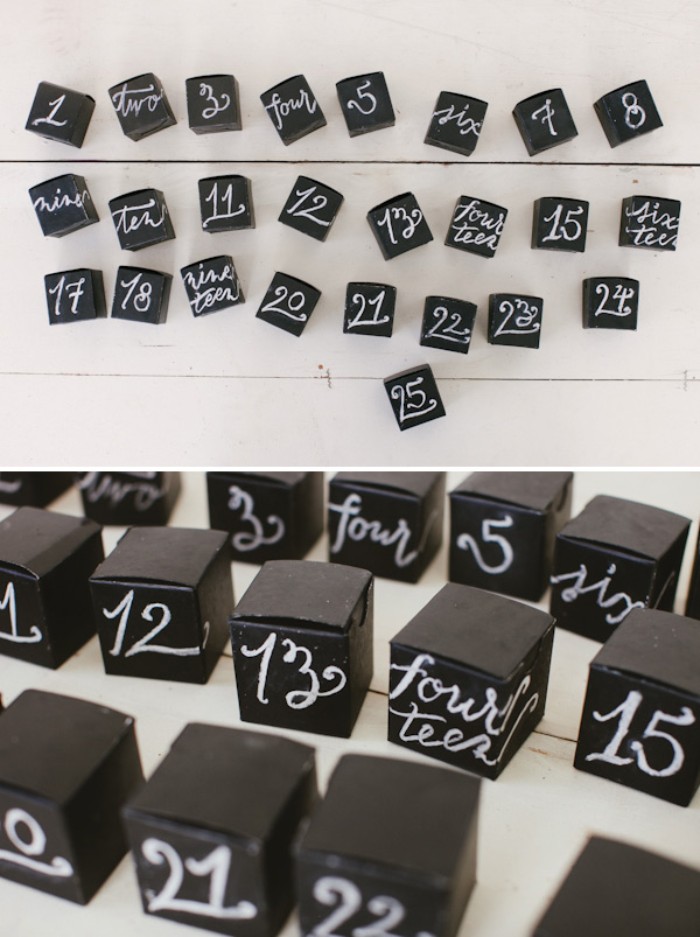
The final result:
Our next tutorial is really cute and easy enough even for small children to make!
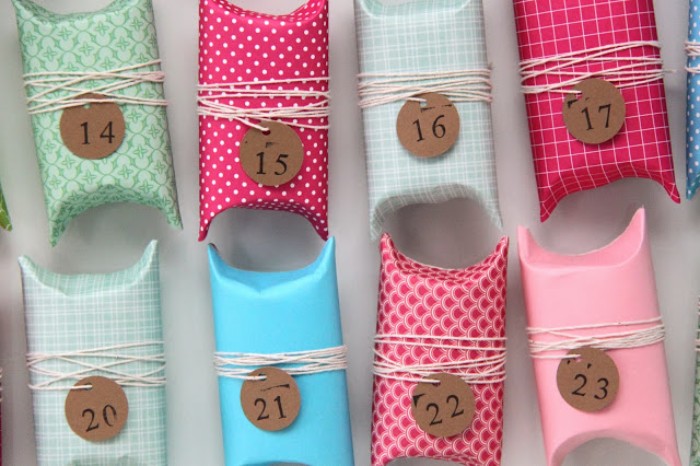
Here’s another DIY advent calendar, which is super easy to make
You will need:
- 24 cardboard toilet paper rolls
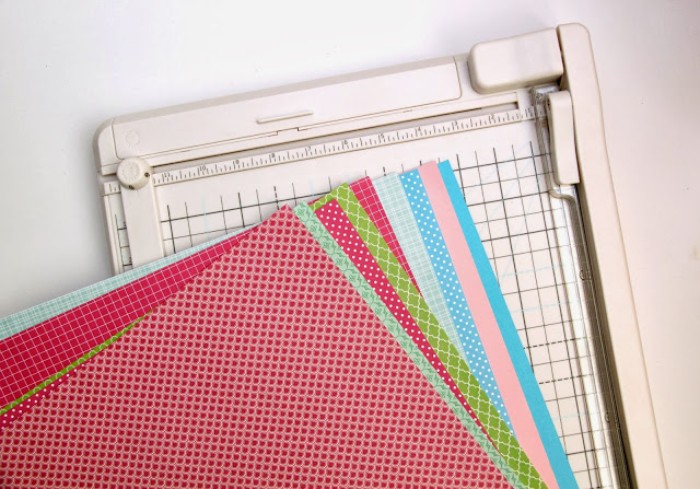
- Origami paper in different colors (patterned or plain)
- A glue stick
- Scissors
- Plain string
- Small round labels
Instructions:
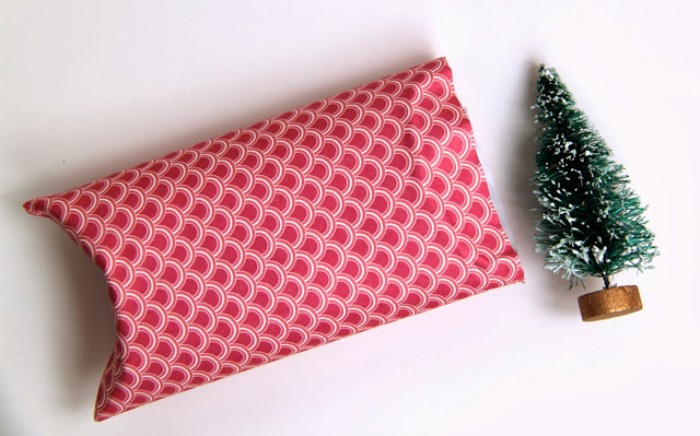
- Take a sheet of origami paper and stick it around the surface of a toilet paper roll.
- Press both ends of the toilet roll together to form a box. If you need some help with the process, there are some really nifty video tutorials available online.
- Place a small toy or sweet inside the box, then seal the opening with glue.
- Repeat the process until you have 24 boxes.
- Take 24 small round labels and write a number from 1 to 24 on each one.
- Tie one label on each of the boxes, using plain string.
The required materials:
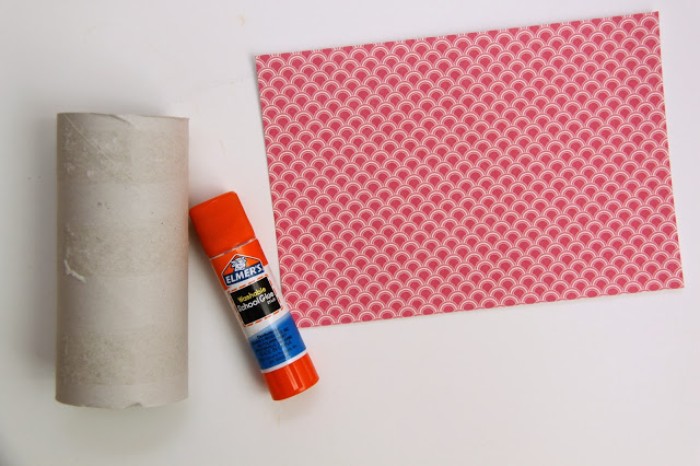
To achieve the best effect, opt for origami paper in many different colors
How a finished box should look:

Wondering what to put inside your advent calendar? Here are some suggestions:

Aren’t they cute?
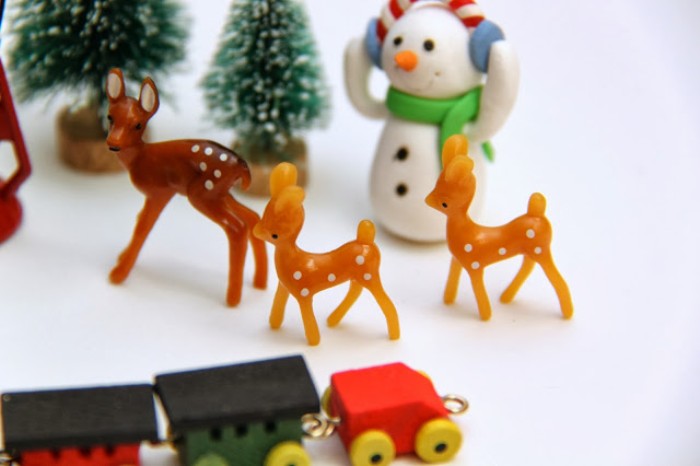
If you are making an advent calendar for an adult, you can substitute the toys with Christmas tree ornaments

Easy, fun and super cute!
Our third idea is especially for those of you who have a sweet tooth – the Christmas candy wreath!
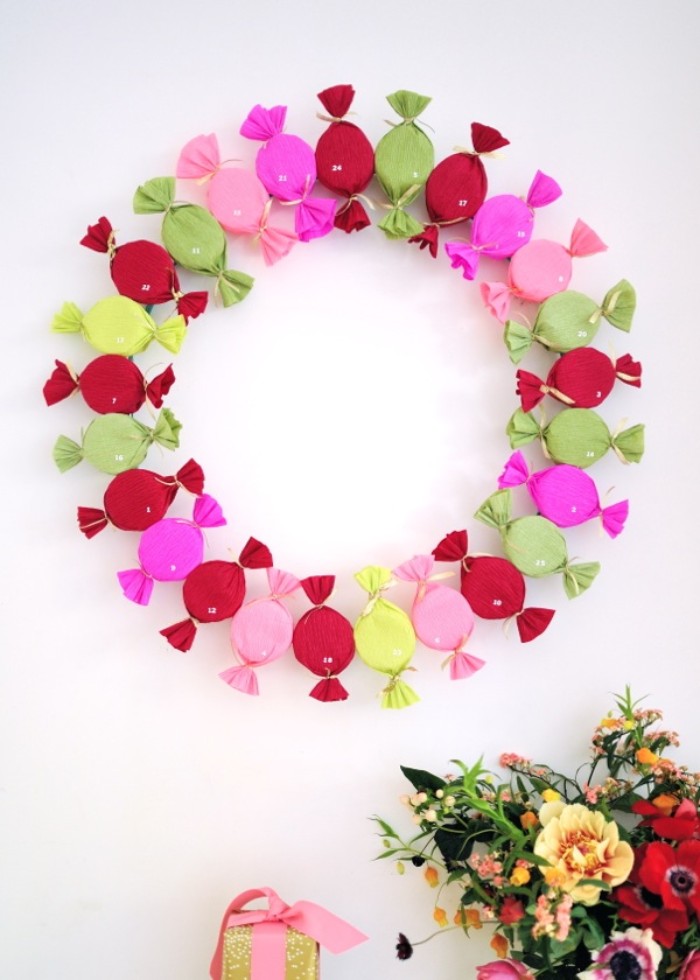
Christmas candy wreath
What you will need:
- Tissue paper in different colors
- 24 small round plastic boxes (candy holders) with lids
- Scissors
- Thin ribbon in a color of your choice (we used gold)
- Florist wire
- Glue gun or super glue
- Small number stickers from 1 to 24
- Assorted candy of your choice
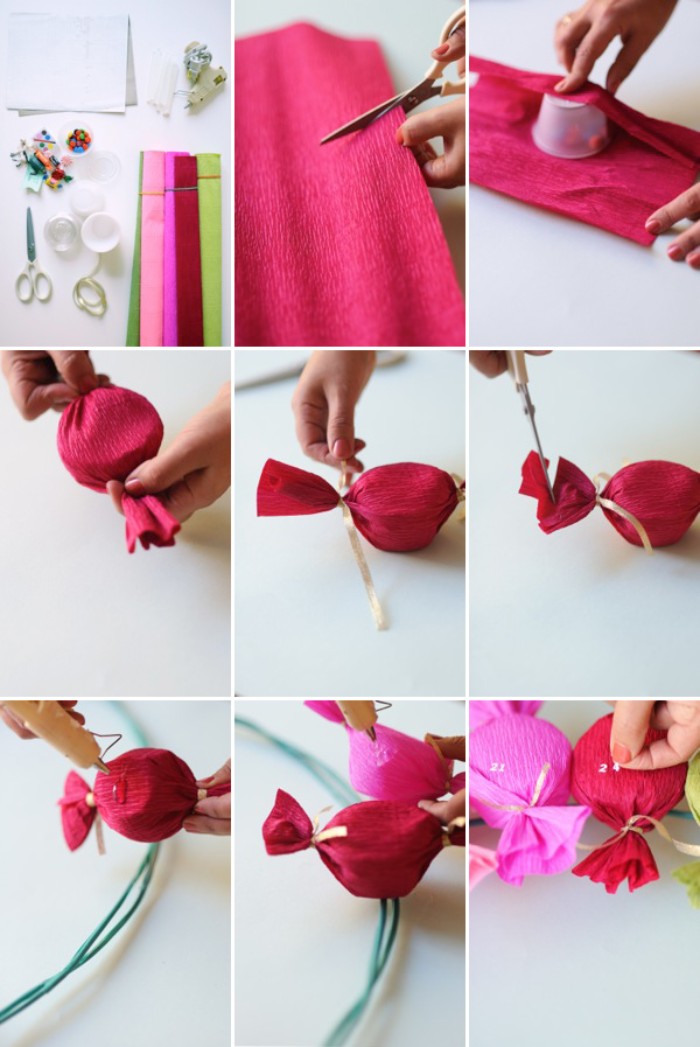
Instructions:
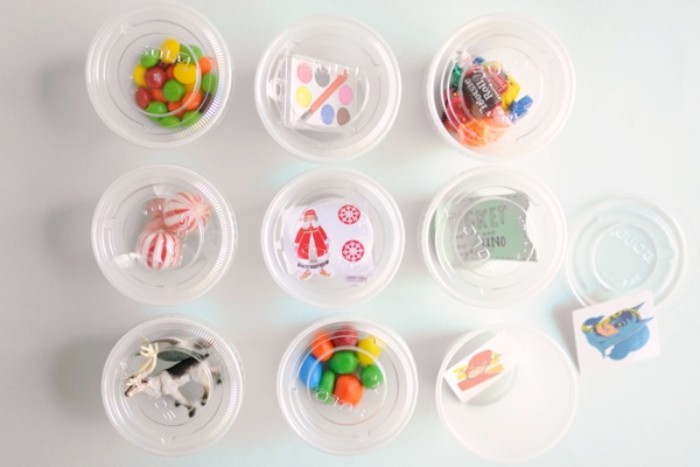
- Begin by placing some candy in each of the 24 round plastic boxes
- Wrap every box in a piece of tissue paper, longer than the box itself.
- Then tie both corners to form a candy shape.
- Repeat until you have 24 candy shapes.
- Now it’s time to make your wreath! Take two layers of florist wire and twist them into a hoop.
- Using the glue gun (or some super glue), attach the 24 candy shapes onto the hoop.
- Finally, add the number stickers.
Begin by filling the round boxes with candy
Next, create the candy shapes using tissue paper and ribbon
Your colorful and cute Christmas wreath advent calendar is ready!
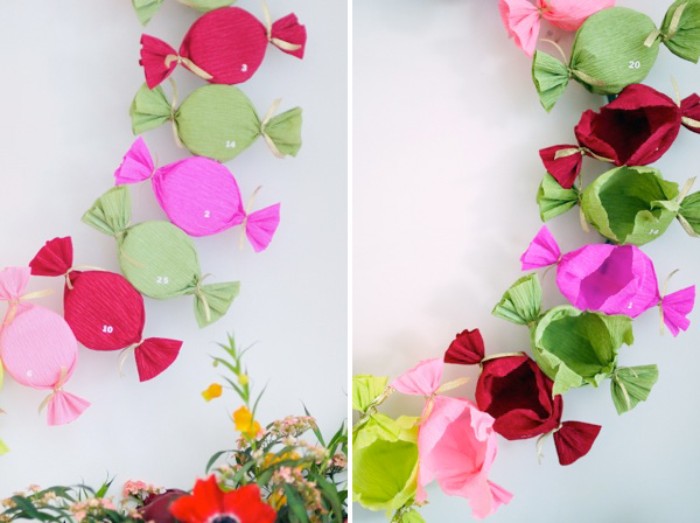
A closer look
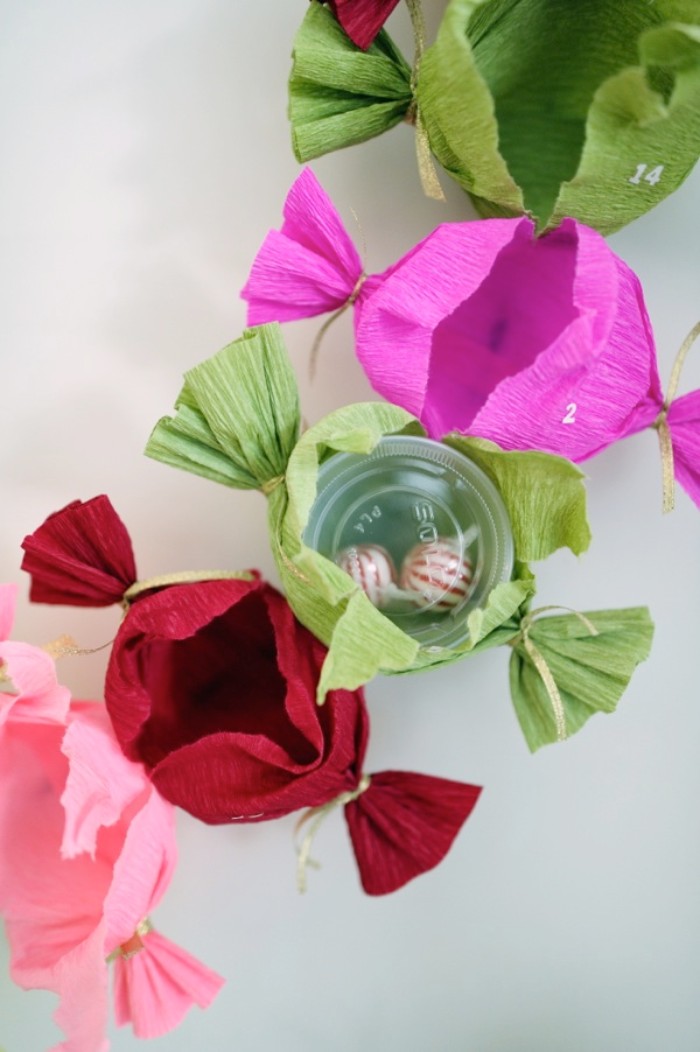
And now – an adorable DIY Advent Calendar suggestion for those who love paper crafts!

Christmas village advent calendar
To create the Christmas village advent calendar, you will need:
- Several large sheets of cardboard
- Scissors and utility knives in different sizes
- Glue gun (or super glue)
- Tea lights
- String lights
- Faux (or real) fir branches
Instructions:
- Begin by downloading the patterns for the houses. You can find them on the creator’s website.
- Next, carefully cut the different parts for the houses out, using the utility knives.
- Assemble the parts and glue them together using the glue gun/super glue.
- Repeat until you have 24 houses.
- Put some candy and a tea light in each house.
- Place the houses on a counter or fireplace mantle and decorate them with fir branches.
Please note that the process can take quite a while, so try to start at least a week before December 1st!
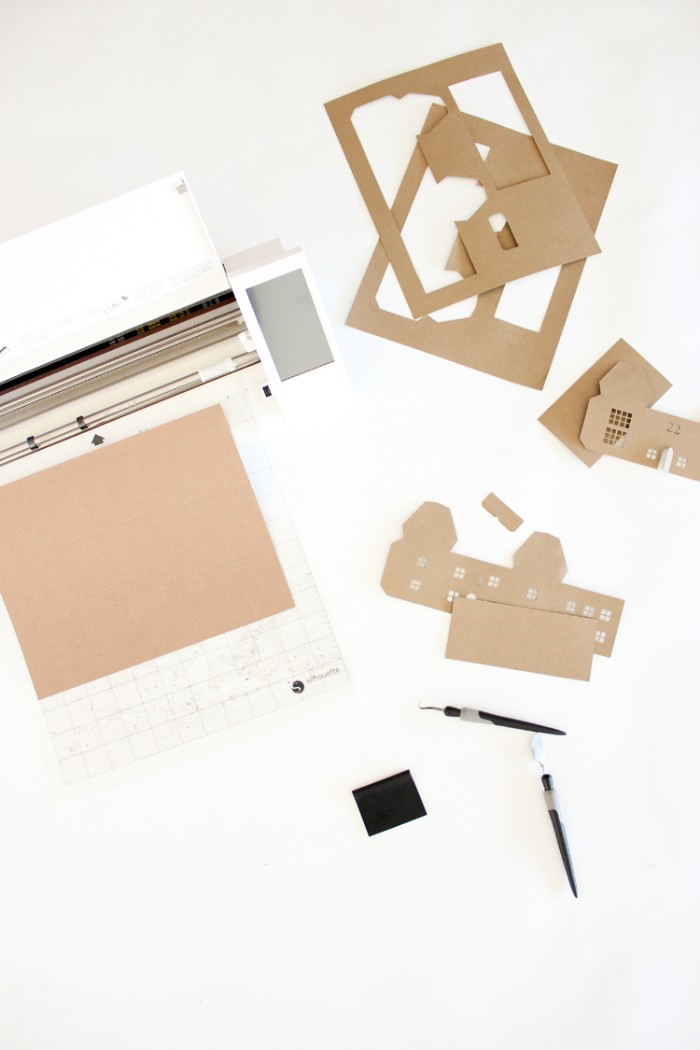
Carefully cut out all the details
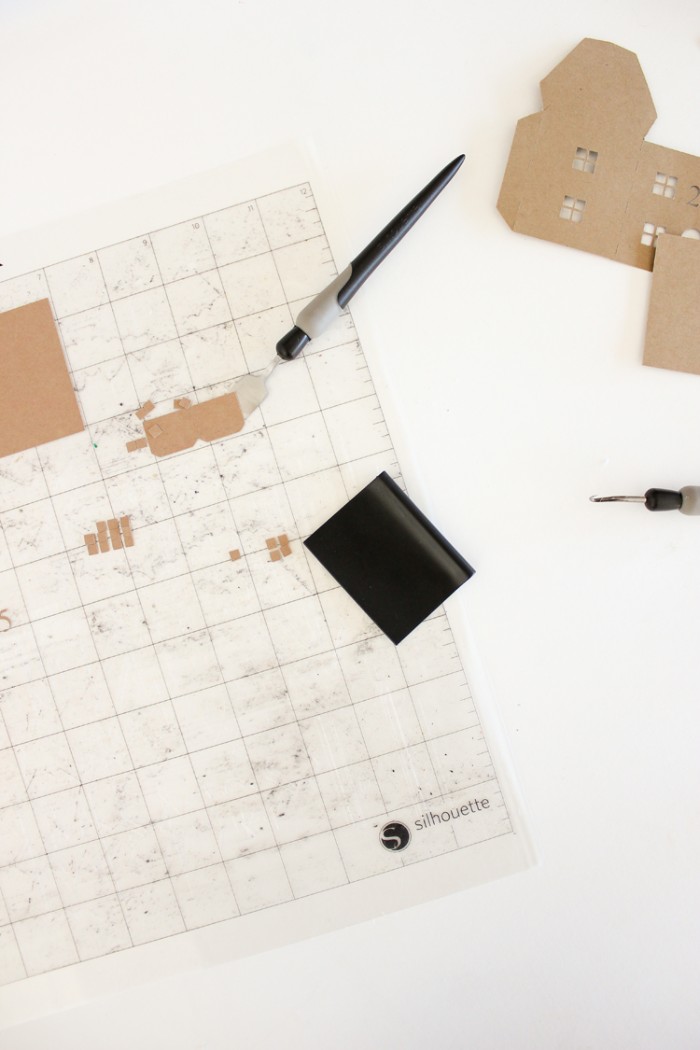
It’s a time consuming, but ultimately rewarding process
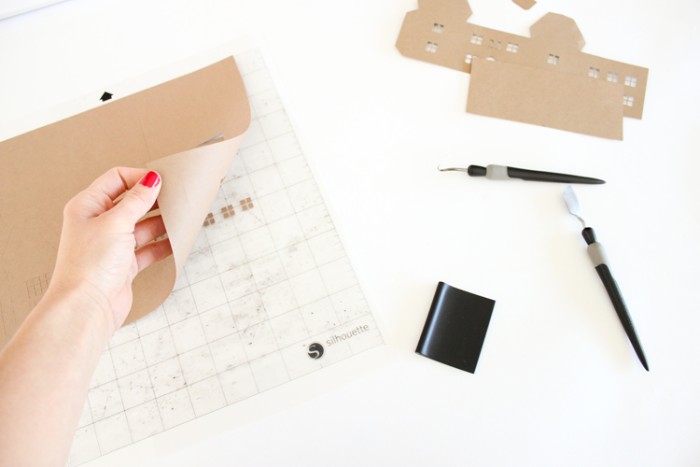
How cute is this little house?

This lovely DIY advent calendar also works as a Christmas decoration for your home

The end result

Our next suggestion is super easy – a DIY advent calendar made from an embroidery hoop with small gold adorned pouches!
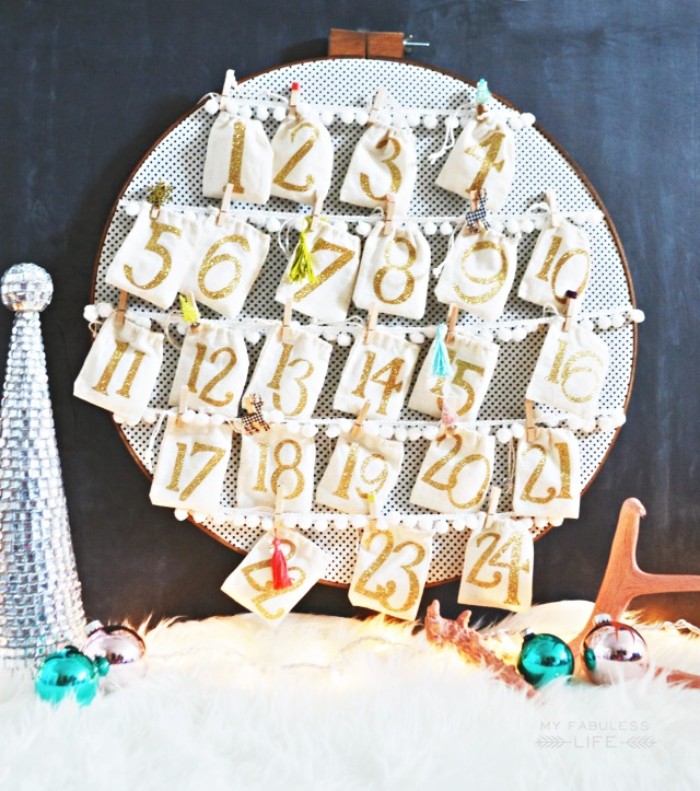
Another easy tutorial to try
What you’ll need:
- A large embroidery hoop with a wooden frame
- A piece of fabric in colors of your choice, big enough to cover the hoop
- White lace with tiny white pompoms
- 24 small drawstring bags
- Number stencils
- Fabric glue
- Gold glitter
- Miniature clothes pegs
- Yarn in different colors
Instructions
- Take a drawstring bag and using the number 1 stencil, pour some fabric glue in the shape of a 1.
- Pour some gold glitter on top and gently press, in order to ensure that it sticks well.
- Dust off any excess glitter.
- Repeat the process for the remaining 23 bags, placing a different number from 2 to 24 on each one.
- Put the piece of fabric in the embroidery hoop.
- Attach 5 pieces of white lace to the hoop.
- Clip the drawstring bags onto the lace, using miniature clothes pegs.
- Finally, use the yarn to create small pompoms and use them to decorate completed advent calendar.
In order to make this advent calendar you will need:
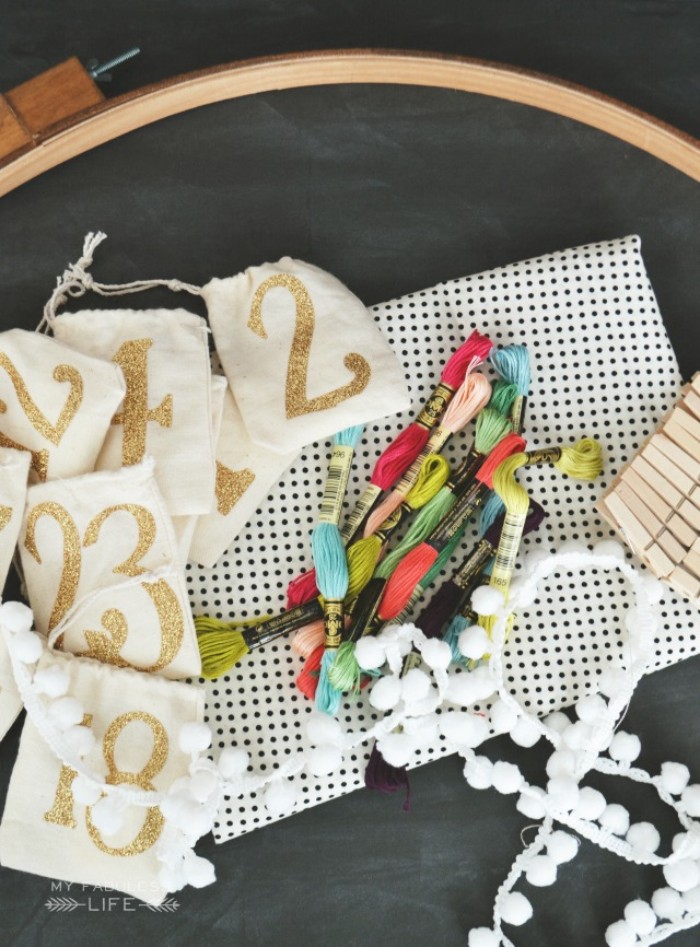
The yarn pompoms complete the look
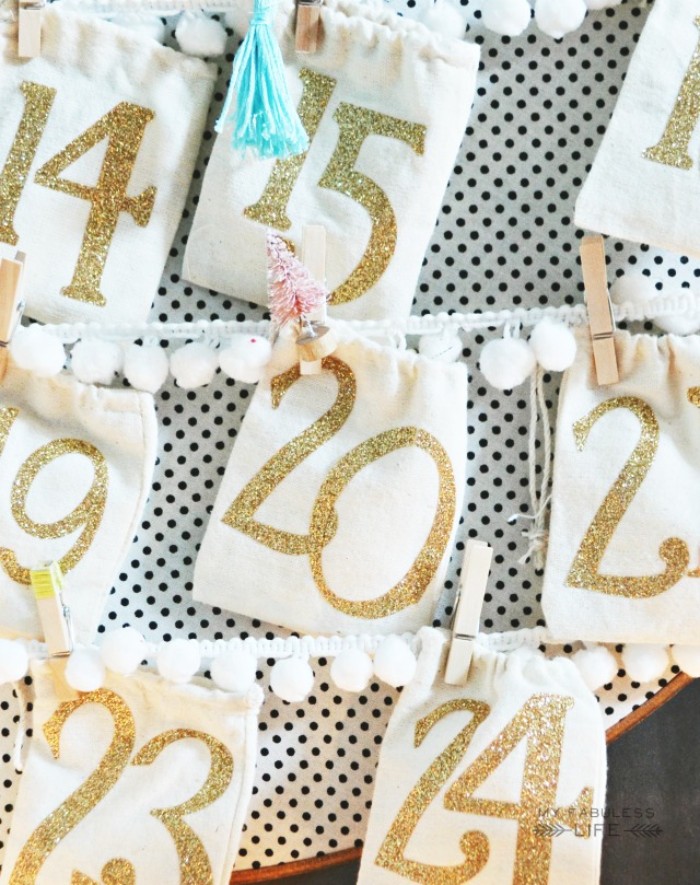
Isn’t it beautiful?
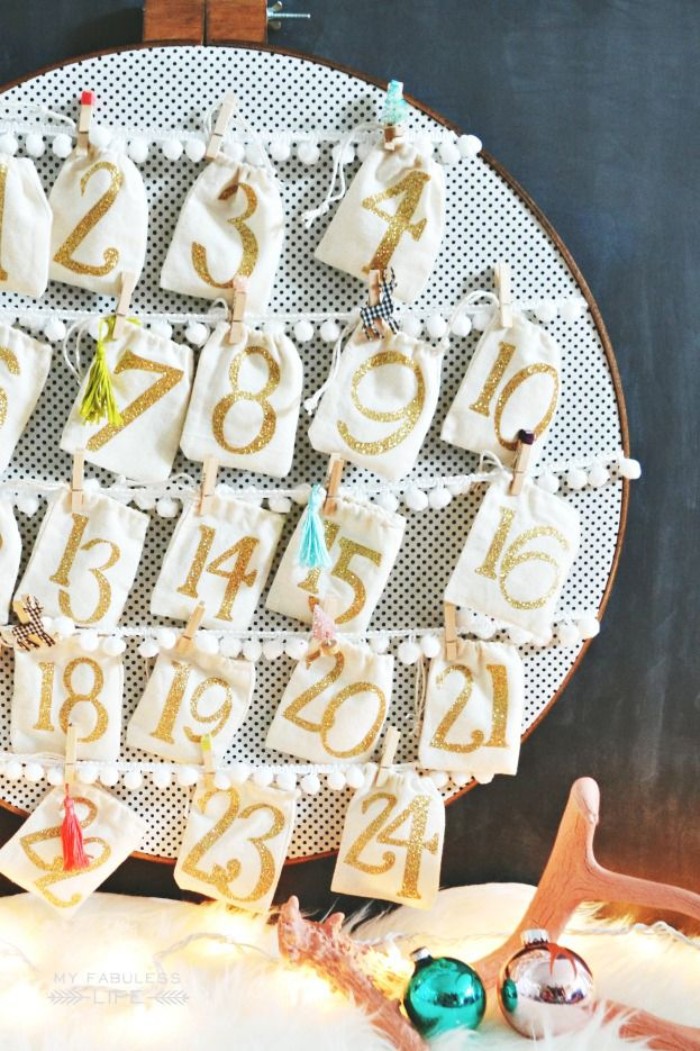
We hope you’ve enjoyed our tutorials! Don’t forget to keep an eye on our website for more great Christmas ideas. We have lots of fun articles on festive makeup, recipes and DIY.
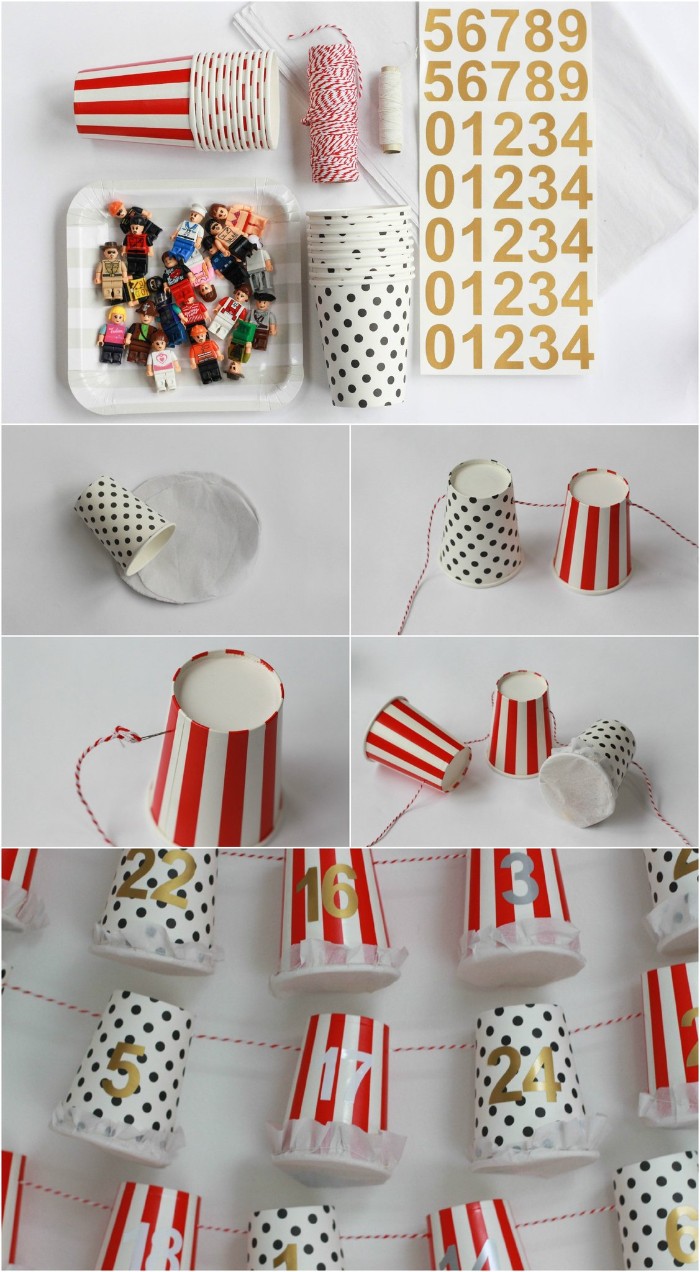
And here is another fun and quick way to make your own advent calendar:
Looking for even more ideas? This video’s got you covered:
A beautiful and classic DIY advent calendar
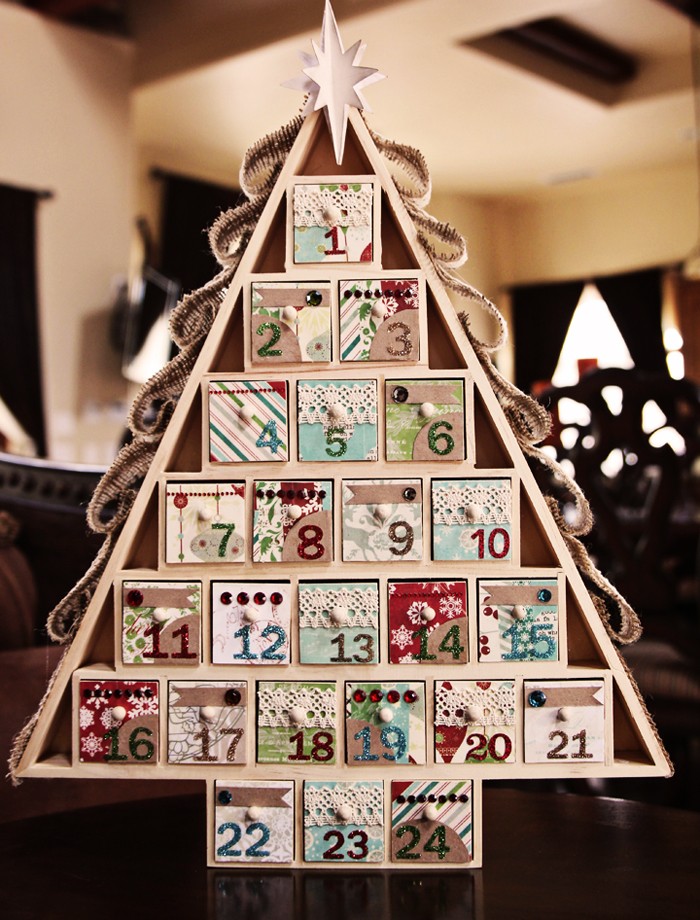
10 amazing (and very creative) ideas:
How cute is this fireplace mantel setup?
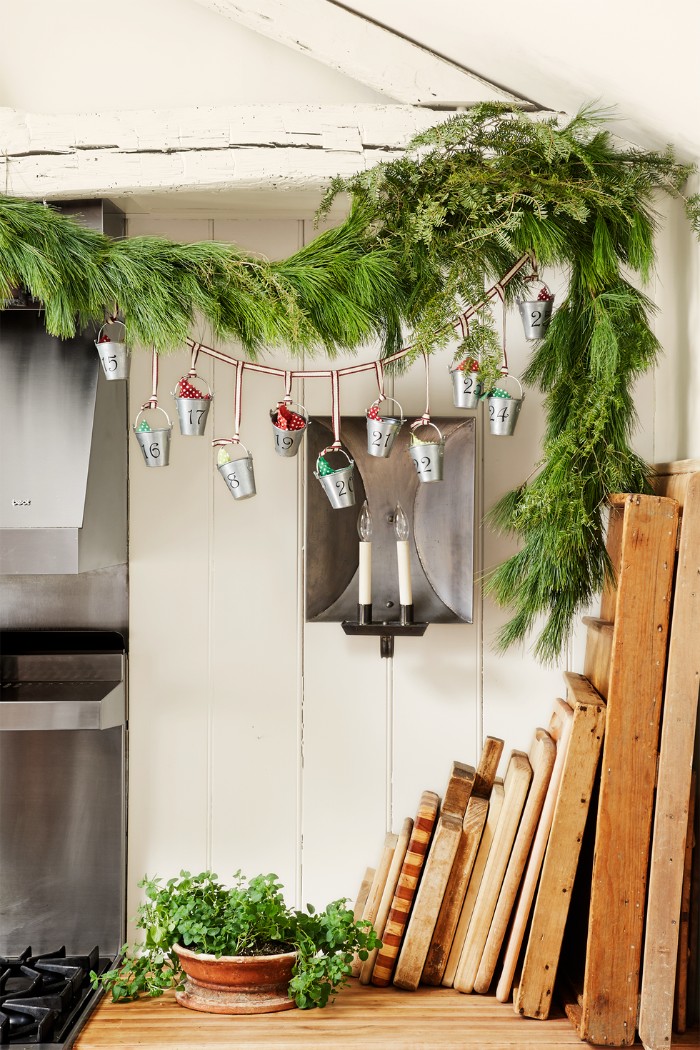
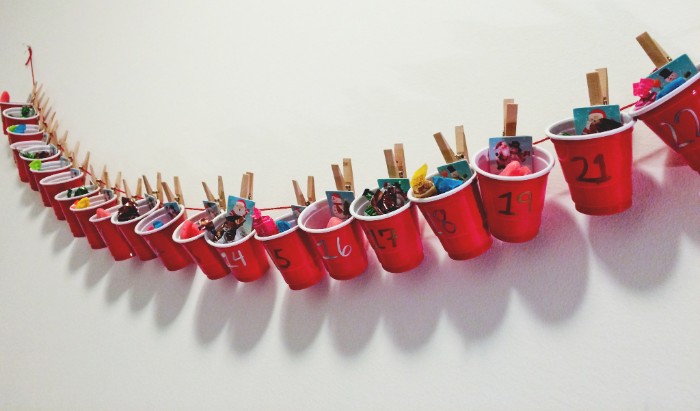
A great idea for DIY fans on a budget:
Another beautiful, easy, and creative suggestion:

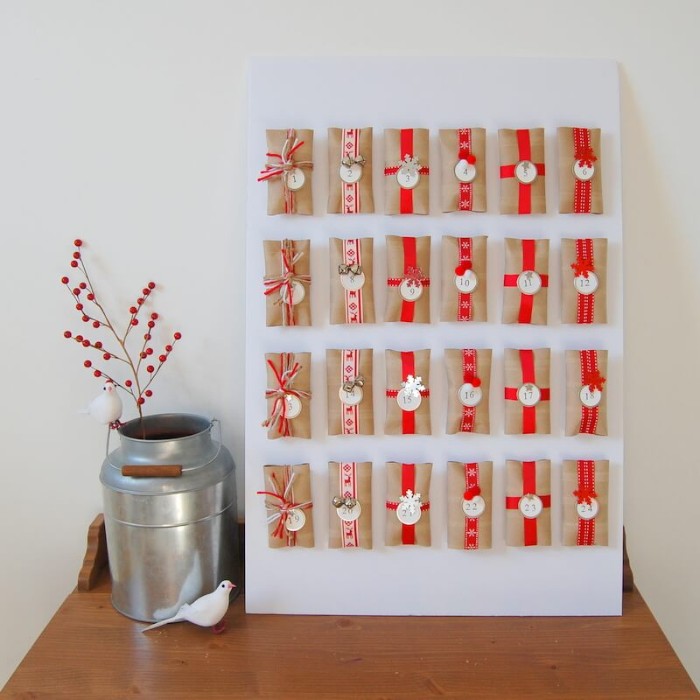
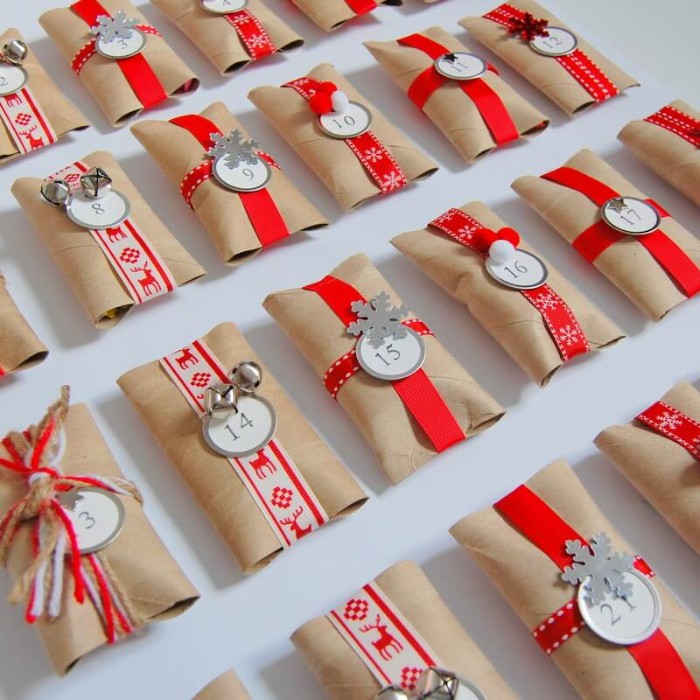

Cute advent mittens!

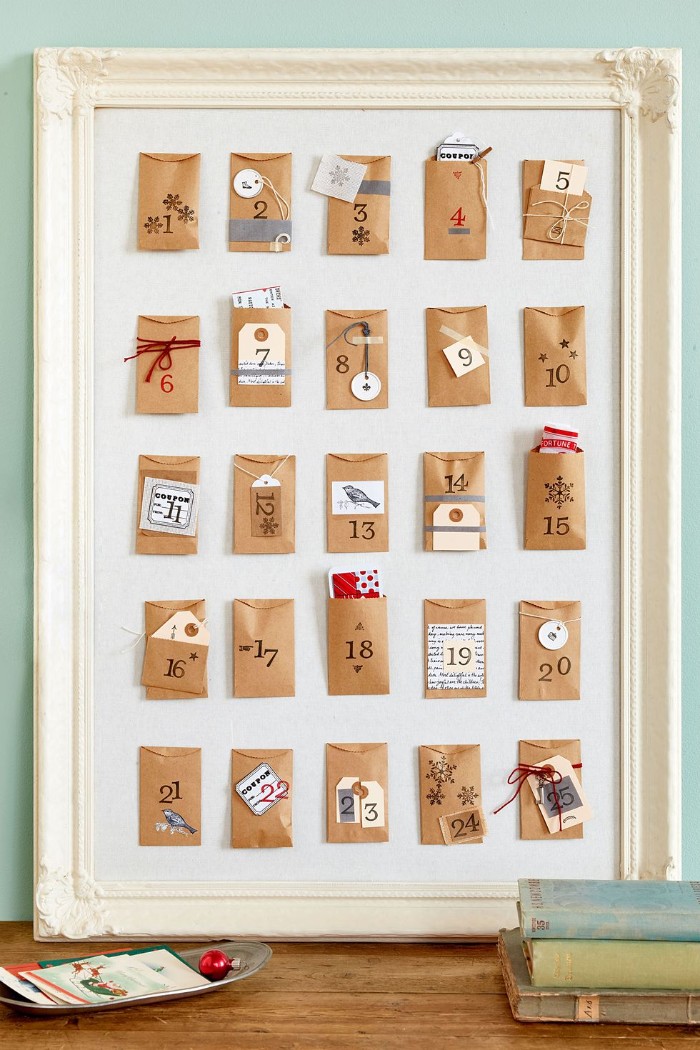
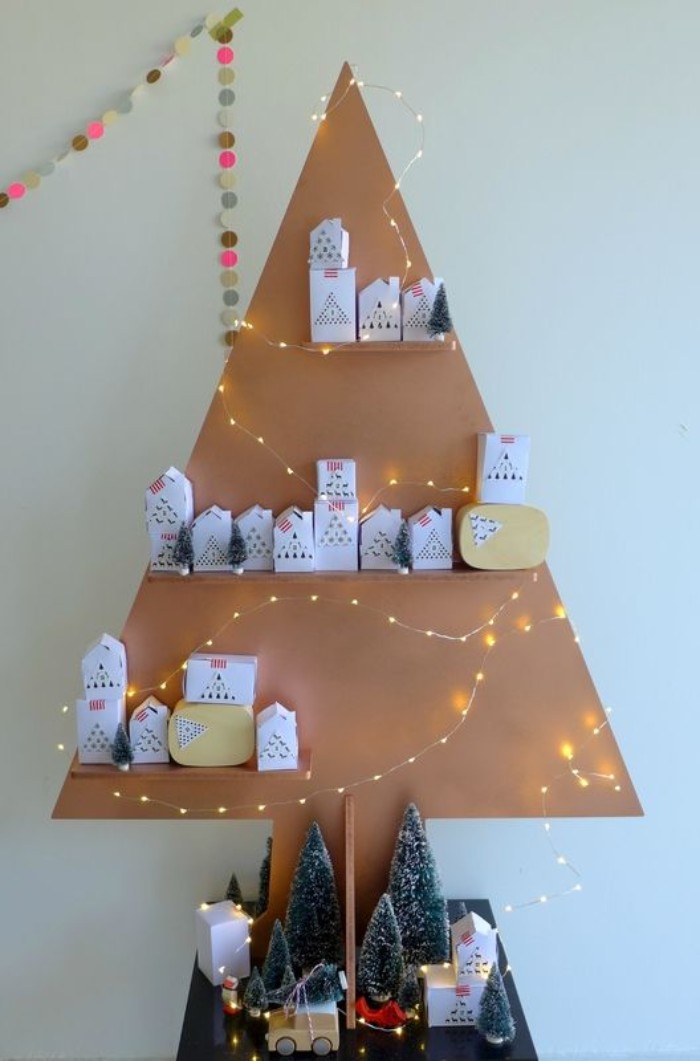
We love this stylish and original suggestion:
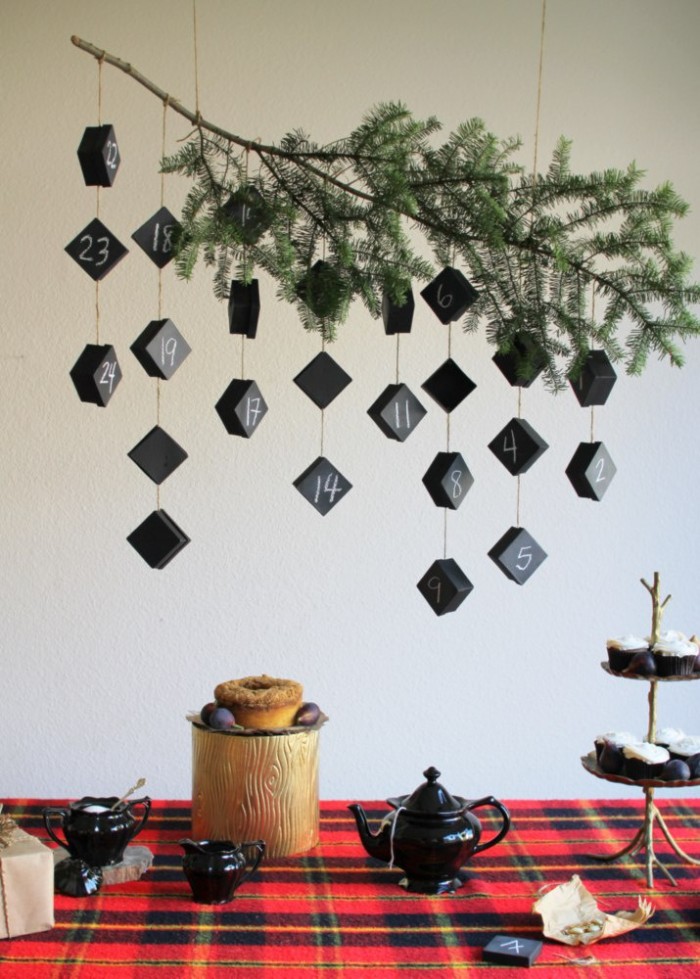
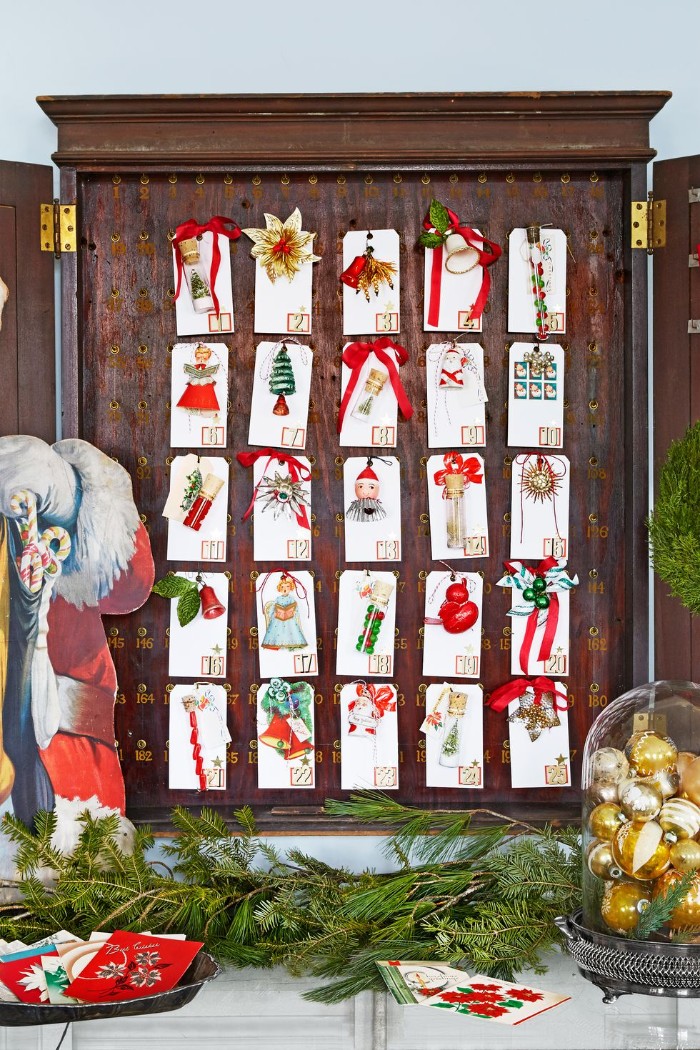
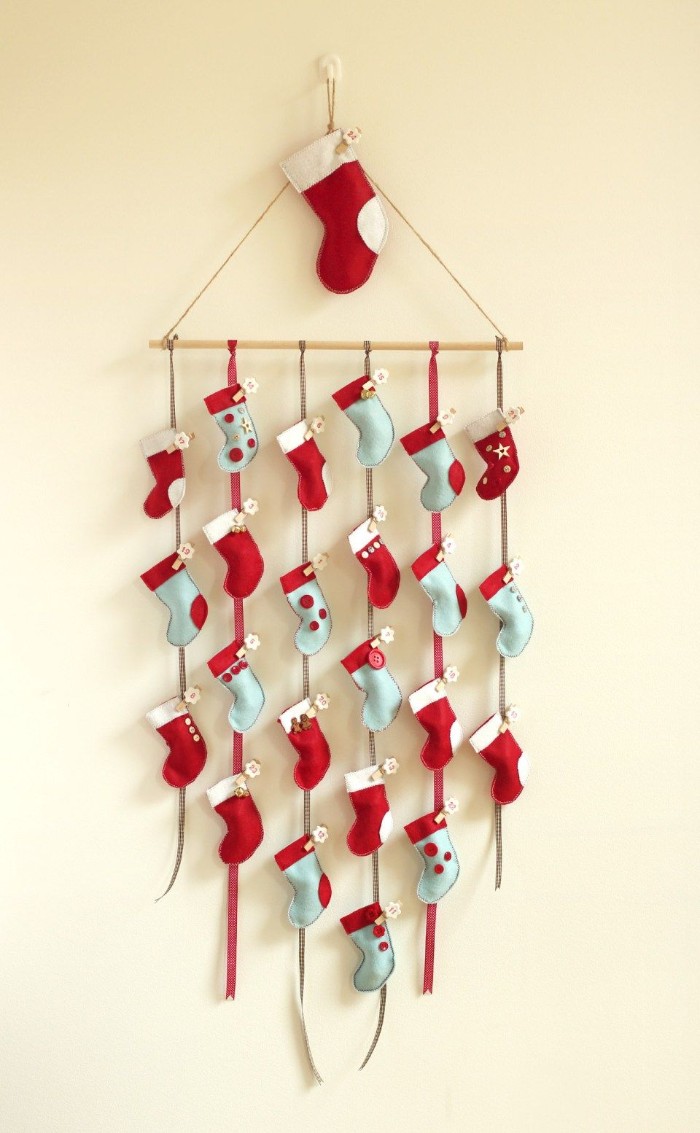
Minimalistic and stylish
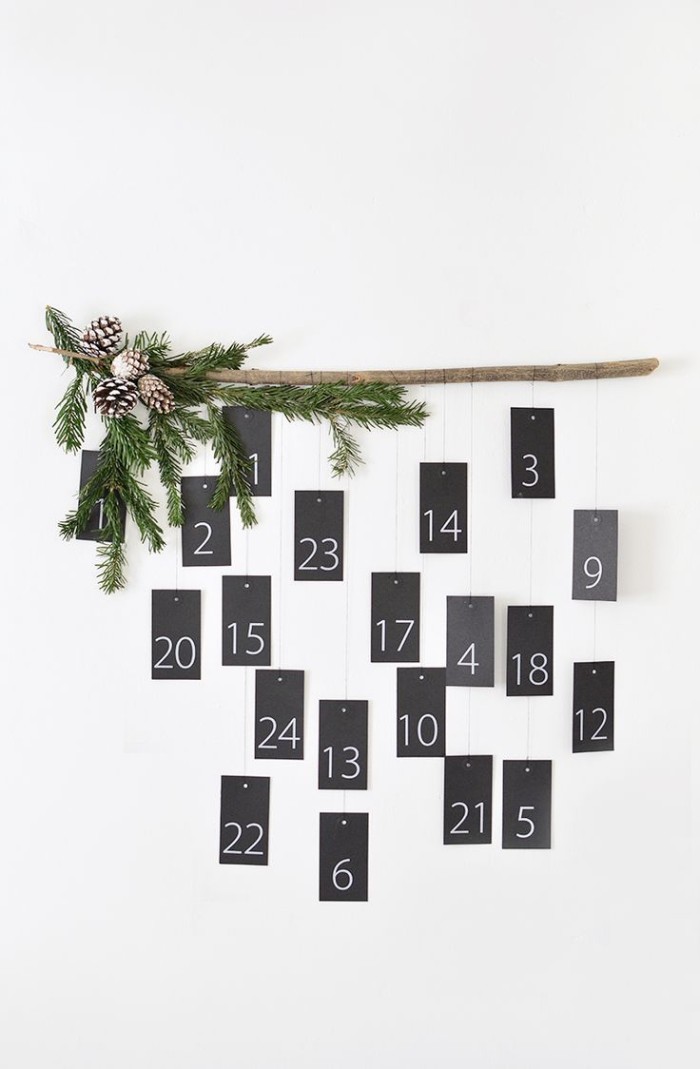
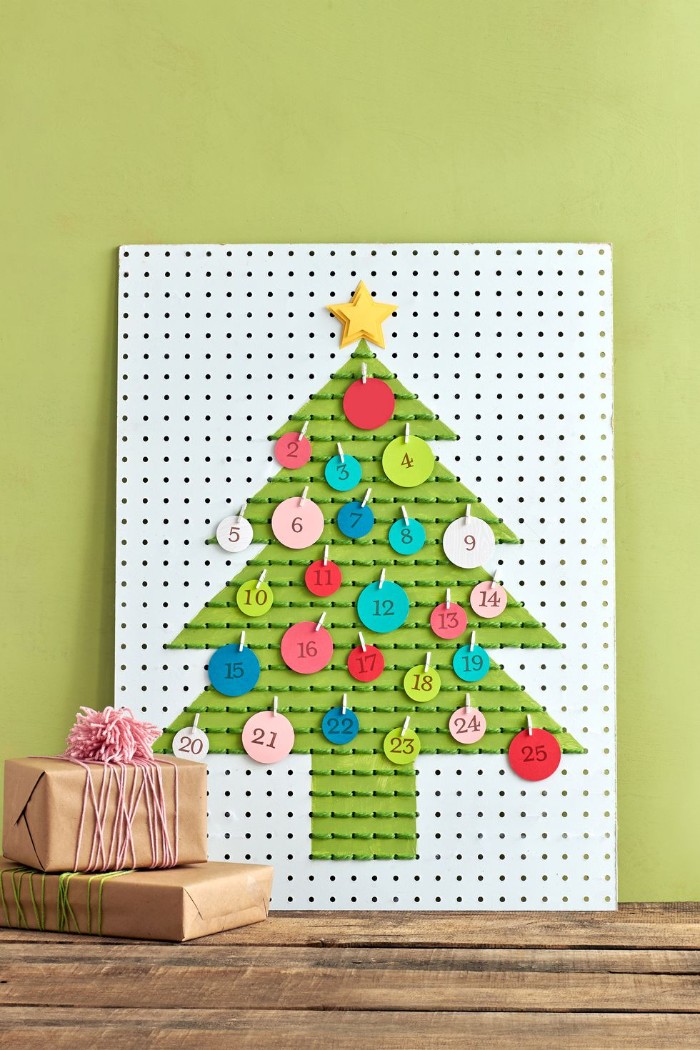
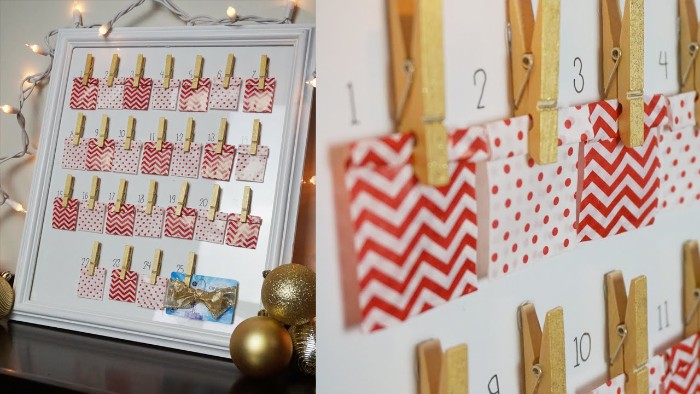
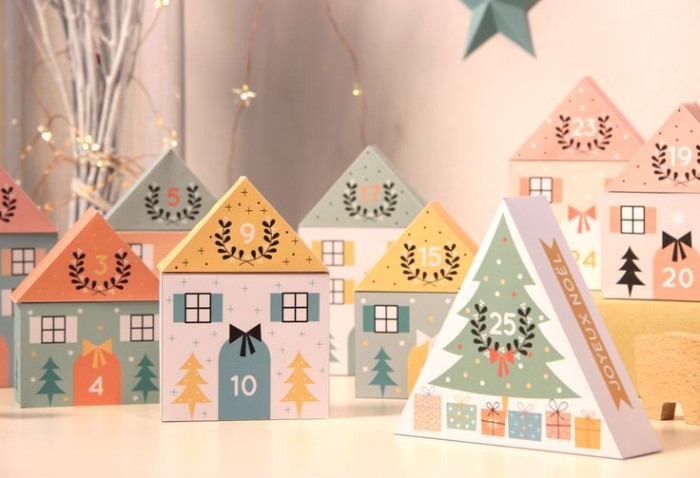
An adorable and colorful Christmas village advent calendar
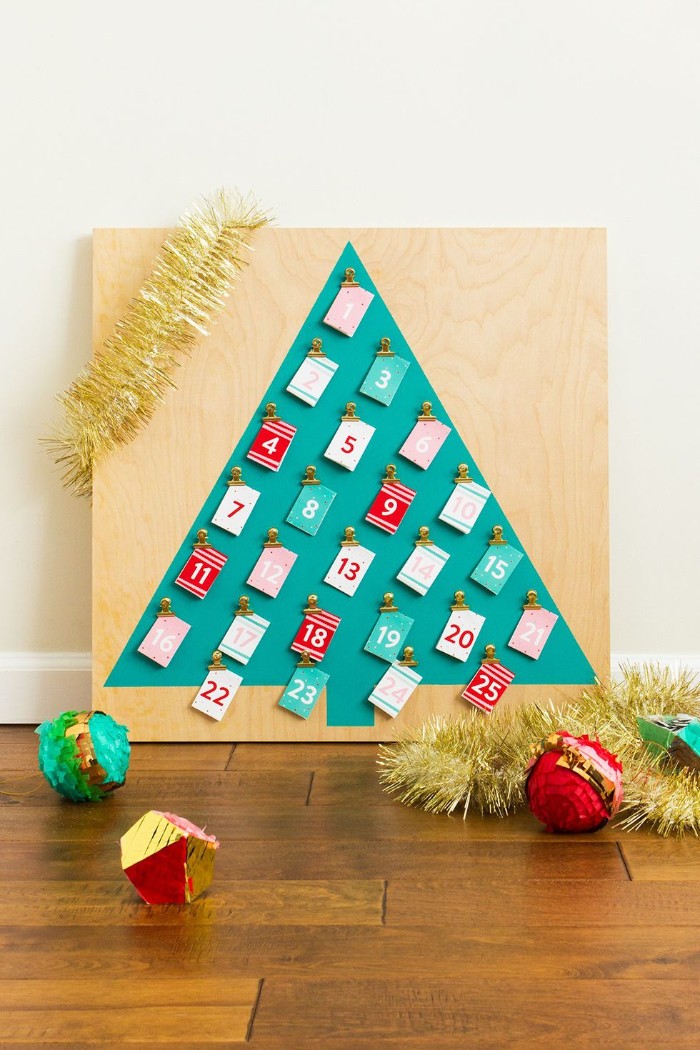
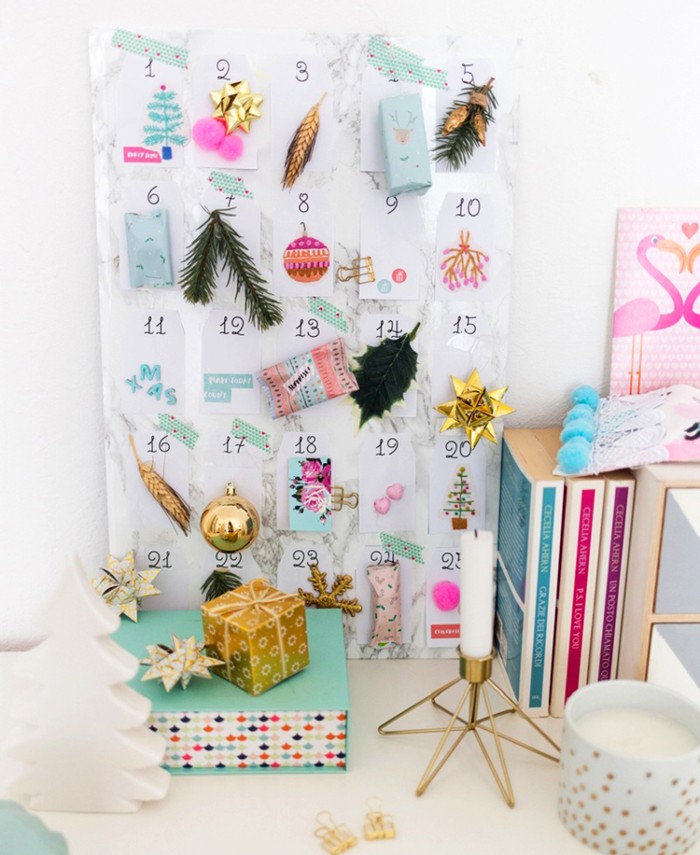
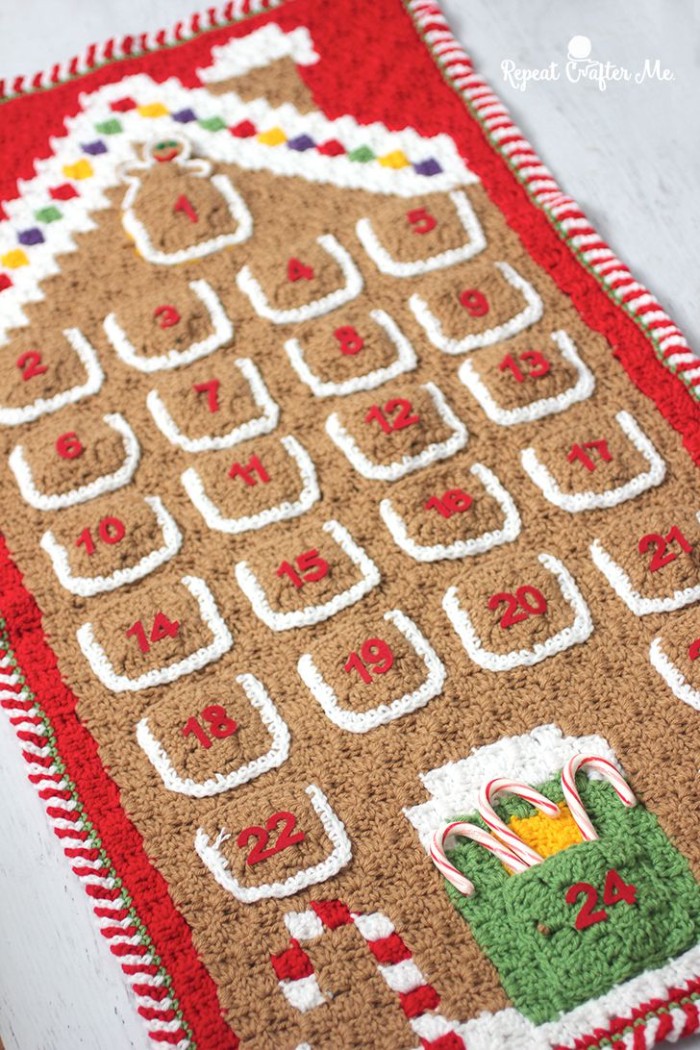
What do you think about this crocheted advent calendar?
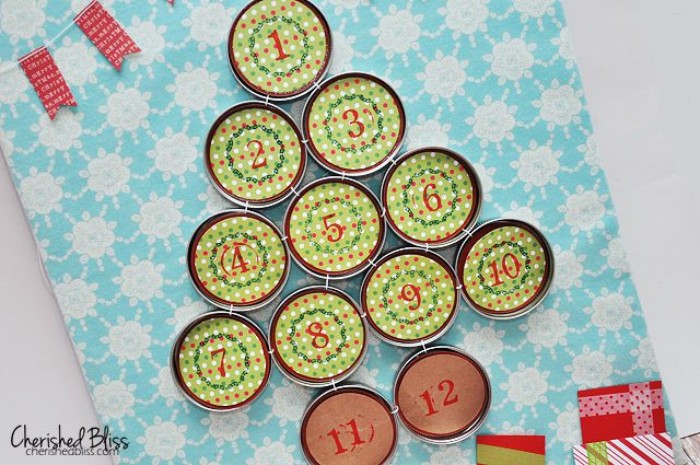
A fun way to reuse old mason jar lids
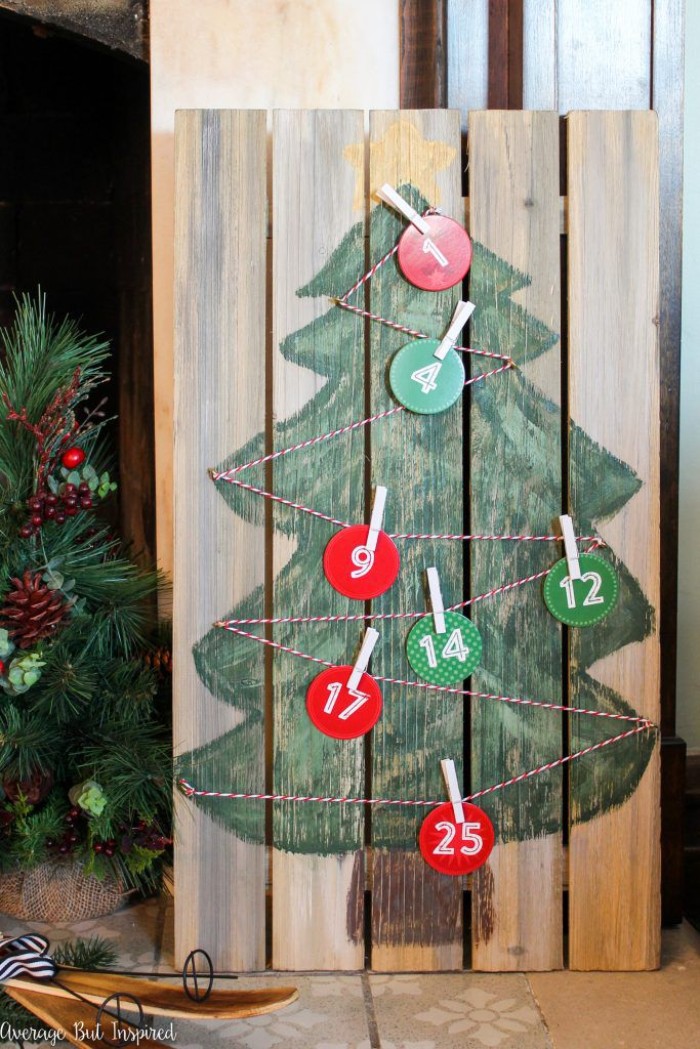
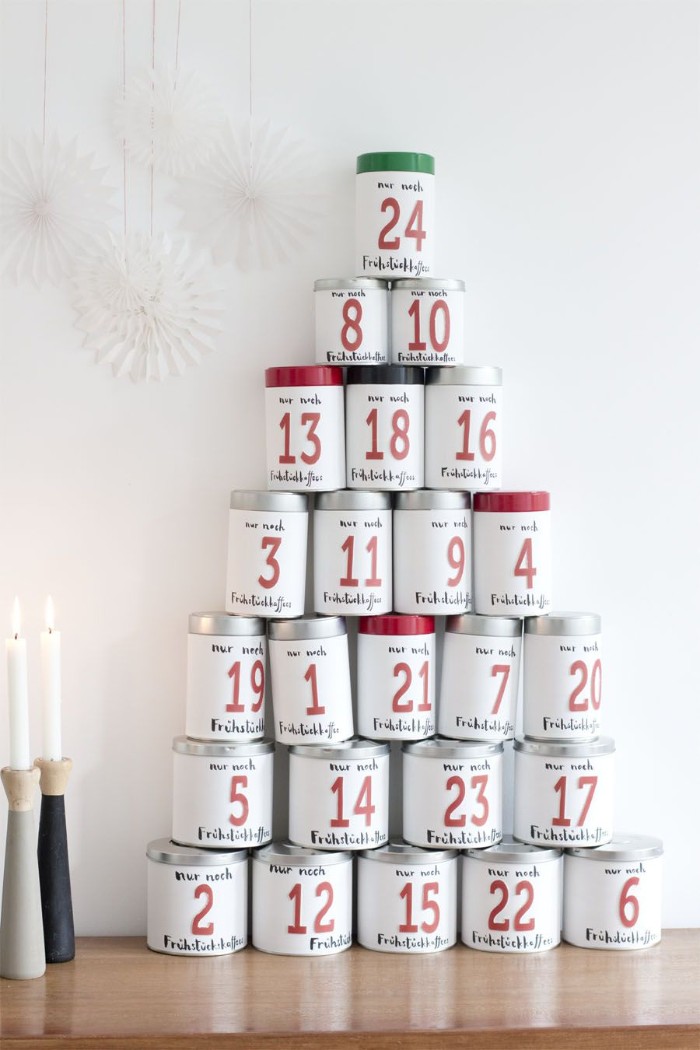
Simple idea, utilizing coffee cans
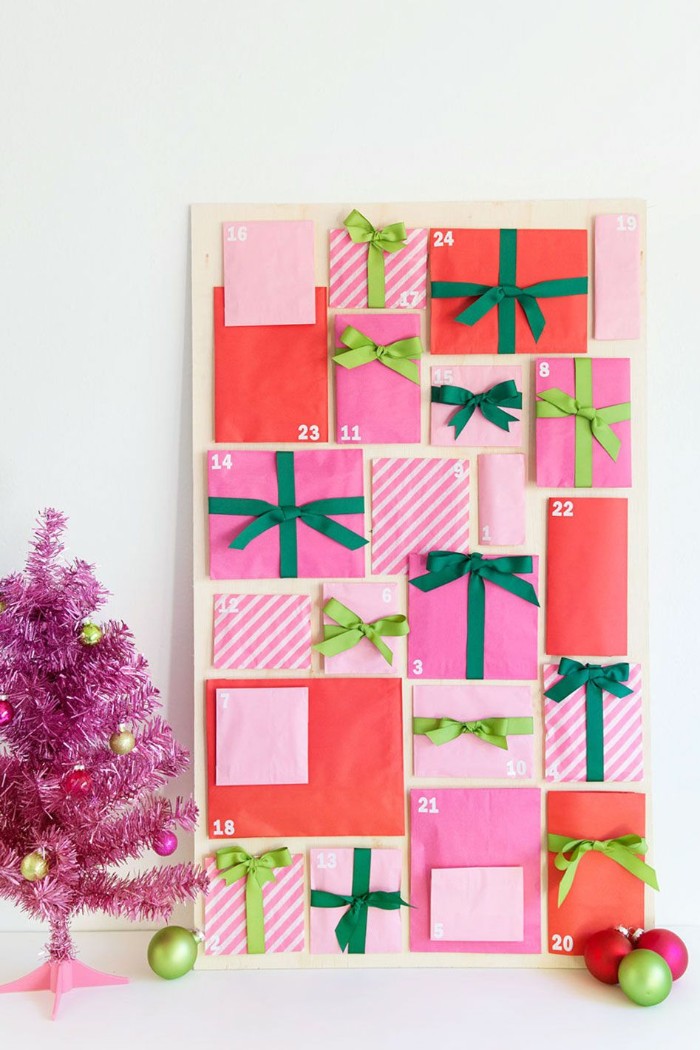

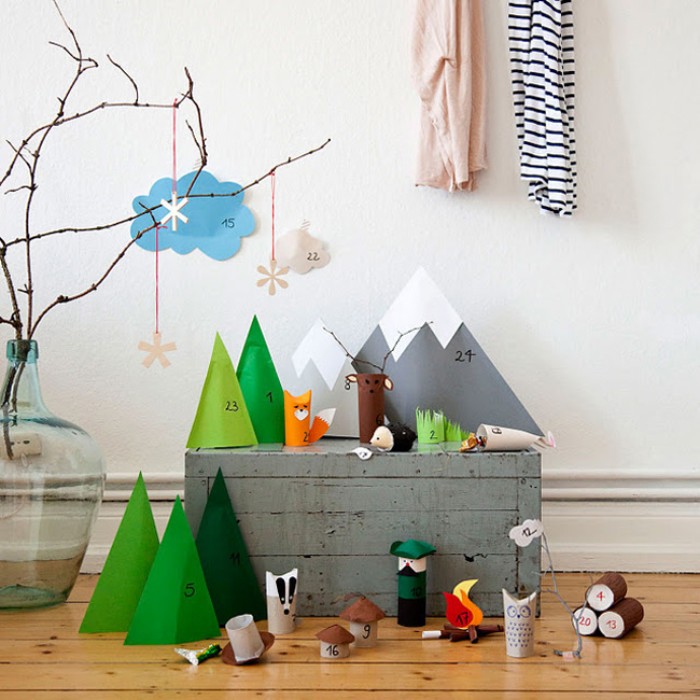
Kids will love this cute animal themed advent calendar

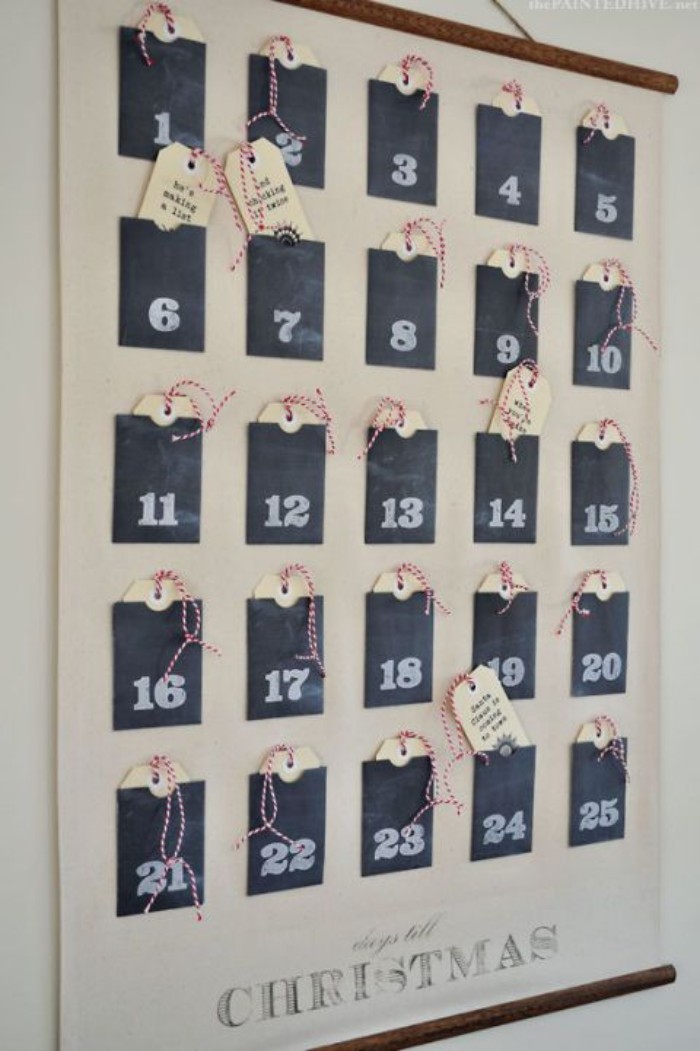
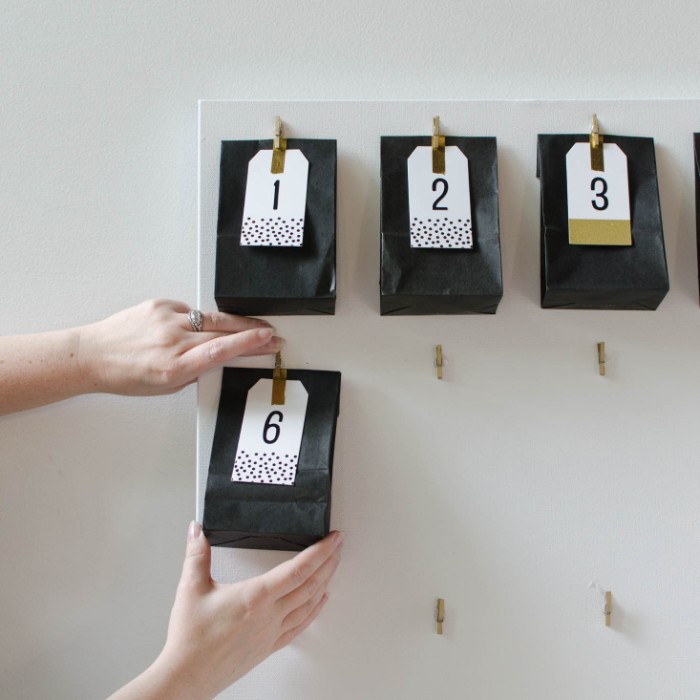
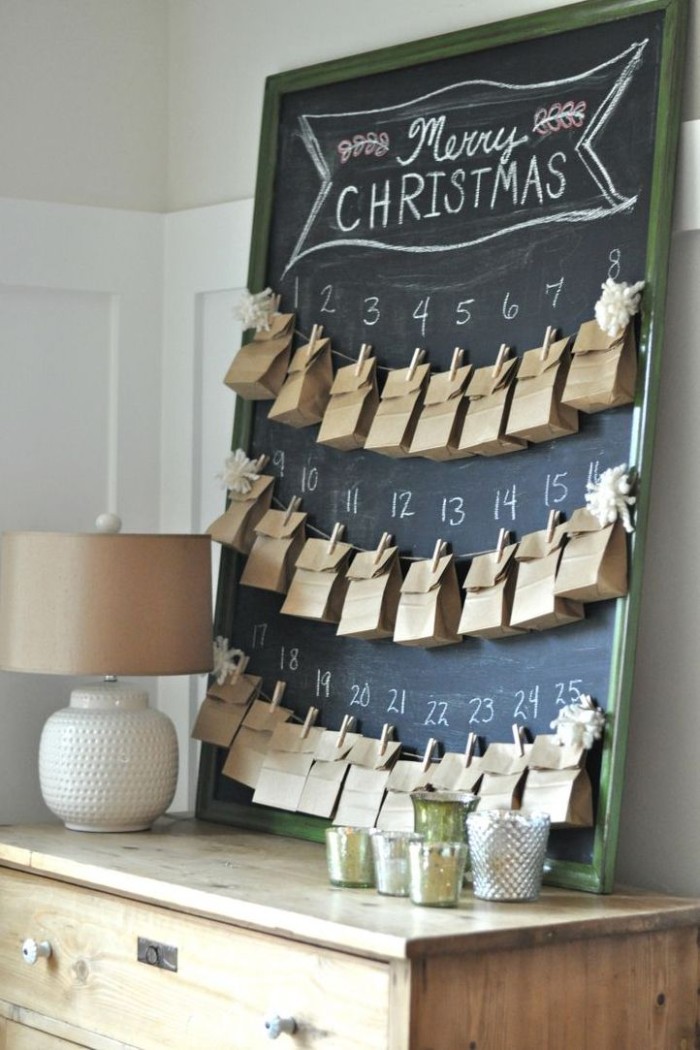
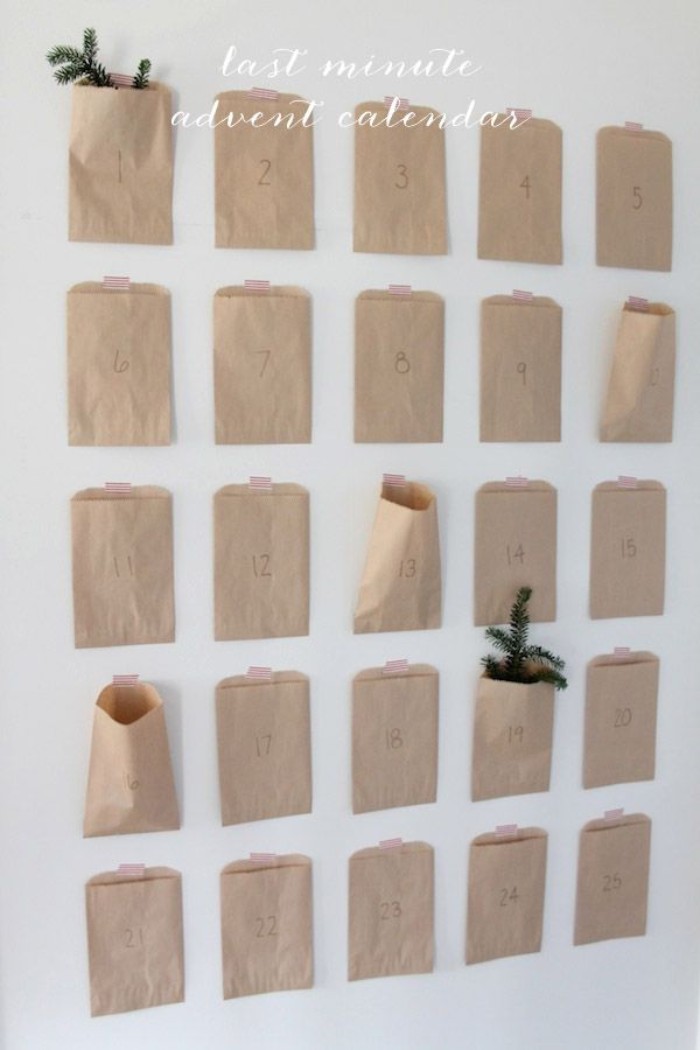
Paper bag advent calendar. Why not?
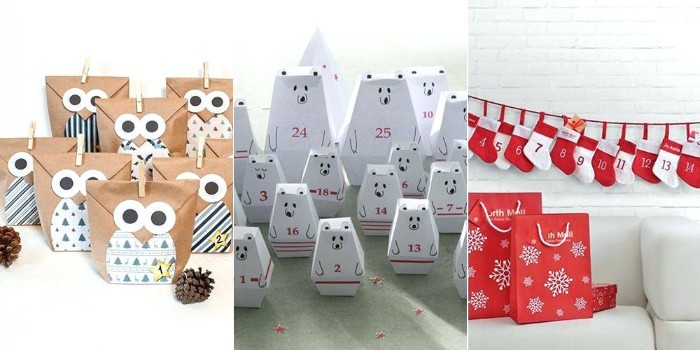
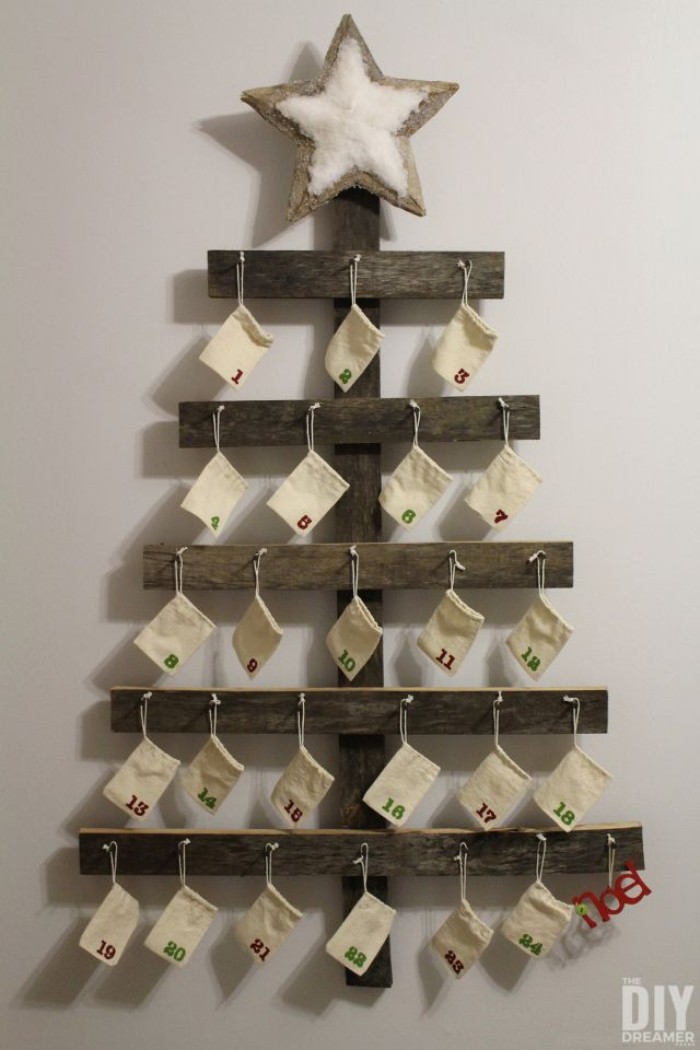
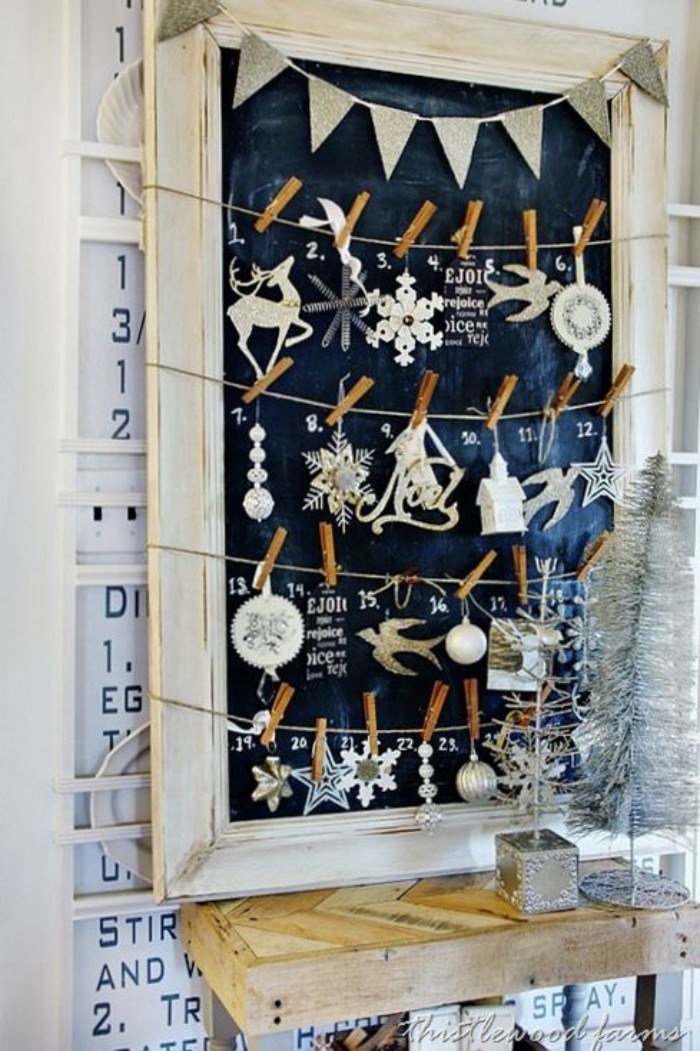
A lovely combination of beige, white and green
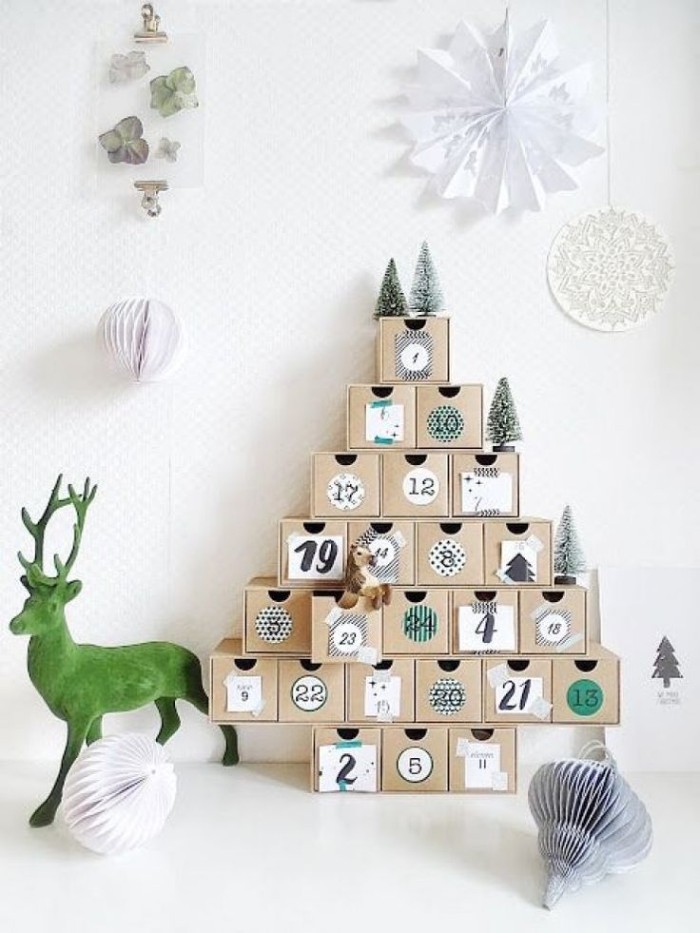
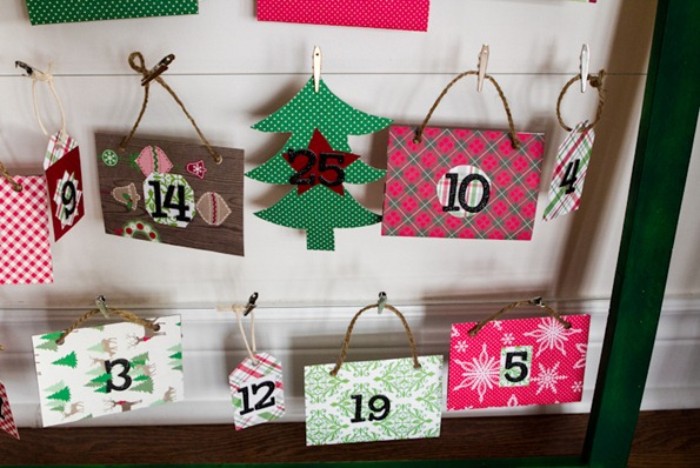
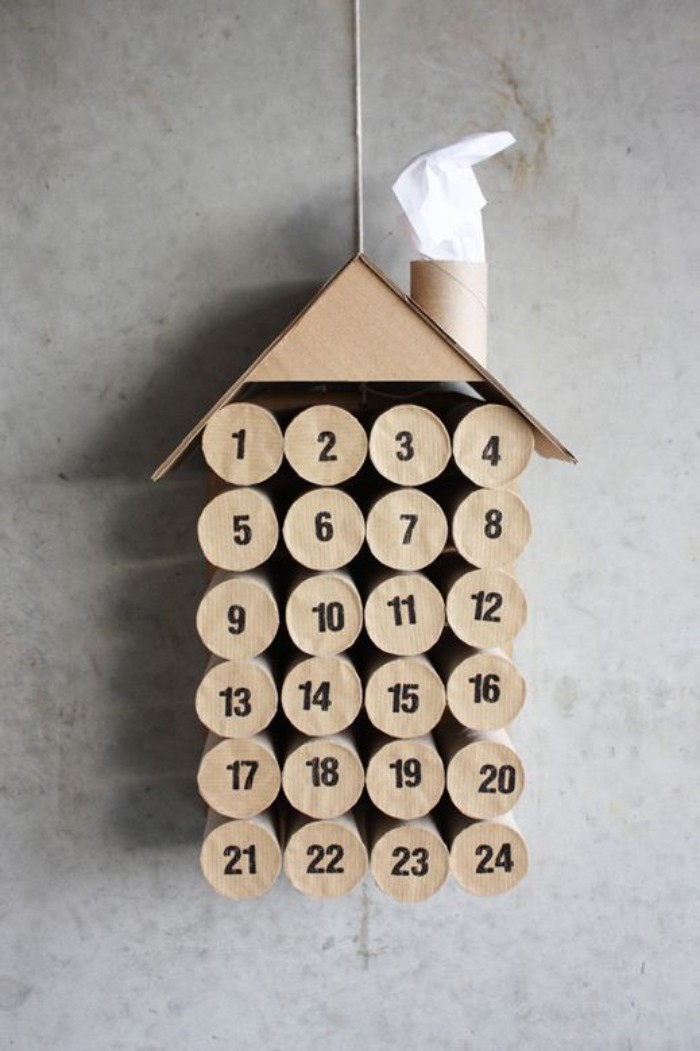
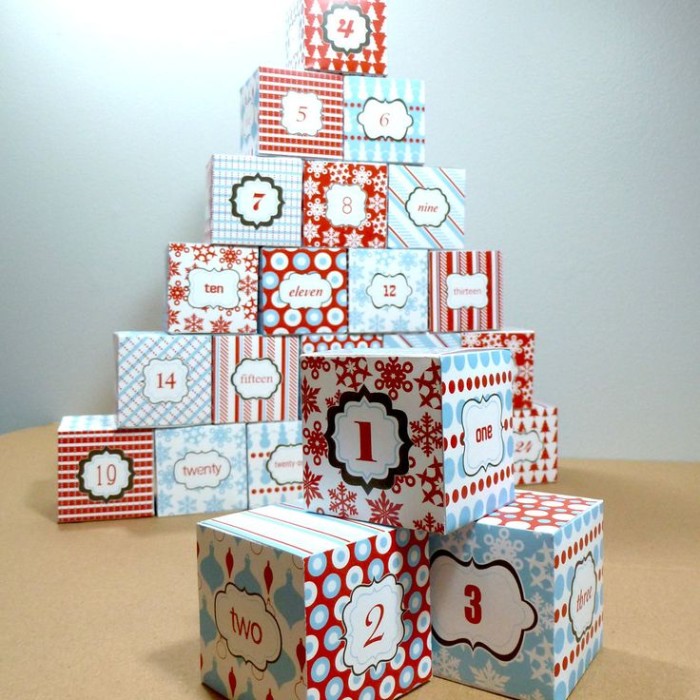
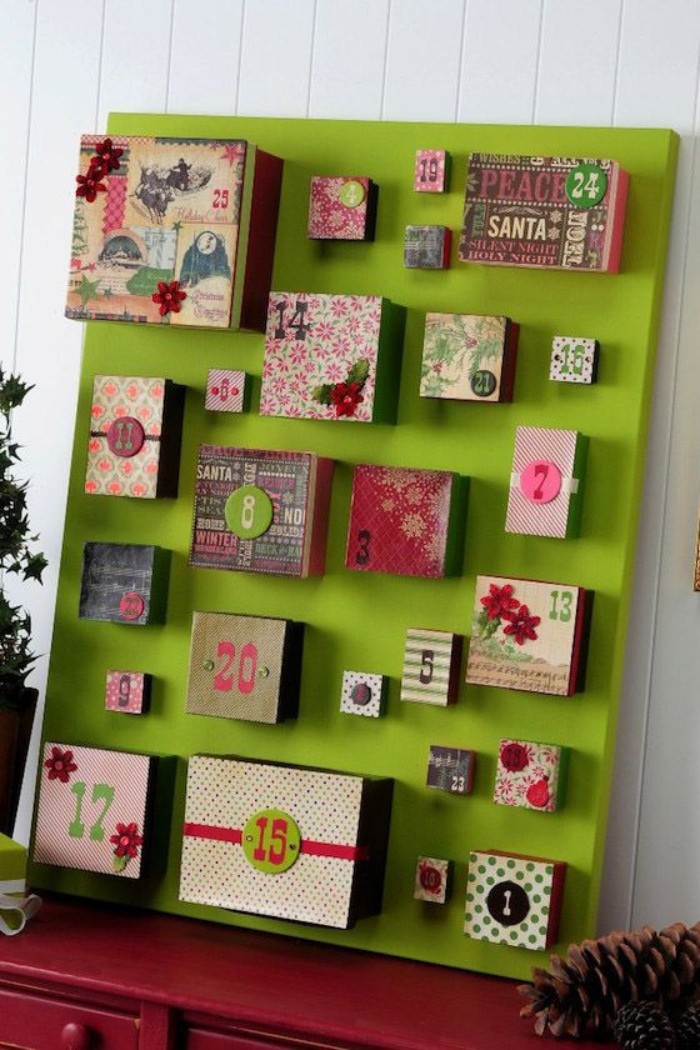
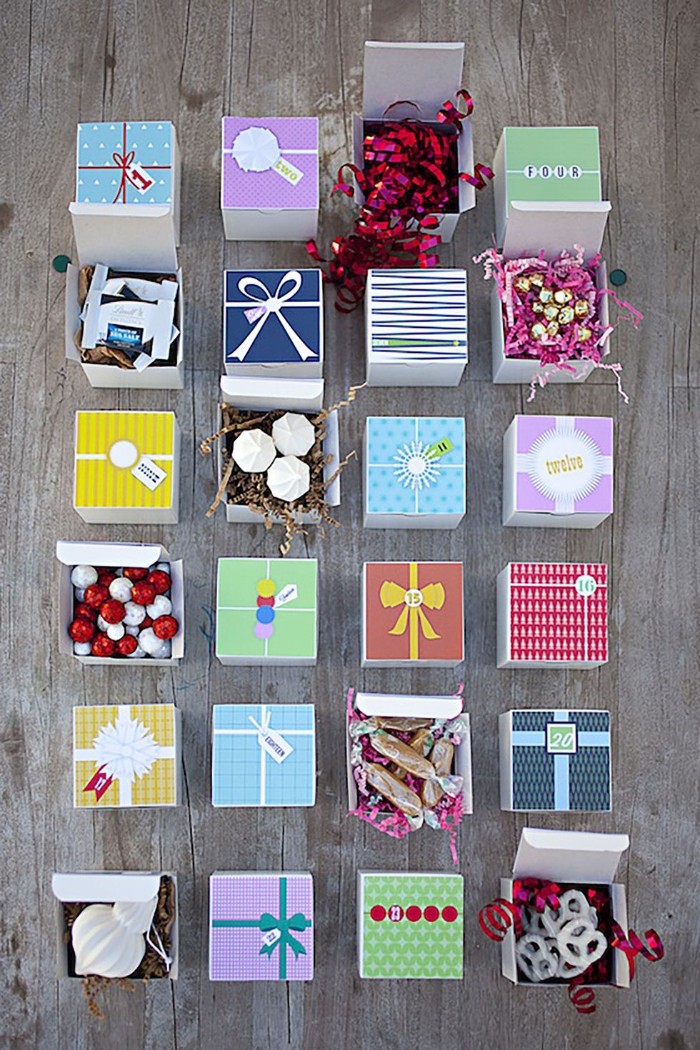
Why not opt for a colorful DIY advent calendar, made from boxes in different sizes?

Have fun!
The post 70+ fun ideas for creating a DIY advent calendar appeared first on Architecture E-zine.
