Diy Bunk Bed Curtains – 7 Simple and Easy Steps
Bunk beds and loft beds are smart solutions for maximizing space in shared bedrooms in small apartments or dorms. These pieces of furniture are undoubtedly practical on their own. Attaching privacy curtains for your own ... Read more The post Diy Bunk Bed Curtains – 7 Simple and Easy Steps appeared first on Arthitectural.
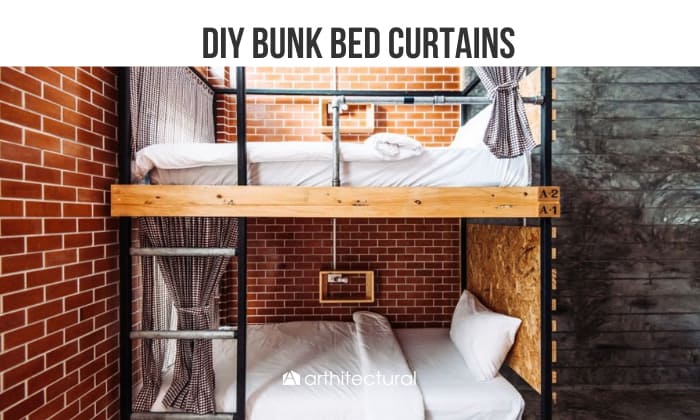

Bunk beds and loft beds are smart solutions for maximizing space in shared bedrooms in small apartments or dorms. These pieces of furniture are undoubtedly practical on their own.
Attaching privacy curtains for your own bunk bed is the ultimate solution for escaping interruptions caused by roommates. Also, placing privacy curtains for a loft bed is beneficial when you convert the space underneath the bed into a study or work area.
This task is possible with DIY bunk bed curtains.
Steps to Make Bunk Bed Curtains DIY
Follow these DIY steps and instructions to create an exclusive bunk bed privacy using curtains:
What to Prepare
- Fabric of your choice
- Curtain rod or tension rod
- Rod hooks
- Curtain hooks or clips
- Drills and screws
- Level
- Measuring tape
- Scissors
- Sewing machine or fabric glue
- Iron and ironing board
Step 1: Measure the Bed
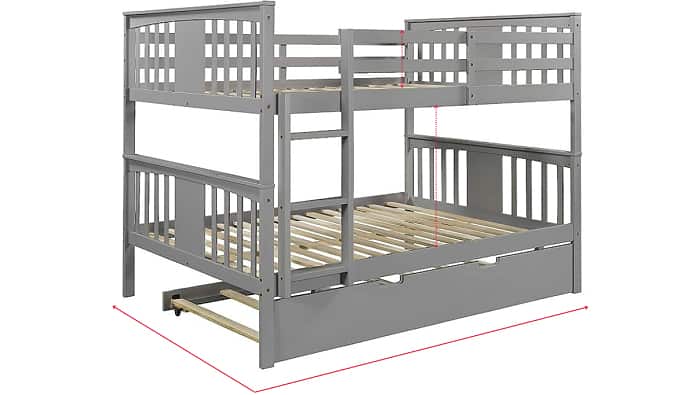
This step entails accurately gauging every bunk bed’s width, height, and length. These measurements will be a valuable guide when cutting your chosen fabric later.
- To get the exact height of the topmost bunk bed, carefully measure the space between the ceiling and the top bunk bed frame. Sometimes the measurement is different from the lower bunk.
- Measure the bunk bed’s length to find out the size of the curtain rod to buy,
Remember that each bunk bed may have unique sizes; hence measuring them individually is necessary to prevent any regrets from measurement errors.
Step 2: Choose Your Curtain Fabric
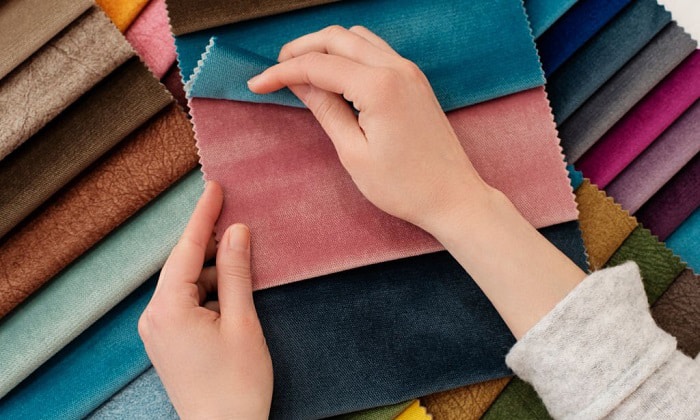
Selecting suitable fabric is crucial for both aesthetics and functionality. You can follow bunk bed decorating ideas with accessories and unique patterns.
Opt for materials that suit your style while considering their durability and light-blocking properties. If you have a dorm bunk bed, thicker fabrics may provide better privacy from surrounding lighting sources.
It’s recommended to go with vibrant colors and patterns when making curtains for a junior-sized bunk bed. These small details add fun and personality, reflecting the child’s unique style.
Step 3: Select the Appropriate Rod
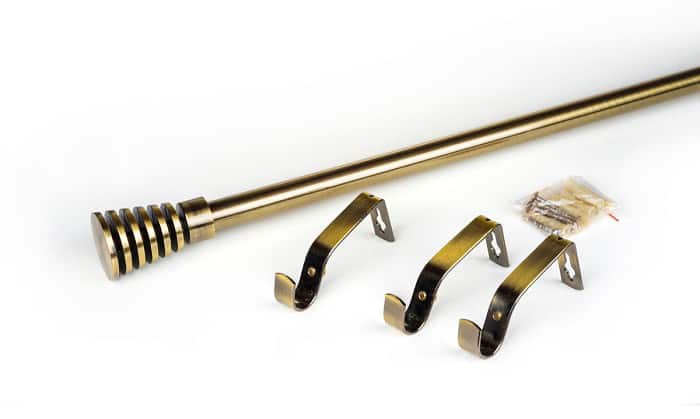
It is also essential to choose a rod that can confidently bear the weight of the customized curtain.
Opt for a suitable rod, along with top-notch hooks or screws. These high-quality materials ensure that the personalized curtains hang and stay securely in place.
Step 4: Cut the Fabric Panels
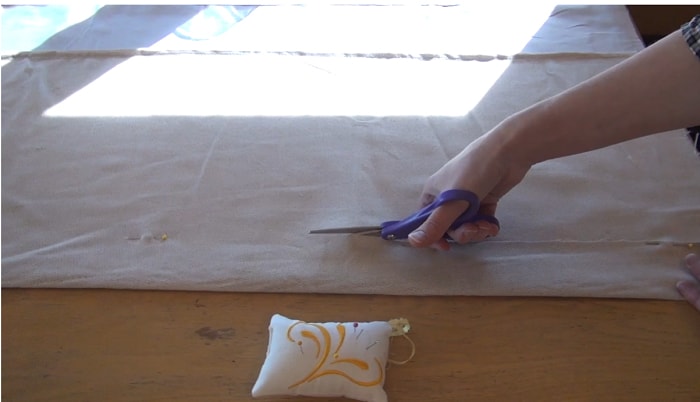
Using your measurements from step one, cut out fabric panels for each side of the bunk bed.
For loft bed curtains, ensure that the fabric panels are big enough to completely cover the perimeter of the underneath area for maximum privacy.
However, before cutting the fabric panels, remember the following tips:
- To ensure a perfect fit of the curtain for the bunk bed cover, add an extra four inches to the height measurement. These extra inches are placed purposefully to create seam allowances. It can also be helpful when adjustments are necessary later.
- When you prefer a wavy view over a stretched-out one, follow the 80% and 40% fullness of waive principles. Cut the curtain fabric twice the length of the bunk bed for 80% curtain waives or one and a half for 40% curtain wave view.
Step 5: Hem the Edges
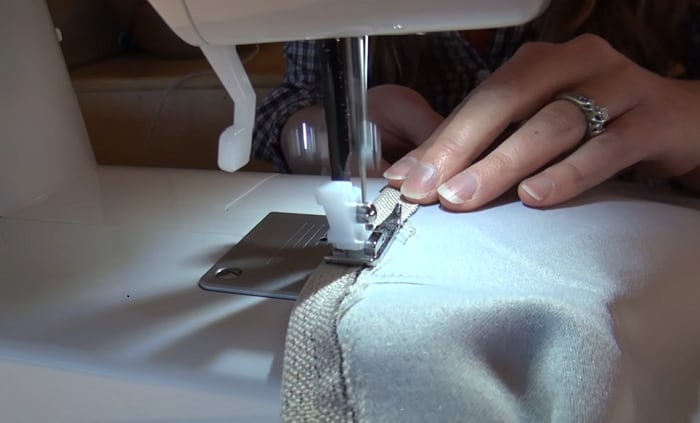
- Fold over each edge of the fabric panel about half an inch and iron it down.
- Then, fold it over again and iron it one more time to prevent fraying while creating flawless creases. These creases can be helpful, especially if you’re a novice at sewing. They ensure the fabric curtain remains pliable and cooperative during the sewing process.
- Secure the folded hem by sewing a straight stitch along the edge
Step 6: Install Curtain Rods
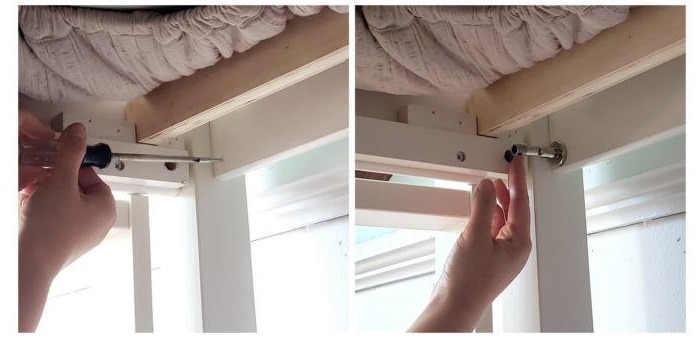
- For the bottom bunk bed, attach curtain rods or tension rods to the upper bunk frame using a drill and screws.
Measure and mark the positions where you want to install the rods. Ensure that they are sturdy enough and equally level to hold the weight of your DIY curtains.
- To enhance the topmost bunk bed’s setup, where no post secures the rod hooks, maximize the use of the ceiling space.
Fasten the rod hooks securely to the ceiling, adding more, if necessary, to ensure they can hold the weight of both the rod and the curtains.
- When dealing with metal bunk beds, drilling could be of great concern as it could damage the steel. In such cases, adhesive hooks or suction cups are an excellent alternative to secure the curtains.
Step 7: Hang the Curtains
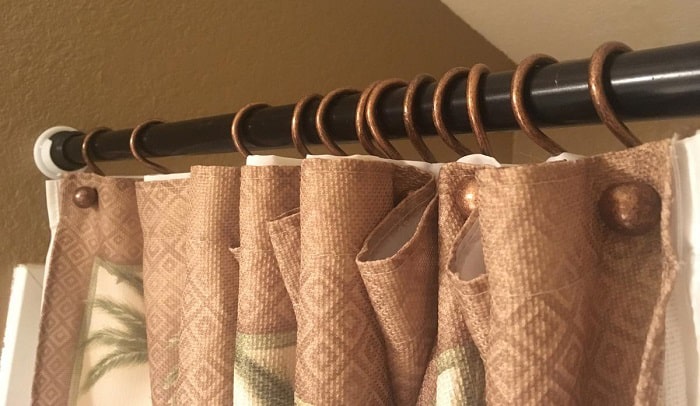
You can easily hang the fabric panels once the curtain rods are securely installed.
Attach clips or hooks to the curtain panel in equal intervals and smoothly slide them onto the rod. This enables you to quickly close the curtains for enhanced privacy or open them when needed.
Conclusion
You can enhance a dull bunk bed into a warm haven that perfectly suits your preference by crafting DIY bunk bed curtains.
Furthermore, adding custom-made bunk bed curtains can bring luxury into your bedrooms. Whether you have a full-size loft bed or a metal dorm bunk bed, these privacy curtains give you a newfound level of comfort and indulgence.
The post Diy Bunk Bed Curtains – 7 Simple and Easy Steps appeared first on Arthitectural.
