DIY Dreamcatcher – tutorials and 70 beautiful photos to inspire you
If you are plagued by nightmares and sleepless nights, and traditional methods don’t have the desired effect, perhaps its time to consider an “alternative” method. Why not try making a DIY dreamcatcher? According to Native American legends, it is sure to help you find a peaceful night’s rest. If you... The post DIY Dreamcatcher – tutorials and 70 beautiful photos to inspire you appeared first on Architecture E-zine.
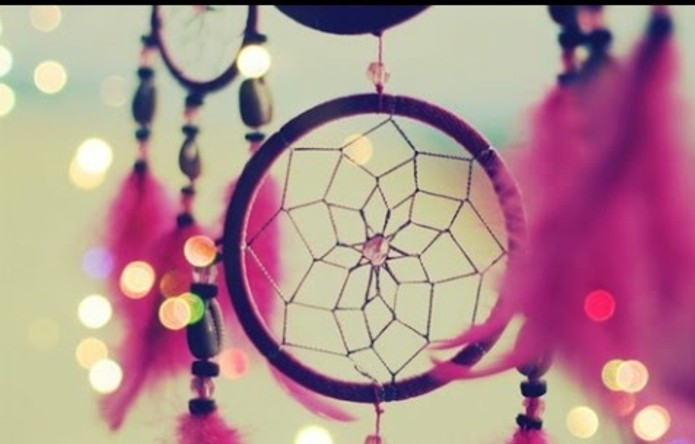
If you are plagued by nightmares and sleepless nights, and traditional methods don’t have the desired effect, perhaps its time to consider an “alternative” method. Why not try making a DIY dreamcatcher? According to Native American legends, it is sure to help you find a peaceful night’s rest.
If you are wondering how to get started, this article is just for you. Stay with us to find out 70 gorgeous designs, as well as several tutorials and lots of tips and ideas, for an exciting and fun DIY project.
But first things first – what exactly is a dreamcatcher and what is its function?
Dreamcatchers are a Native American protection charm, also known as spiderweb amulets. Originally, they were placed over babies’s cradles to prevent evil spirits from harming them, and to ensure peaceful and restful sleep. It is believed that when a dreamcatcher is suspended above a person’s bed, it filter’s the sleeper’s dreams, letting in the pleasant ones, while ensnaring the bad ones in its webs. The captured nightmares are then destroyed by the first sun rays of the morning. Nowadays, dreamcatchers fascinate both young and old, and are perceived mostly as decorative objects. Consequently, they can be placed in any room of the house.
Symbolism of the dreamcatcher
Traditionally, dreamcatchers were made from three main elements. First, there is the hoop – a circular frame, usually created from the wood of a willow tree, symbolizing the circle of life. Then there is the net, woven in intricate thread patterns. Unlike most contemporary societies, Native Americans didn’t perceive spiders a creepy, nor did they associate them with evil forces. On the contrary – the spider was seen as a protector, or a creature that brings light and knowledge. Its net was therefore symbolic of safety and good fortune. In addition to its obvious link to spiders, the dreamcatcher’s net also signifies the threads of fate, and the intricate twists and turns of life. The final element used in the making of dreamcatchers is the decoration. Although it is unique for every model, there are certain items which are used more frequently. Feathers, for example, are a very popular choice, as they symbolize the lightness and calmness of air.
And now onwards to our very own DIY dreamcatcher tutorial! You’ll be surprised how easy it is to craft this mysterious and aesthetically pleasing item!
So, how do you make a dreamcatcher?
Easy DIY Dreamcatcher tutorial for beginners

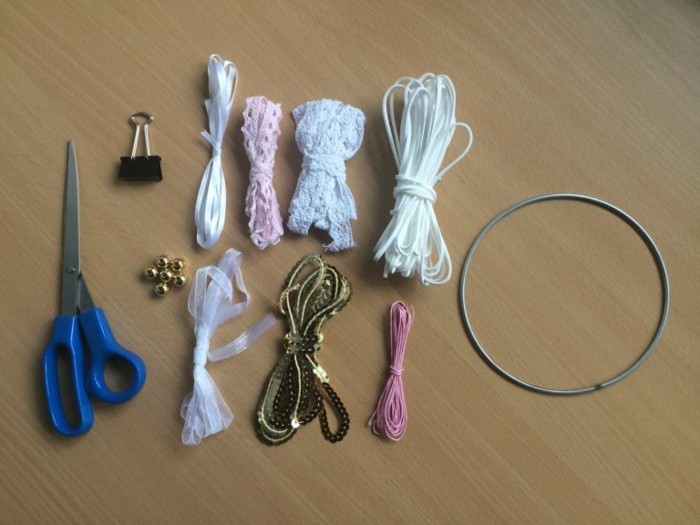
Here is what you’ll need
- A loop or circular frame – you can either buy one, or make it yourself using wooden branch or aluminium craft wire
- Some white leather rope
- Some pink string
- A medium bulldog clip
- A pair of scissors
- Various decorative items – beads, ribbons or strips of fabric in different colors
The necessary materials for a DIY dreamcatcher
And here are the step by step instructions for a DIY dreamcatcher
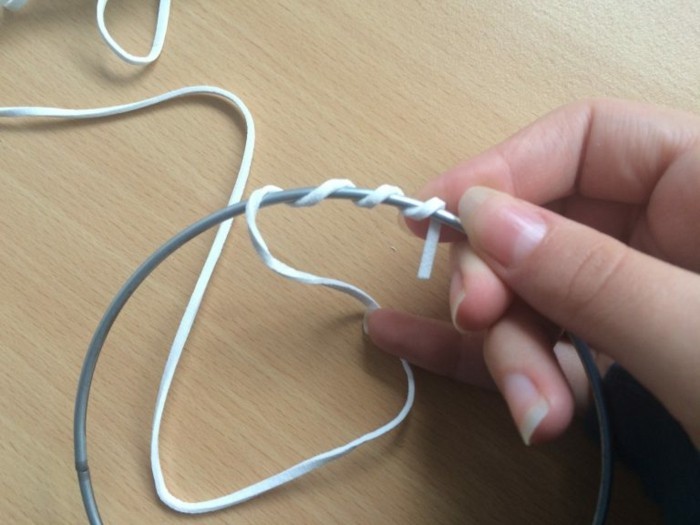
The first thing you need to do is wrap the white leather rope around the loop. When you’re about halfway through, use the bulldog clip to hold the rope in place, while you finish wrapping. This way you will get a tighter, and more even result.
The first step in the DIY dreamcatcher making process
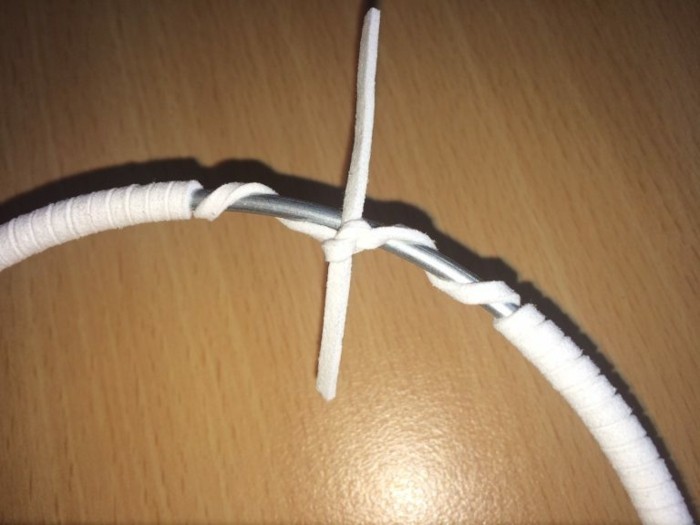
Once the entire loop is covered in white leather rope, carefully remove the bulldog clip, and make a tight knot. Cut away any excess rope with the scissors.
This is what your hoop should look like before your remove the bulldog clip
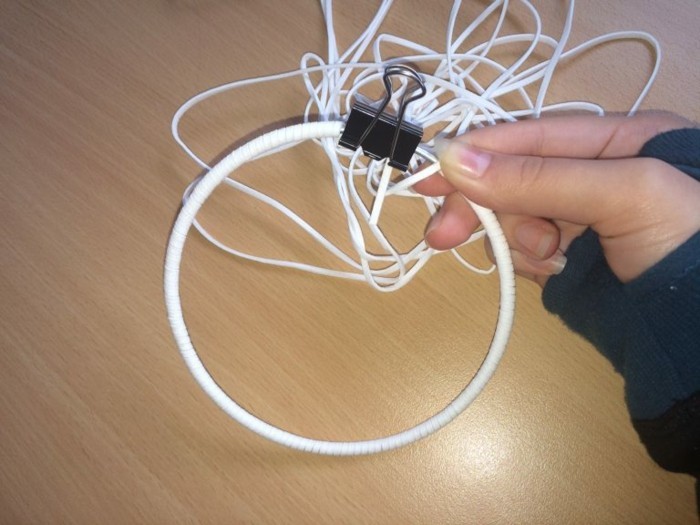
Tying the ends of the rope
Now its time to create the web. Take the pink string, tie it to the loop and wrap it around once. Then tie the free end of the string to the opposite side of the loop, and make another knot. Repeat the process, ensuring that the resulting strips of thread have the same length. Once you have gone around the entire loop, start repeating the process, going inside the circle, and tying string to string. Do it as many times as you deem necessary. If you wish, you can also add colorful beads. It sounds a lot more complicated than it actually is! Check out the photos bellow for a visual step by step of the process.
Naturally, the string doesn’t have to be pink. You can opt for any color of your liking.
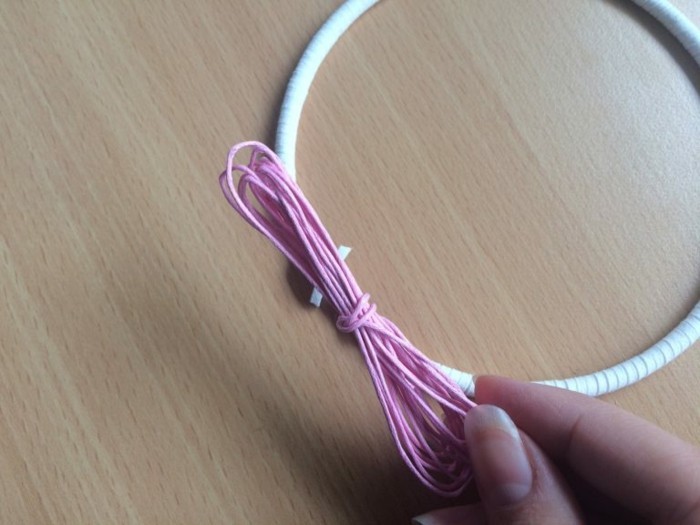
The first step of the weaving process
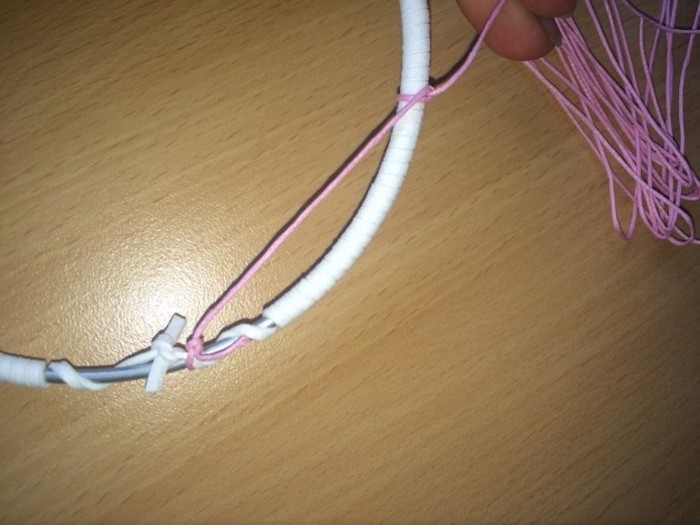
This is what your DIY dreamcatcher should look like, after the first layer of the string has been tied around the loop
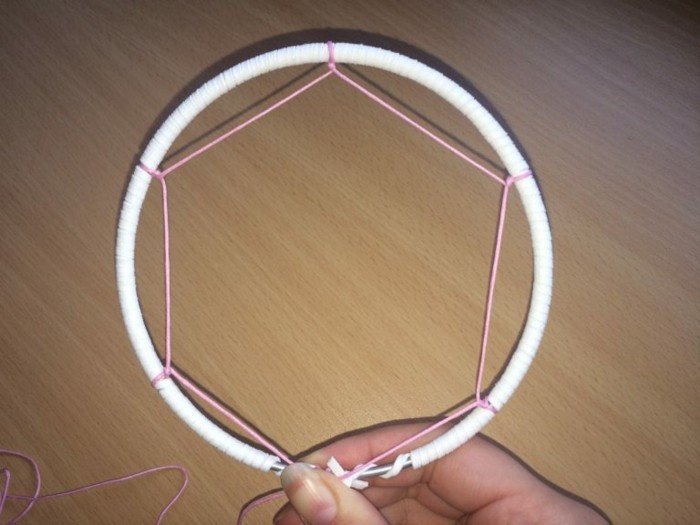
Adding the second and third layers of string
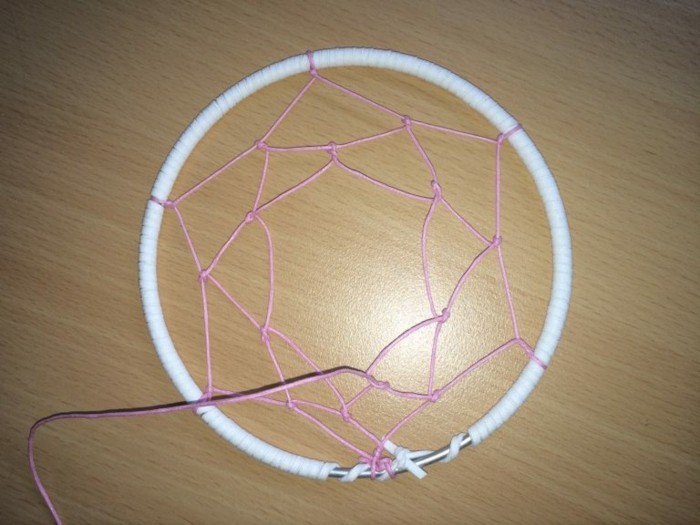
And here is the completed net
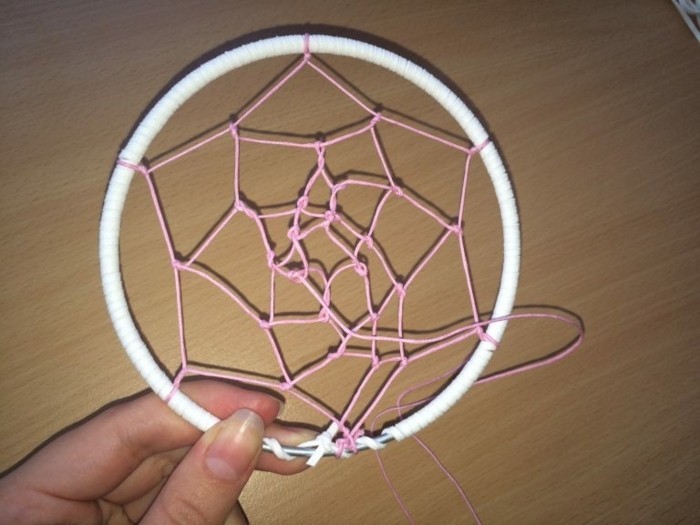
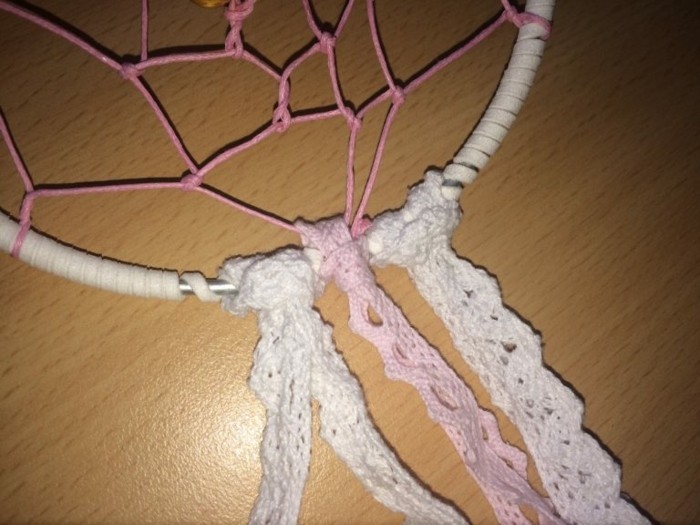
When you have finished weaving the net, you can continue to the final step – the decoration. Tie ribbons or strips of colorful fabric to the bottom part of the loop, hiding the white leather rope and pink string knots. Add feathers, beads and stones for a more interesting and unique result.
Almost ready – tying the decorative strips of fabric
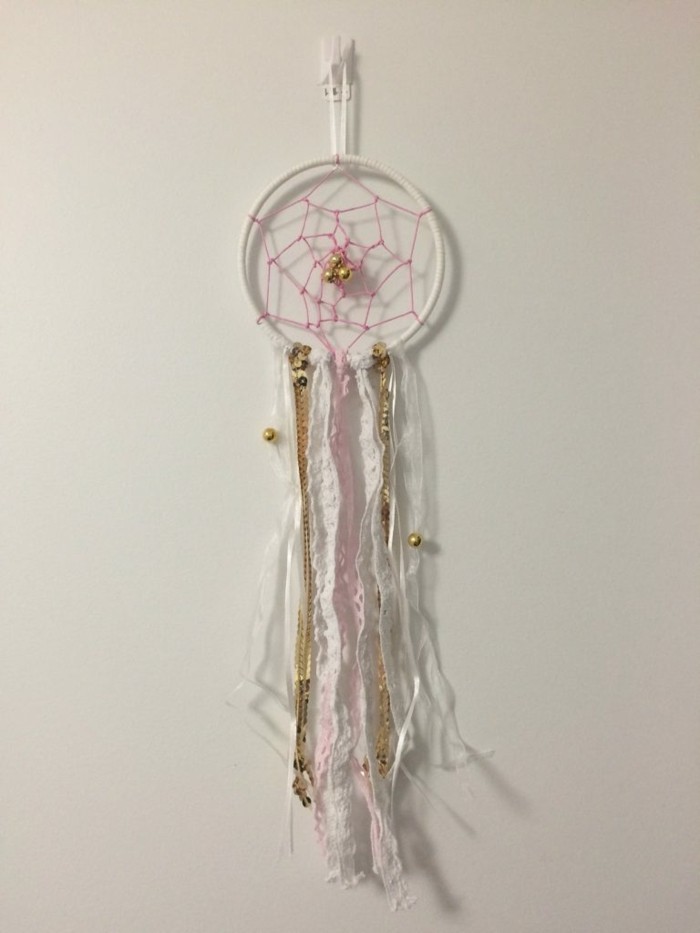
This is what your DIY dreamcatcher should look like when completed. Gorgeous, and ready to decorate your wall, or to be given as a gift to a loved one!
If you want a more complex and sophisticated, or truly authentic dreamcatcher, you can find some great models in various online shops.
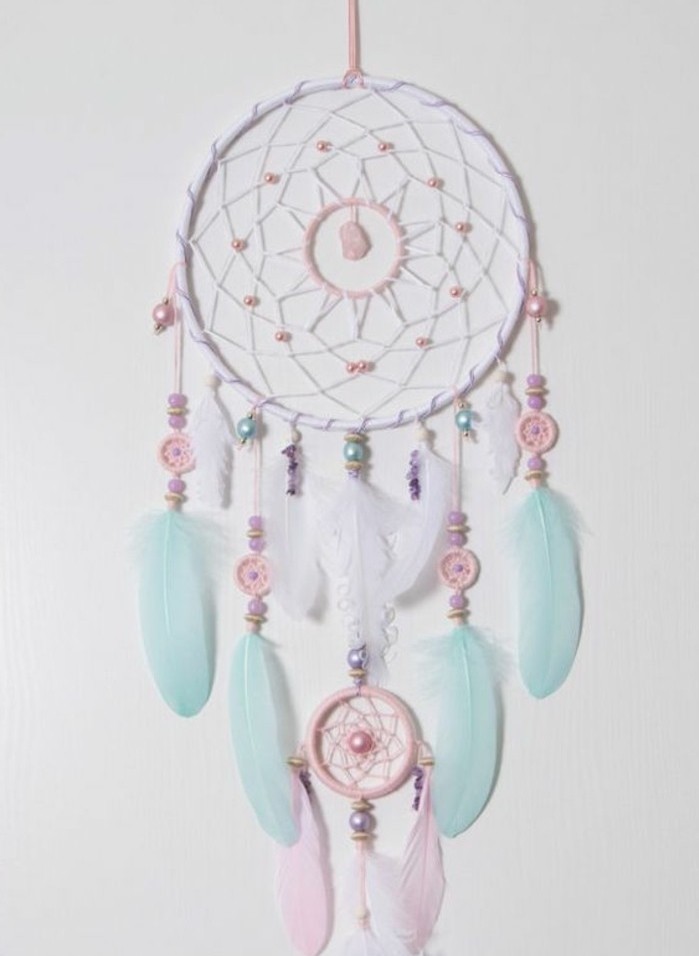
Pretty DIY dreamcatcher, with decorations in gentle pastel blue and pink hues
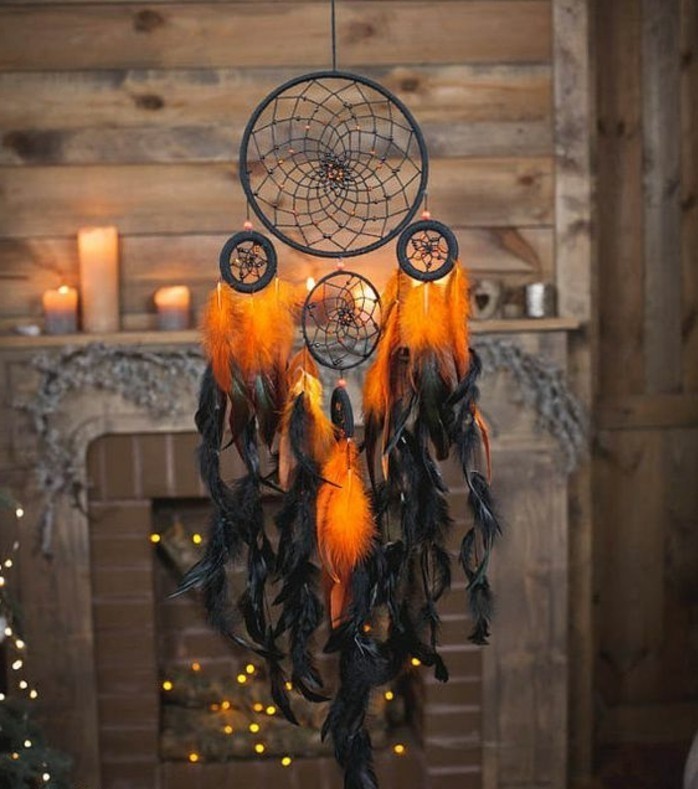
Create a mysterious atmosphere with this black and orange design. Perfect for Halloween!
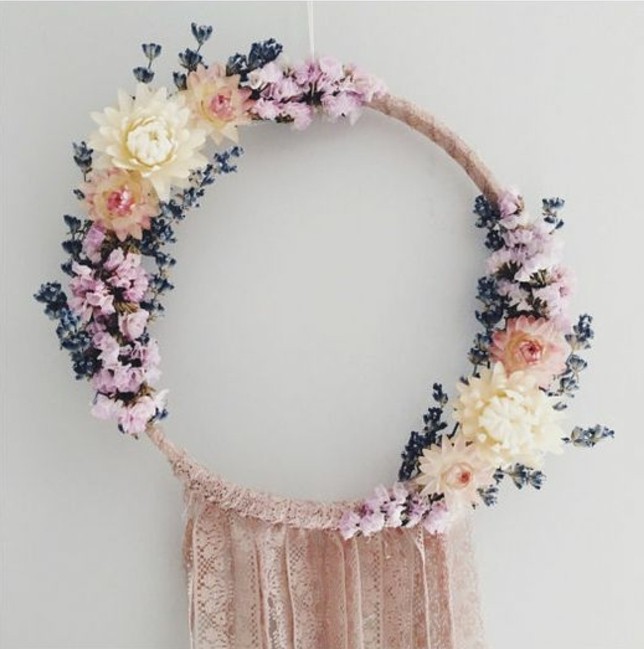
An excellent way to decorate your house. Don’t you just love the flower ornaments?
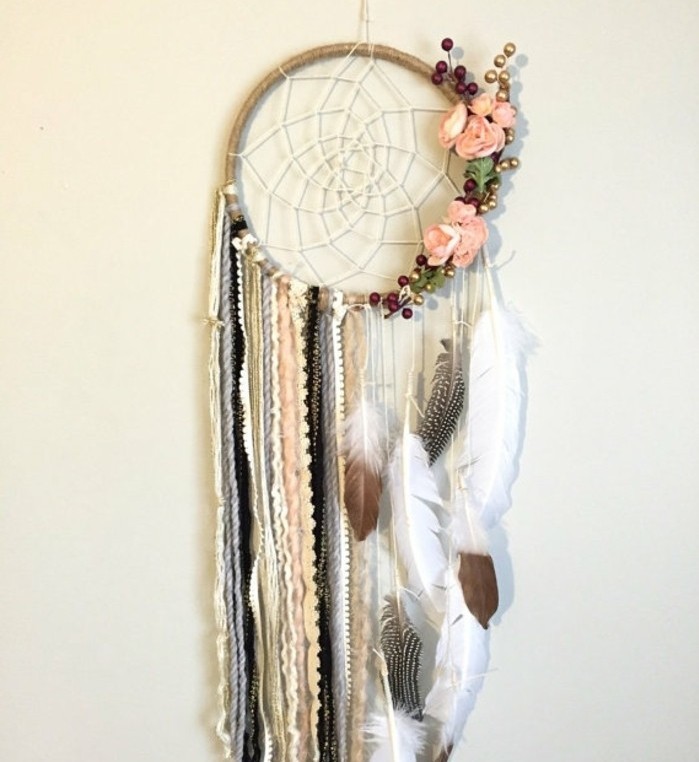
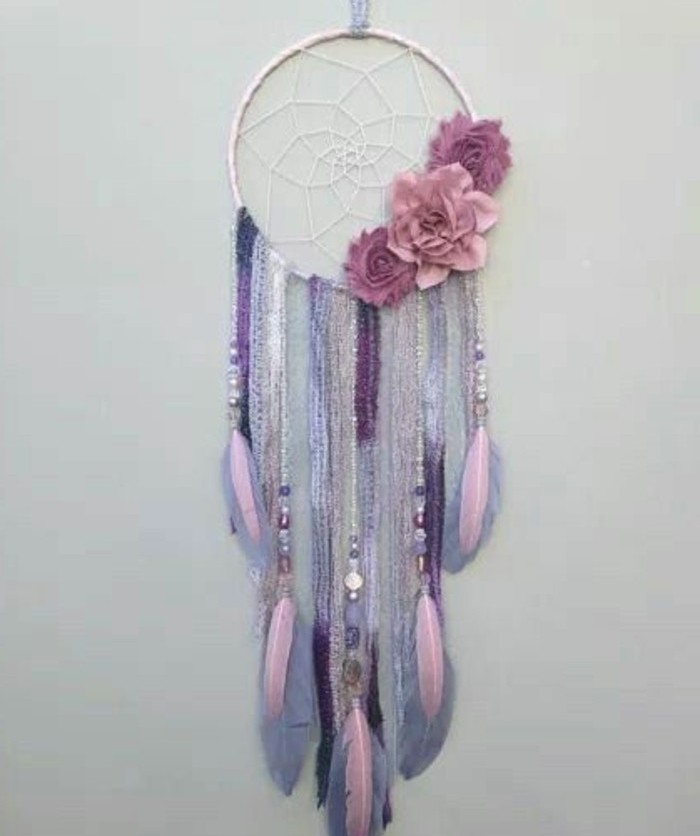
How about this boho style DIY dreamcatcher? Feather, lace, flowers and beads – it has it all!
We love this stunning and huge dreamcatcher! What an impressive and complex net pattern!
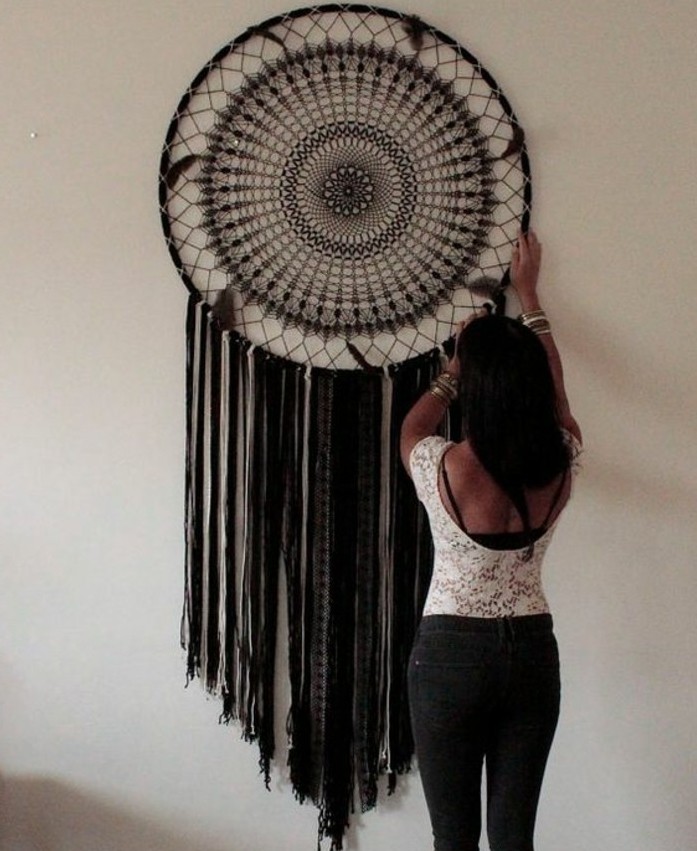
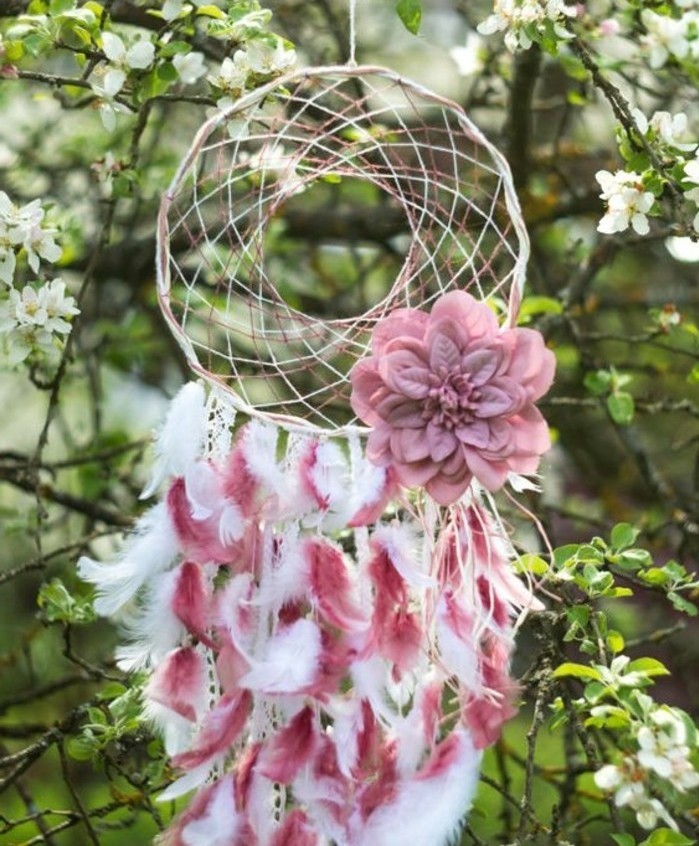
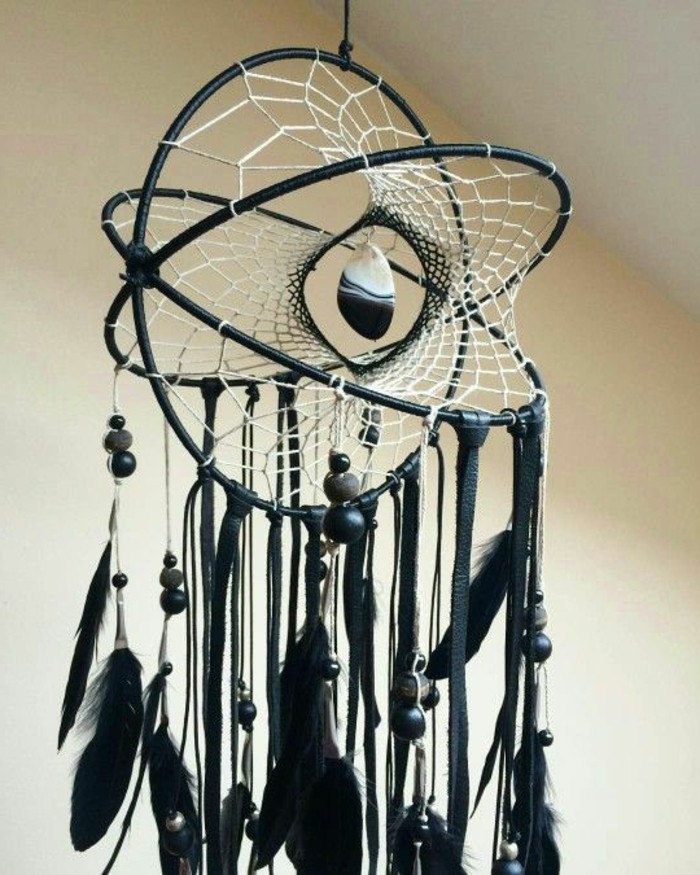
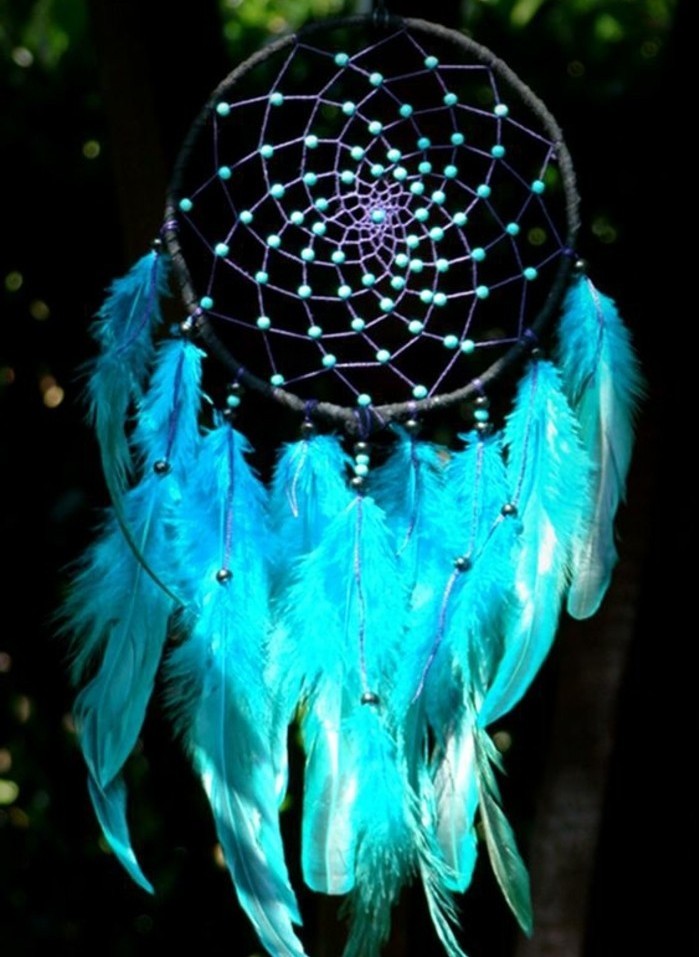
Lush turquoise dreamcatcher with matching beads and a crystal amulet
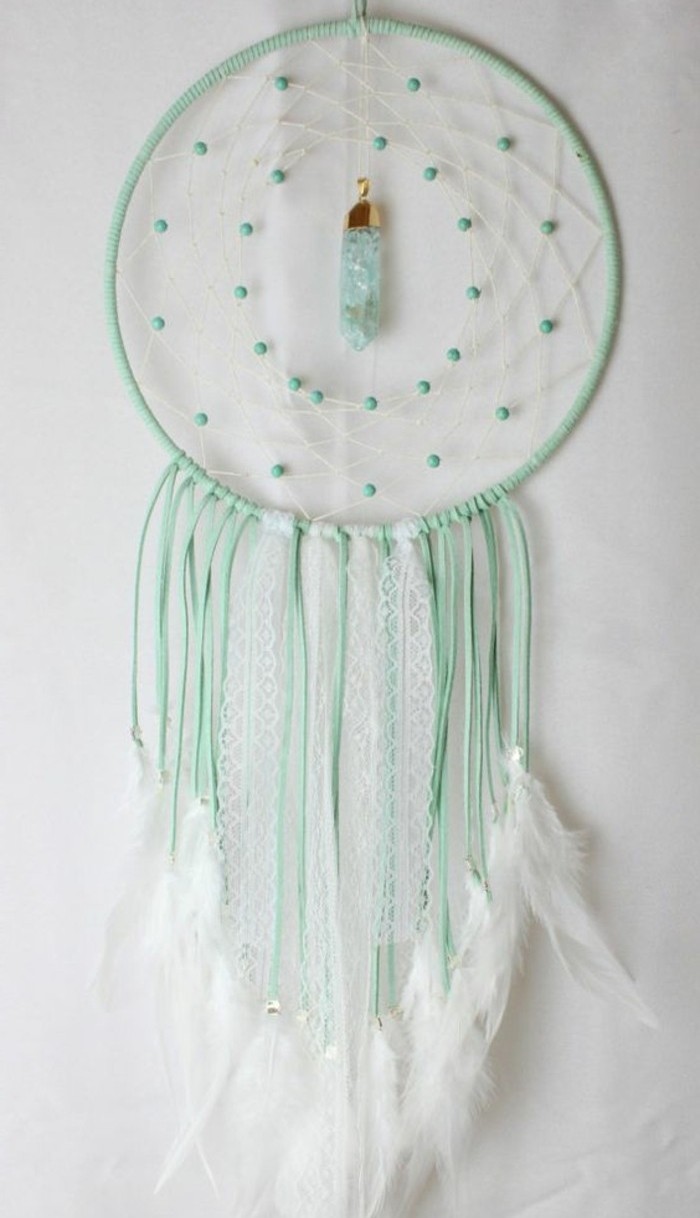
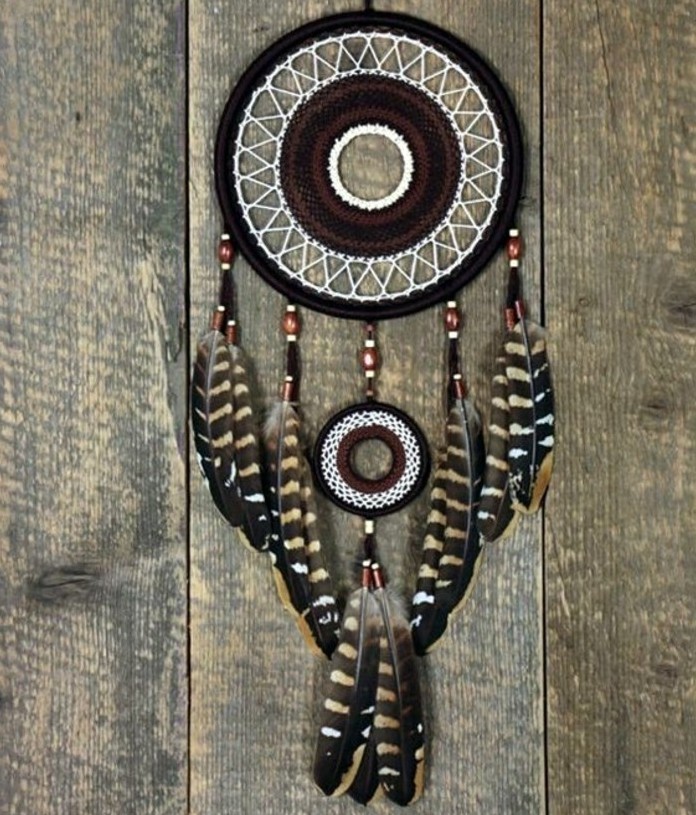
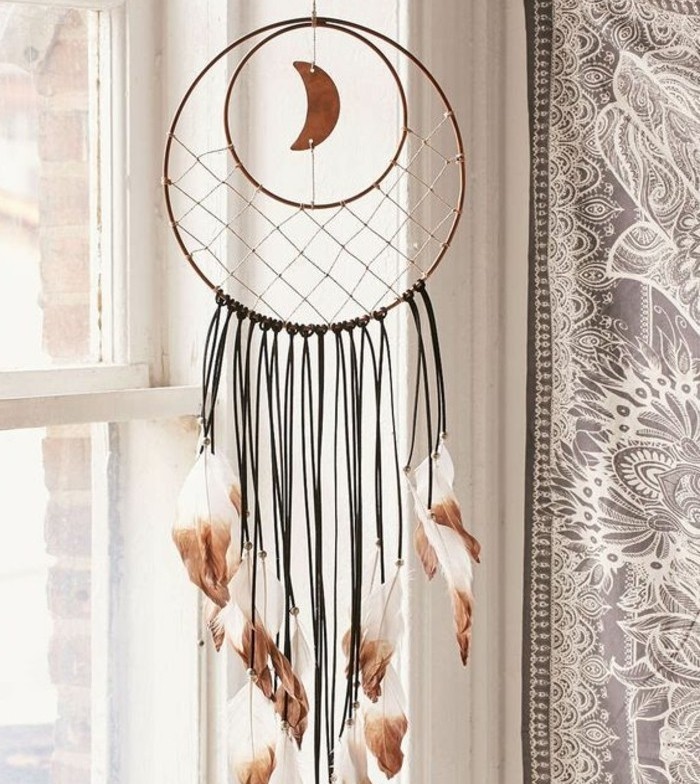
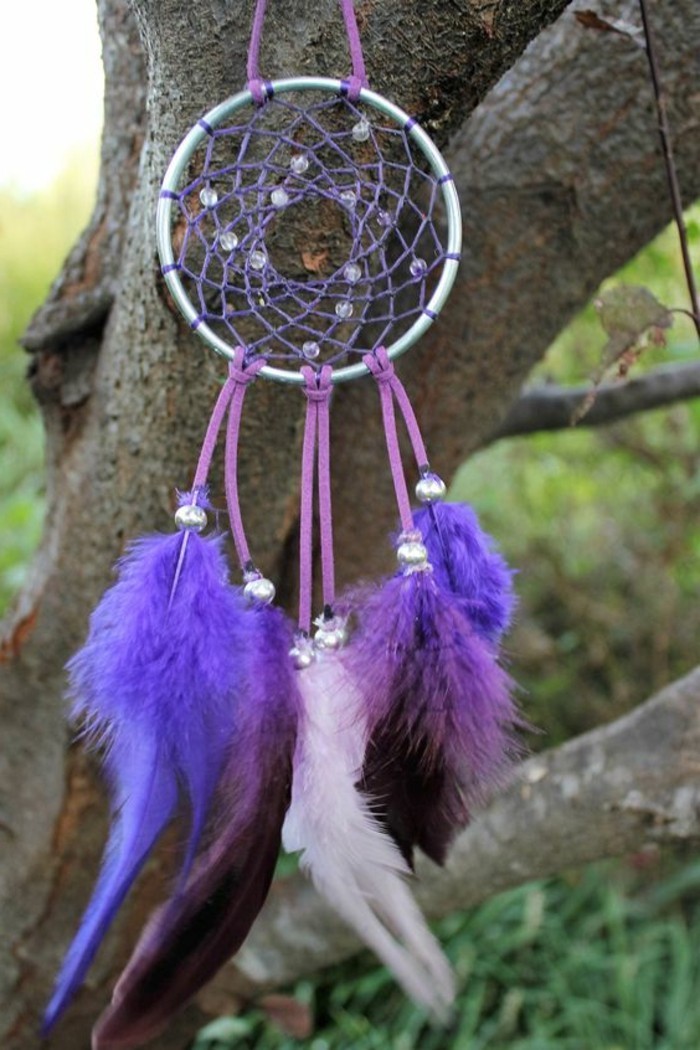
A beautiful dreamcatcher decoration for your bedroom

And here is a great video with an easy and fun tutorial:
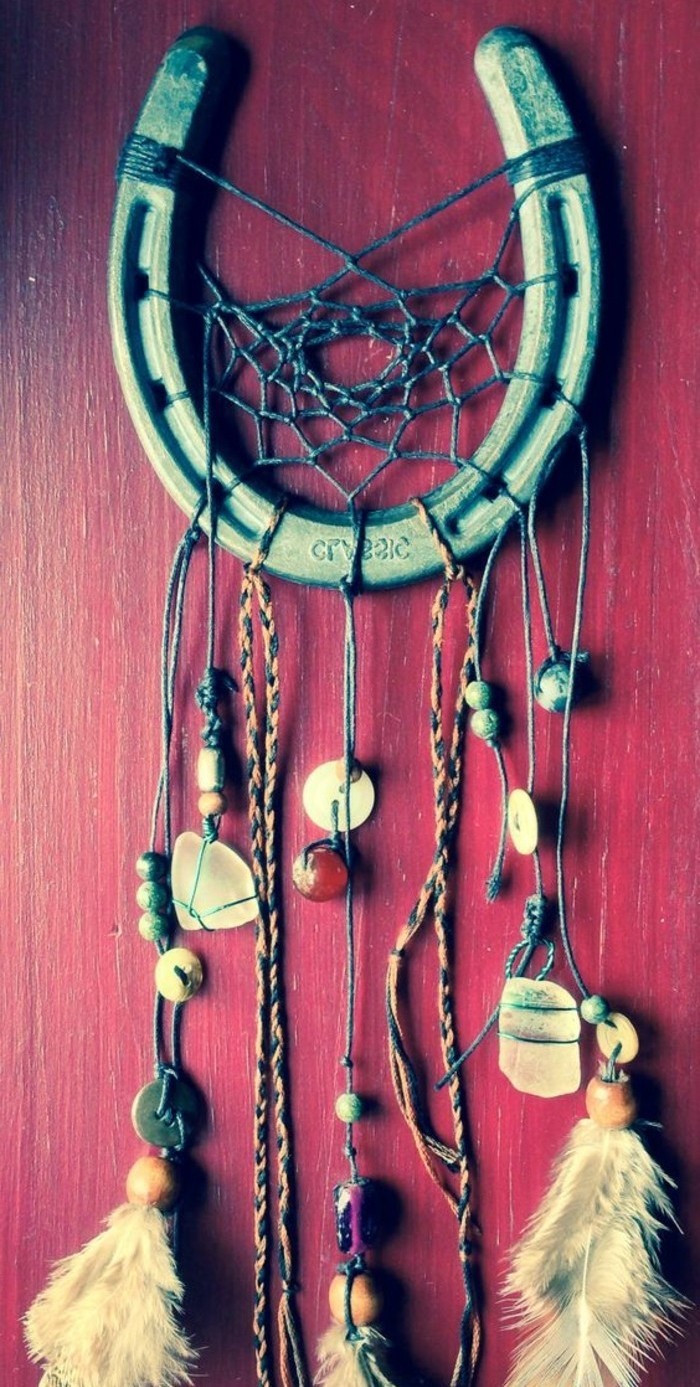
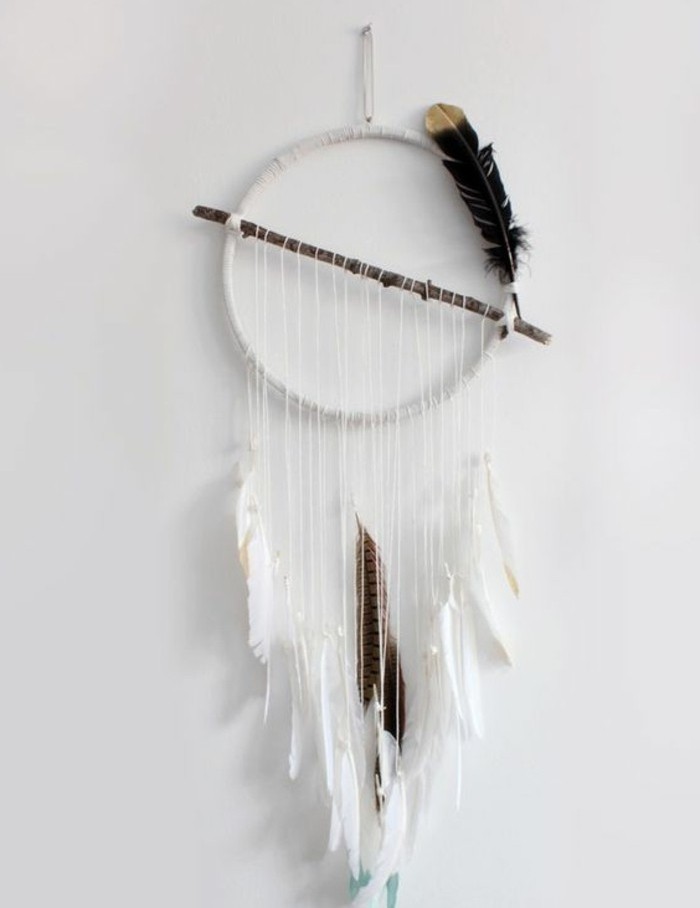
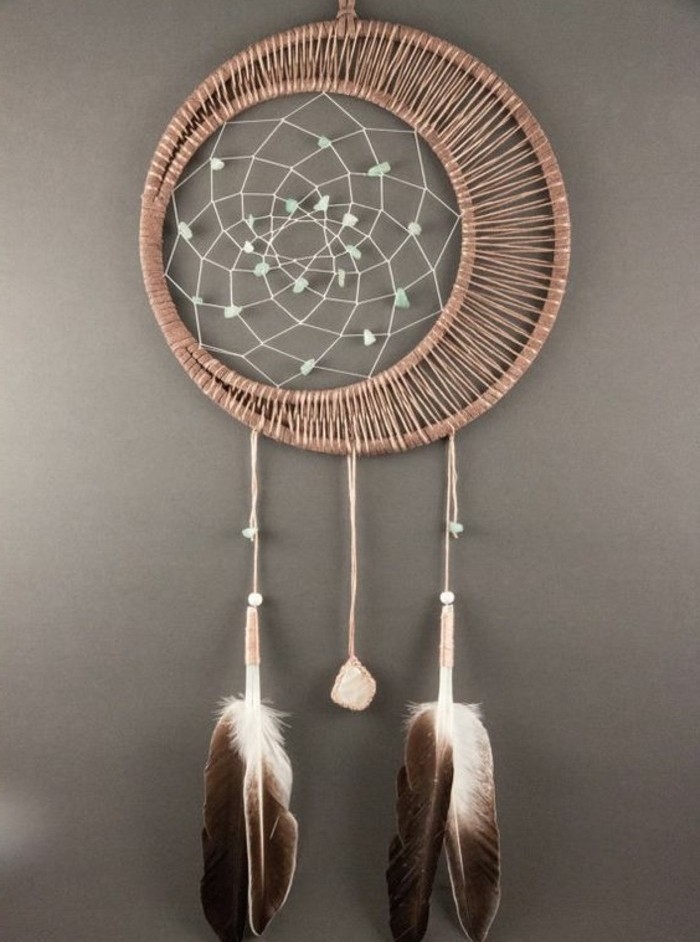
Dreamcatchers don’t have to be round! Isn’t this crescent moon shape simply adorable?
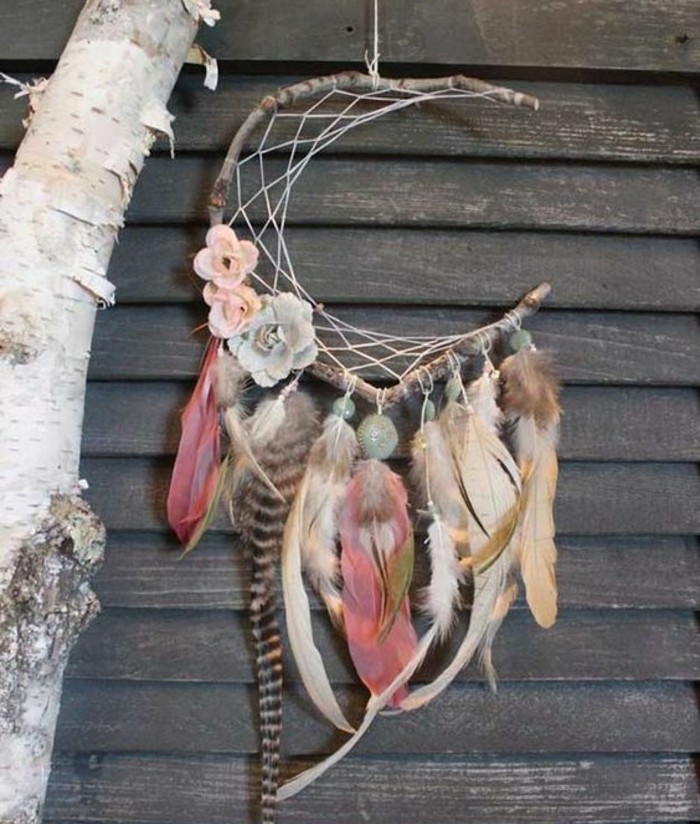
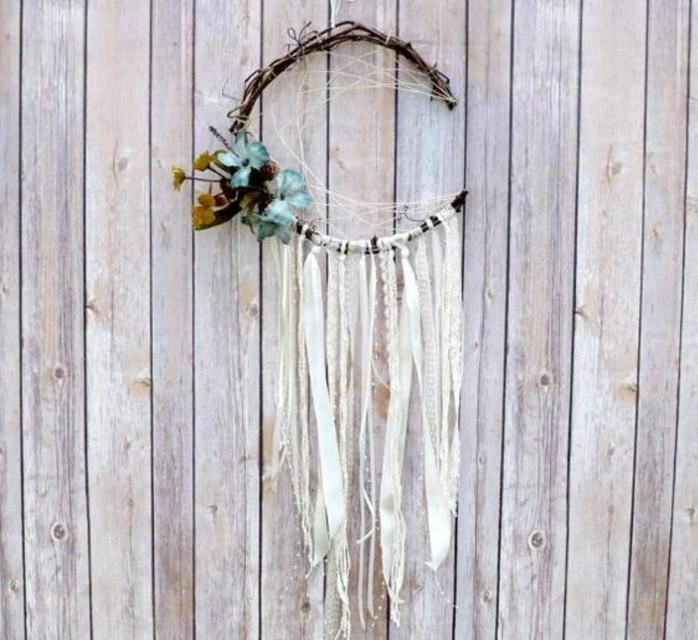
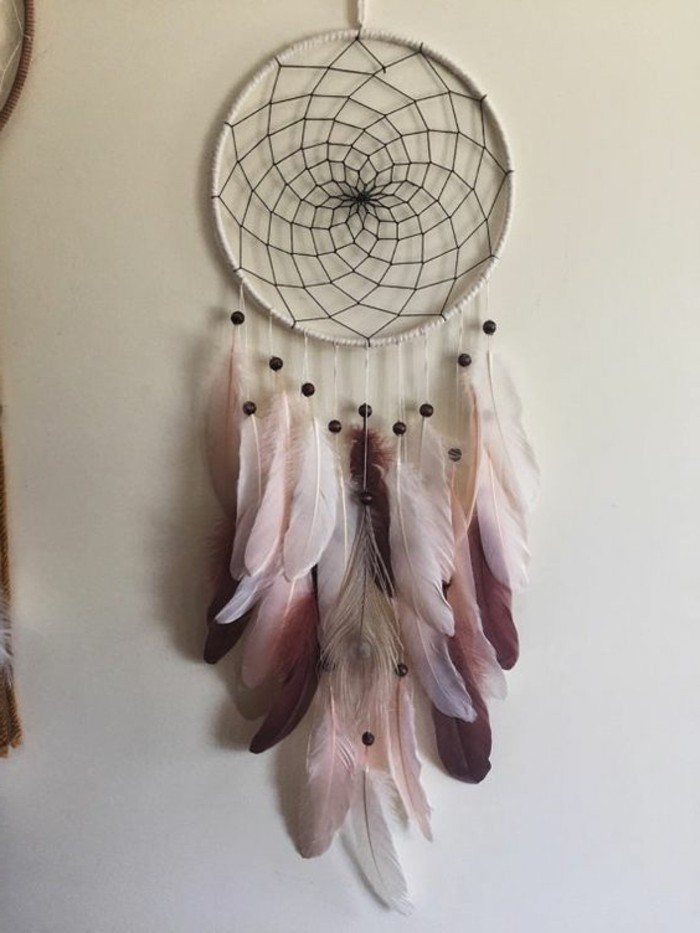
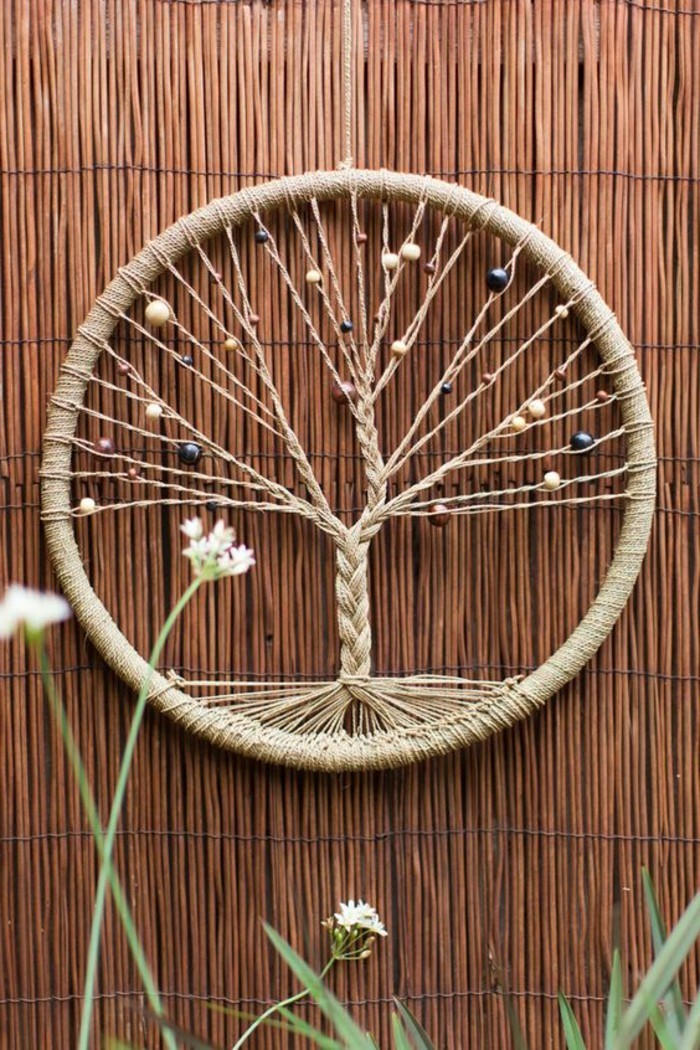
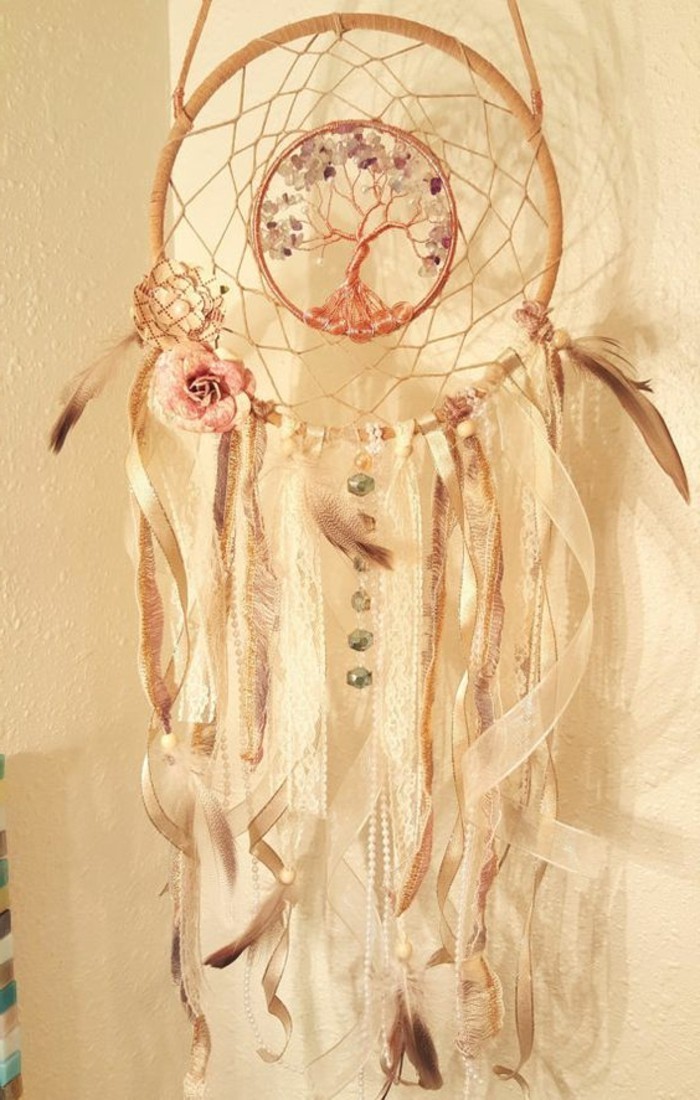
The Tree of Life makes an excellent decorative motif for your DIY dreamcatcher, combining Buddhist elements with Native American legend
Another great video tutorial, especially for people wo want to use only vegan products
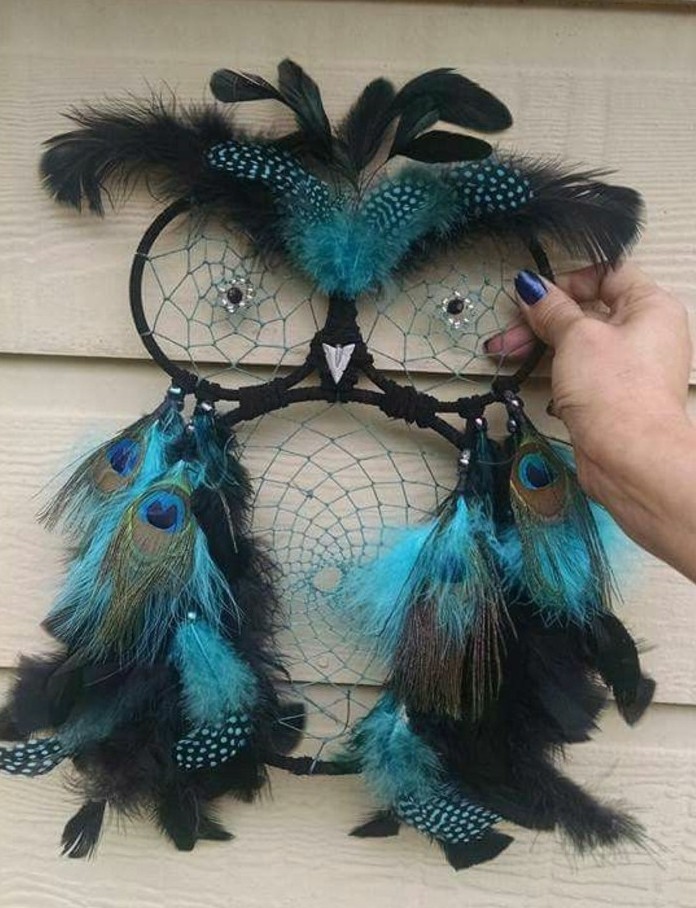
A cute alternative suggestion – owl shaped dreamcatcher, decorated with gorgeous peacock feathers!
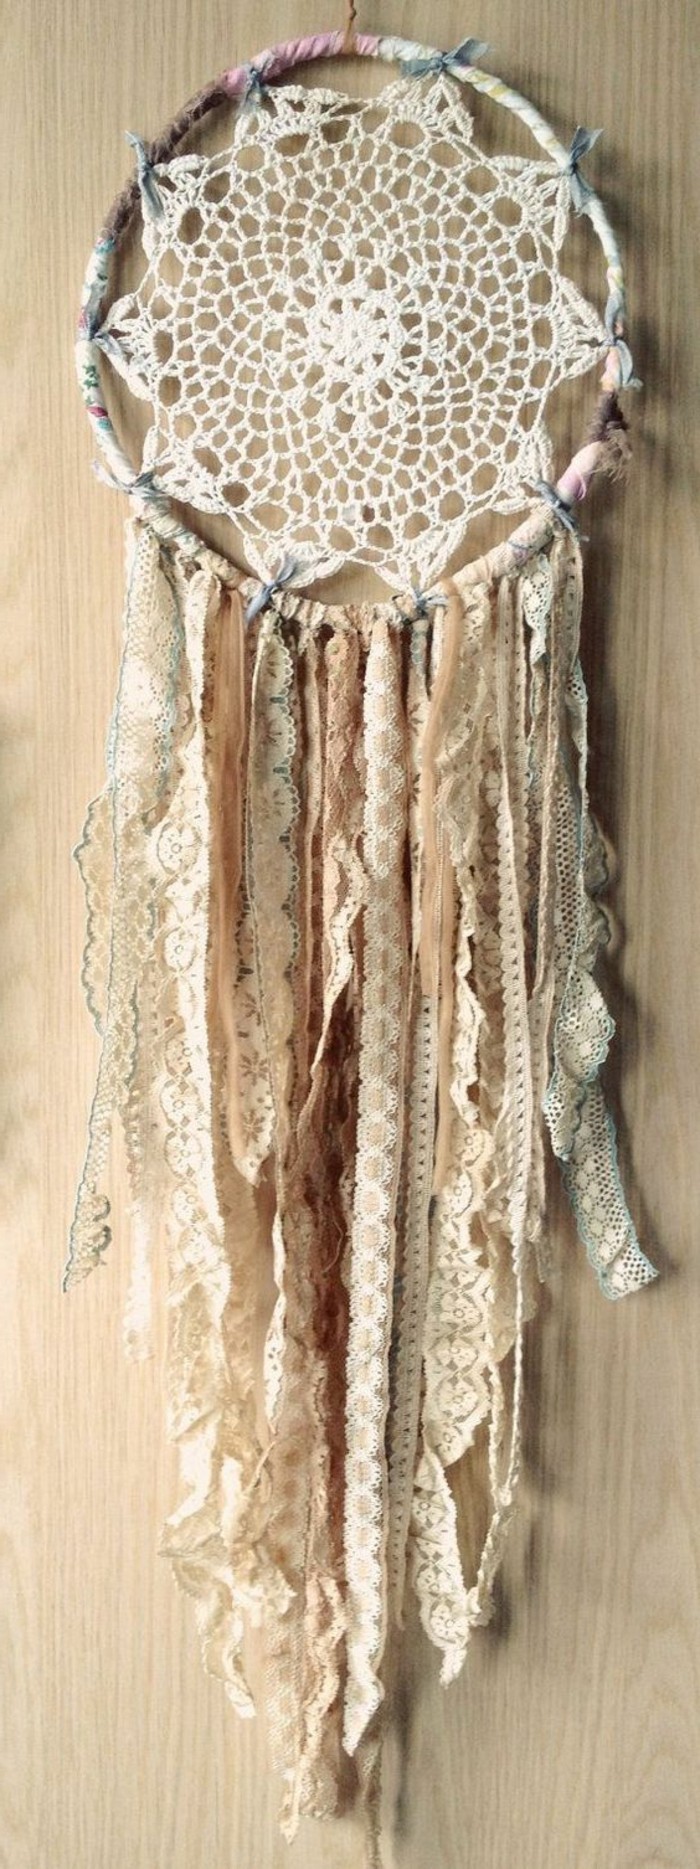
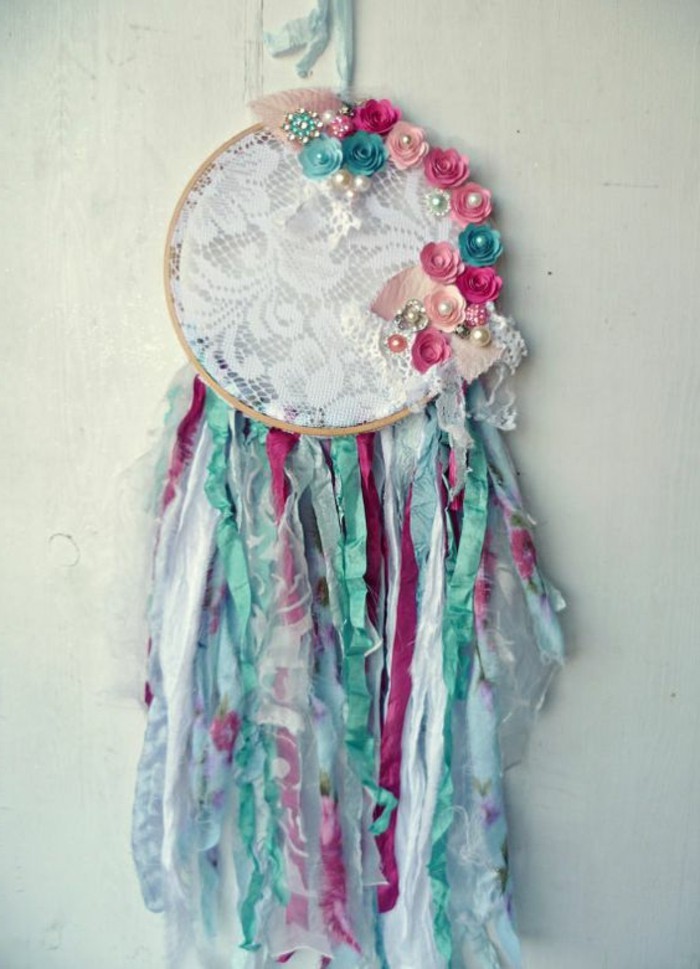
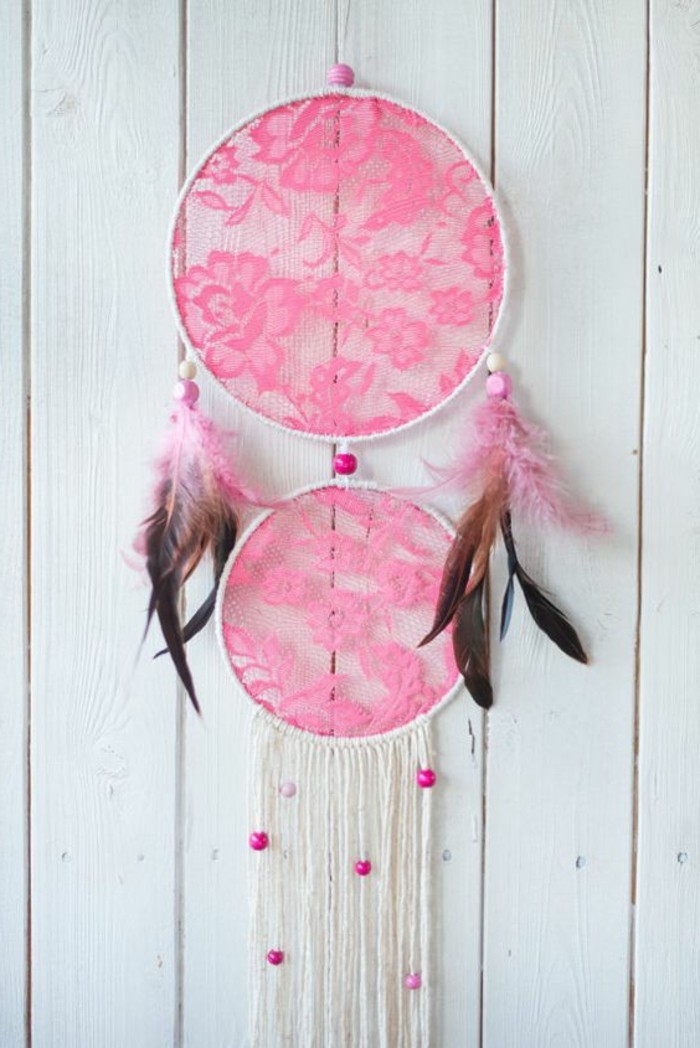
If you’d like to achieve a more bohemian look, substitute the net with a piece of lace
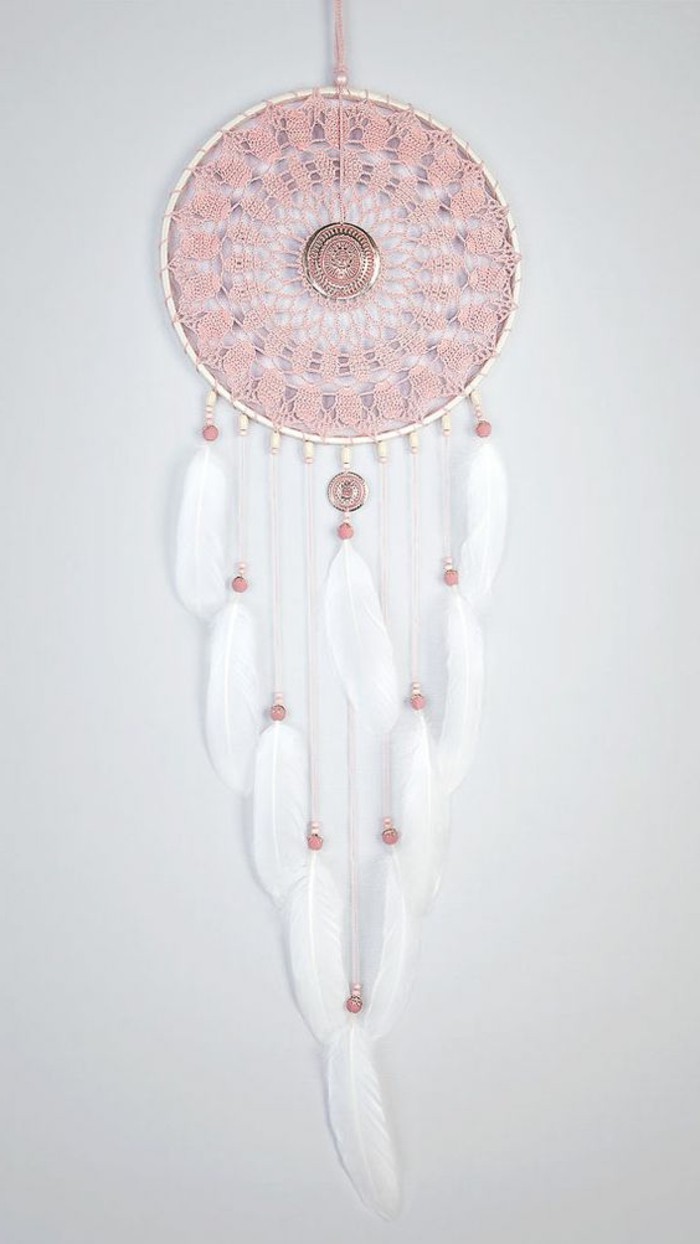
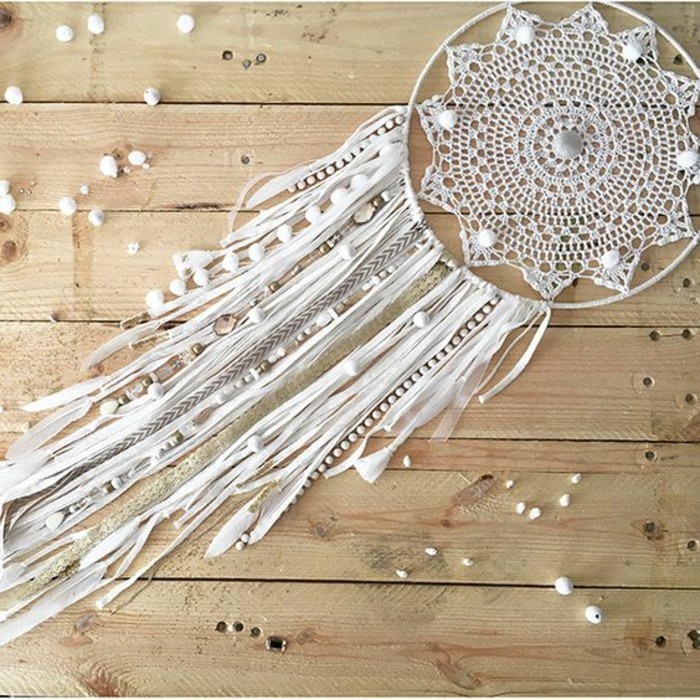
Crochet doilies also look great!
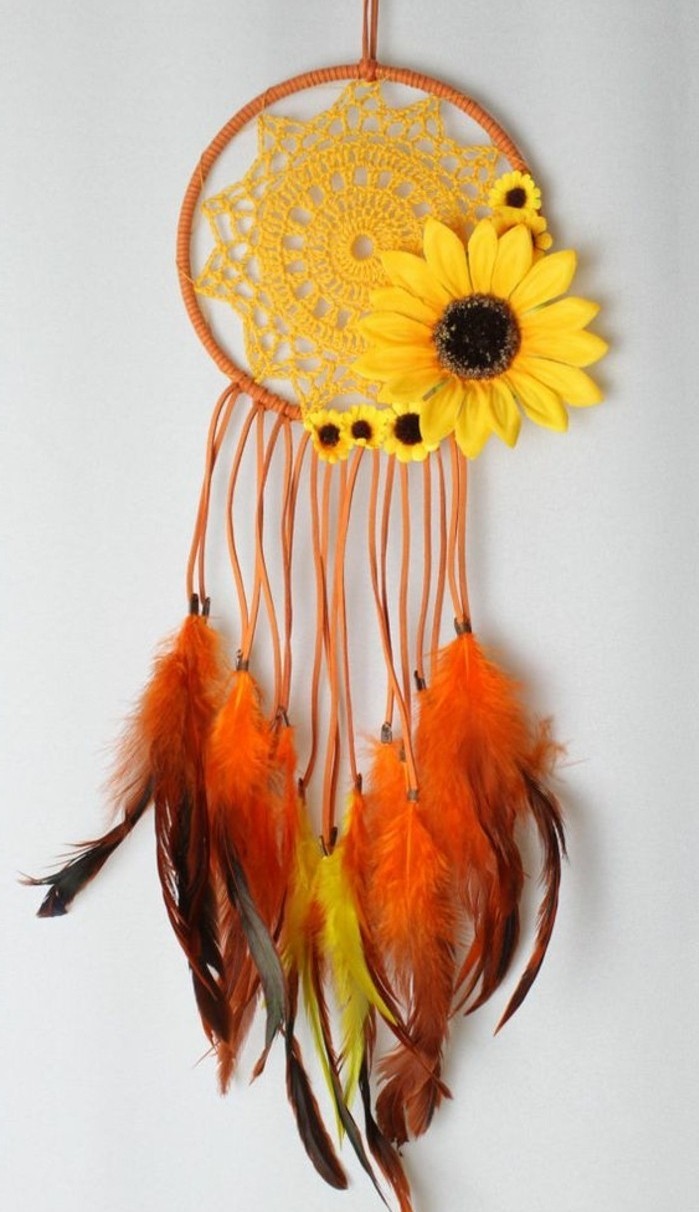
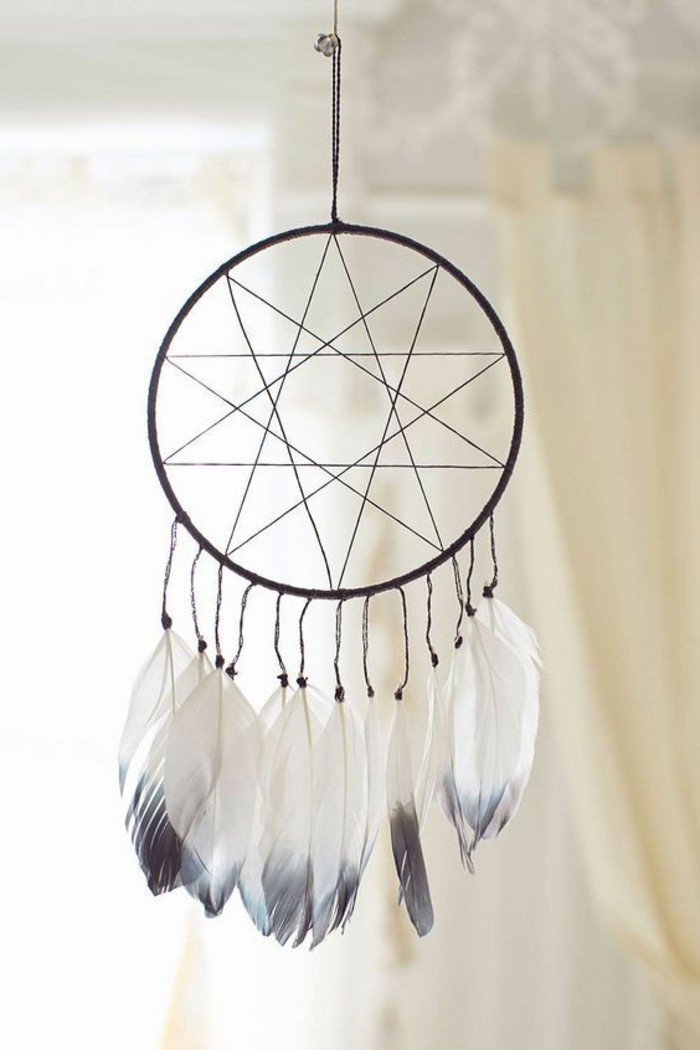
We love the hippie vibes coming from this multicolored model!
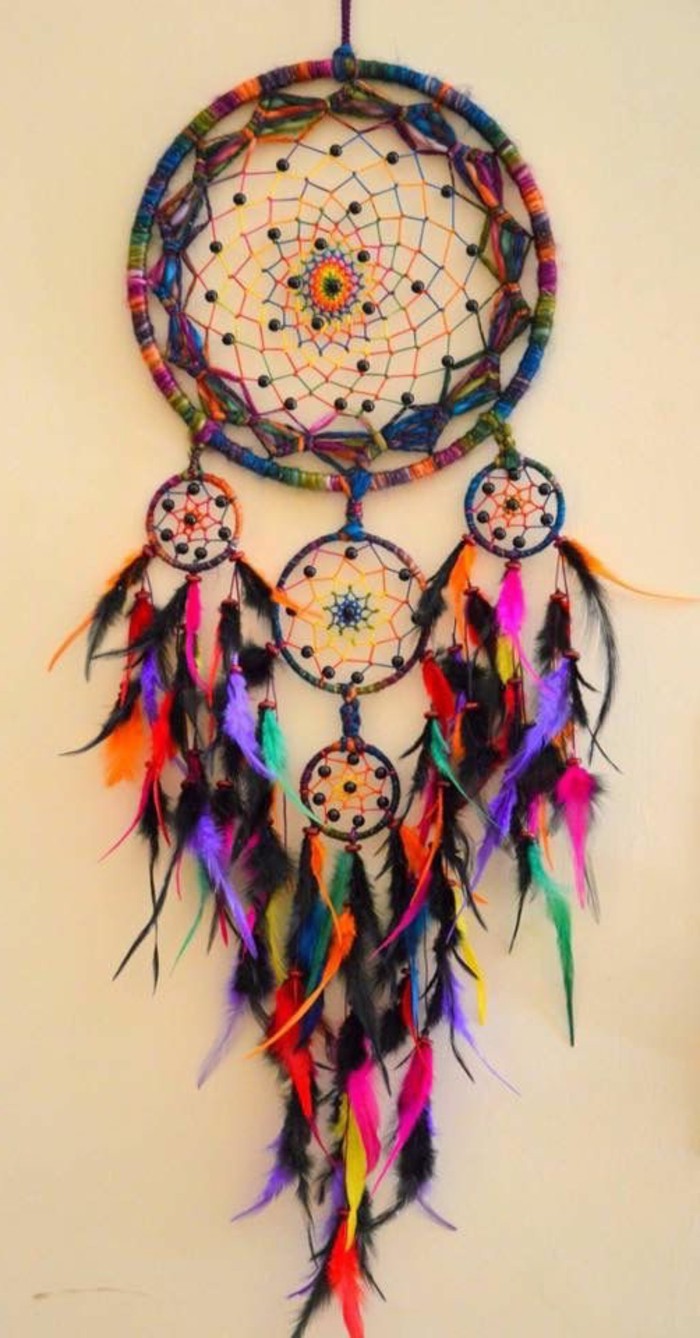
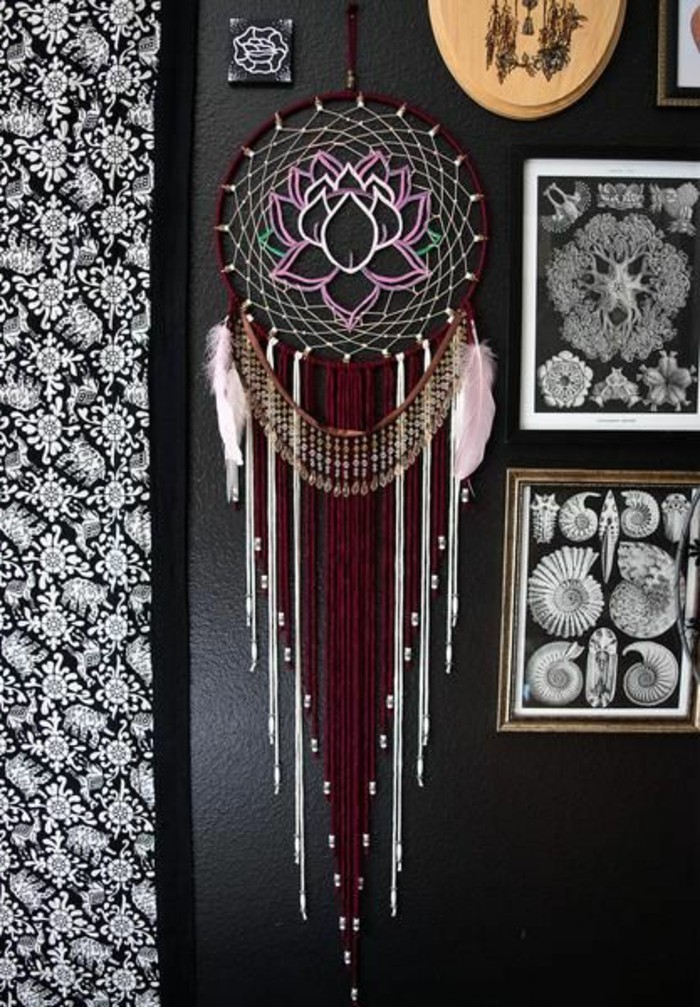
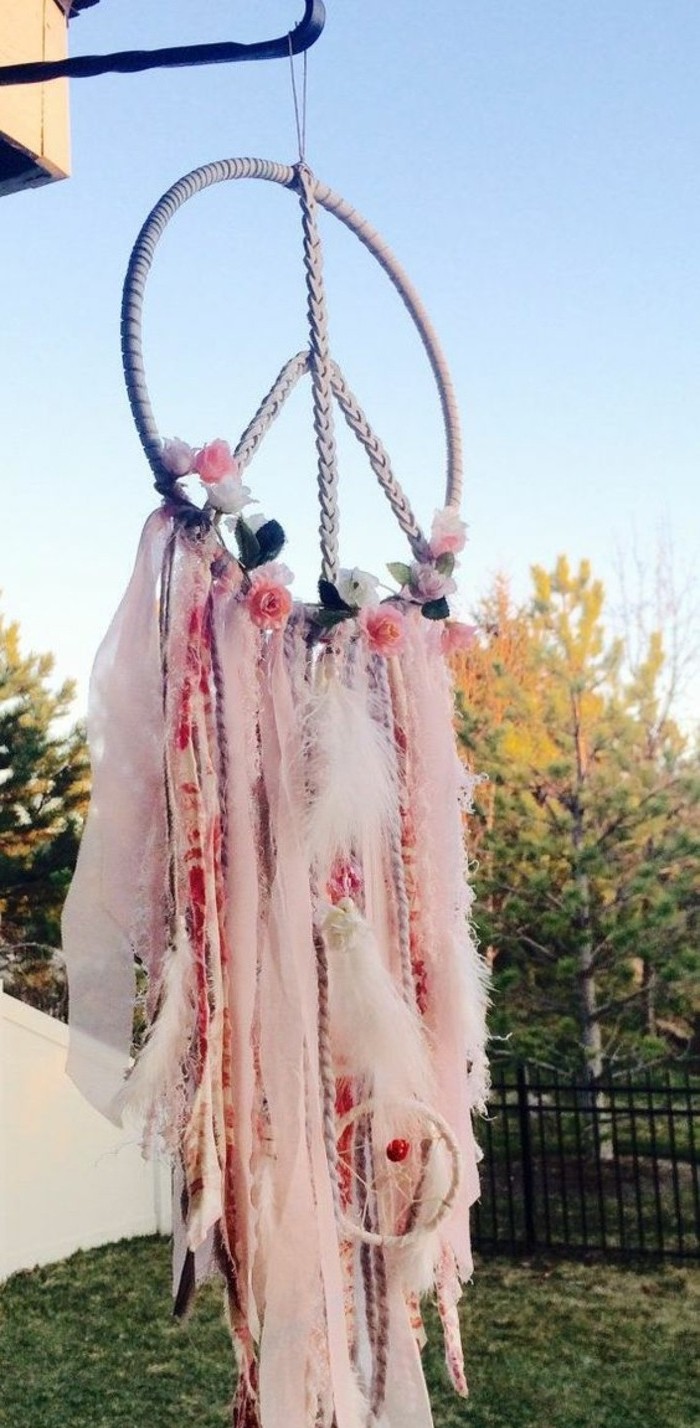
Sleep peacefully with this lovely bedroom composition
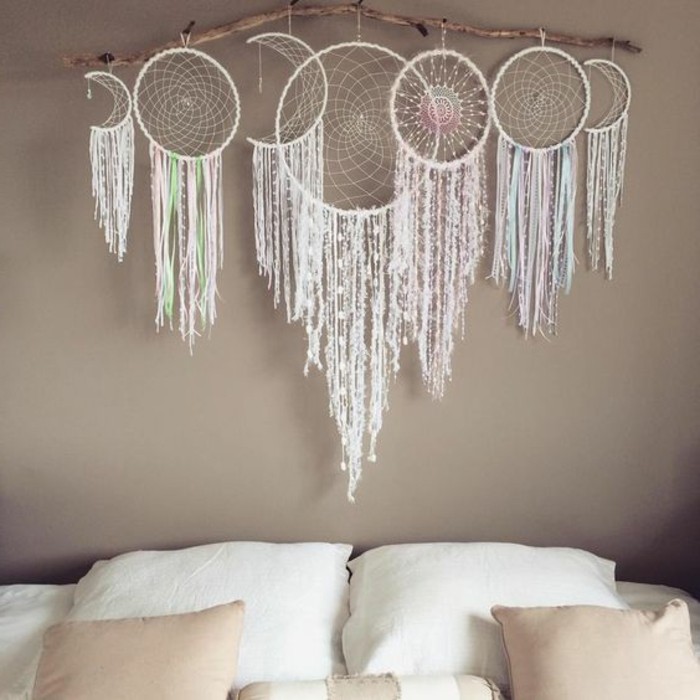
Add some fairy lights for a truly atmospheric piece
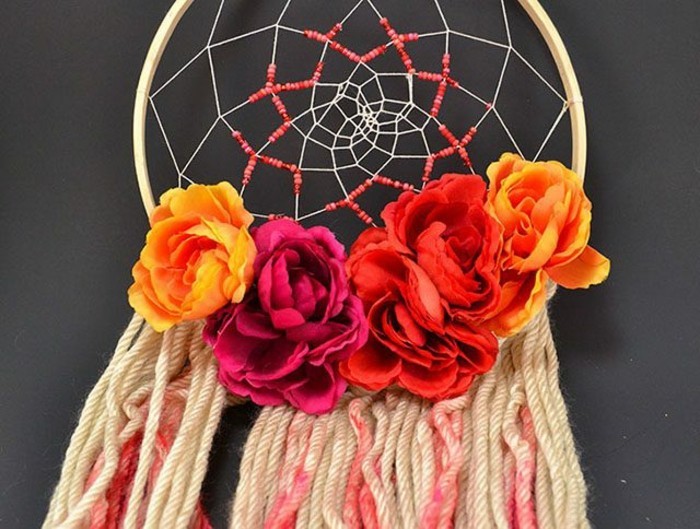
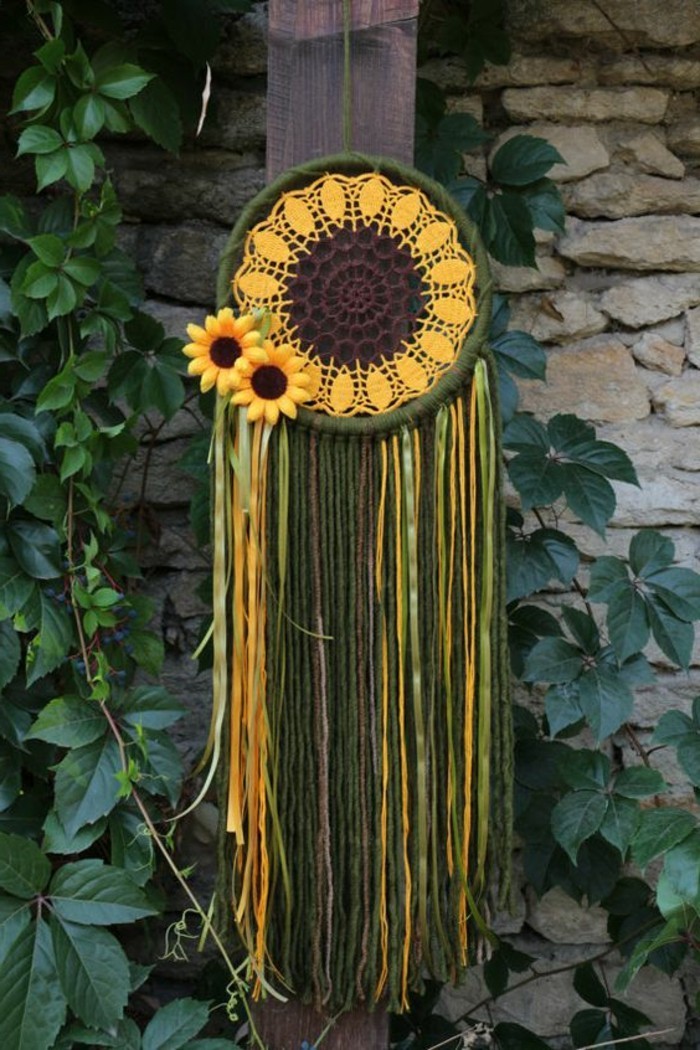
An adorable and creative sunflower dreamcatcher
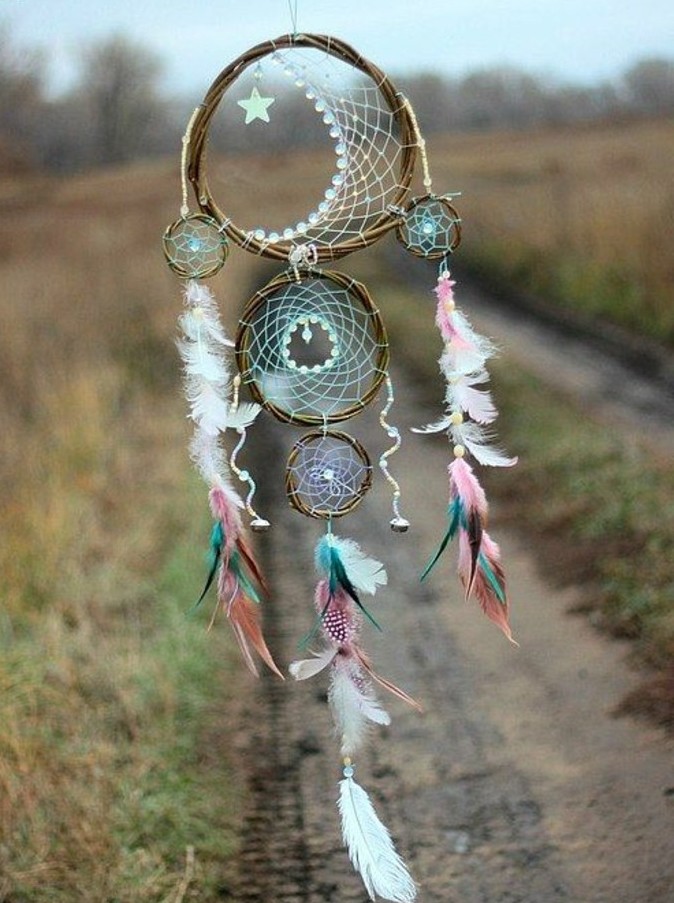
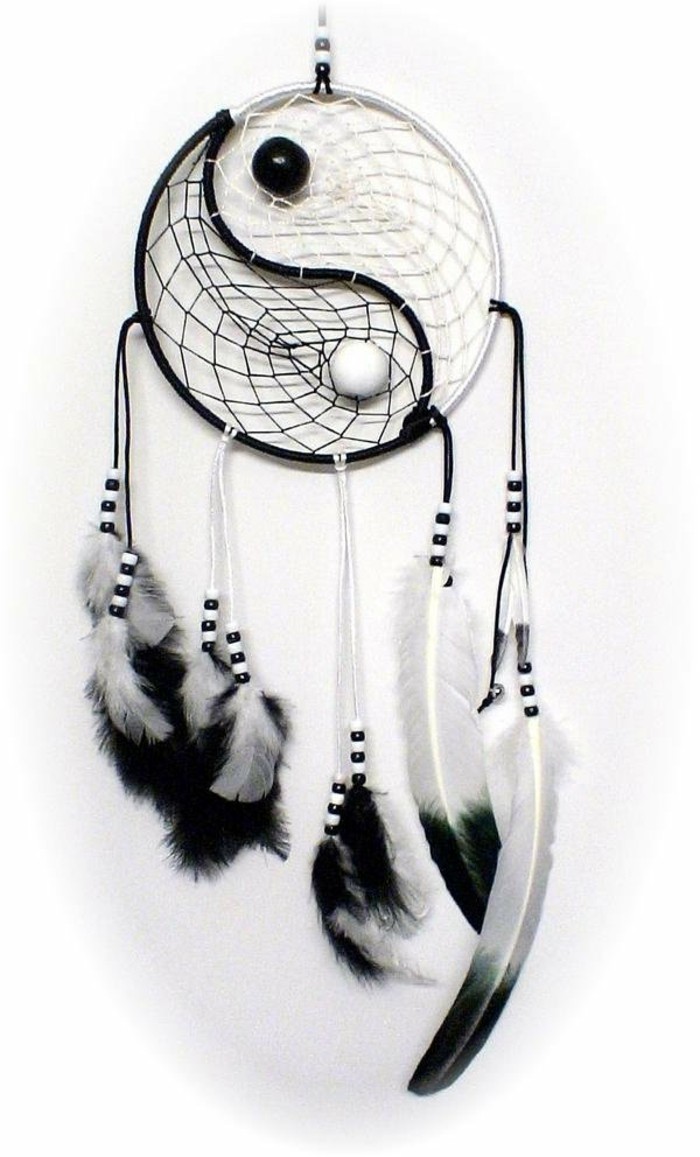
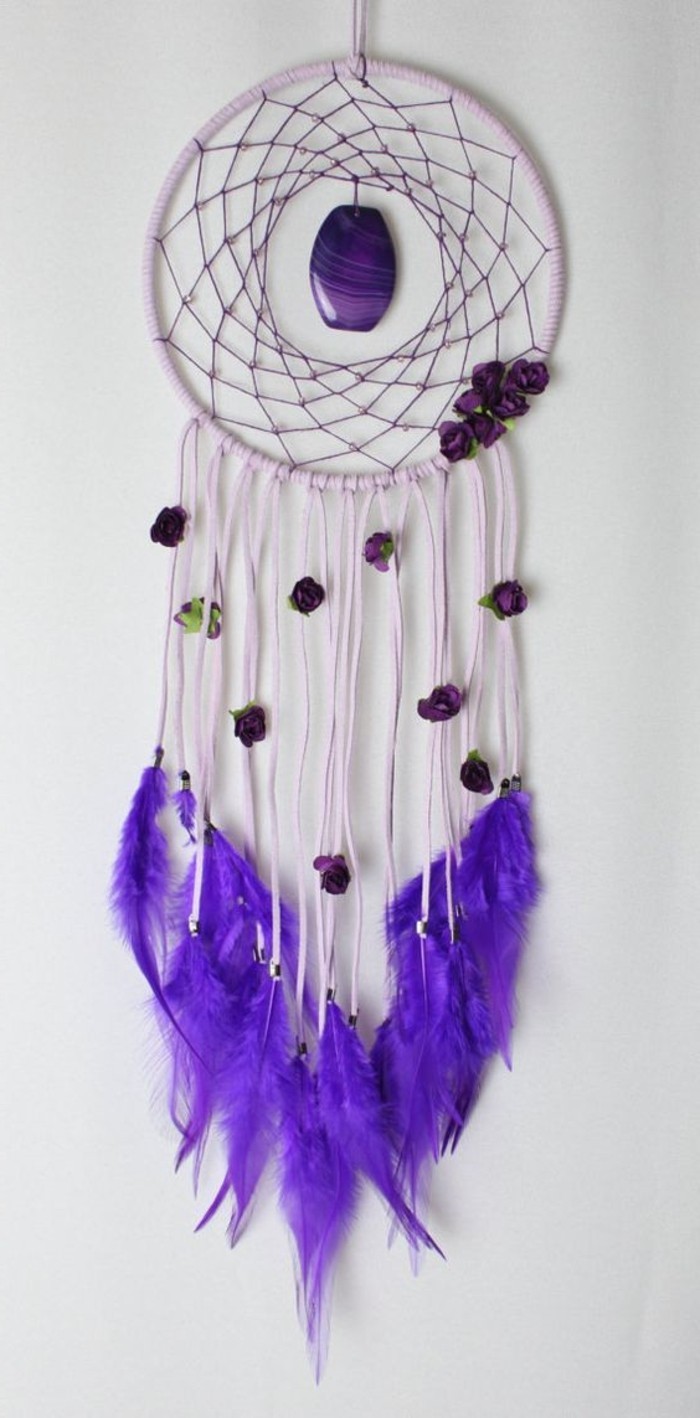

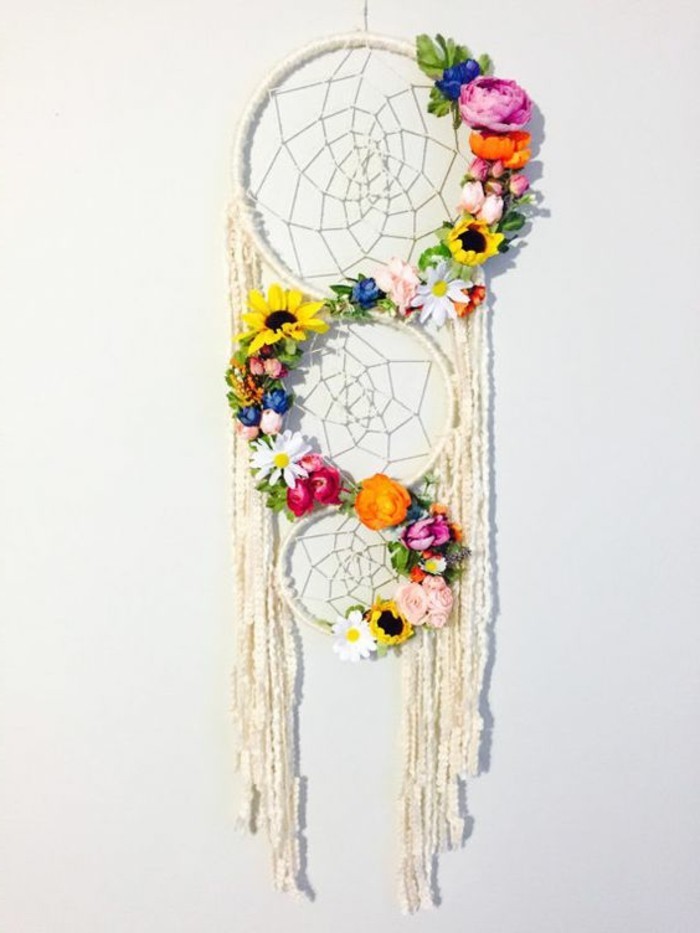
Another amazing and lush floral model
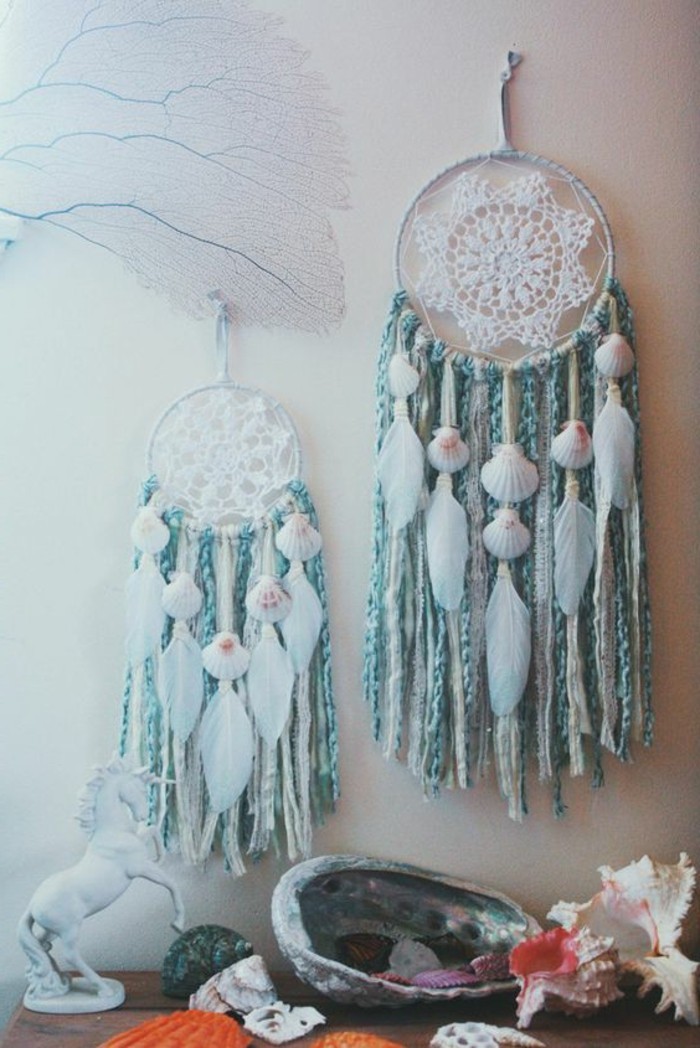
Sea-inspired dreamcatchers, decorated with seashells, feathers, and pale blue tassels
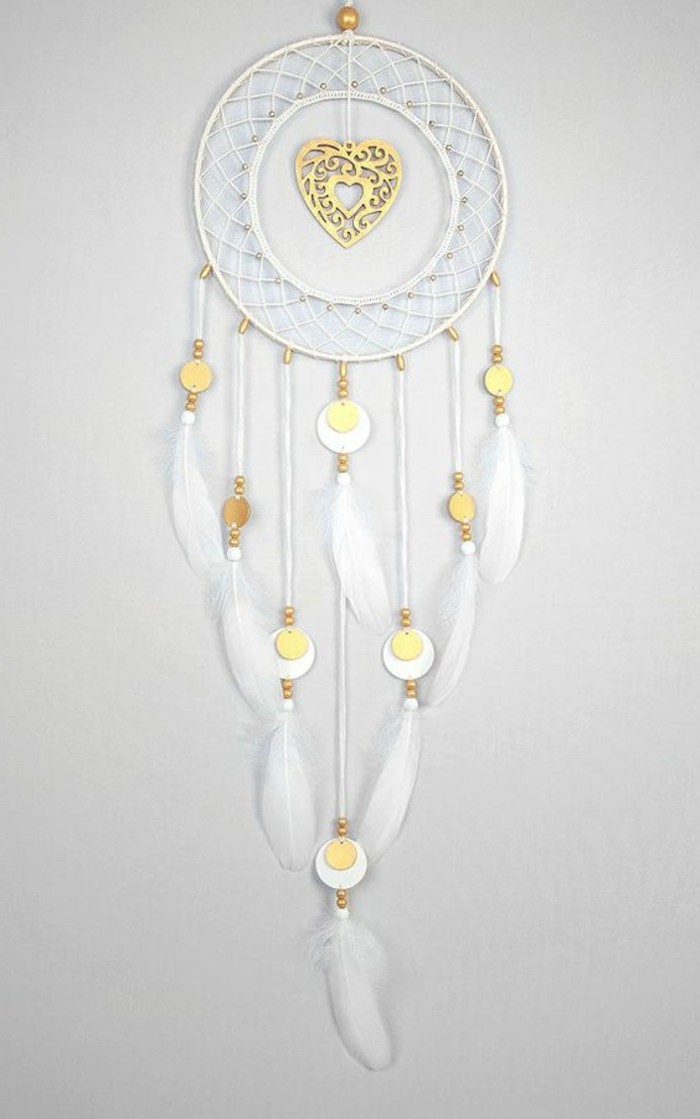
Lovely white DIY dreamcatcher, decorated with a gold heart-shaped ornament
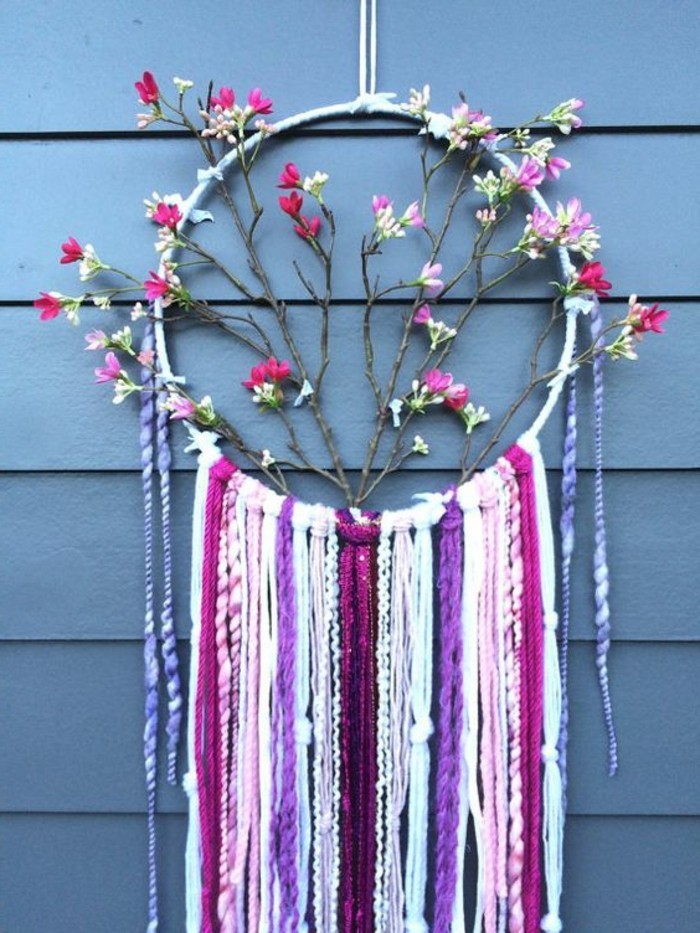
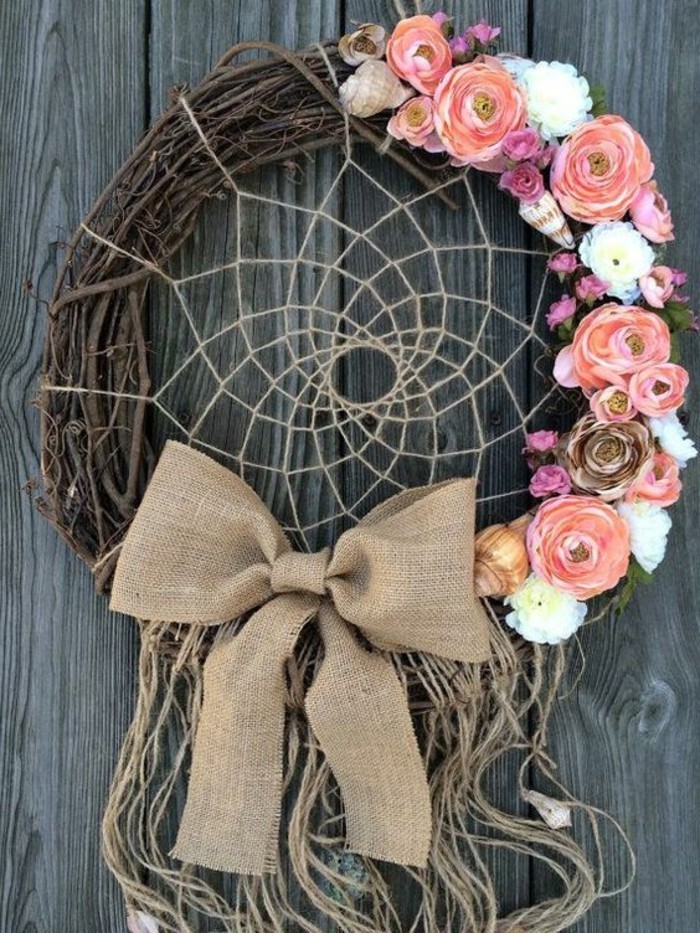
How about a dreamcatcher wreath? Pretty, rustic-style decoration idea
How to make an authentic dreamcatcher, explained by a Native American
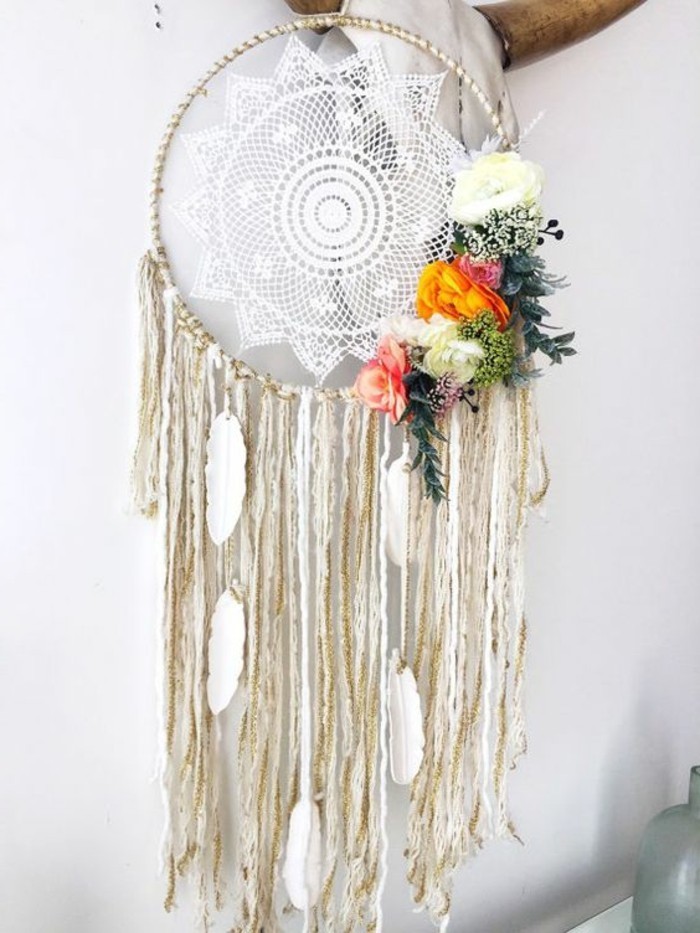
A creative, dreamcatcher-inspired wall decoration
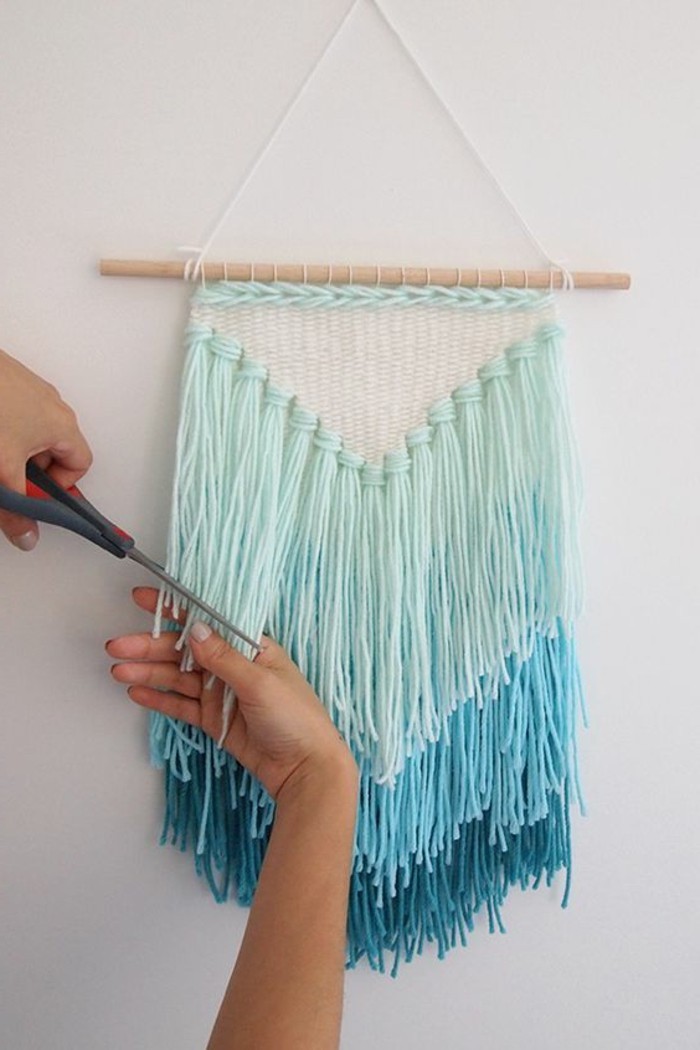
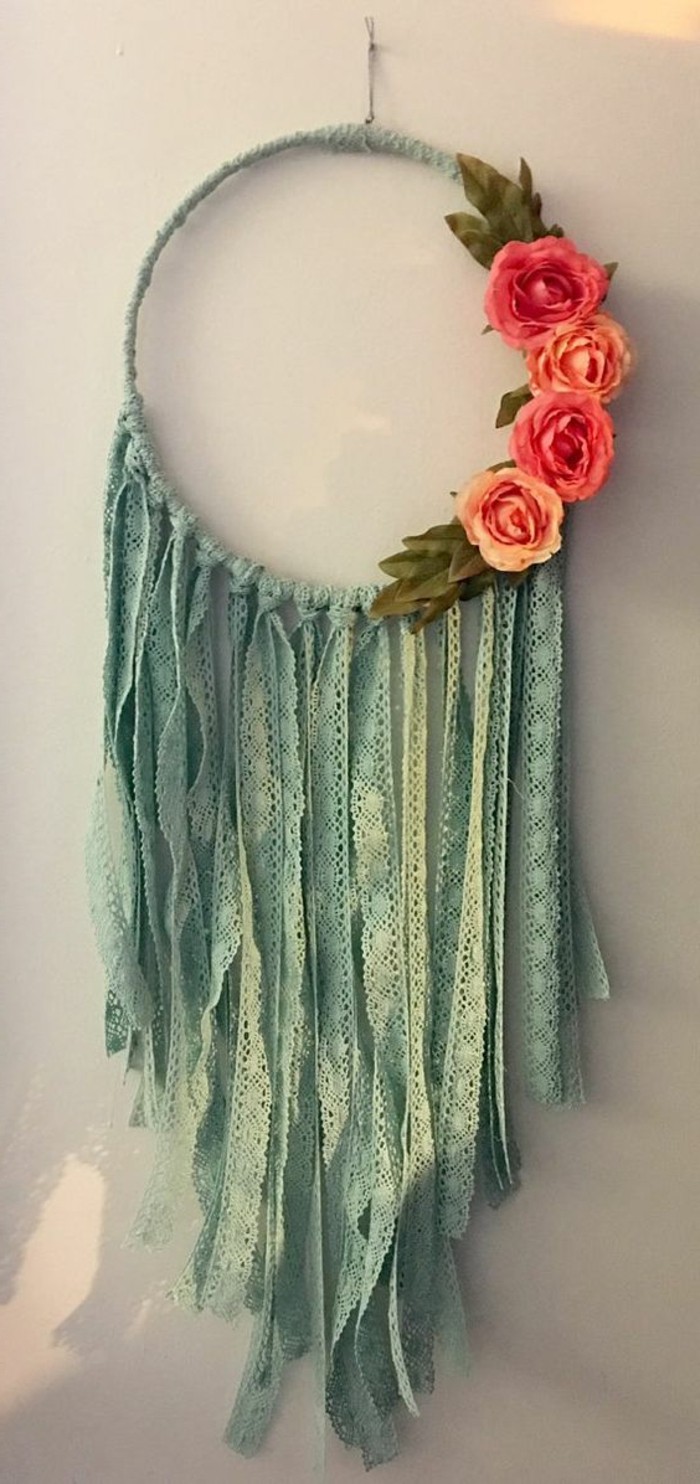
A lush, rainbow-effect design to brighten up your room!
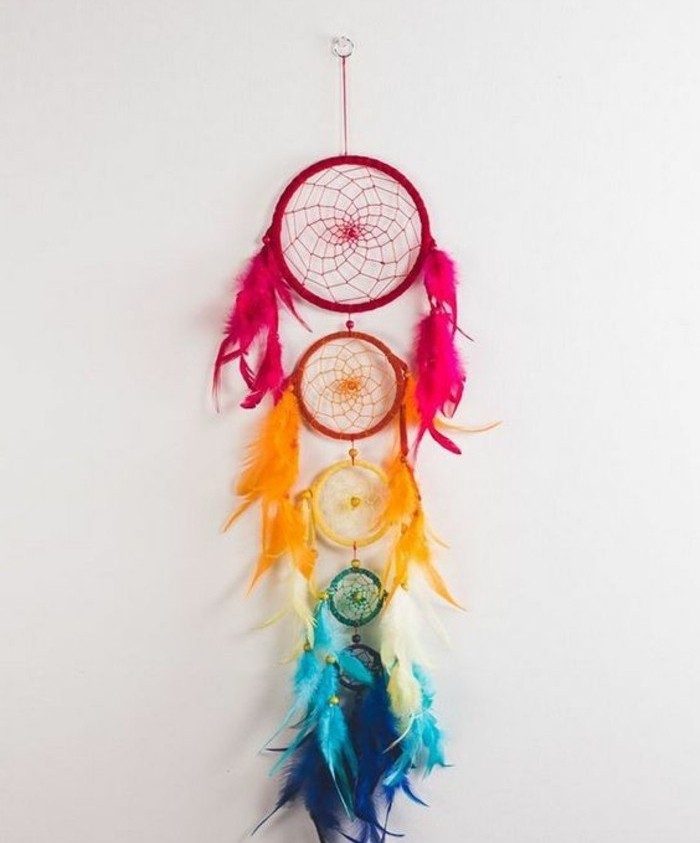
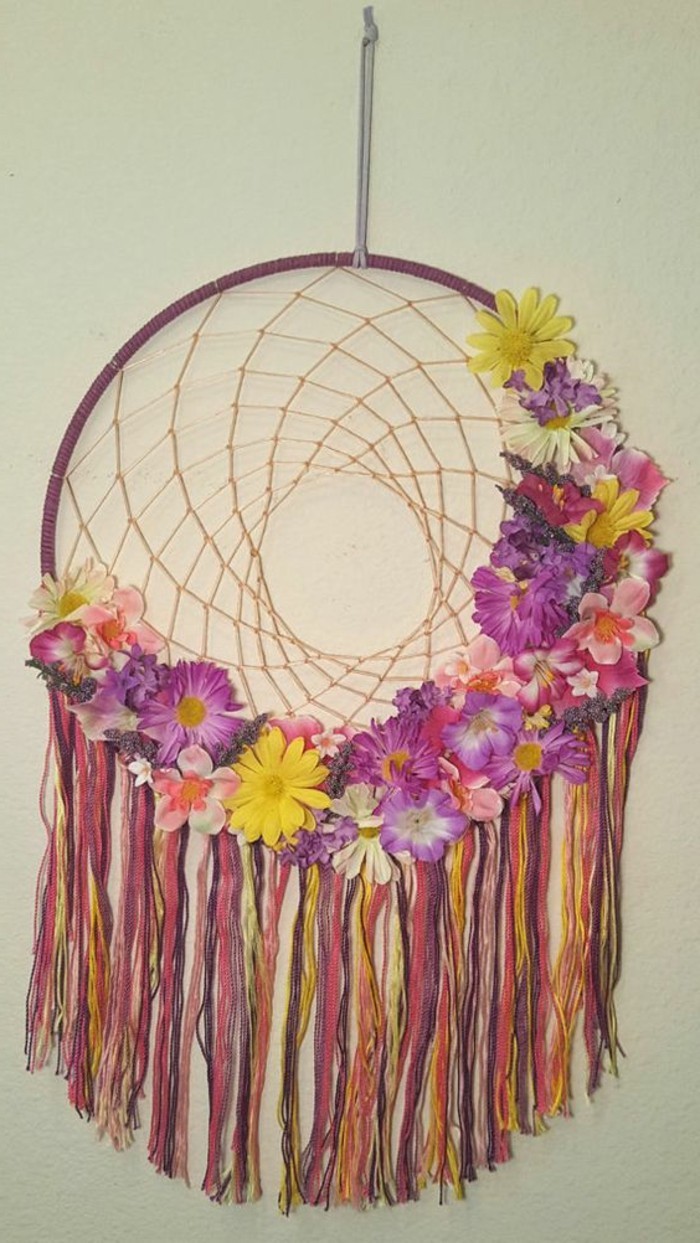
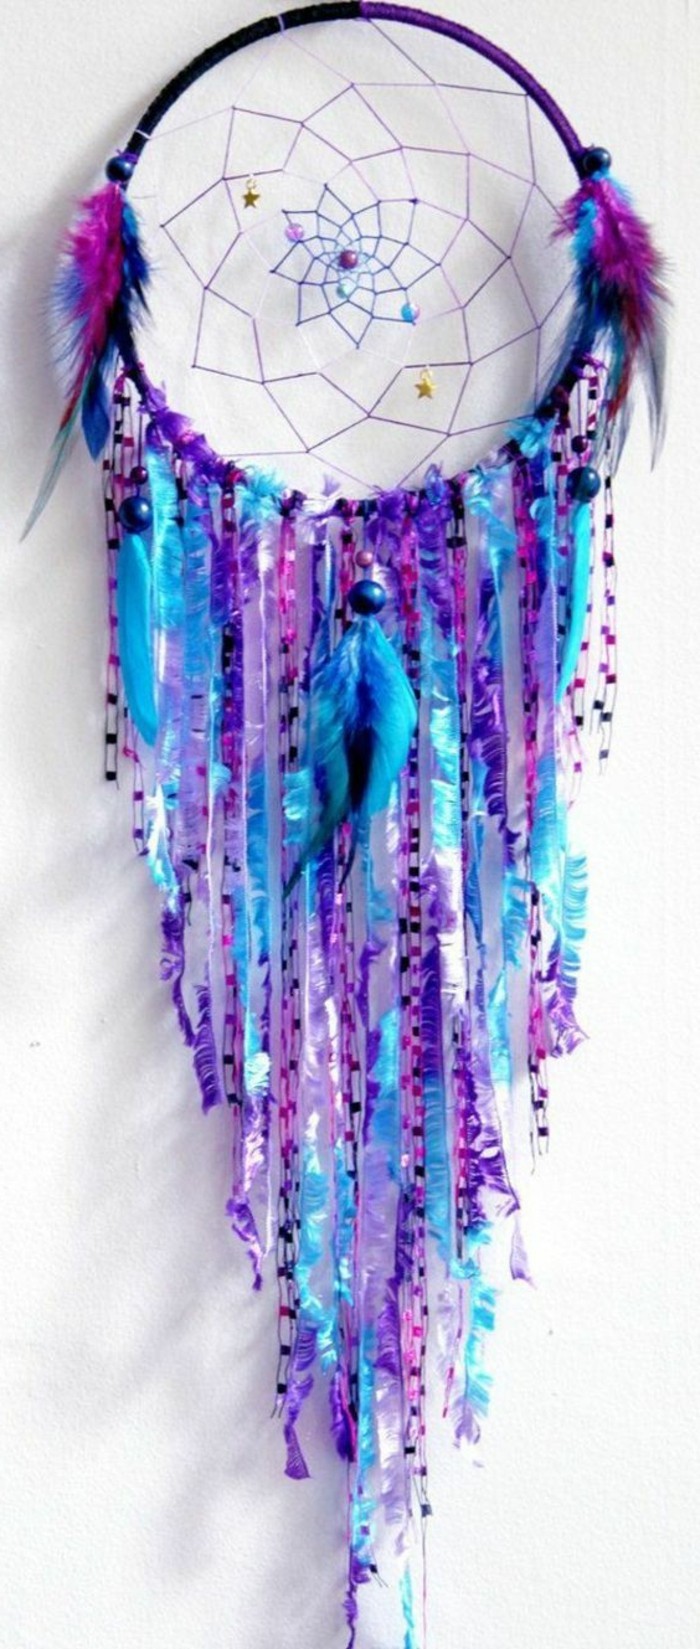
And here are some beautiful dreamcatcher-inspired jewelry pieces
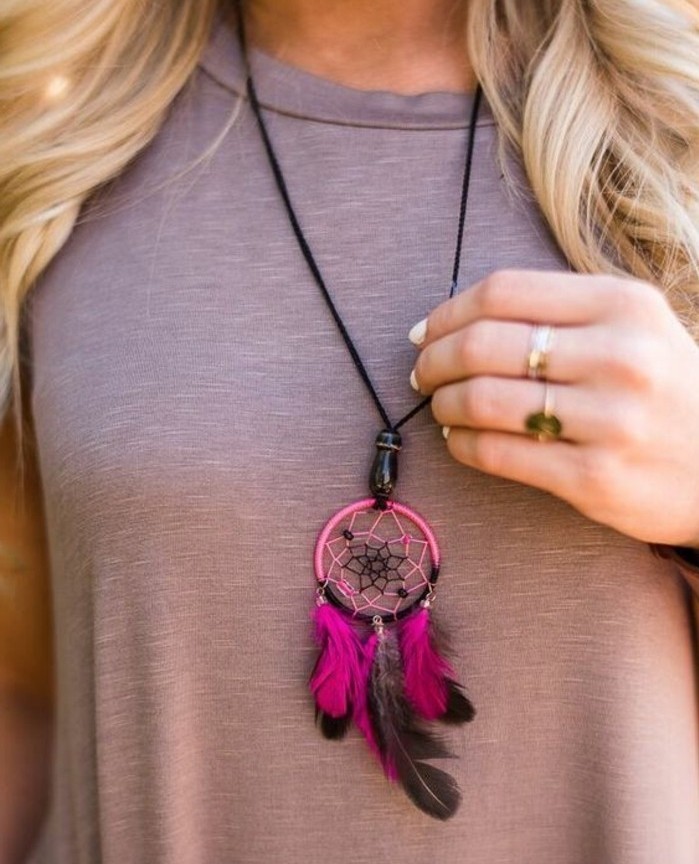
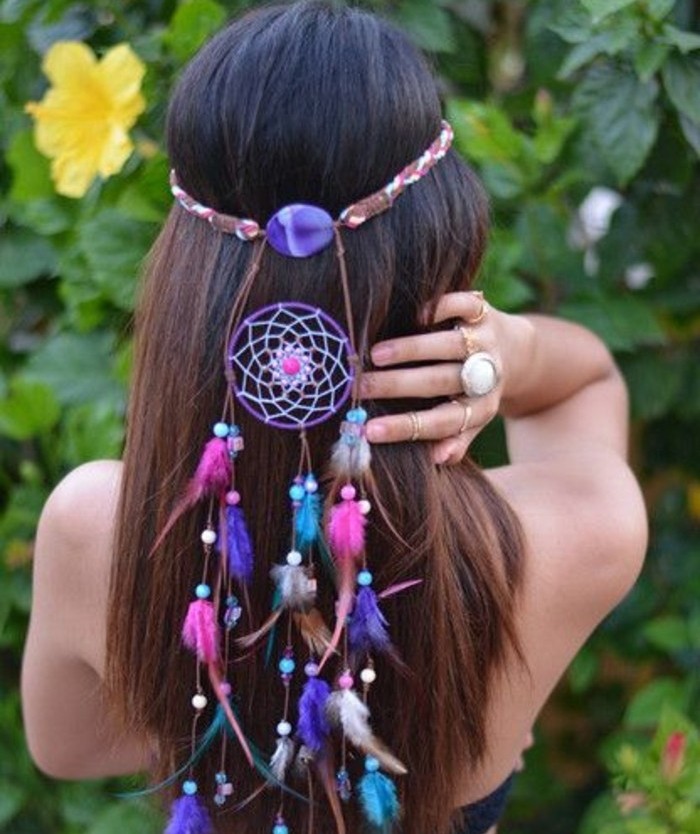
The post DIY Dreamcatcher – tutorials and 70 beautiful photos to inspire you appeared first on Architecture E-zine.
