How to Change Exterior Stone Color? – 5 Simple Steps
Stone has always been in style. Aside from becoming a timeless trend, it is functional and aesthetic in every home. It complements several home decorations, from a rustic look to a natural one. If you ... Read more The post How to Change Exterior Stone Color? – 5 Simple Steps appeared first on Arthitectural.
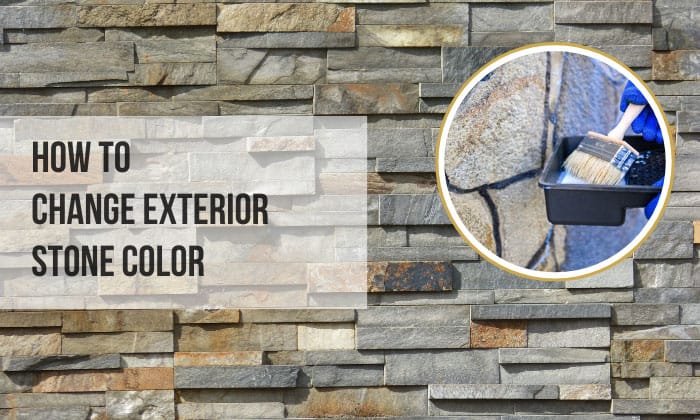

Stone has always been in style. Aside from becoming a timeless trend, it is functional and aesthetic in every home. It complements several home decorations, from a rustic look to a natural one.
If you want to spice up the color of your natural stone, staining natural stone is the best way to do this. Not only will it change natural stone color, but it will also make it stand out in your home.
Now, continue reading, and let us find out how to change exterior stone color.
Ways to Change Exterior Stone Color
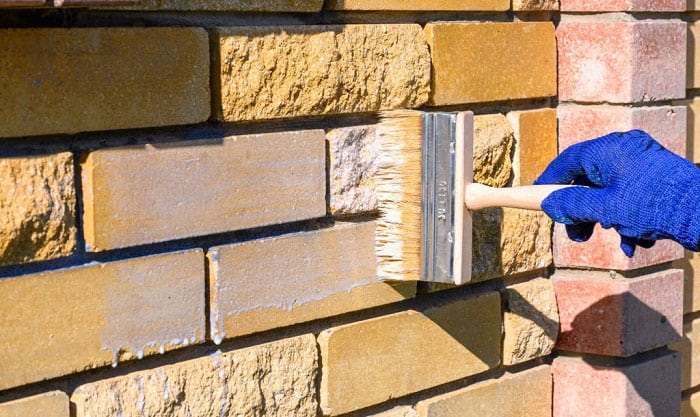
The process of adding color to a stone is what we call staining. Staining exterior stone is permanent and can enhance the color and natural appearance of the stone.
There are two types of ways to stain a stone: water-based and acid. Both stains have a variety of tones available for you.
- However, stones can be permanently stained to alter their color with acid stains. They are pretty strong and excellent for outdoor use. Besides, an acid stain is great to use for porous stones like limestones.
- Compared to acid, water-based one generates a deeper, more uniform hue. Furthermore, they are safer due to their lower VOC content. Water-based stains don’t need to be neutralized because they don’t contain acids or solvents. Also, if the stone you have is harder, a water-based stain is your good friend.
Things to Prepare!
Here are the things you must gather before painting stone house and before making your stone wall an accent wall:
- Stone or concrete stain in the color of your choice
- Gloves, Goggles, and Dust mask/Face mask
- Trisodium phosphate
- Scrub brush
- Power washer
- Stone staining product
- Spray bottle
- Paintbrush
- Baking soda
- Paint sprayer
- Stone sealing product
Step #1 Choose the Stain Color
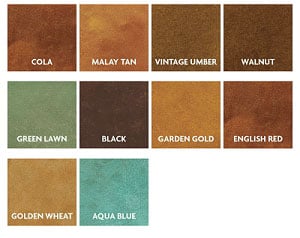
Choosing the perfect color for your stone can change how your walls look. You may choose lighter stains to lighten exterior stone or a darker one for another look.
First of all, you must know what you want to achieve. Do you want to have a translucent and more natural look? Do you want it bright or darker than the rest of your walls?
Before purchasing a stain for stone, you might want to check on ideas about stain chart for stone from Pinterest. This way, you can have an insight into what that color will look like in your home.
Step #2 Clear the Stone
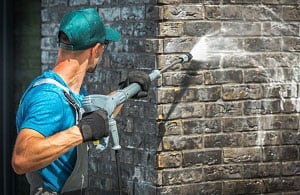
Before you can recreate the stone, you might want to start with a clean canvas. Wear your gear to protect yourself from possible harmful contaminants. Have your gloves on and wear your goggles. Now that you are geared up, you can begin the cleaning process.
- To properly clean the stone, use a Trisodium Phosphate cleaning agent mixed with water. When mixed, get a scrubbing brush and begin brushing the stone. Trisodium Phosphate is a known commercial cleaning solution used to clean interior and exterior walls before painting.
- Do not overlook tiny holes and sides of the stones that might need cleaning as well. Once the stones are thoroughly cleaned, rinse the debris with a wet rug.
- If there are areas that are so hard to clean, pressure washes them. Then, let it dry overnight.
Step #3 Test the Stain
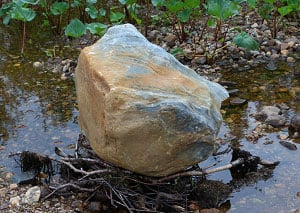
Painting exterior stone on house needs very delicate attention. You should do it properly and not ruin the entire beautifying plan. That is why we test the stain first on a spare stone outside and do not apply it directly on the stone wall.
- Have a separate piece of stone to test the stain. Make sure it is clean as well.
- Then, stain the stone. You can stop after one layer if you want a natural finish. Add more layers if you want it brighter and more vibrant.
- Let it sit overnight.
If this is the first time you color stone by staining, you must do this. But if this is not your first time, this step is optional. You can proceed to the next step.
However, if you want to see the stone stain before and after, testing it is the best thing you can do.
Step #4 Stain the Stone Wall
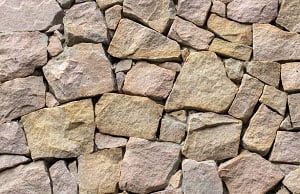
You can either use a water-based stone stain or an acid stain for your exterior stone veneer. Just choose what you prefer to use.
Here are the steps to stain the stone:
- Pour the stain (whether water-based or acid stain) into a clean spray bottle. This is very efficient in staining a large area to save time.
- Evenly and thickly coat with the stain, one stone at a time if the stones are large.
- Alternately, spray one stone at a time if your stonework is made of huge stones with mortar in between. It will be possible to get an even coverage and the same hue by working gently to cover the full surface of the masonry.
- Make sure to stain the mortar that is in between the stones. It will be out of place if it is not discolored. The discoloration won’t harm the mortar in any way.
- Use a clean brush to even out the stain.
- Leave it to dry overnight after you’re finished.
- You must wait for the first coat to dry before applying a second coat if, based on your sample, you may require more than one coat. Once the desired color is achieved, proceed to the next step.
Note! If you use an acid stain, neutralize the acid after letting it dry overnight. Get a mixture of baking soda and water. Then, coat the mixture on the surface of the stones. After that, rinse it with water and let it dry.
Step #5 Seal the Stain
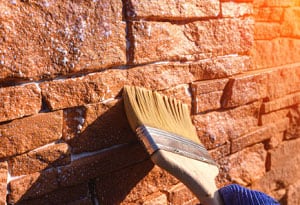
The last and final step in staining a stone wall is sealing it. Protect the stain by painting a sealing product on the surface of the stone wall. Sealing products, like a clear coat masonry sealer, are available in hardware stores.
- Use a clean paintbrush and dip it into the sealant. Evenly apply it over the entire surface of the stone with long strokes. This way, the sealant won’t be visible.
- If bubbles form while you are painting it, brush it again.
- Add another coat of sealant after 24 hours. Overnight, the first layer will be dry enough to hold another layer.
- Once the second layer is applied, give it another 24 hours to dry completely.
Conclusion
This article clearly states the process of how to change exterior stone color. This is to give you a clear direction on how staining is properly done.
Go! Choose an exterior stone paint that you love. Just make sure that it will give you the desired look without hurting the natural beauty of your home. Whether it is for a rustic look or you just want to get closer to nature, stain it, and rock your interior decor.
The post How to Change Exterior Stone Color? – 5 Simple Steps appeared first on Arthitectural.
