How To Clean A Dryer The Right Way: 8 Simple Steps
We often forget that all the appliances that do the dirty jobs for us, may also need a good cleaning from time to time. This includes the washing machine, the dishwasher, and the dryer! That’s why today we will show you how to clean a dryer the right way. Taking care of your dryer and keeping up with a cleaning schedule will help keep the appliance working well for a long, long time. Not only that but a clean dryer will work more efficiently, which means your clothes will dry faster, and you will be saving money. Dust, lint, and...
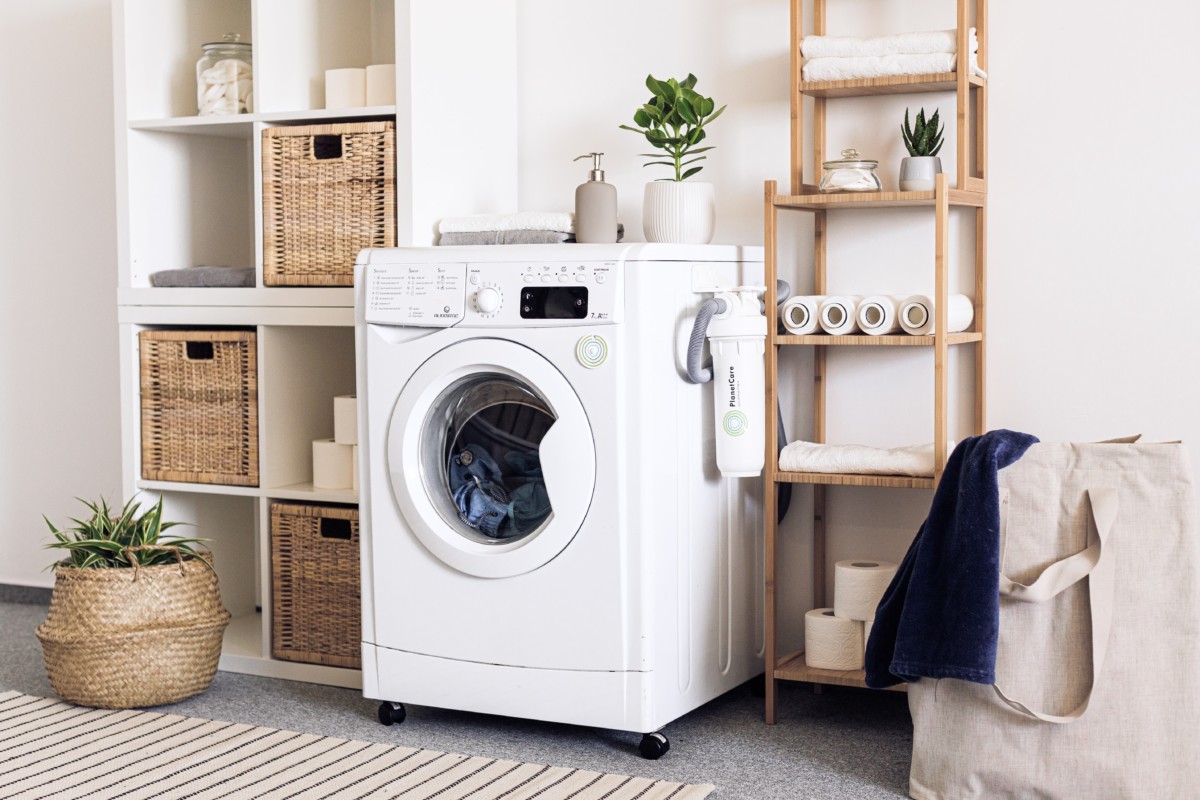
We often forget that all the appliances that do the dirty jobs for us, may also need a good cleaning from time to time. This includes the washing machine, the dishwasher, and the dryer! That’s why today we will show you how to clean a dryer the right way. Taking care of your dryer and keeping up with a cleaning schedule will help keep the appliance working well for a long, long time. Not only that but a clean dryer will work more efficiently, which means your clothes will dry faster, and you will be saving money. Dust, lint, and other debris from daily use can all affect your dryer’s performance, which will not only cause your dryer to work worse, but they can also pose a fire hazard. So, let’s see how to clean the dryer in just a few easy steps.
Taking care of your dryer will help keep the appliance working well for a long, long time
How To Clean A Dryer
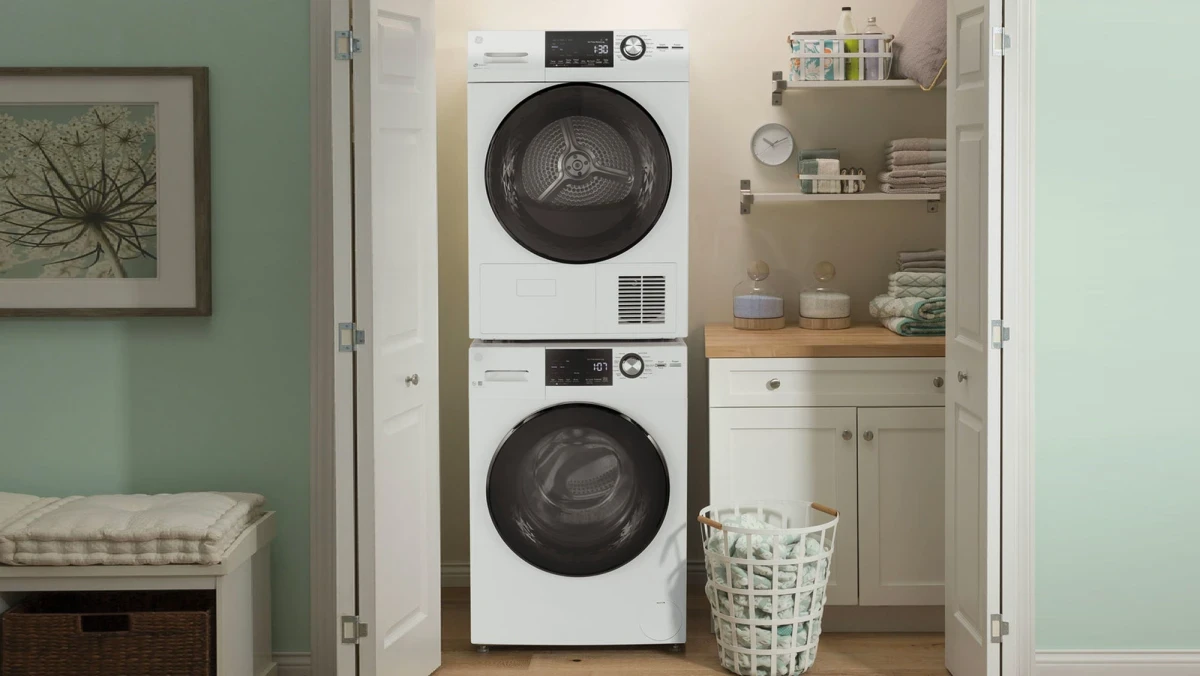
Having a cleaning routine for your dryer is a must. While some things should be cleaned after every use (like the filter), the dryer needs to be cleaned more thoroughly around once a month, depending on how heavily you use it. Proper maintenance will decrease the risk of a fire hazard, which is crucial for your safety and will help you dry your clothes easier and increase their lifespan. So, here is how to give your dryer a good clean.
Having a cleaning routine for your dryer is a must
#Gather materials
Before you start cleaning anything, you first need to collect all the supplies and materials you will need. Cleaning the inside and outside will require the right tools. While you won’t need any fancy things, it’s still a better idea to collect everything before starting. We’ve put together this checklist you can use:
- Cloth
- Water
- Vinegar
- Mild detergent
- Cleaning brush
- Vacuum with a hose
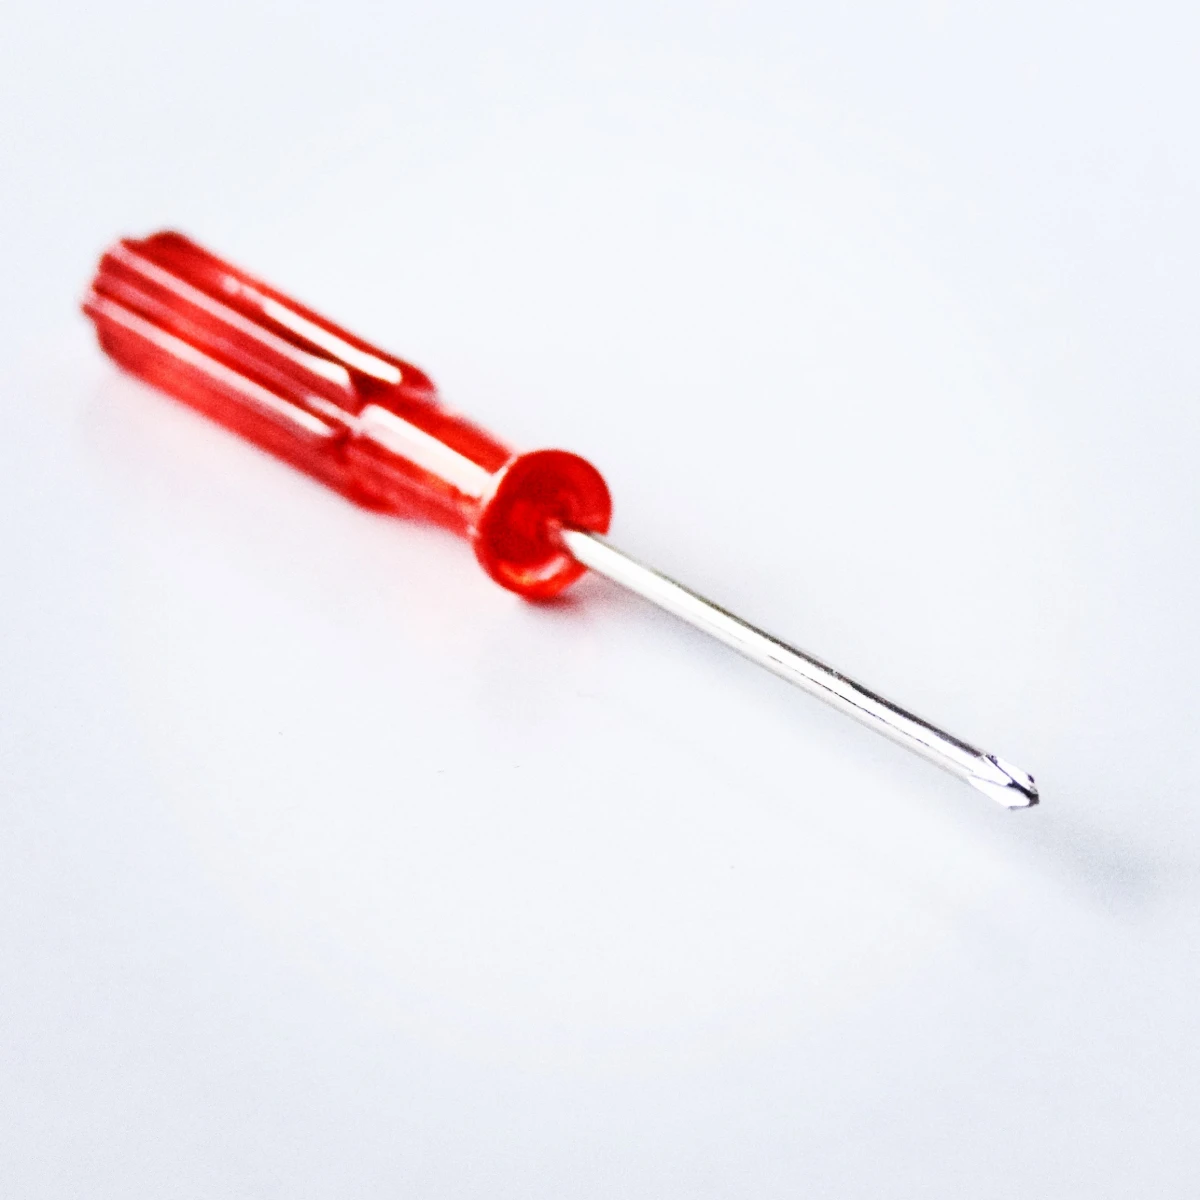
- Screwdriver
Before you start cleaning anything, you first need to collect all the supplies and materials you will need

#Remove lint
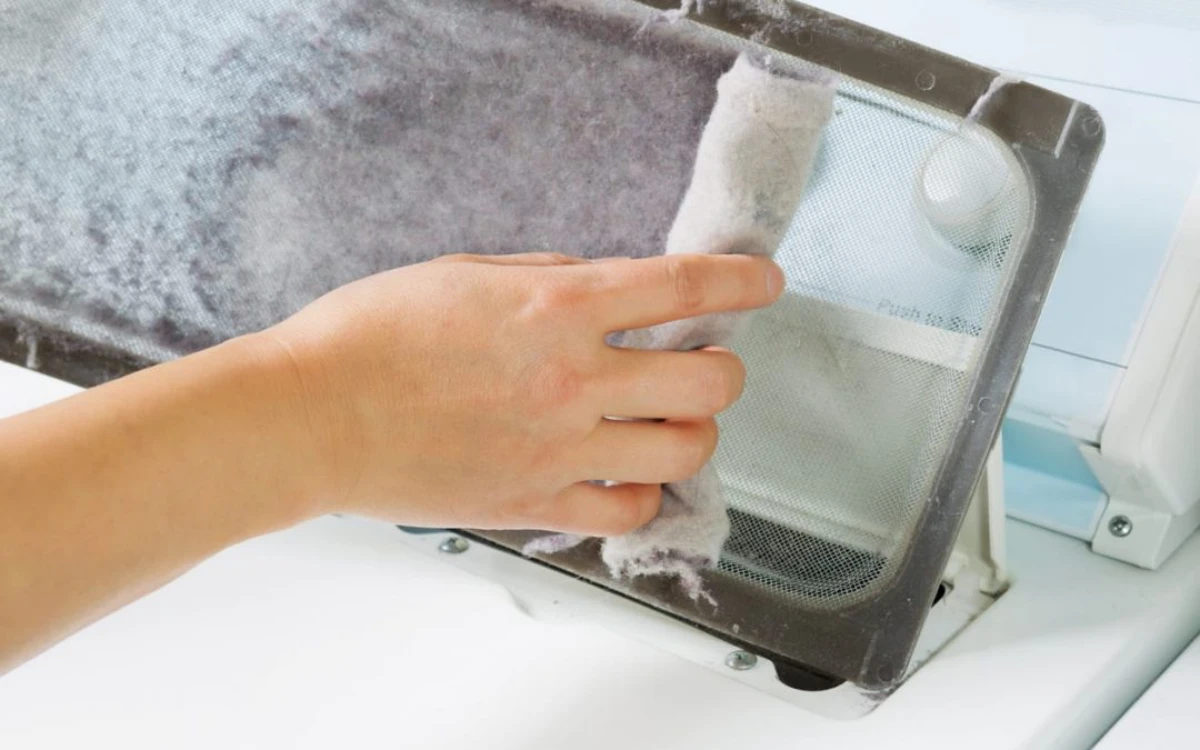
The first step and one of the easiest. A trap that is lint-free will help provide the dryer with better airflow and keep the machine working better for many years. After you have removed the trap, clean it from excess lint. This should be done after every use. When doing a more thorough cleaning, it’s also recommended to vacuum the interior and exterior of the lint trap. Then vacuum the moisture sensor strips that can be found on the outside of the trap. If needed – replace it.
A trap that is lint-free will help provide the dryer with better airflow
#Turn off dryer
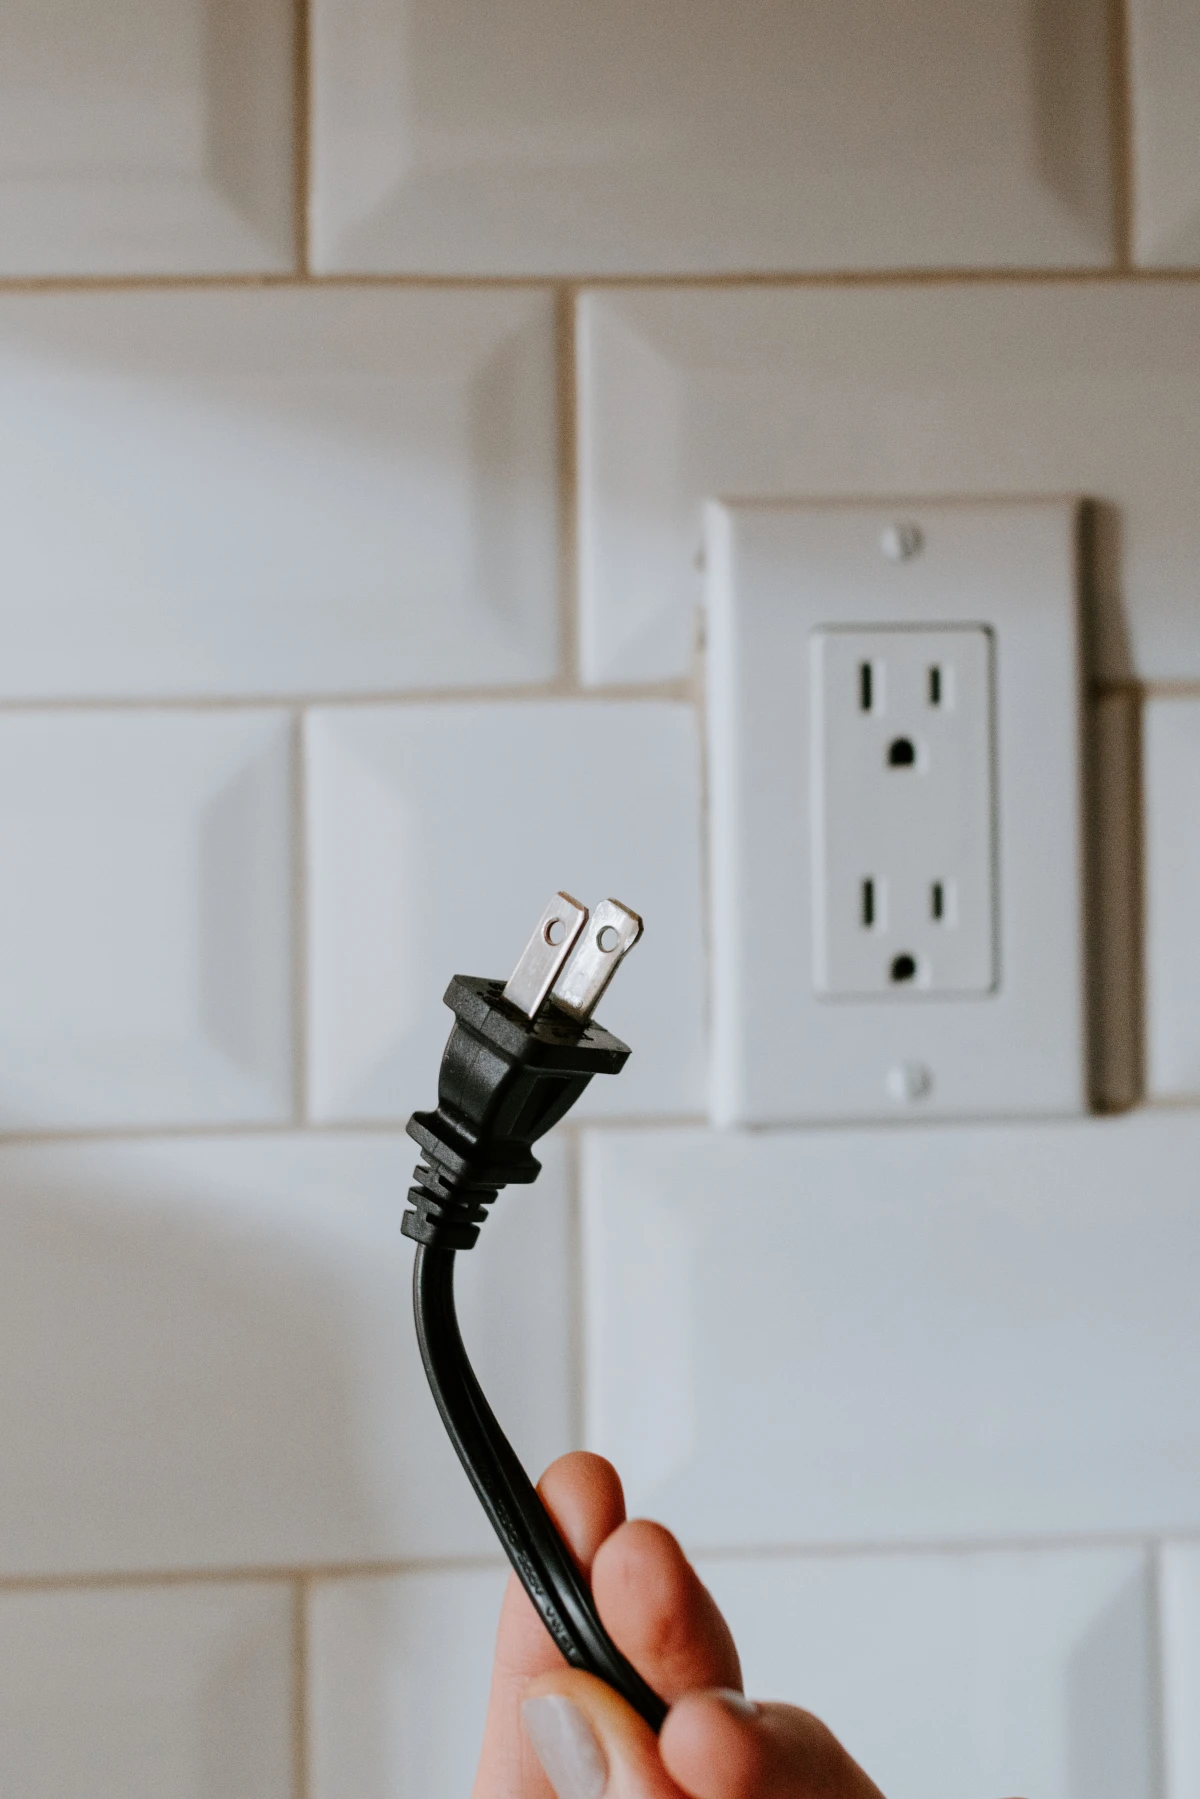
In order to continue with the cleaning, you need to shut off all the power to the dryer. This will help prevent any accidental operations while some parts are disconnected and removed. So, turn the machine off and just to be extra sure it’s best to unplug it from the socket. If your dryer is a gas dryer, make sure to shut off the valve in the gas supply line and disconnect and cap the supply line pipe.
In order to continue with the cleaning, you need to shut off all the power to the dryer
#Wipe down
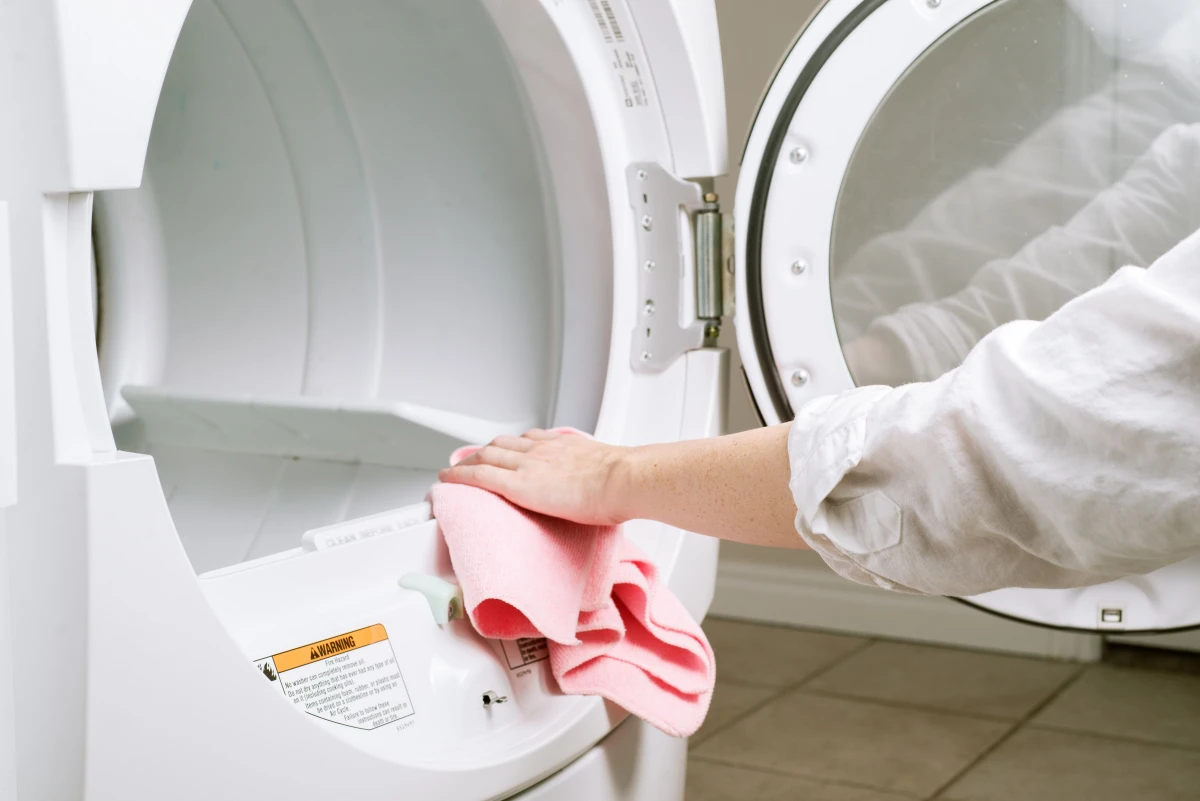
If you use fabric softeners and dryer sheets, then your dryer probably has a filmy residue all over the drum. While this is not noticeable immediately, once you give your drum a wipe-down, you will quickly see how dirty it was. First, vacuum out any debris. Then depending on your dryer, you need to use a different cleaner. If you have an electric dryer, then you can use a damp soft cloth that has been dipped in some dish soap and warm water. If you have a gas dryer, then make sure you use a nonflammable, liquid household cleaner for the wipe-down. Finally, for both types, take a wet towel and wipe out the drum. Finally, tumble a load of dry, clean cloths, clothes, towels, etc. to dry the drum.
If you use fabric softeners and dryer sheets, then your dryer probably has a filmy residue all over the drum
#Clean vent
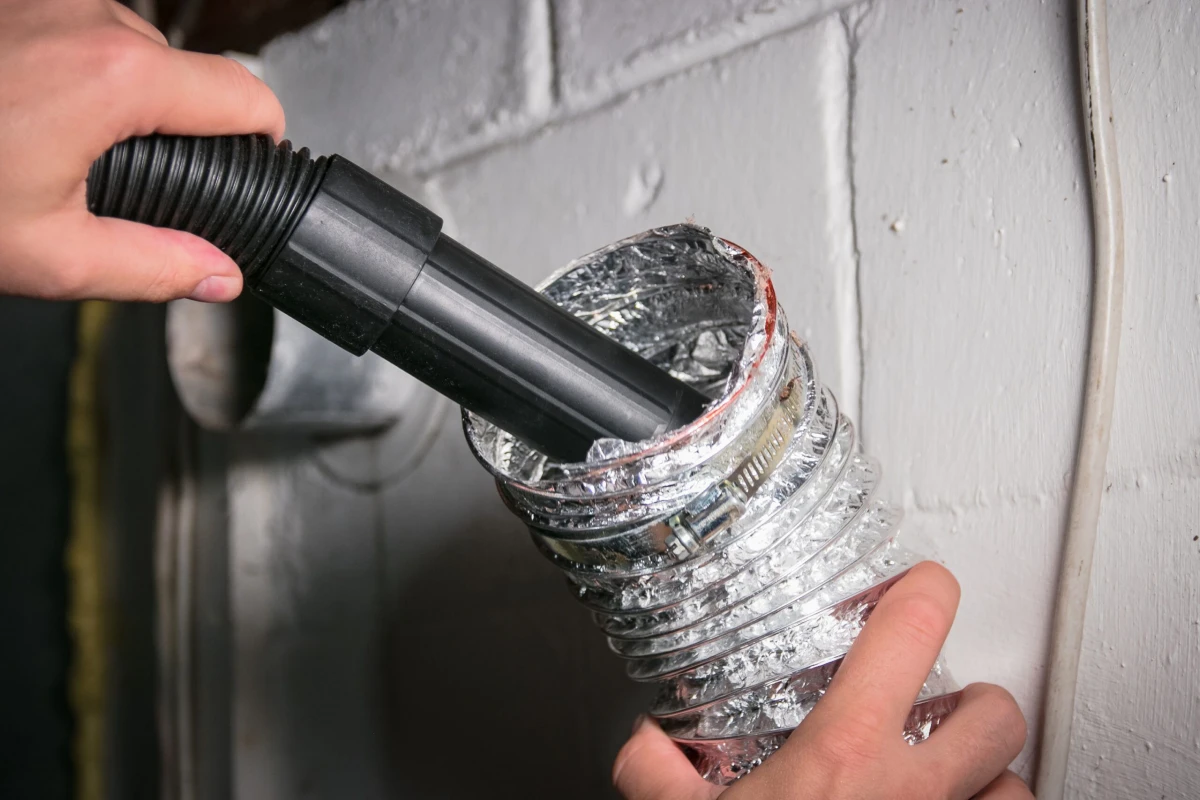
Once you’ve wiped the interior, it’s time to take care of the vents. First, make sure to make some space between the back of the dryer and the wall. Make enough space so you can easily clear out the debris. Make sure to move the vent carefully to keep yourself and the dryer safe. Next, remove the clamps with a screwdriver and detach the vent. Now with a dryer cleaning brush and a vacuum with a hose attachment go to town inside the vents. Remove as many large pieces by hand as possible, and then use the brush for the rest. The vacuum will help finish the job and collect all the dust and lint that are stuck in the crevices.
Once you’ve wiped the interior, it’s time to take care of the interior vents
#Clear exterior vent
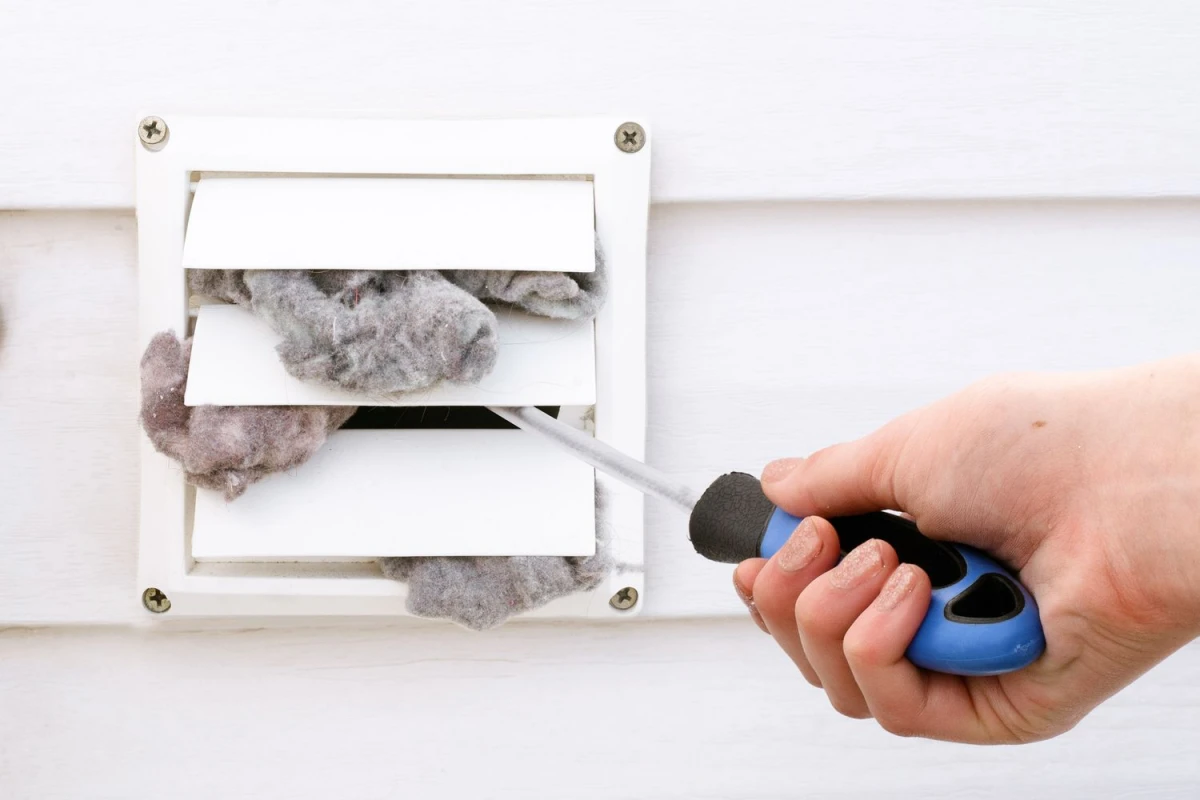
After you’ve cleaned the interior vent, it’s time for the outside vent. It can be found on your home’s roof or siding. Open the vent cover and do the same procedure to the exterior vent as you did for the interior. First, remove large pieces with your hands, then the brush, and finally if you can use a vacuum.
After you’ve cleaned the interior vent, it’s time for the outside vent.
#Reattach everything
All is clean! Now it’s time to reattach everything back together. Make sure you re-clamp and re-tape the venting to the back of the dryer. Plug the dryer back into the wall if it is electric. If you have a gas dryer make sure to turn the valve on.
Now it’s time to reattach everything back together
#Run an empty cycle
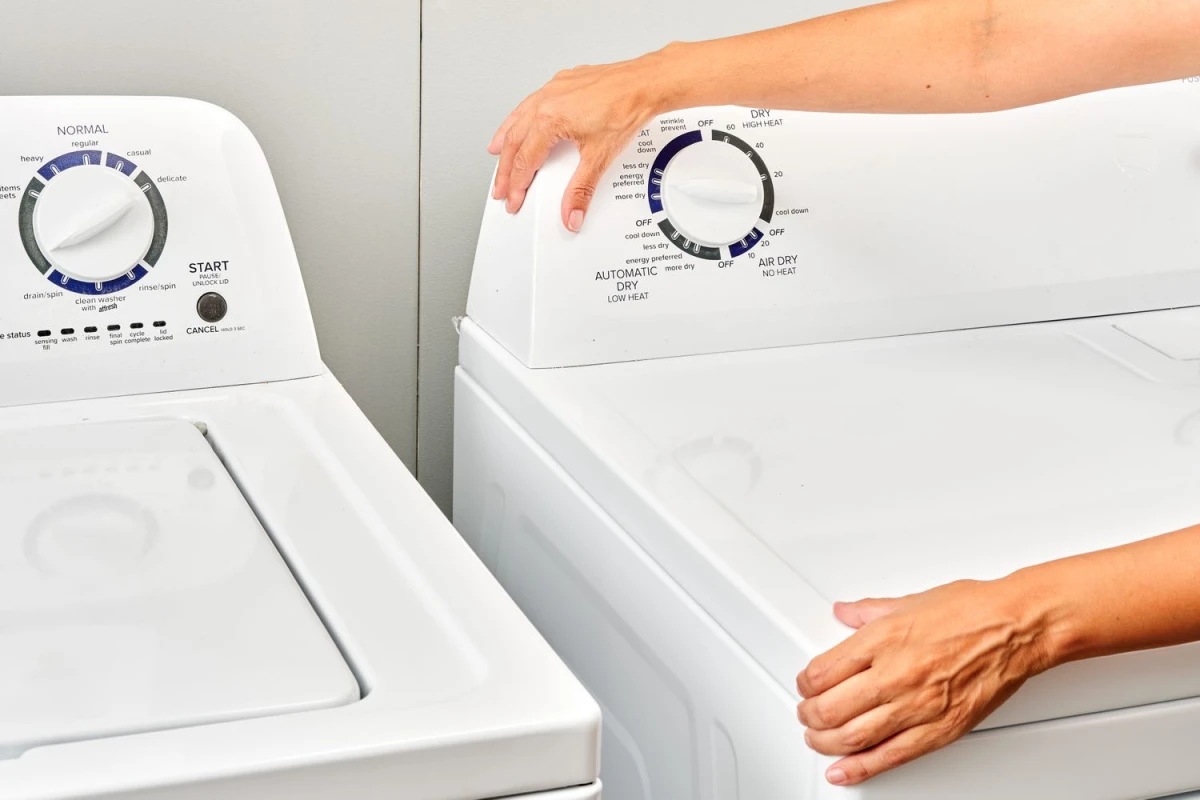
Finally, move back the dryer to the wall where it belongs. Then run the dryer on an empty cycle for around ten to fifteen minutes. This will remove any excess dust found in the system. And that’s it! You have cleaned your dryer to perfection.
Finally, move back the dryer to the wall where it belongs
This was how to clean a dryer the right way. We hope you found this article useful. Now you can easily clean out the dryer and keep it in tip-top shape for years to come. Keeping on top of dryer maintenance will also help keep your clothes looking nice and drying faster.
This was how to clean a dryer the right way
Related Articles
- Simple Guide: How To Clean a Dishwasher in 5 Easy Steps
- 7 Dryer Hacks That Will Save You Time and Money
- 10 Things You Should NOT Wash In Your Washing Machine
- Effective Tips How To Dry Clothes Fast Without a Dryer
- How To Clean Your Washing Machine: 5+ Tips and Tricks
- 10 Common Things You Should NEVER Put in a Dryer
