How to Fix Gap Between Backsplash and Wall? – 3 Methods
Adding backsplashes has been one of the trends in recent years. Many homeowners are continuously using it and adding it to their renovations. So what happens here is that people add tiles on the walls ... Read more The post How to Fix Gap Between Backsplash and Wall? – 3 Methods appeared first on Arthitectural.
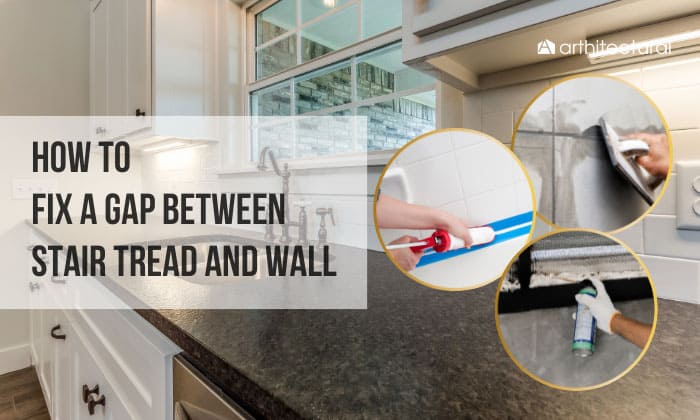

Adding backsplashes has been one of the trends in recent years. Many homeowners are continuously using it and adding it to their renovations. So what happens here is that people add tiles on the walls behind the countertop or sink. This is to protect the walls from the mess and grease from the sink.
When you add tiles to the walls, there are gaps formed by the installation issues. So, how to fix gap between backsplash and wall? We have come up with common ways to do this.
- Caulking
- Grout
- Spray foam
Ways to Fix Gap Between Backsplash and Wall
Backsplashes refer to materials, like tiles, that are used to cover the walls behind the countertop or stove.
In some cases, some homeowners use backsplash in the bathroom. It is not necessary, but some homeowners add a backsplash to their vanity walls. Kitchens and bathrooms are used daily; taking care of them is one of the easiest ways to prevent any possible problems.
Here are some of the best ideas for gap filling to mend the the gap between the backsplash and the wall:
Method#1: Caulk it!
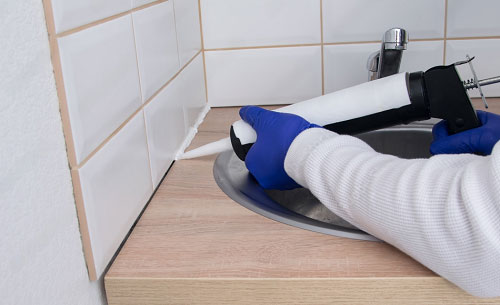
Caulking is very common to homeowners when renovating and repairing.
Caulking can fill large gaps between cabinet and wall to ensure that water and air cannot get through it.
Step 1: Prepare the Materials
Before you start caulking, preparing the materials is the initial step.
- Painters Tape
- Silicone Caulk
- Gloves
- Caulk Gun
- Backer rods
- Clean rug
- Paint
- A brush and cleaner
Take note that using silicone caulk is recommended as it is resistant to water, heat, and chemicals, which are prevalent in your kitchen.
Step 2: Prepare the area
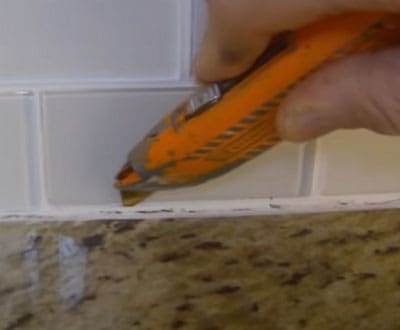
- You can do a quick clean using a clean damp cloth. If you want to be more thorough, use a soft-bristled brush and some cleaner to remove any debris or dust from the surface. Make sure to let it dry completely.
- Then, tape the edges of the backsplash to keep it safe and secure while you work with the caulk. Especially when the backsplash is so important for you, adding painter’s tape will be handy.
Step 3: Place the Backer Rod
If there is a large gap between sink and wall, add a backer rod before applying caulk.
A backer rod is a flexible foam used together with a sealant or caulk to fill 1-inch gap or larger.
Besides, there is increased protection from water and heat pressure.
Step 4: Apply the Caulk
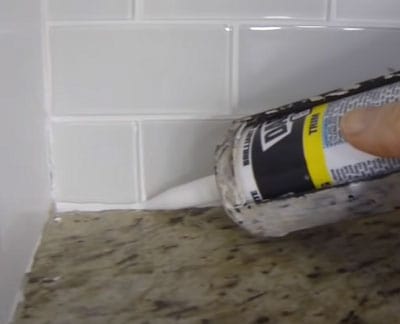
Wear your gloves, and you can begin applying the caulk to fill the gap between countertop and backsplash.
- Pierce the caulk tube and secure it to a gun. Then, position it at a 45-degree angle or a slanted angle.
- Next, pull the trigger of the caulk gun evenly while carefully caulking backsplash to countertop so that the caulk bead has the same thickness throughout the entire gap.
- After filling the gap, run your gloved fingers to smoothen the applied caulk.
Step 5: Let the Caulk Dry
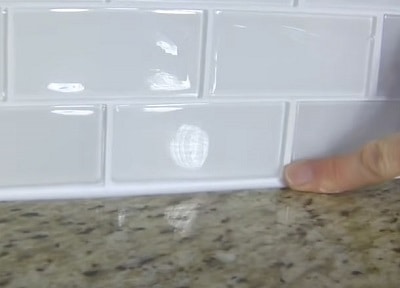
Then, remove the tape from the edges of the backsplash and let it dry.
If it dries, check the gap and see if there are tiny holes you need to spot, fix and let it dry again.
Step 6: Paint the Caulk
The last step is painting the caulk. Choose a color that is the same tone as the wall color. If not, choose a color that will complement the backsplash.
Leaving the caulk unpainted will not make it look finished and will only attract dirt.
Method #2: Use a Grout!
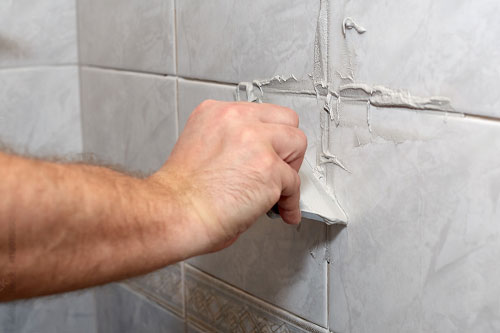
Another backsplash gap filler you can use is grout, which lasts long and is permanent once added to the gaps.
Also, grout is water-resistant and available in a variety of colors. If you want a nice look for the area, use grout in a darker color, and for a natural accent, use tones in the same hue as the wall.
It has two types:
- Cementitious Grout – It is a mixture of cement, sand, and water to fill in gaps that are rather deep.
- Epoxy grout – Epoxy grout is a grout made from epoxy resin, aggregates, and other types of hardeners. It is the new standard of grout since it tackles areas concerned with traditional cementitious grout.
Here’s how to apply grout:
Step 1: Prepare the Materials
The initial process is to prepare the following materials:
- Painters tape/ old newspaper
- Cloth
- Small bucket
- Water
- Grout mixture/Grout powder
- Grout spreader
- Damp cloth
- Grout sealant
Step 2: Prepare the working area
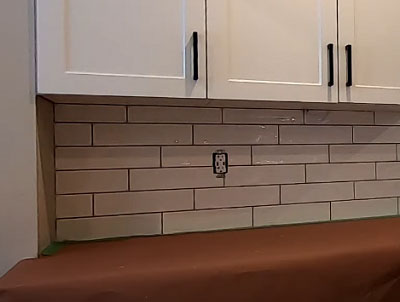
Clean the area, including the wall and the gaps that will be filled.
After the area is dry, tape the edges of the backsplash.
Step 3: Mix the Grout
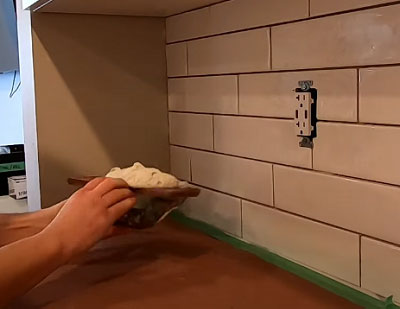
Then, get your small bucket and put the grout mixture in it. If you do not get the mixture, get the grout powder and put it in the small bucket.
Then, gradually add water and mix it. Continue doing it until the mixture has a paste-like consistency.
Step 4: Apply the Grout
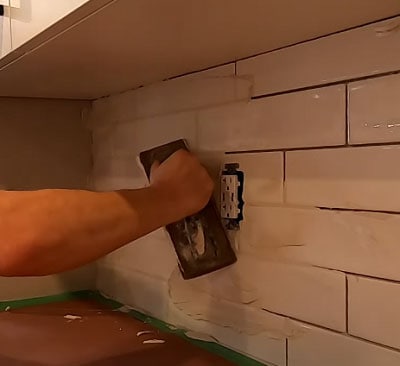
Get a grout spreader and position it at a 45-degree angle. Then, apply a mixture of grout to the gaps diagonally. Be quick in pushing the grout so that you will be able to smoothen it before it dries up.
Step 5: Clean it
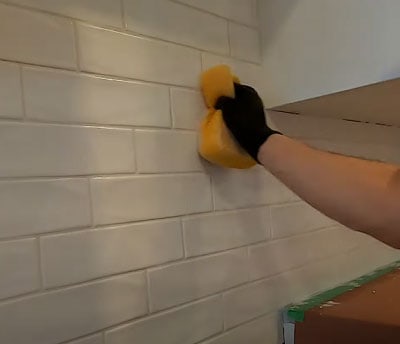
After the grout has dried and you find excess grout and tiny particles of grout in the backsplash, use a damp cloth to wipe it and clean it.
Step 6: Seal it
There are sealants made for grouts. To increase its lifespan, make sure to seal it. Doing so protects it more from water and heat.
Method #3: Spray it with Spray Foam
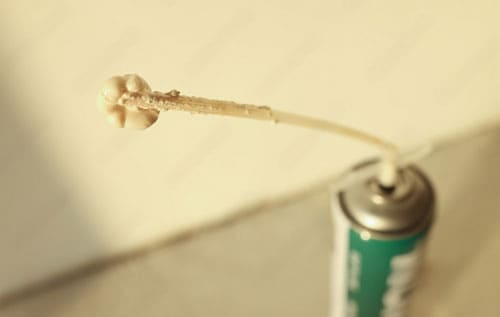
If there is a gap between bathroom vanity and wall, spray foam is the best option. It is a convenient spraying agent frequently used to repair small cracks and gaps. For your information, it works by insulating crevices and gaps.
- All you have to do is wear your goggles and get the spray foam.
- Since this spray expands, make sure to be slow and careful during application, and frequently check if it forms bubbles.
- Once sprayed and you see excess foam, trim and sand it.
- Lastly, paint it with a color that complements your backsplash.
Conclusion
One problem that many homeowners have to deal with is when the backsplash does not reach cabinets. To fix this, knowing how to fix gap between backsplash and wall is crucial.
All you have to do is either caulk it, fill it with grout, or spray it with a spray foam. These are easy to do and are available on the market for you. Then, seal or paint it with any color, preferably a color that complements the wall.
Afterward, enjoy your kitchen or bathroom finished look.
The post How to Fix Gap Between Backsplash and Wall? – 3 Methods appeared first on Arthitectural.
