How to make a gift bag out of wrapping paper: Easy & Unique DIYs
Remember all those times when you wished you had a gift bag perfect for all your Christmas gifts? Sometimes, no matter how hard you try, it is almost impossible to find the perfect gift bag for a more unusual present. That is exactly why, in this article, we will show... The post How to make a gift bag out of wrapping paper: Easy & Unique DIYs appeared first on Architecture E-zine.
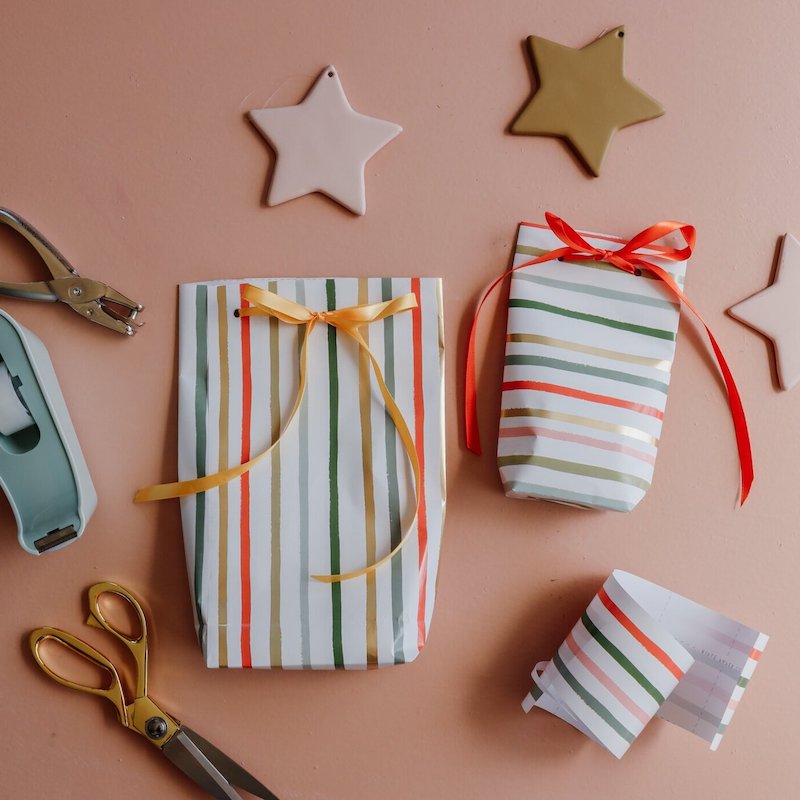
Remember all those times when you wished you had a gift bag perfect for all your Christmas gifts? Sometimes, no matter how hard you try, it is almost impossible to find the perfect gift bag for a more unusual present. That is exactly why, in this article, we will show you how to make a gift bag out of wrapping paper easily at home in just a few minutes. These 2 methods we will share with you can make cute gift bags in all sizes-small, medium, and large. So, next time you have a present you cannot find the perfect bag for, you can come back to this article! What’s more, this DIY project is easy and perfect to try out during the holiday season of gift-giving. So without further ado, let’s dive into this super fun and easy DIY for unique packaging made from wrapping paper!
Wrapping paper comes in many different patterns and designs, you can experiment with
It is time to put your leftover wrapping paper rolls into good use

Can you make a gift bag out of wrapping paper?
Yes! And, it is not hard to do. Making gifts bags out of wrapping paper is also better than you think. What’s more, it is a great hack to use up your rolls of leftover wrapping paper. You can also completely customize your gifts by choosing a wrapping paper with unique patterns and designs. Your gifts will surely stand out from the rest with their homemade feel and beautiful designs. Moreover, once you get the hang of making these gift bags, you will create unique and artsy packaging in no time! And, don’t limit yourself to just Christmas gifts! This wrapping paper DIY is perfect for birthdays, baby shower gifts, Mother’s Day, anniversary presents, and cute Valentine’s Day surprises. No matter if you are gifting a plant as a housewarming present or a cozy knitted blanket, these DIY gift bags will take all your presents to the next level! Be ready to become everyone’s favorite DIY friend this holiday season!
Instead of collecting leftover wrapping paper, transform it into cute gift bags
Method 1: For small & medium-sized gift bags
Perfect for: smaller presents like a houseplant, book, bottle of wine, a ceramic mug, etc.
Difficulty level: easy
Time: 10 minutes
What you will need:
- wrapping paper sheets
- transparent tape
- a pair of scissors
- a piece of cardboard (optional)
- ribbon, bows, and tissue paper (optional)
Step-by-step instructions:
- First, cut a piece of wrapping paper to make into a gift bag. Make sure the bag is big enough to fit your present!
- Next, lay the paper on a flat service in a way that the longest side is horizontal. Fold in the sides to the center of the paper and tape them down using a transparent tape roll.
- Then fold up the bottom section of the wrapping paper up about 3-4″ in order to create a fold. After that, unfold the paper, open the bottom of the gift bag and fold in each side in order to form a triangle shape.
- After that, fold the top and bottom parts of the flaps you created so that they meet right in the center. Tape them across the seam.
- Finally, open the bag at the top and add your gift inside. You can add a piece of cardboard at the bottom to reinforce the bag for heavier gifts.
- Use the ribbon to tie around the bag, add a bow to the front, or stick colorful tissue paper inside for a more special look.
You are done!
Take a look at the visual step-by-step instructions:
Step 2: Fold in the sides to the center of the paper
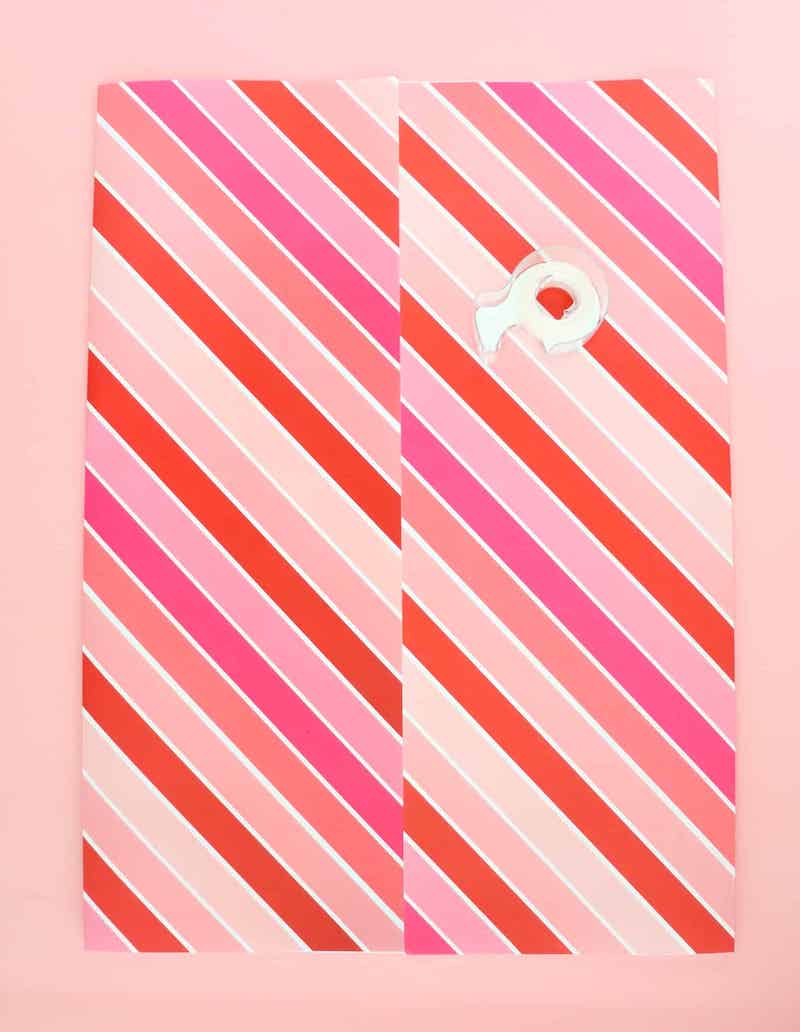
Step 2: Tape down the sides using a transparent tape

Step 3: Fold up the bottom section of the wrapping paper up about 3-4″ to create a fold

Step 3: Open the bottom of the gift bag and fold in each side in order to create a triangle shape

Step 4: Fold the top and bottom parts of the flaps and tape them across the seam

Finally, your wrapping paper gift bag is complete!
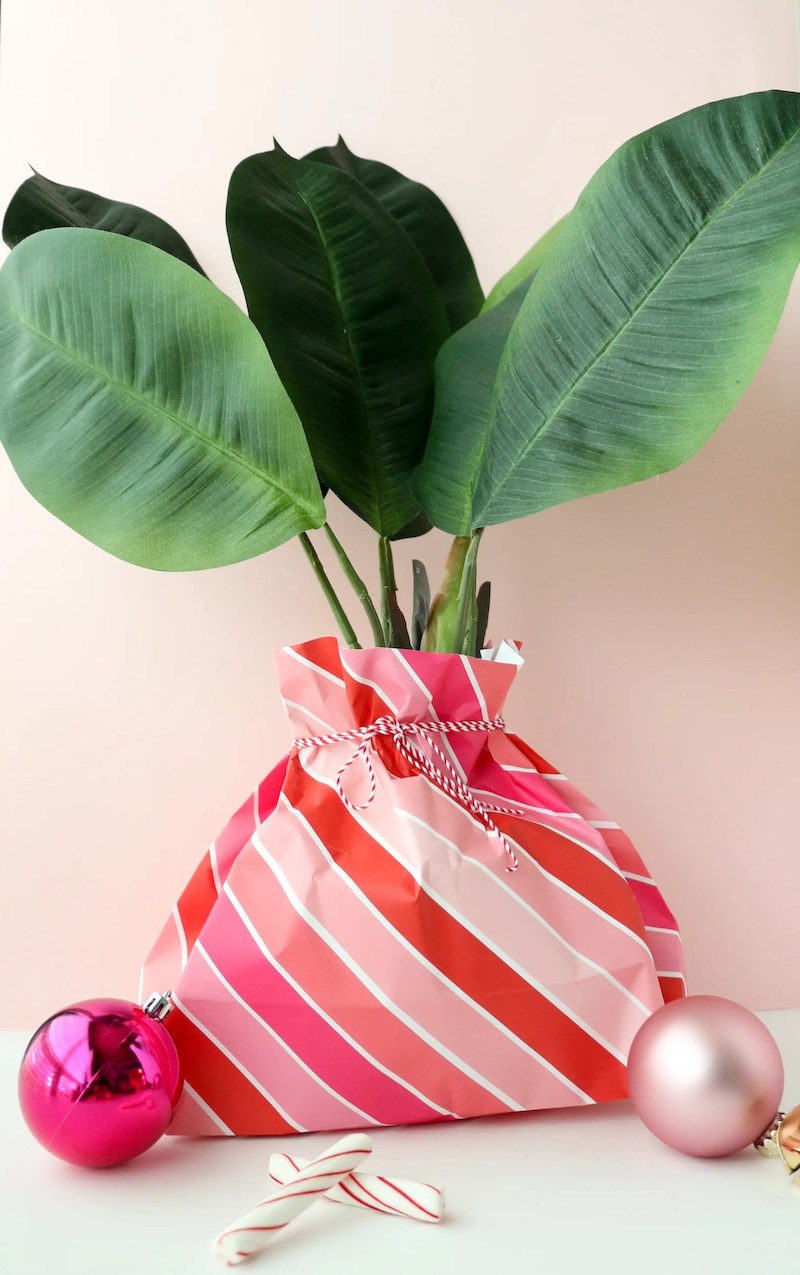
Be creative and try out different styles
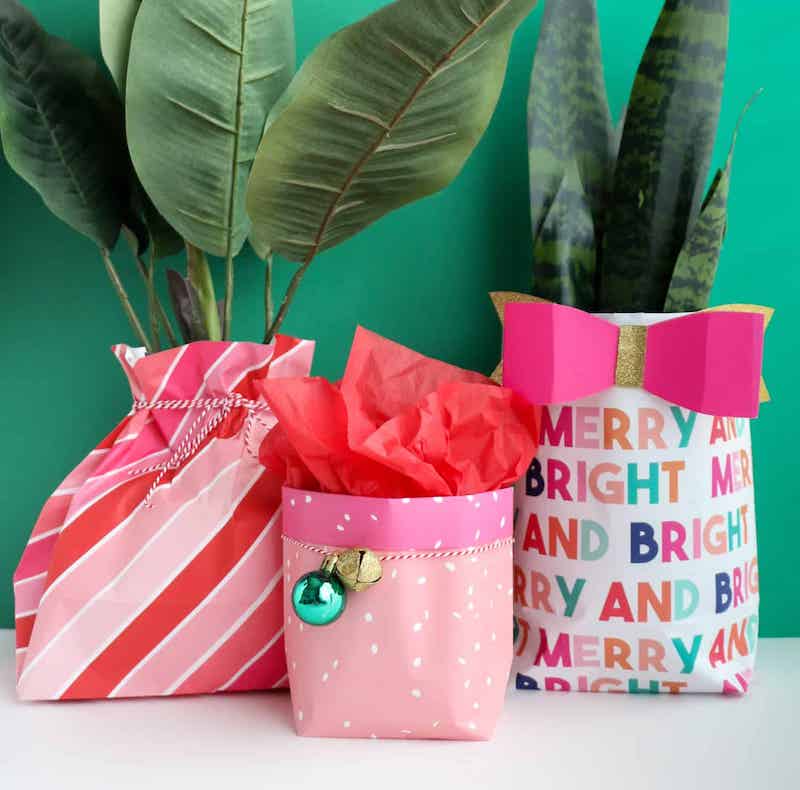
Photo credits // A Beautiful Mess
Watch this video for more in-depth instructions:
Method 2: For big gift bags
Perfect for: larger and more voluminous items like blankets, heavy books, electronics, home decorations, etc.
Difficulty level: medium
Time: 20 minutes
What you will need:
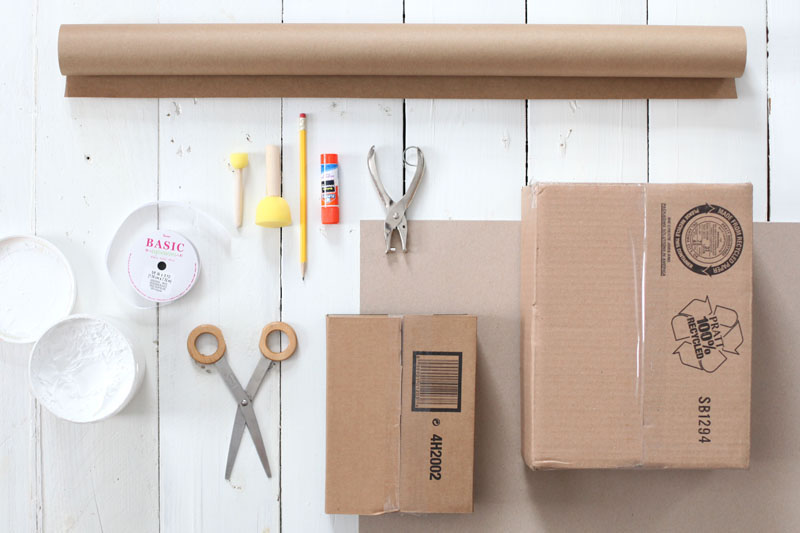
- an old box (choose a size that can fit your present)
- wrapping paper (opt for thicker paper)
- a pair of scissors
- glue (preferably a glue stick)
- a hole punch
- ribbon
- a transparent tape roll
- a piece of cardboard
- a pencil (optional)
Step-by-step instructions:
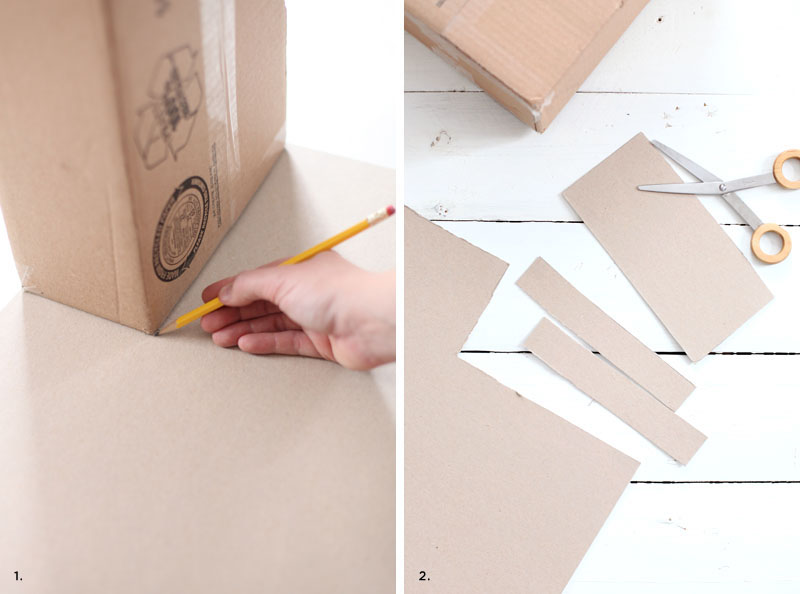
- First, lay your empty box on its end and use a pencil to trace around it.
- Next, use the scissors to cut out the rectangle shape you just traced. This will be used to stabilize the bottom of your gift bag later on. After that, cut out a second, smaller, and skinnier rectangle shape. Then cut it again in half lengthwise. These two pieces will be used to reinforce the handles of your gift bag later on.
- After that, lay the empty box onto the wrapping paper you chose and cut out the paper while leaving a three-inch overhang on each side of the box.
- Next, on one side of the wrapping paper that you just cut, fold down two inches of the edge of the paper in order to make a crease.
- Then position the empty box right up to the edge of the crease you just created. Wrap the paper around it so that the seam is on one of the edges. Using a glue stick, close off the seam. If you need to, use the tape to hold it in place.
- After that, stand up your box so that the creased edge of the wrapping paper is facing down. Close up the upward-facing overhang just like you would for a gift. Use the glue and tape to hold everything into place.
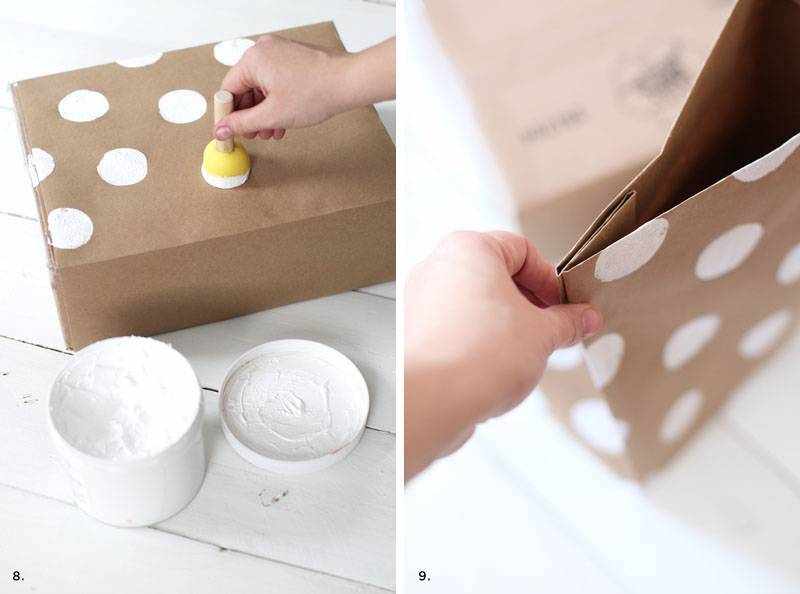
- Next, pinch each corner of the bag using your fingers and make creases at the edges.
- Then wiggle out the box from inside the wrapping paper and crease the sides of the gift bag.
- After that, put glue on one side of the cardboard pieces that you cut out in the beginning.
- Next, to reinforce the place where the handles will go, insert the cardboard pieces under the folded edges of the bag and press them into place. After that, do the same for the bigger piece that goes at the base of your gift bag.
- Finally, punch two holes at the top of the gift bag and cut two lengths of ribbon that will serve as handles. Place them through the holes and create a knot.
You are done!
Take a look at the visual step-by-step instructions:
Gather all your supplies beforehand
Step 1 and 2: Trace your box and cut out reinforcement pieces
Step 3 and 4: Cut out the paper and fold down two inches of the edge to make a crease
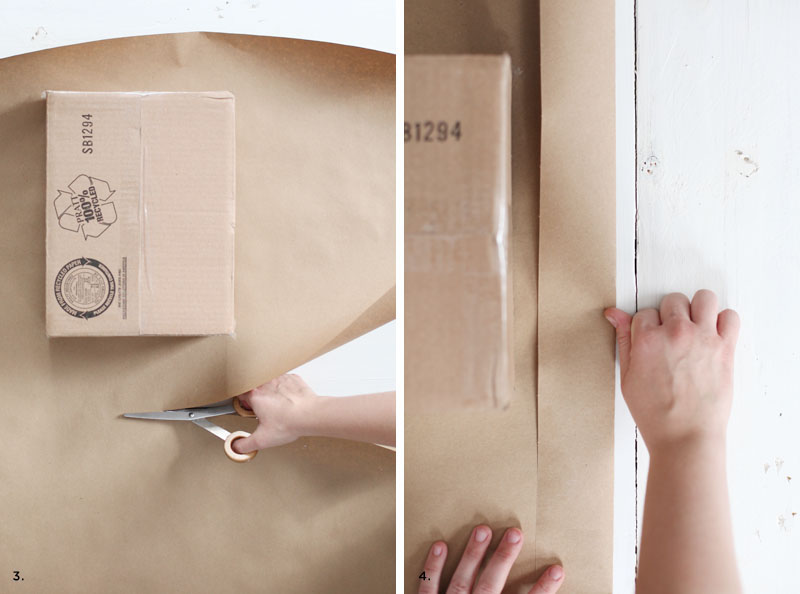
Step 5: Use a glue stick to close off the seam
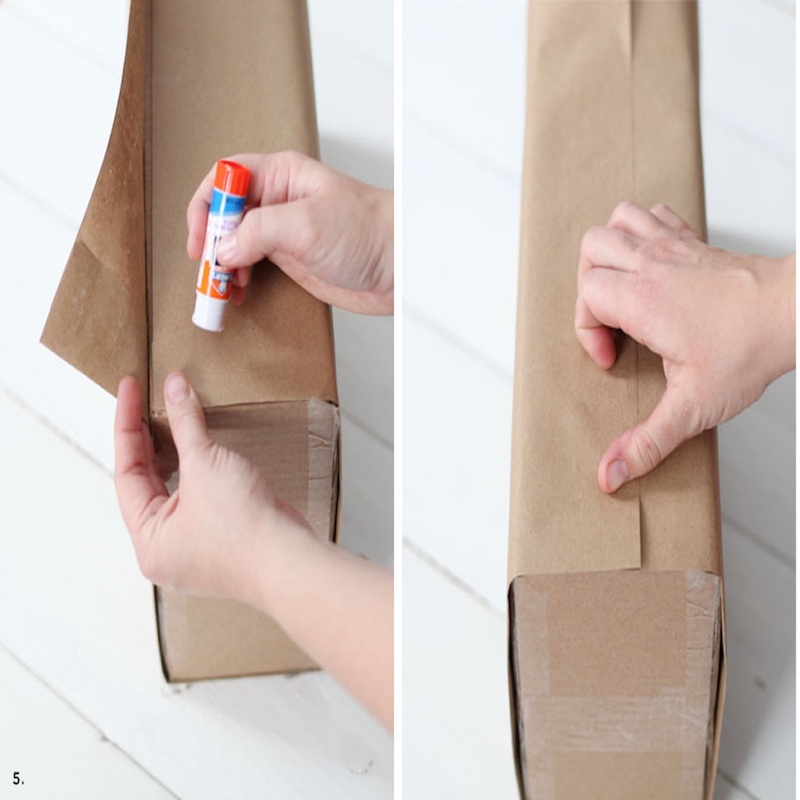
Step 6 and 7: Close up the upward-facing overhang just like you would for a gift
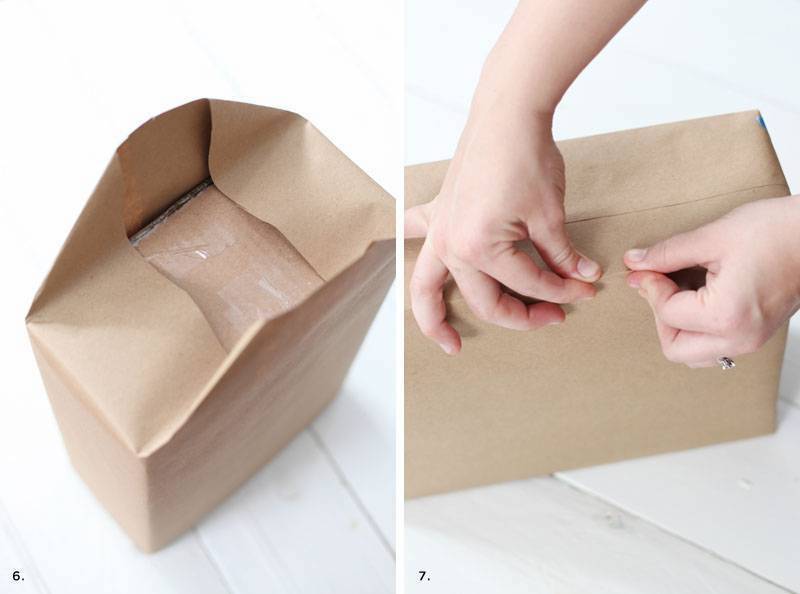
Step 8 and 9: Decorate your bag using paint (optional) and pinch each corner to make creases at the edges
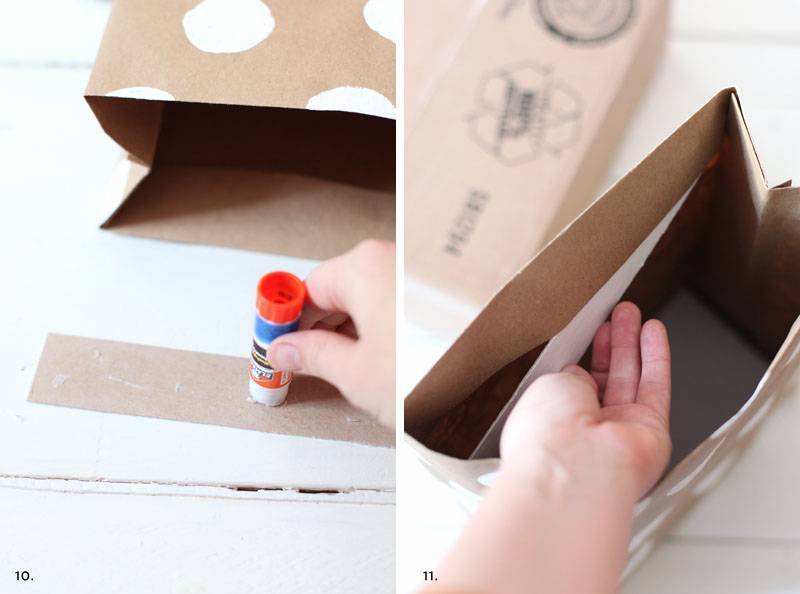
Step 10 and 11:Wiggle out the box from inside and secure the reinforcement pieces
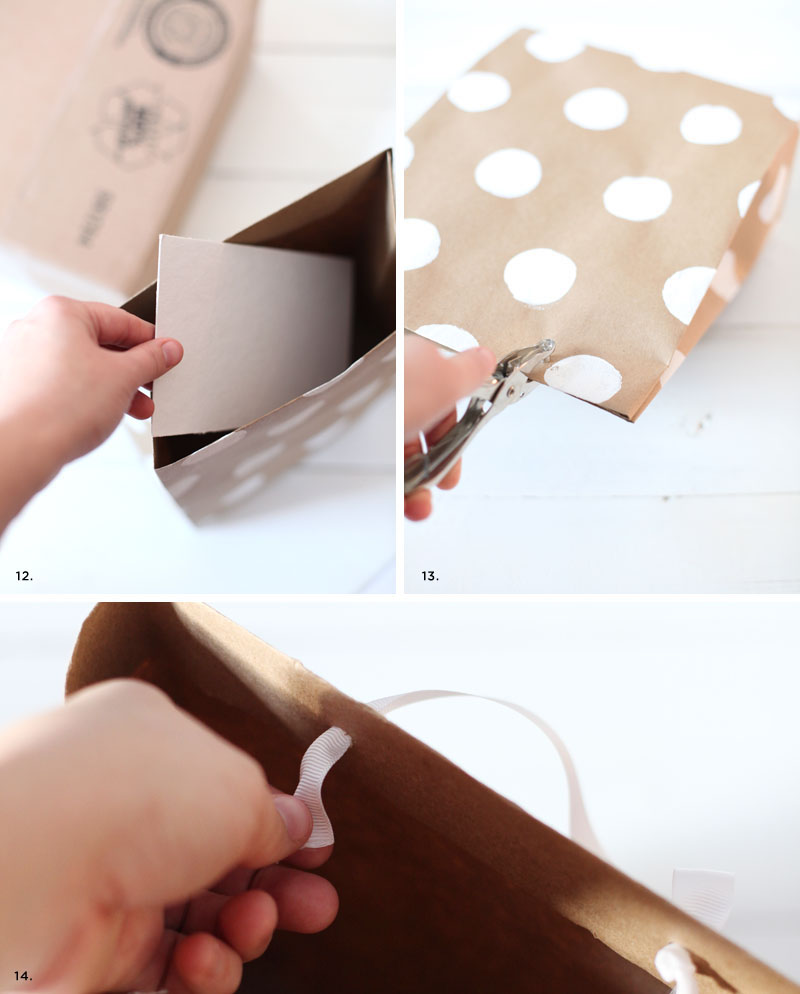
Step 12, 13, and 14: Punch two holes for the handles and secure them into place
Finally, your DIY wrapping paper gift bags are ready!
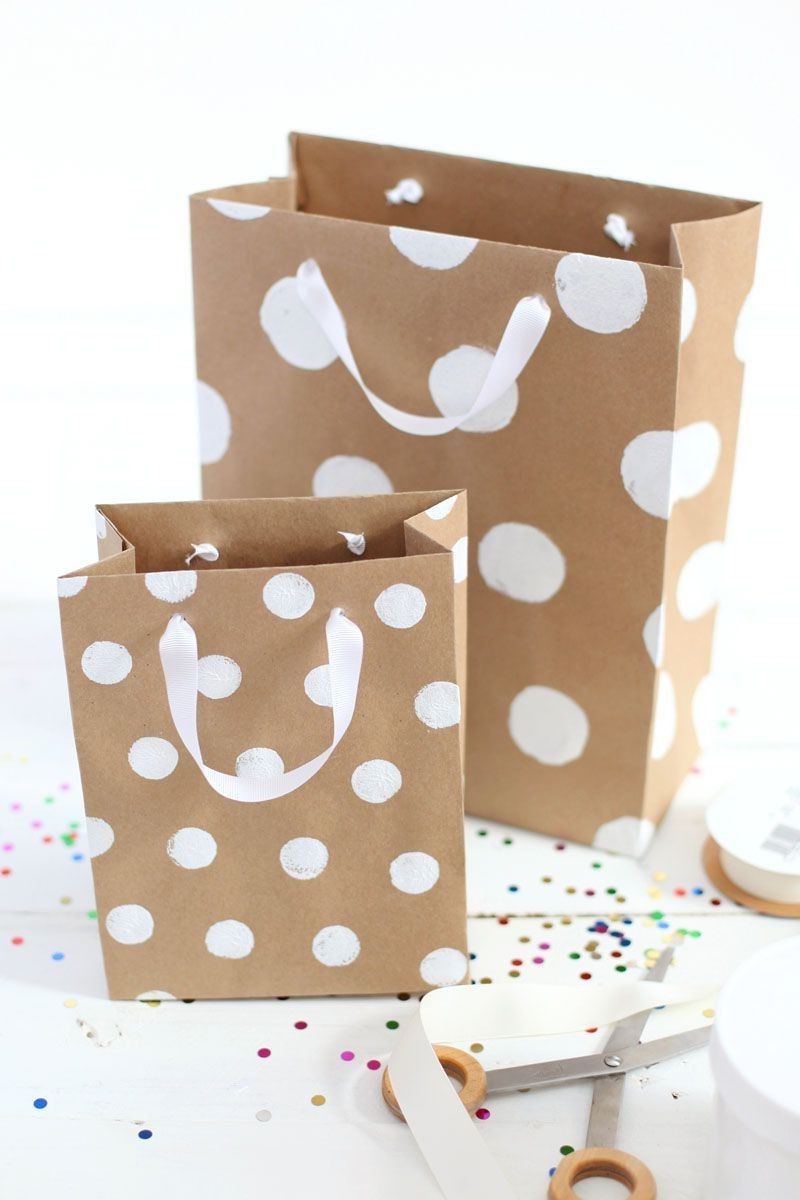
Photo credits // A Beautiful Mess
The post How to make a gift bag out of wrapping paper: Easy & Unique DIYs appeared first on Architecture E-zine.
