How to make a macrame plant hanger – step-by-step tutorials
Staying at home is not for everybody. Some people love to spend time outside, to be with their friends, to walk around in the parks. In these troubling times, however, staying at home is super important. So, we are here to help keep you entertained by providing lots of fun... The post How to make a macrame plant hanger – step-by-step tutorials appeared first on Architecture E-zine.
Staying at home is not for everybody. Some people love to spend time outside, to be with their friends, to walk around in the parks. In these troubling times, however, staying at home is super important. So, we are here to help keep you entertained by providing lots of fun DIY ideas that you can fill your time with. What’s more, today we have prepared an article for something that you can also use to decorate your home. So, withour further ado, here are easy step-by-step tutorials on how to make a macrame plant hanger.
How to make a macrame plant hanger – easy DIY tutorials
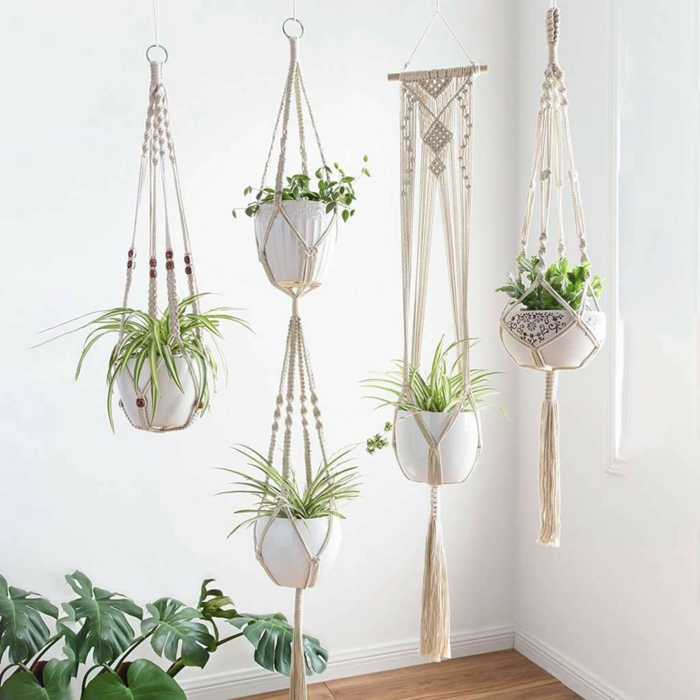
Macrame plant hanger for a complete boho style decor
Here is our first easy tutorial
How to make a macrame plant hanger?
Supplies:
45-50m cord
a tape measure
scissors
tape
a hook to hang the plant hanger while you knot
These are you measurements – you need 8 x 5.4m cords, 1x 1m and 1x 2m
Next step
Grab the 8 cords together and fold them in half with a loop top as shown in the photo above. Tape them together about 7cm below the top.
Step No.3
take the 2m cord and use a larks head to tie it to the top of the loop as shown in the photo.
Step No. 4
Start looping around the middle of the loop with a vertical larks head. Pull the right thread over the loop, then under and then through the tried while tightening. Then, with the same thread pass it through under the loop, upward though it and then pull through while tightening. Keep doing that until you are finished with one side and do the same with the other. Now take off the tape and tie the loop together with the 1m string, suing a gathering knot.
Time to start building the actual hanger
Separate the 16 string into 4 groups of 4. In one group knot a 25cm section with spiral stitch and repeat for the other 3 groups.
Let the strings hang free for 15cm and make a big normal knot for each group
Then knot a 25cm length with a square knot, once again for all the groups
This next step is very important
Let the string hang free for 10cm and the knot two square knot with two strings from two adjacant groups and repeat with the other groups. Make sure there are no cross overs between the strings.
The grand finale
Leave 10cm free and ake the neghbor threads and knot them together with two square knots. Once done tie all strings together in a large knot.
The finals results
Source: heylilahey. com
Tutorial No. 2
How to macrame – DIY hanging planter
Supplies:
50ft rope
ruler
scissors
Begin by cutting 8 x 6ft strands and tying them together as shown in the picture
Step 2
separate the strand into 4 pairs with 2 pieces each. Measure 4 inches down from the large knot and tie each set of two strands with a square knot.
Repeat with the other sets of 2
Second row
Take on strand of a pair and tie it with a neighboring pair with a square knot. Repeat for the other sets.
This will form the basket for your pot
Repeat the same to create a third row, each row should be about 4 inches apart
Finally gather all thhe strands together and tie them with a simle overhand knot
Source: fiberartsy. com
Step-by-step tutorial No. 3
How to make a hanging planter?
Supplies:
jute twine
wooden beads
4-inch rattan cane ring
pencil
scissors
ruler
How to make a square knot
Hanger loop
Cut 8 x 6m strands. Grab all of them and fold them in half, tie into a knot a leave a loop.
Step No.2
Divide the strands into four sections of four and loosely tie 3 of them into a bundle so they stay out of the way.
Diamond-shaped neck
Marke the ring first in quarters than in eighths. Wrap a strands around the wicker ring and tie it in a knot on the inside of the ring, 4-inches from the base of the central knot. Repeat with the other four strands and then the rest. Take a section of 4 strands and leave a 4-inch gap on each strands from the ring. Divide them into two inner and two outer strands, amking two square knots. Repeat for the rest of the sections.
Time to put in the wooden beads
Bring two square-knotted sections together and mark two square knots with the central four strands.
Now for each strap follow these:
6 inches of square knots
2 inches unknotted, square knot, bead, square knot, 2 inches unknotted
6 inches spiral half-knots
2 inches unknotted, square knot, bead, square knot, 2 inches uknotted
two square nots to finish the strap
Repeat for all straps
To make the basket:
1st row – two straps together, mark a 5-inch gap, tie the center four strands in a square knot. Then, thread a bead, followed by a square knot. Join all four straps that way.
2nd row – repeat the same steps, but with a 4-inch gap.
3rd row – mark a 4-inch gap and fold the strands into a large knot.
Finished product
Source: homedit. com
Macrame plant hanger patterns
Macrame plant hanger DIY
Macrame plant hanger tutorials
5 minute macrame plant hanger
Easy macrame plant hanger
The post How to make a macrame plant hanger – step-by-step tutorials appeared first on Architecture E-zine.