How To Put Lights On A Christmas Tree In A Few Simple Steps
Christmas lights are mostly available as incandescent or LEDs in various sizes and colors. Such lights are evenly spaced along the wire and often have a UL standard logo for indoor and outdoor use. Christmas without a Christmas tree is incomplete, and what’s a Christmas tree without lights? No matter how many ornaments or décor […]

Christmas lights are mostly available as incandescent or LEDs in various sizes and colors. Such lights are evenly spaced along the wire and often have a UL standard logo for indoor and outdoor use.
Christmas without a Christmas tree is incomplete, and what’s a Christmas tree without lights? No matter how many ornaments or décor items you add, the tree will appear dull without proper lighting to complement the Christmas mood.
In today’s guide, I have explained in easy steps how to wind lights to a tree and the different types of Christmas lights available. Read my guide and bring your Christmas tree to life with exquisite lighting.
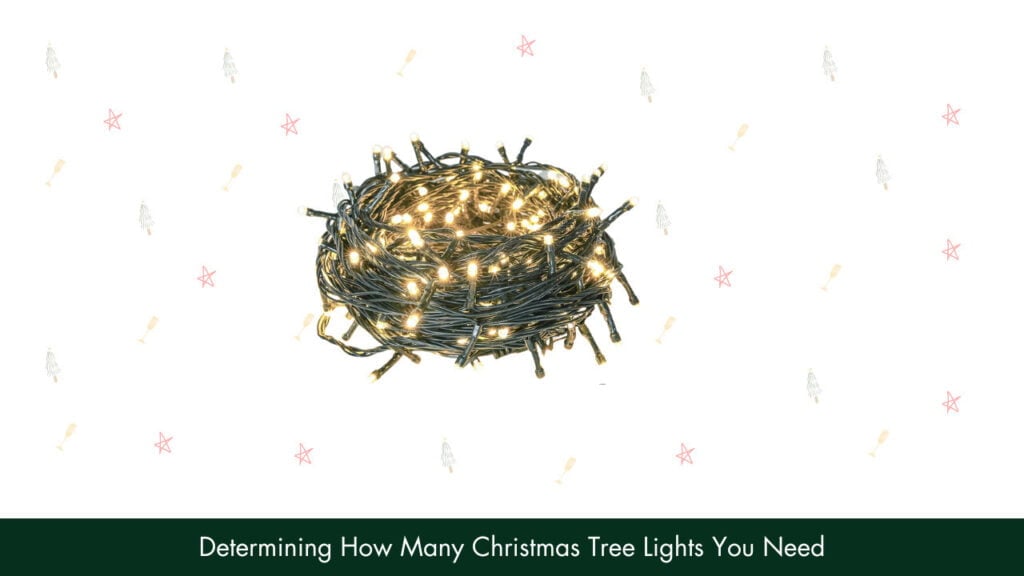
Determining How Many Christmas Tree Lights You Need

Before I knew how to put lights on a Christmas tree, I was often confused about how many hanging lights I would need for the tree. I didn’t want the tree to look dull, but I didn’t want it to be too bright either to avoid disturbing the guests.
The best you can do is consider the size of the entire tree and then decide on the type of lights. As a rule of thumb, you must use 100-200 lights per foot of a tree. For instance, most US homes decorate a 6-foot indoor tree, so you will need at least 600 lights or 6 string lights of 100 bulbs each.
Once you have ascertained the height of the tree, it’s time to choose the right type of light for indoor and outdoor trees.
A. Large Light Bulbs
You can give your tree the Hollywood effect when you hang Christmas tree lights with large bulbs. Just like in the movies, the tree will stand out and become the center of attention in any setting.
The smallest bulbs start from 1.5 inches long and have a diameter of 1 inch, but you can also opt for larger options to hang tree lights. Large bulbs are ideal for decorating outdoor tree branches, but they create a sense of warmth in indoor settings.
These bulbs are highly durable, withstanding cold or wet weather, often featuring dimmable lights of multiple colors.
B. Mini String Lights
Mini string lights are the smallest Christmas tree lights, available in a candle shape. Such Christmas tree lights are an elegant addition to the holiday décor, considering they are a fraction of an inch in diameter and length.
They are often termed twinkle lights because many tree lights create a sparkling effect, thanks to their faceted surface. Some of the best mini-string Christmas tree lights have a waterproof design, a long cable, multiple light settings, and several hundred bulbs.
C. Novelty Christmas Lights
Novelty Christmas lights enhance the effect of standard tree lights since they are more extravagant than regular Christmas lights. Thanks to their uniqueness, you can hang Christmas lights of various shapes and colors, further complementing the other ornaments hanging from the Christmas tree.
Many Novelty Christmas lights are designed according to the bubble lights available in the early 1900s. You can choose strings with multiple bulbs while the tree glows and glitters once the light strands are warmed up.

Preparation
Before I hang lights on an indoor or outdoor Christmas tree, I make it a point to check the Christmas lights. It would be best to follow these points to check and fix the bulbs before hanging the lights on your tree.
1. Unpacking And Inspecting Lights On A Christmas Tree
Once the package arrives, ensure the Christmas lights are UL-listed (Underwriters Laboratories). Also, use lights from the same brand and inspect the wiring and outlet to see whether they are compatible.
Tip
For the best results, use LED (light-emitting diode) lights, which are costlier than other lights on a Christmas tree, but they prove energy-efficient, cool to the touch, and more durable. Moreover, arrange extra lights so that you have enough lights even if some strands malfunction.
2. Testing Christmas Tree Lights
The most important step is testing the Christmas lights, so check all the bulbs and outlets before plugging them into a compatible outlet. Try to use a GFCI outlet and avoid working with an extension cord to reduce the chances of short-circuiting.
With the lights plugged in, flip the switch and circuit breaker on. Keep a close eye on the fuse, usually present at the end of the strand and featuring a glass cylinder with a wire filament. If the lights aren’t working, disconnect them from the outlet and use a screwdriver to open the tab and plug.
When the fuse of the LED or incandescent lights is charred or burned, replace it with a component. But when the fuse is in good condition, the issue might be with the bulb.
In such instances, the best course of action would be to untangle the hanging lights on the Christmas tree and replace the following –
- Broken bulbs
- Damaged sockets
- Frayed or loose wires
If you have to replace one or more Christmas lights, ensure the new lights have the same voltage rating. But when the Christmas lights aren’t damaged, your only option is to test each bulb with a tester having a 9V battery.
You can even use extension cords to test the lights on a tree and replace the faulty bulbs with a Christmas light tool.
How To Put Lights On A Christmas Tree
There is no right or wrong way to hang Christmas lights, but you can either hang the lights horizontally or place them on the tree vertically. I have explained both methods of hanging lights on a Christmas tree in detail below.
A. Hang Christmas Tree Lights Horizontally
When you’re not using a pre-lit tree and want to decorate all the branches, preparing the Christmas tree beforehand is crucial. In most cases, it takes one day for a real Christmas tree to settle in its stand while you must fluff up an artificial tree.
Moreover, using larger lights, you can have 50 Christmas lights for every foot of the tree. The first step is always untangling and testing the lights, even the extra lights you have in hand, to replace the damaged components with a new string.
Once you’re satisfied, decorate the tree based on the following steps.
1. Start At The Bottom
Some people make the mistake of placing the lights at the top of the tree first, whereas you must start decorating from the foot of the live tree. You must weave the lights over and under the branches by following an S-shape.
Slowly string the Christmas lights upward, much like working around a maypole. Take your time and step back and check out the design of the whole tree at regular intervals. And instead of placing the lights closer, Christmas lights must be evenly spaced to easily make adjustments later.
2. Adjustments
Mentally divide how you want to arrange the lights and put lights on branches closer to the center of the tree by placing them in different directions. This technique helps place the lights deeper into the tree to create a warm glow from within the leaves and branches.
You can reposition all the bulbs periodically while working your way to the top of the tree. After you finish attaching the first strand of lights to the tree, add the subsequent strands until the tree is literally wrapped in LED lights.
Connecting one string after another is better than all at once, which makes the process less complicated. Your string of lights should finish at the top, so you can change the position of the lower lights to make this possible.
After the last strand is in place, add the ornaments and other decorations to the Christmas tree to spread the holiday cheer.
B. Hang Christmas Tree Lights Vertically
While most people hang Christmas tree lights horizontally, an easier technique is placing the lights on your tree vertically. This process is faster, and you will need fewer lights to get the necessary illumination.
The first step is again checking and inspecting the lights by decorating 1/3rd of the tree by following these steps.
1. Create An Upside Down V-Shape
You must segregate the tree into several triangular sections and start stringing the lights in an inverted V-shape from the ground up. Then zigzag the lights from one end of the triangle to the other to create an appealing pattern.
To create depth and add more dimension to the lighting, you can push the bulbs deep within the branches of the real tree. Once the section is complete, step back and make adjustments by spacing out the lights to reduce the chances of tangling.
2. Add More Electric Light
You can add more lights to the other sections of your real or artificial trees, starting at the bottom of the V and filling the branches with bulbs. When you get to the next branch, ensure that every section blends smoothly with the others.
I recommend dividing the entire tree into 3 sections and plugging in the lights before decorating, which makes it easier to adjust or determine how many strands you will need. As a result, one section won’t have more lights than the other.
But since this technique leaves more wires toward the top, use a tree-topper to keep them hidden. You can even use ornaments and Christmas decorations for this purpose to get the décor just right for the holiday spirit.

Safety Tips
Safety is paramount, as with most electrical wires and lights, especially since Christmas trees are highly flammable. So, take note of the following precautions to reduce accidents during the Christmas and holiday seasons.
1. Avoid Overloading The Power Outlet
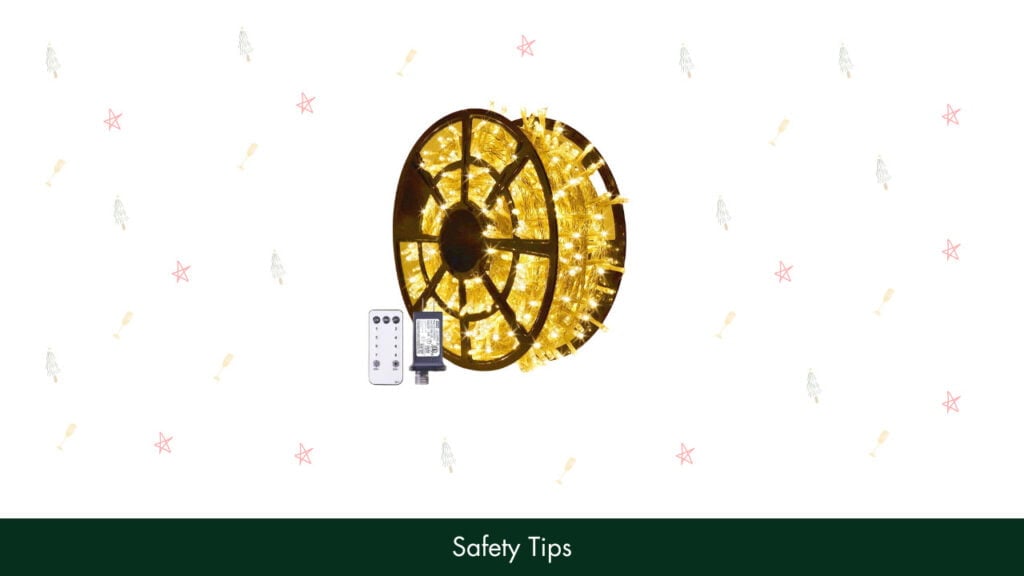
Before ordering the lights, ensure they are compatible with the available power source to prevent short-circuiting. Since Christmas lights are either end-to-end or stacked, I recommend opting for stacked plugs to join multiple strands safely.
Most importantly, never plug in multiple extension cords simultaneously to avoid overloading the electrical connector. It would be better to use a longer extension cord in such instances.
2. Keep The Lights Away From Flammable Materials
The wattage should be the same for all the lights to avoid power fluctuations and surges while also extending the lifespan of the fixtures. Moreover, keep the tree and wires away from flammable materials because the leaves and branches of even artificial trees catch fire quickly. If you aren’t careful, the flames can spiral out of control, resulting in a major catastrophe.
3. Turn Off The Lights
Always make it a habit of turning off the Christmas lights when you aren’t at home or during the day. This helps save electricity and reduces the chances of accidents since the wires or trees won’t be left unsupervised.
Should I use a specific pattern when stringing lights on the tree?
Try to keep things simple when stringing lights on the tree rather than opting for specific patterns. I prefer a natural look, which is simple to achieve, as you can simply string the lights naturally around the tree or place them deep within the branches to create more depth.
This also helps space out the lights and prevents tangling.
How do I secure the lights to the tree?
To secure the lights to an Evergreen tree, start from the bottom as you normally would. Allow some slack in the leader cord for the first strand of lights and create a loop by separating the cord near the first bulb.
Slip this loop over the branches or leaves near the foot of the tree, wrapping the cord a few times to secure it. Then pull on the string of the lights until it is taut. From the tip of the branch, work back to the trunk, wrapping the cord over the branch and itself again.
How do I hide the cords when putting lights on my Christmas tree?
To hide the light cords, you can tuck them behind the tree or place them deep within the branches. Some people also use a tree-topper for concealing the cables without affecting the décor.
Can I mix and match different types of lights on my Christmas tree?
You should never mix and match different types of Christmas lights because of the varying voltage and power requirements. Avoid using large lights in one section, followed by small or multi-color lights. Moreover, you should not use LED lights or strings from different brands in a single electrical circuit.
Conclusion
Decorating the Christmas tree and then flipping the switch to turn on the lights is a feeling that’s hard to put into words. As the bulbs illuminate the room in a warm Christmas glow, throwing myriad colors on the walls, I can’t help but snuggle together with my family.
I’m pretty sure most people feel the same way, so follow the steps in my guide to set up the lights quickly. Always remember to start at the bottom, winding the light strands around the trunk and over the branches.
Also, divide the tree into several smaller triangular sections to calculate how many strands you need. But keep extra lights in handy in case a few strands malfunction.
It’s your time to shine (just like the lights) by creating unique patterns and designs to make this the best Christmas ever!
