How To Repair Your HVAC – A Complete Guide
Air conditioning systems usually break down when components like the condenser and evaporator coils, capacitor, compressor fan, or condensate line malfunction. In most cases, these components can be replaced easily using the right tools and parts without requiring professional assistance. A malfunctioning AC system can be one of the worst things to deal with in […]
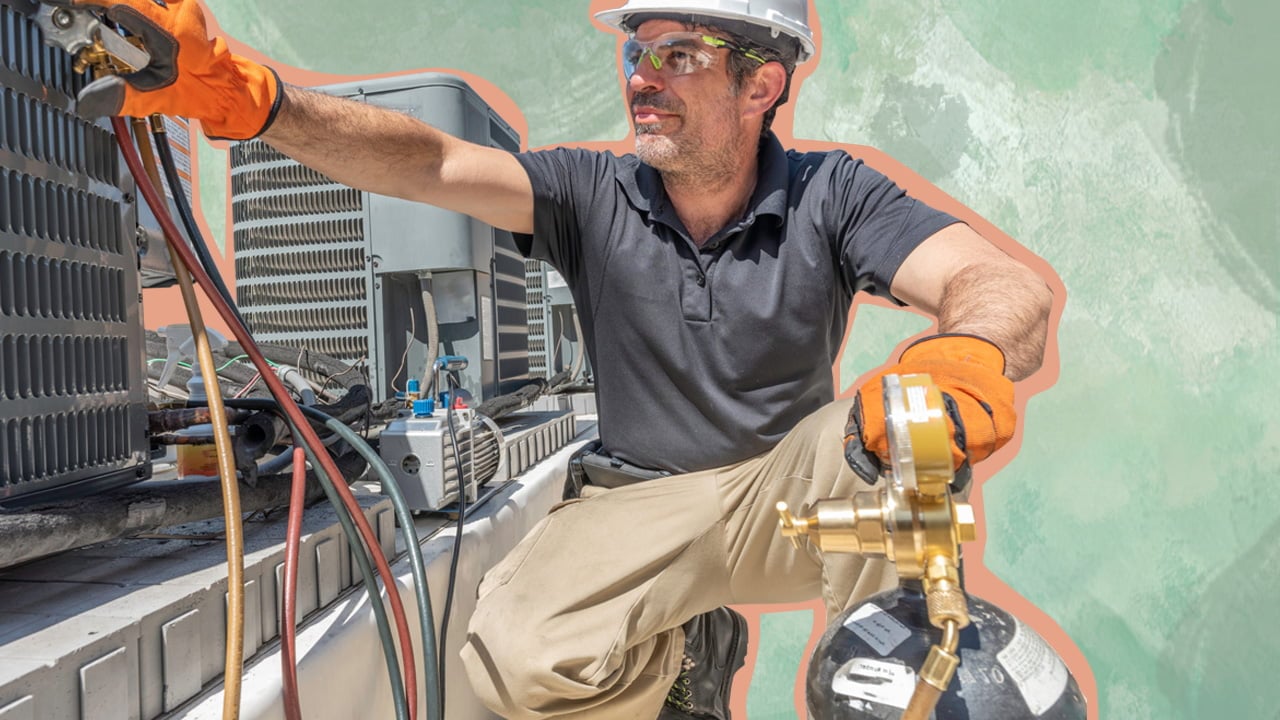
Air conditioning systems usually break down when components like the condenser and evaporator coils, capacitor, compressor fan, or condensate line malfunction. In most cases, these components can be replaced easily using the right tools and parts without requiring professional assistance.
A malfunctioning AC system can be one of the worst things to deal with in the middle of summer.
But unfortunately, it is an extremely common problem that many people face every year. While your first instinct would be to call up a repair professional, many of these issues can be easily resolved using DIY troubleshooting techniques.
And I’ll be sharing some of these methods here in this comprehensive guide.
Tools Needed
- ¼” nut driver
- Adjustable wrench
- Insulated screwdriver
- CAT III multimeter or voltage tester
- Cordless drill
- Socket set
- Needle nose pliers
- Flashlight
Parts And Materials Required
- Capacitor
- Compressed air or a water hose
- Condenser fan motor
- Contactor
- Fuses or circuit breakers
The capacitor, condenser fan motor, and contactor will depend on the model of the air conditioning unit and its serial number.
Do-It-Yourself HVAC System Repair
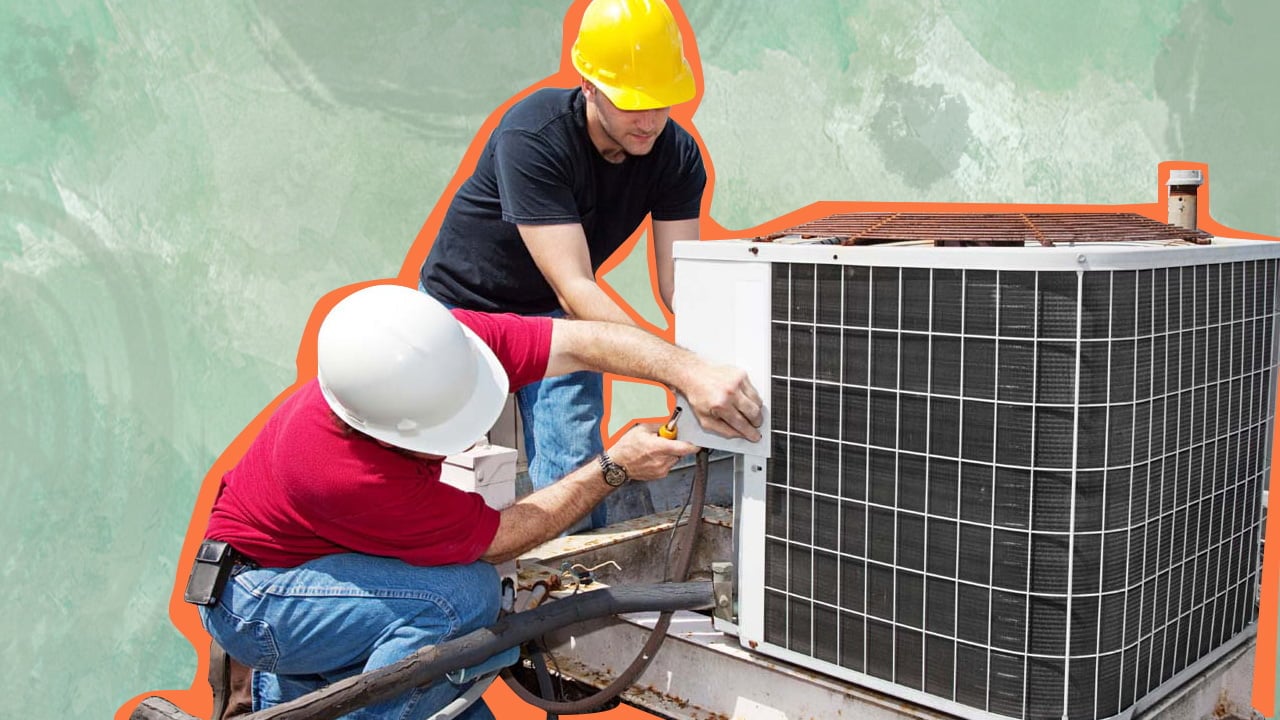
Getting a malfunctioning air conditioning system repaired professionally can take a lot of time and will cost you a significant sum of money. However, if you can get the required parts and possess the necessary tools, the entire system can be repaired in around a couple of hours.
Keep in mind that these methods are only suitable for people who are comfortable working with electricity and high-pressure refrigerants. Otherwise, it is best to hire an air conditioning repair professional for this purpose.
Also, in this guide, I shall be covering the most frequent problems that can affect your air conditioner. So, even if these solutions are ineffective, they will help eliminate the most common issues, allowing the repair professional to focus on more complicated problems.
Reasons Why Your Air Conditioner Does Not Cool Your Home
If your air conditioner fails to cool your home properly, the most likely cause is that the furnace or the thermostat may not be functioning. To check it, turn the thermostat to AC or cooling mode and turn down the temperature, triggering the HVAC system to turn the AC on.
Wait a few minutes after it turns on and check whether the furnace fan is running and blowing air. If it is running, there is no problem with the furnace, but when the fan isn’t working you will need to turn the furnace off from the circuit breaker box.
After turning it off, wait a few minutes before turning the power to the furnace and outdoor unit back on again to check whether the centrifugal fan is running. If it starts running, you will know that the problem is with the air conditioner. But if it does not, the problem lies with the thermostat or furnace, and these air conditioner repair techniques won’t be of much help.
Tip
Always turn off the circuit breaker, the power to the AC furnace, and the outdoor unit before removing any panels or accessing the condensing unit. Also, test the wires that reach the contactor with a voltage tester to confirm the power has been turned off.
Finding Replacement Parts
The air conditioner start and run capacitors and the relay are among the cheapest parts most likely to fail. So, if they are damaged, the best thing to do is to find replacement parts and install them as soon as possible. This is especially important in situations where your air conditioning unit is more than five years old.
Another part that is very likely to fail is the condenser fan motor, but it is one of the costlier parts. Also, check the condensing unit and the nameplate to know the serial number, make, and model, which will make it easy to find the replacement parts.
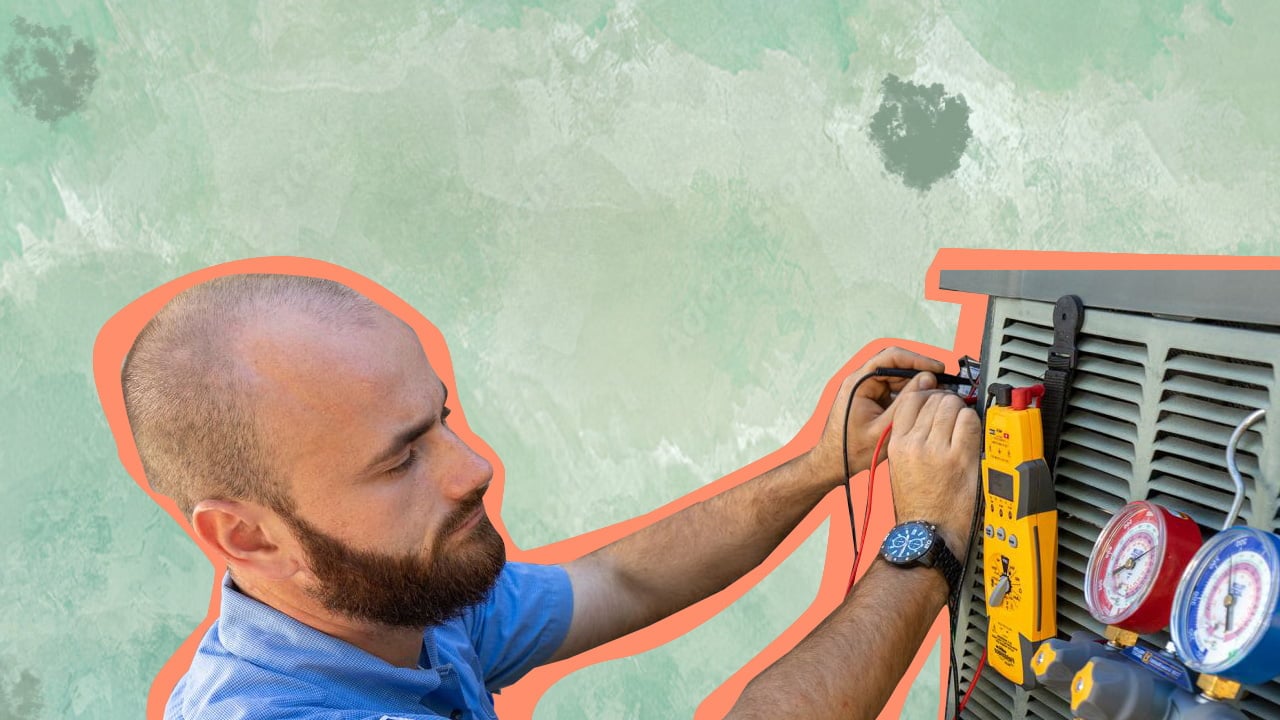
Components Of An Air Conditioner And Their Locations
Before I share the various DIY methods of air conditioner repair, it is important to know about the various components that make it up. You should understand that some of the components are more important for cooling purposes and are usually the costliest to replace.
There are usually two main parts in an air conditioner – the condenser or the outdoor unit and the evaporator coil. While the condenser is situated outside the house, the evaporator coil, also called an A-coil, is located in the plenum of the air handler or furnace.
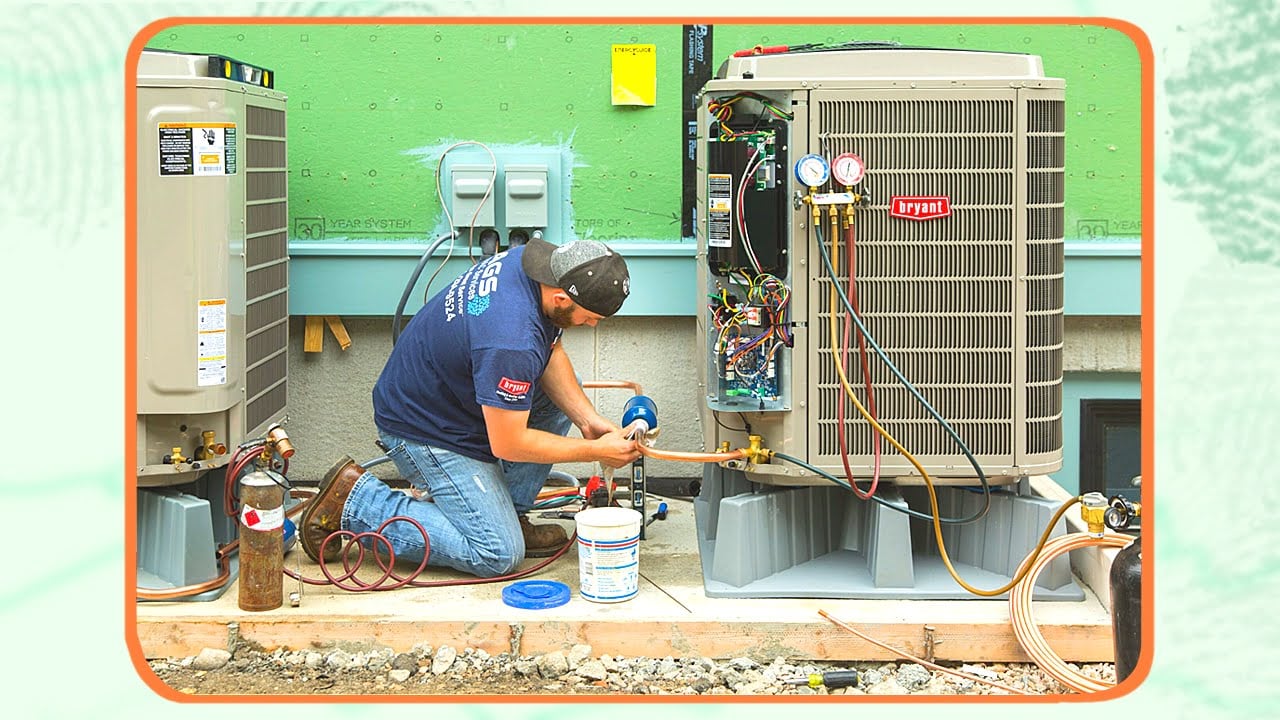
It is the job of the fan of the condensing unit to pass air through the condensing coil, which eliminates heat in the room. There are three parts of the outdoor condensing unit you can replace yourself, including the AC condenser fan motor, the capacitor, and the contactor.
This outside unit also contains a compressor, but this cannot be replaced using do-it-yourself methods. Similarly, you will need an HVAC technician to repair any damaged parts of the A-coil.
A. Turning Off The Power
The first thing to do when performing an air conditioner repair is to turn off the power. Locate the electrical box near the condensing unit and remove the disconnect box. Then, use a voltage sniffer to check within the box and ensure the power is turned off.
B. Cleaning The Condenser Coils
Regular cleaning the condenser coils of your air conditioner can help extend its lifespan significantly. To perform such cleaning, you will need a garden hose. Aim the nozzle of the hose toward the upper side of the condenser coil and clean the debris and dirt that have accumulated below the lid.
Slowly wash the coil from all surrounding angles and then aim downwards to flush away the debris from the coil fins.
C. Testing The Fuses
Disconnect boxes often contain a couple of cartridge fuses, which can indicate whether any part of the air conditioner is starting to fail. So, you should check whether the fuses are blown or not. If they are, I recommend installing new ones, replacing old or worn-out parts, and testing the air conditioner by turning it on.
If the fuses blow again, you will need to call up an air conditioner repair company.
Checking The Disconnect Box For Blown Fuses
To check whether the fuse is blown or not, first, turn the multimeter to the lowest reading on the Ohms scale. Then, put the black and red leads to the different ends of the fuses. Any numerical reading on the multimeter indicates that the fuse is in good condition, while an infinity, minus, or zero symbol indicates the fuse has blown.
D. Inspecting The Access Panel
These panels are provided for easy maintenance of the air conditioning unit. To locate the access panel, you must follow the wire coming out of the house and leading to a metal duct.
Before opening the panel, make sure the power is off, then remove the screws securing the panel and keep them aside carefully. Look for signs of damage on the wires, which may be caused by rodents chewing on them and the connectors. You may even find rodents’ nests within the panel, which will need to be removed before any parts can be replaced.
In case the insulation on the wires has been damaged or the wires are broken, the first thing to do is to discharge the capacitor. After that, the nests can be removed, and you can repair the wires. If you’re not sure how to do this, it is better to call an HVAC technician or air conditioning service unit professional.
Discharging A Run/Dual Start Capacitor
You will need to pull out the capacitor from its bracket to discharge it. Then, place a screwdriver between the C or COMMON terminal and the H or HERM terminal. The same action will need to be performed for the C terminal and the F or FAN terminal.
In the case of single-mode capacitors, simply create a short between the different terminals.
E. Replacing The Capacitor
At the very least, there is one capacitor present in an air conditioning unit, and its function is to store electricity and release it when required. The capacitor releases energy during the compressor and condenser fan startup, providing additional power to the motors. It also helps reduce voltage fluctuations to protect these parts from electrical damage.
However, with regular use, capacitors tend to become less efficient, and the power they provide at startup gets reduced. In some cases, they can also suffer from instant failure, but if the capacitor starts to fail slowly over time, it may not be possible to notice it.
This can put greater stress on the condenser fan and compressor motor windings, causing them to fail quickly. That is why I recommend using one capacitor for five years and replacing it after that, especially since it is among the more affordable parts.
Before you start the replacement process, photograph how the wires are connected. This can help ensure they have been reconnected properly after performing the air conditioner repairs.
Discharge the capacitor already installed in the AC unit by using needle-nose pliers to disconnect the wires one by one from the capacitor and connecting them to the new unit. Make sure that the female crimp connectors fix properly onto the tabs of the new capacitor. You should wiggle the connector gently to check whether the connection is tight.
In case it is not, disconnect it and bend its rounded edges so that it fits more tightly on the capacitor tab. Once the wires have been changed, just install the new capacitor into position.
F. Replacing The AC Contactor
Failure of the AC contactor is among the most frequent issues that can cause central air conditioners to malfunction. The contactor refers to a mechanical relay that converts low-voltage power from the thermostat and sends 220-volt high-amperage power to the condenser fan and compressor.
Since this part costs around $25, it is a good idea to replace it, preferably after five years have passed, even if your air conditioner is working fine. To do so, remove the wires after unscrewing the contactor and then connect the wires to the replacement unit. Make sure to place each connector in the same position as it was on the old contactor.
The connectors will need to be tightened before the contactor is secured in the condensing unit.
G.Testing The Repairs
Components like the disconnect box and access panel have to be reinstalled to test all repairs. Once done, turn on the furnace switch and the circuit breaker before lowering the temperature on the thermostat. Let the air conditioner start and check whether the condenser fan and the compressor are blowing cold air.
If the condenser is functioning but the compressor fan is not, the problem might be that the motor of the fan is shot. To resolve that problem, turn the power off before removing the screws securing the cover of the condenser. Then, remove the cover and take out the motor and the blade of the fan.
Place the fan blade back after cleaning it, replace the cover, and turn on the AC unit to check whether the fan works. If it doesn’t, you will need to call a repair company.
Problems With The Evaporator Coil
1. Fixing A Clogged Evaporator Coil Or Air Filter
Clogged air filters are among the most frequent causes that can result in your air conditioner to malfunction. And in houses with pets like dogs or cats, pet hair is often the reason for clogging of the filters during the summer season.
A clogged or dirty air filter reduces airflow through the air vents, decreasing the cooling efficiency of the air conditioner. You will need to replace the air filter or furnace to resolve this problem.
To do that, turn off the power to the furnace and locate the air filter. Make sure the new filter has the same rating and size as the clogged one before replacement.
When installing a new filter, check whether the arrow mark on the filter is in the right direction. This will be the direction in which the air will flow, usually toward the furnace. After installing the new filter, turn the power to the furnace on and test whether the air conditioner is dispensing cool air.
2. Repairing Frozen Evaporator Coils
Frozen AC evaporator coils can also affect proper airflow and prevent the cooling system from functioning normally. This issue is usually caused by a clogged or dirty filter, which prevents heat absorption and lets the temperature of the coils drop until they freeze. One way to resolve the problem is to wait and let the coil thaw with the help of sunlight.
Let it thaw out completely before restarting the air conditioning system, or it will freeze up again. But there are a few steps you can take to speed up the thawing process. Firstly, adjust the thermostat so the AC turns off, but the fan remains on.
The furnace fan will blow hot air over the frozen coils, causing the ice to melt faster. Alternatively, you can use a hairdryer for the same purpose, but the most effective way is to turn the temperature to a high setting and the thermostat to heating mode. However, I wouldn’t recommend doing that in most cases since it prevents proper airflow to the heat exchanger, adversely affecting the lifespan of the furnace or air handler.
3. Limited Amount Of Return Air
The evaporator coil is one of the components of an HVAC system that remains indoors and is generally situated above the furnace. It functions by absorbing heat from the surrounding air, for which it requires proper airflow. In the absence of such airflow, the coil of the forced air system can freeze.
I’ve explained how you can thaw the coil, but addressing the cause of the problem can help prevent it from happening again. If the air filter is working fine and not blocking the airflow, you may need to look at the air vents.
There are two types of vents in any air conditioning system – return air vents and discharge vents. Return air vents tend to be dirtier than discharge vents since they suck in air from outside. For this problem, you need to focus on the return vents, which may be placed on the floor or the wall.
Make sure that these vents are not covered or blocked by obstacles like boxes, doors, dust, or grime that can prevent proper ventilation. The AC system can only function optimally if a certain volume of air passes in and out of it.
Other Common Air Conditioning Issues
1. Problems With The Condensate Line
The AC condensate line eliminates the moisture collected by the evaporator coil from the air coming in. This coil transforms the humidity present in the air into water. If this line gets clogged, water will get trapped in the AC system, and condensation will result in the freezing of the evaporator coil.
Additionally, if the moisture in the condensate drain freezes, the AC will turn off and can get damaged. To fix issues with the condensate line, remove the service panel, which will provide access to the condensate drip pan and the drain line.
Then, clean the condensate drain using a shop vacuum by turning it to wet mode. Finally, follow the line outdoors, locate the end-point, and remove any obstructions.
2. Leaking Refrigerant
In any central air system, the AC refrigerant is contained at high pressure inside a circuit and passes through the coils at a very high speed. Over time, with regular wear and tear, the refrigerant can start leaking. Alternatively, pinhole leaks can occur due to formic erosion and can damage the copper coils.
If the refrigerant is leaking, you will need to call HVAC technicians, who can perform a leak test. In case they discover any leaks, they can fix them and also recharge the refrigerant.
I would not suggest trying to do these things by yourself.

Conclusion
These were some of the most frequent problems that can affect the working of central AC systems and the methods by which they can be fixed. But air conditioners can also suffer from other problems, such as issues with the pilot light, blower, electric battery, and voltage fluctuations.
Most of these problem can be resolved easily if you have the right tools, but make sure to follow the necessary precautions, such as disconnecting the power before making repairs. And when looking for replacement parts, check the warranty before purchasing.
This will help you avoid a lot of hassle in the future.
