How To Repot A Plant Without Killing It: 5 Easy Steps
Repotting plants can seem like an intimidating task. While it may be obvious your little green friend is in need of a new pot or new soil, you are terrified you may kill it. We understand, but there is nothing to be afraid of. Learning how to repot a plant is actually quite simple. First, you need to understand that repotting may be needed for a variety. On one hand, it can mean the plant has outgrown it’s current planter and is in need of more space to grow. On the other hand, it can mean just changing the plant’s...
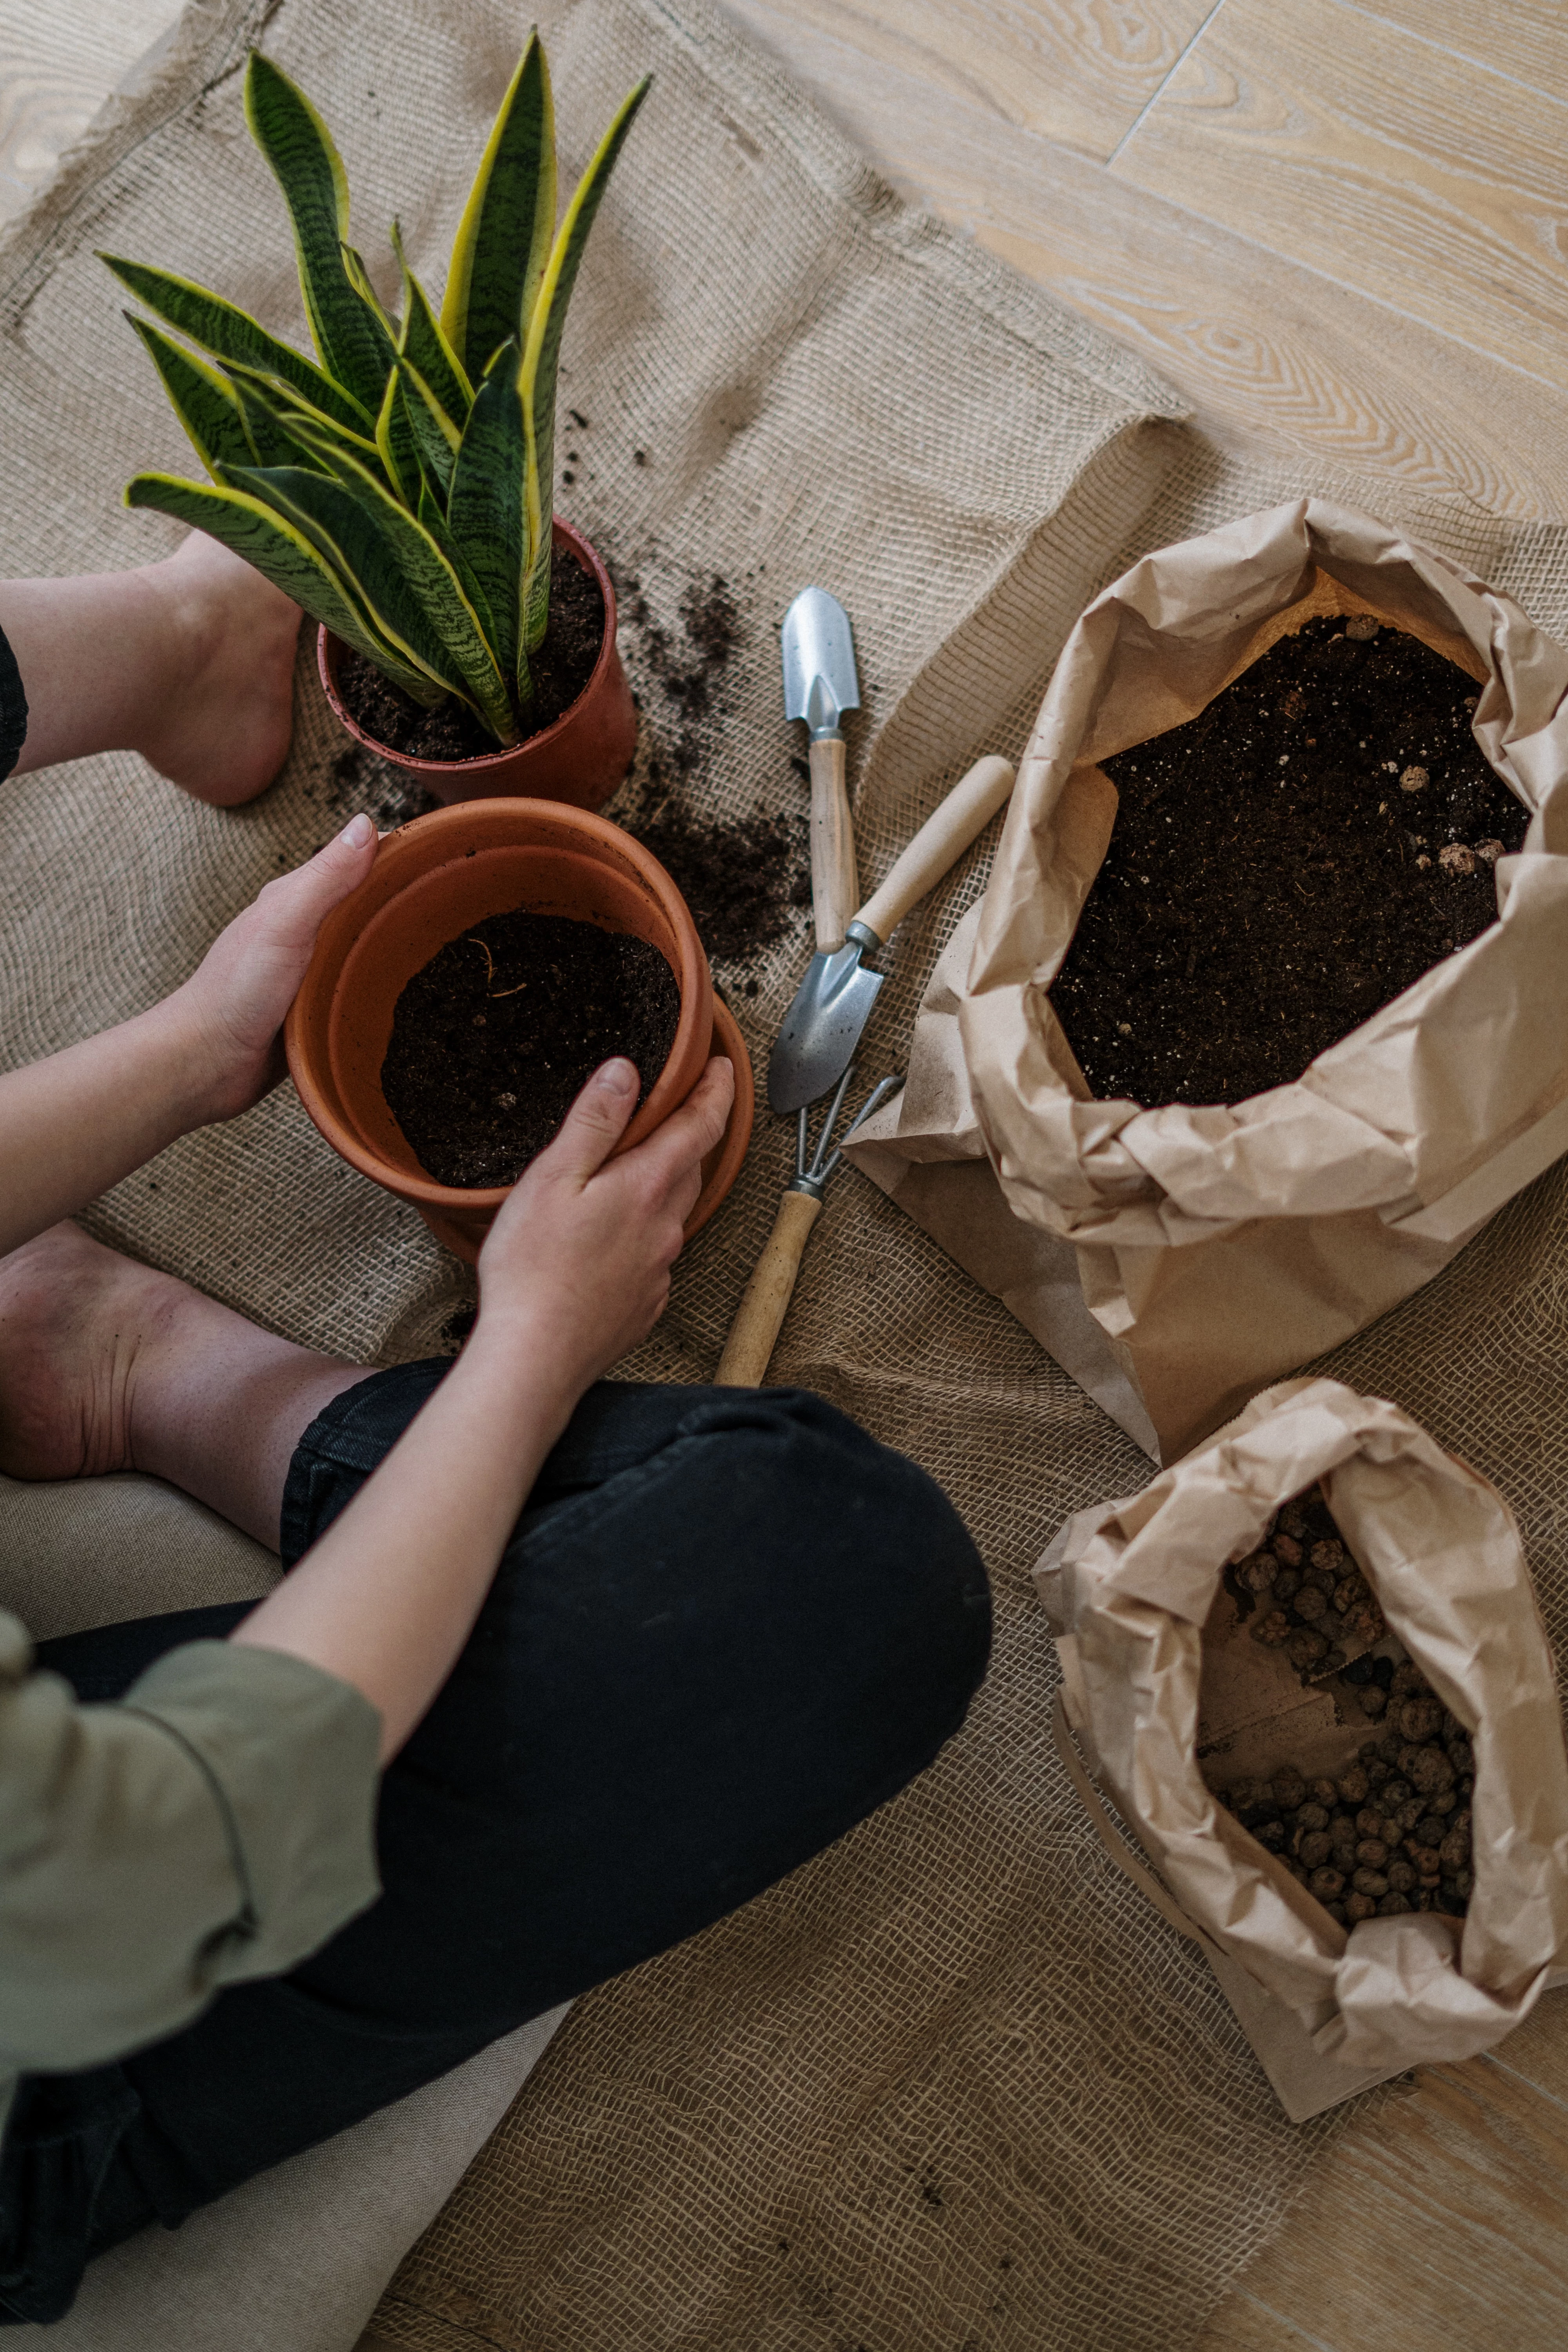
Repotting plants can seem like an intimidating task. While it may be obvious your little green friend is in need of a new pot or new soil, you are terrified you may kill it. We understand, but there is nothing to be afraid of. Learning how to repot a plant is actually quite simple. First, you need to understand that repotting may be needed for a variety. On one hand, it can mean the plant has outgrown it’s current planter and is in need of more space to grow. On the other hand, it can mean just changing the plant’s soil or potting mixture for some extra nutrients However, repotting may also be needed if the pot is broken and so on. Either way, you will need to know how to repot it. That’s why today we will show you how to repot a plant in a few simple steps.
Repotting plants can seem like an intimidating task, but it really isn’t

How To Repot A Plant
If you are new to the world of planting or you’ve had a few unsuccessful repottings, we are here to help. Most plants will need a repotting every one to two years depending on how much they grow, which means you will have to do it sooner or later. Proper repotting is a vital skill for any gardener to learn and that’s why we are here to help make it easy. Check out our step-by-step guide on how to repot a plant the right way, so it stays healthy and thriving.
p. Most plants will need a repotting every one to two years depending on how much they grow
#Remove the plant from its old pot
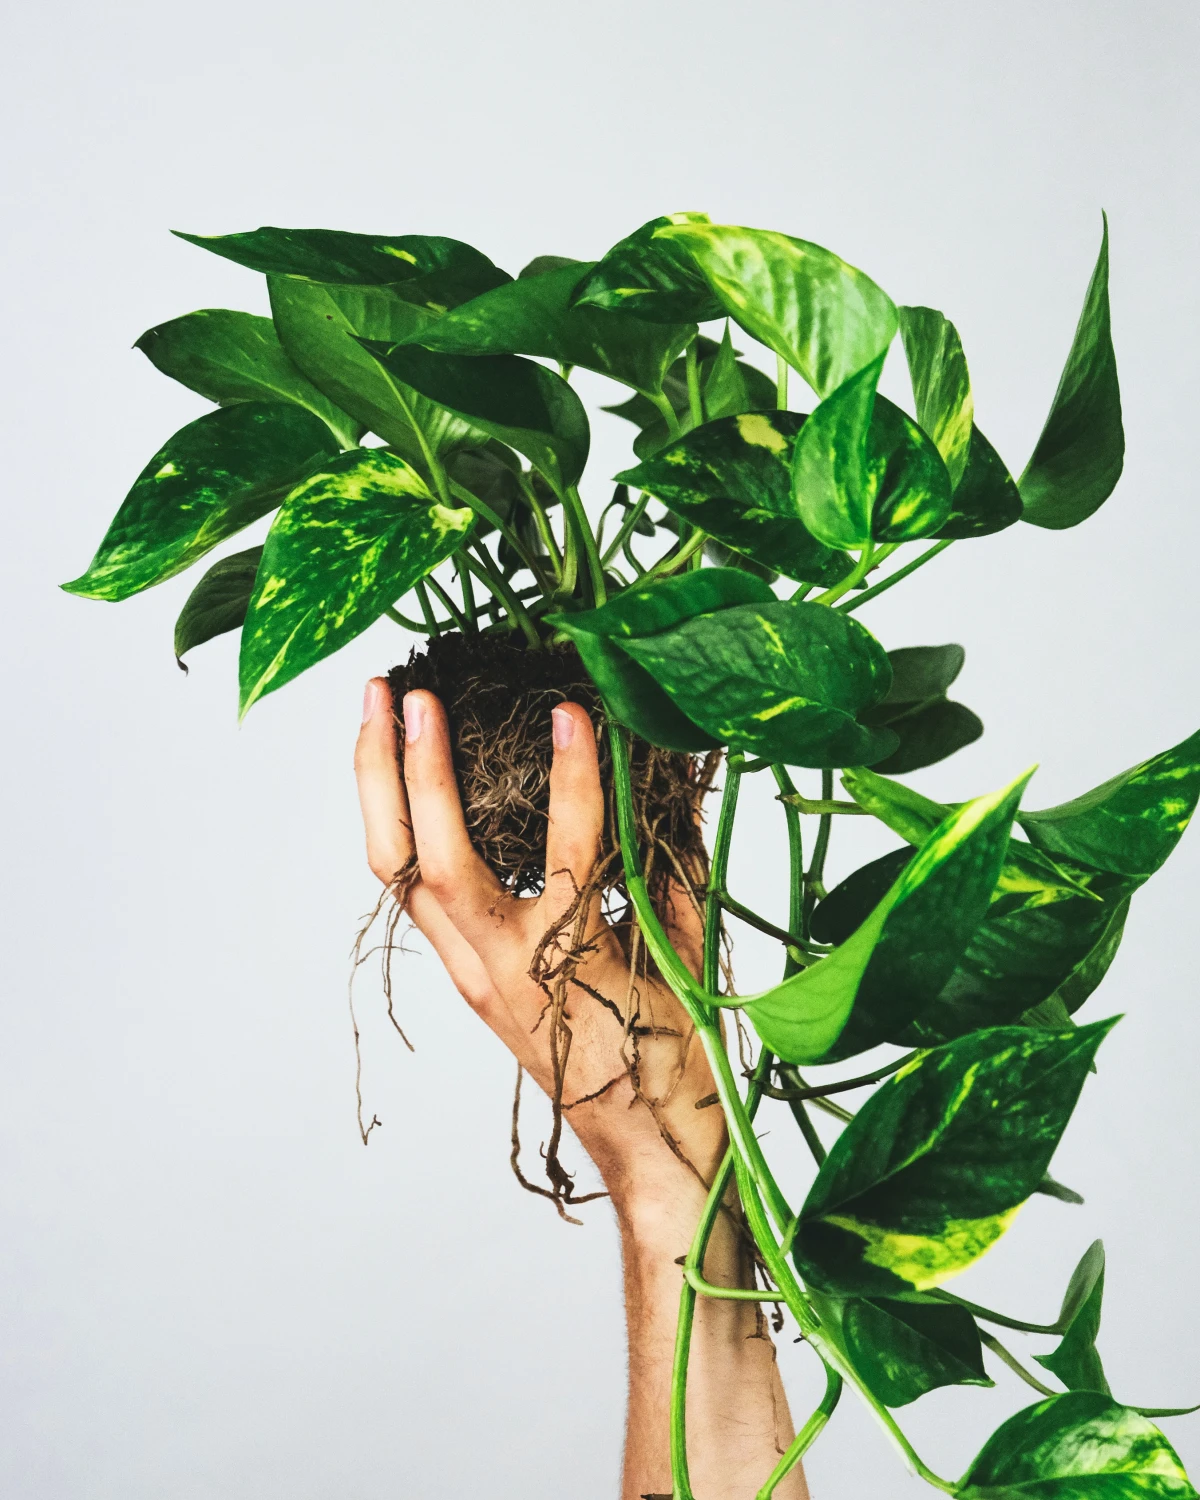
The first thing you need to do is get the plant out of its old pot. This is a fairly simple task, but does require patience. To get the plant out of its old container, you need to turn it sideways. Make sure to hold it gently by the stems or leaves. Tap the bottom of its current pot until the plant can slide out without a lot of force. You can also try turning it, but this is not as recommended. If it doesn’t want to budge, help out by giving a few gentle tugs on the base of the stem. Then it should be easy to get it out. It’s important you handle this part with care as we don’t want to accidentally cause damage to the roots with any abrasive or spontaneous movements.
The first thing you need to do is get the plant out of its old pot in a gentle manner
#Loosen the roots
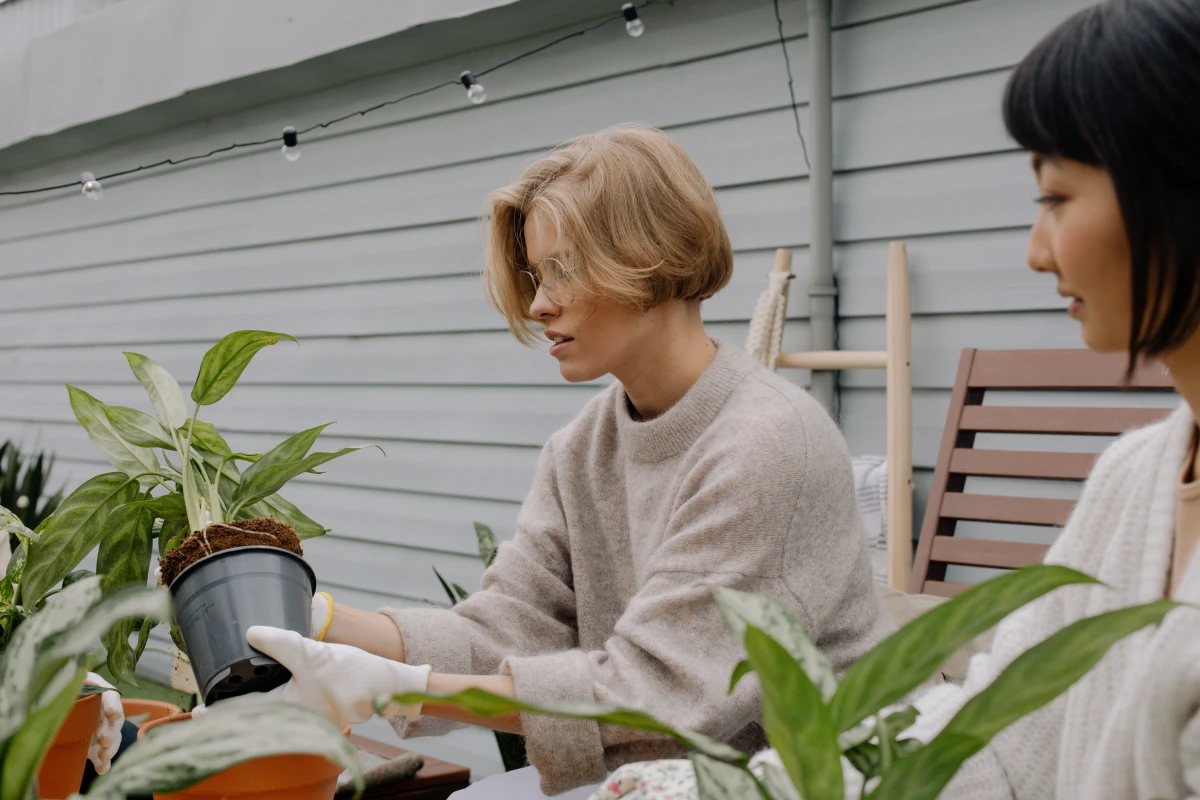
Now that the plant is out of its old container, it’s time to very gently loosen up its roots with your hands. Usually once out of the pot, all the roots will be bunched up in a perfect cylinder shape. Ideally, you should untangle them as much as possible, so the plant can grow out. Just make sure you are very delicate, as roots can easily break. Use your fingers to remove as much soil as possible without disrupting the plant’s system. If the plant is root bound, you can get a knife and make a few cuts on the bottoms and sides of the plants. This should help loosen them up.
Usually once out of the pot, all the roots will be bunched up in a perfect cylinder shape
#Prepare the soil and container
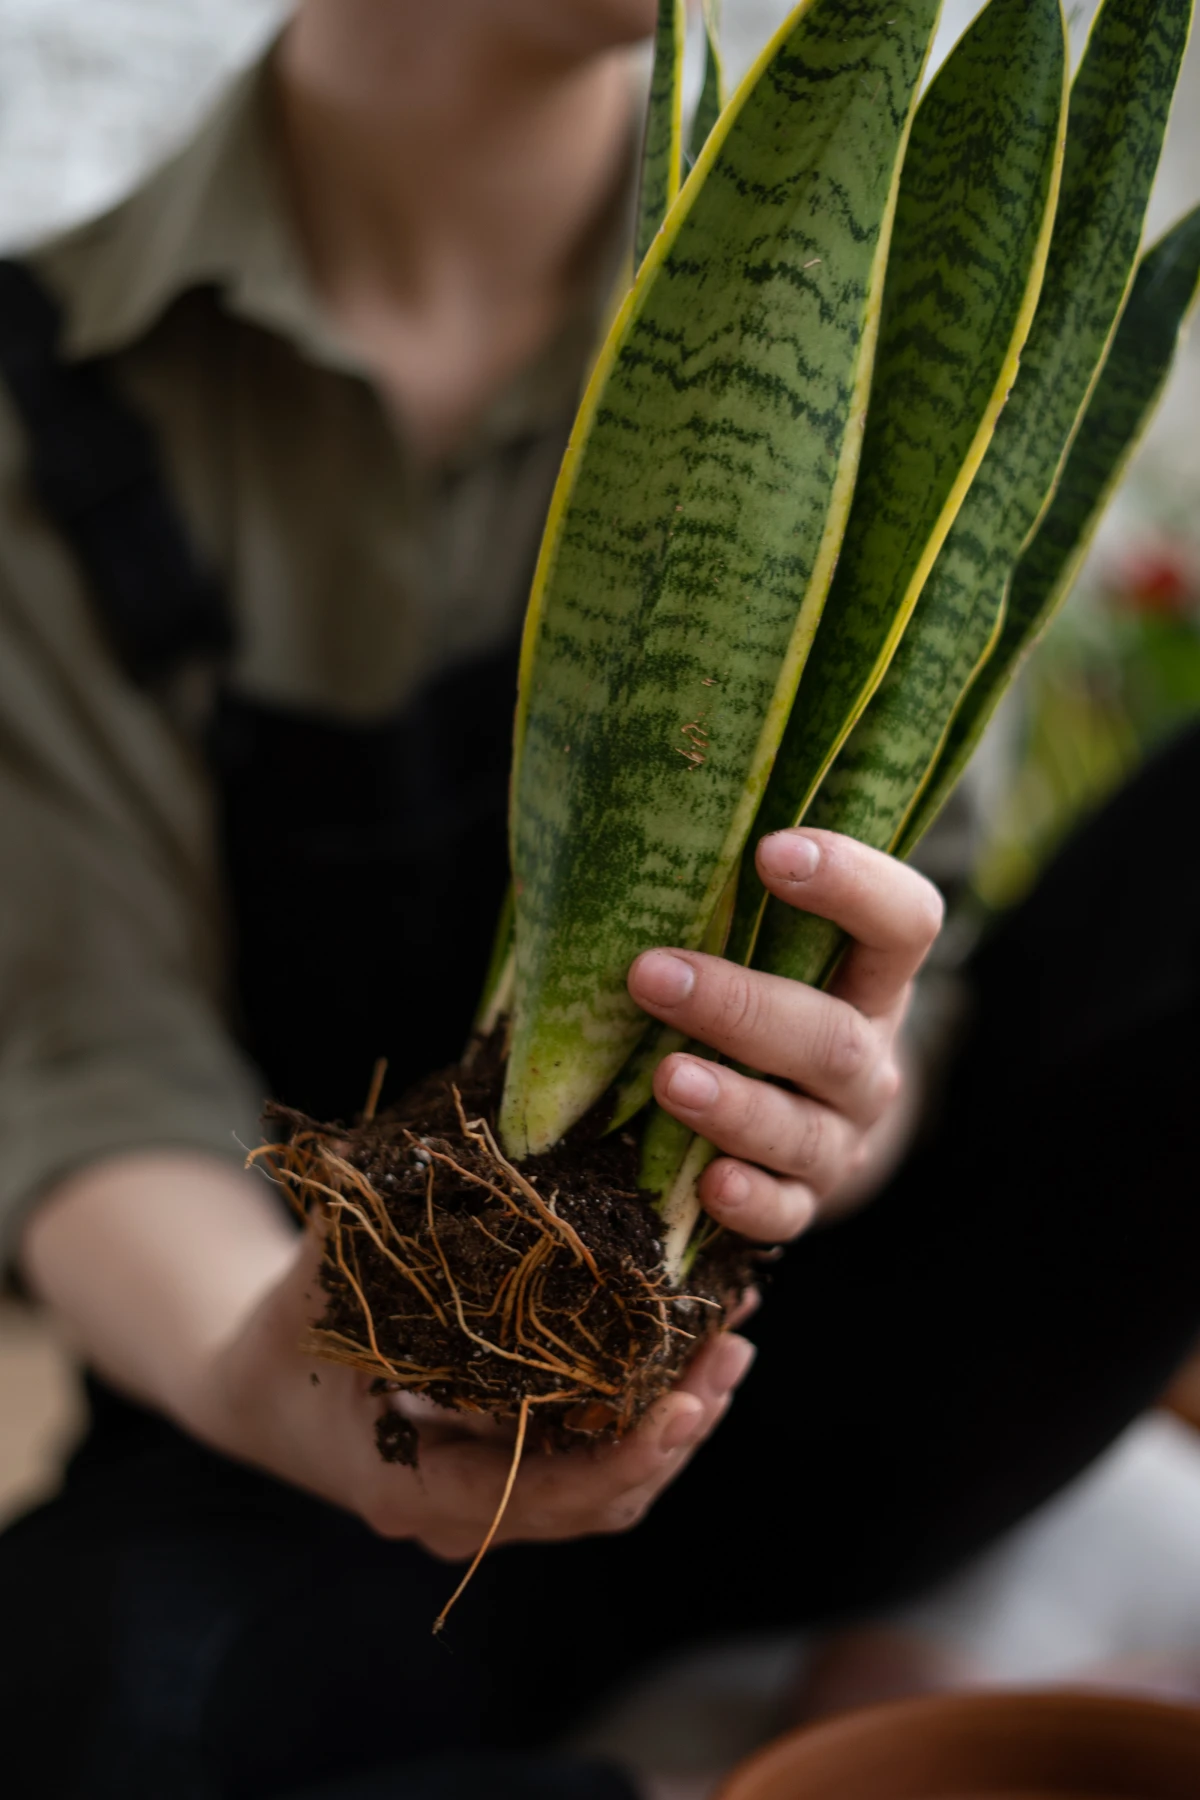
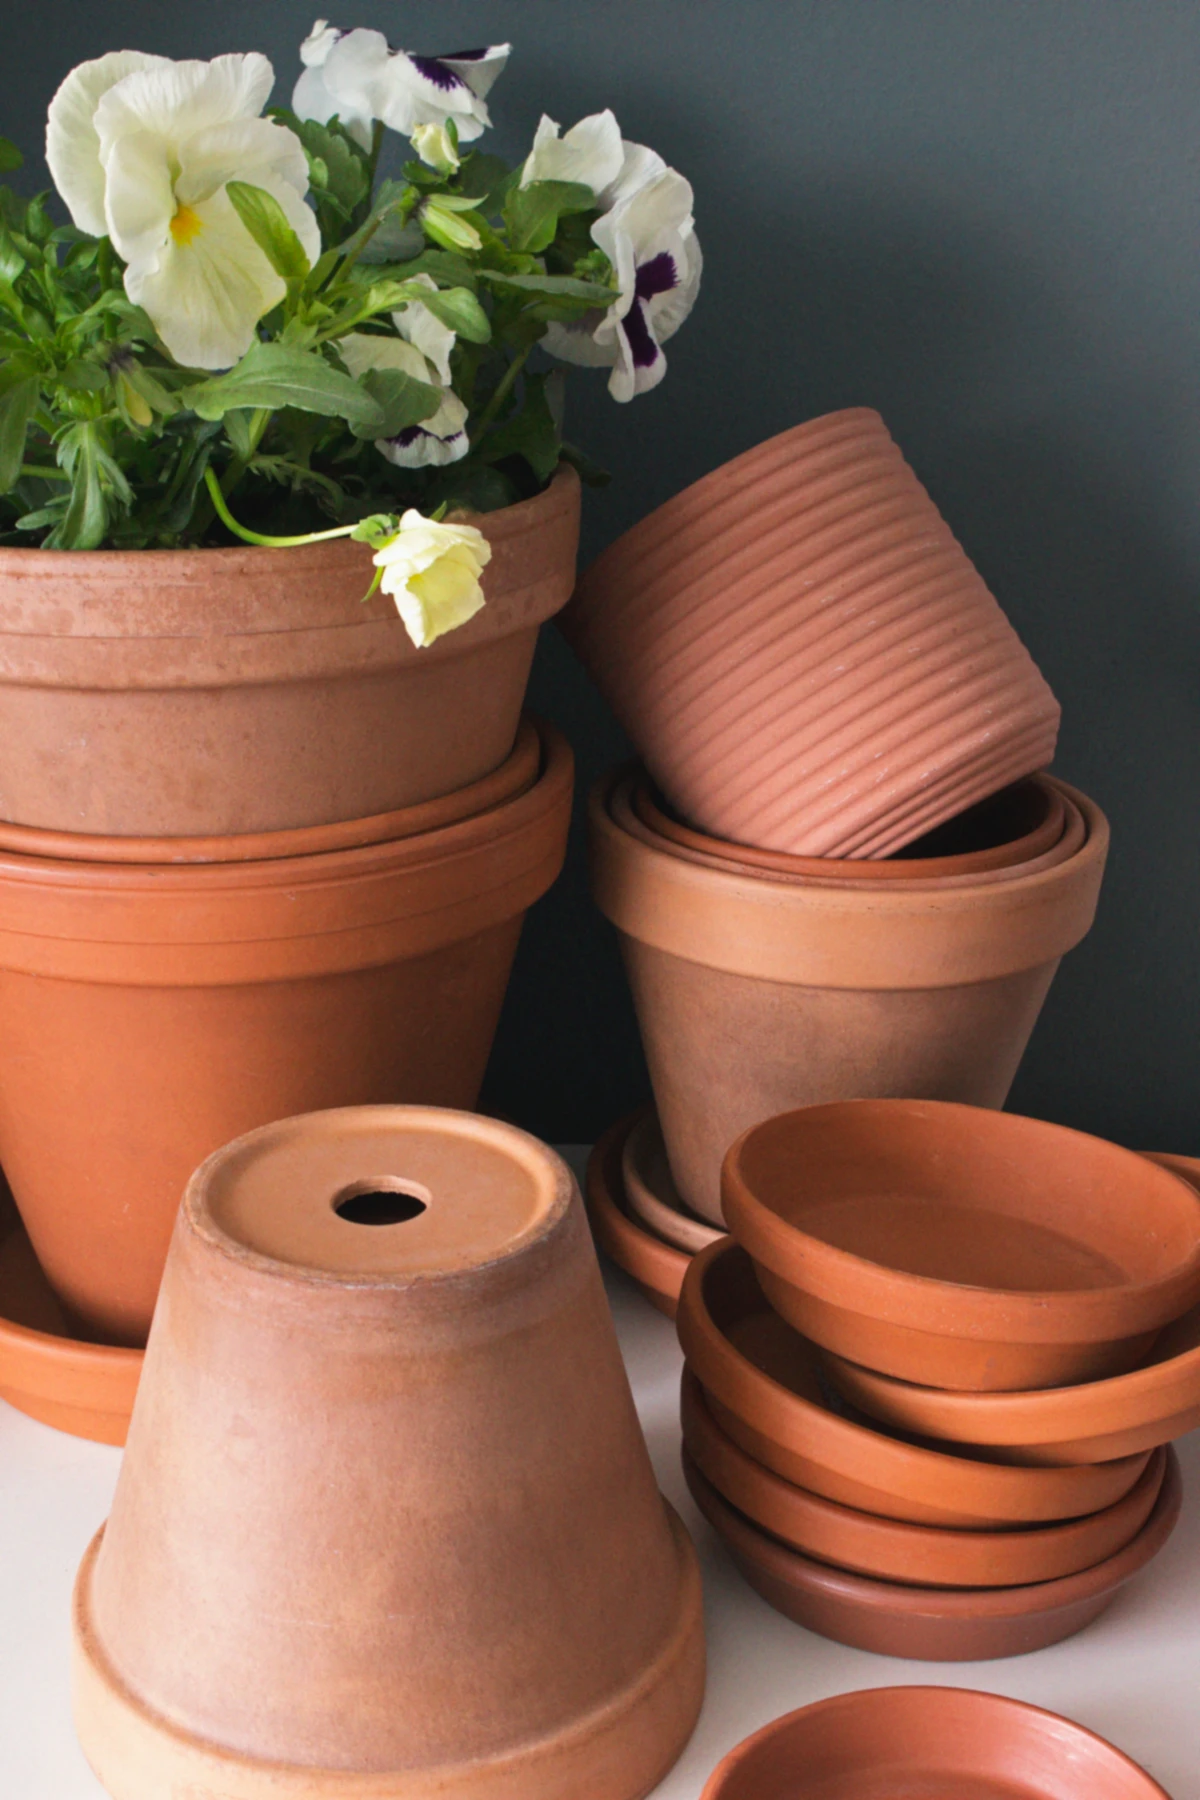
Now it’s time to prepare the plant’s new home. You need to get the right pot and the right potting soil. If your plant is just in need of a soil change, you can keep it in the same pot. However, if it is too big for it’s current container, it’s best to get a new one. Choose one that is slightly bigger than the original. Ideally, something with just one or two inches in diameter bigger. While you may just want to get a huge pot, with the idea that you won’t have to repot the plant anytime soon, this runs the risk of overwatering and root rot. When it comes to soil, different plant varieties may require different types of soil. Succulents will need a dryer soil, for example. You can ask your local garden center what type of soil they recommend for your plant.
Choose a container that is slightly bigger than the original one, around one or two inches bigger
#Add the plant
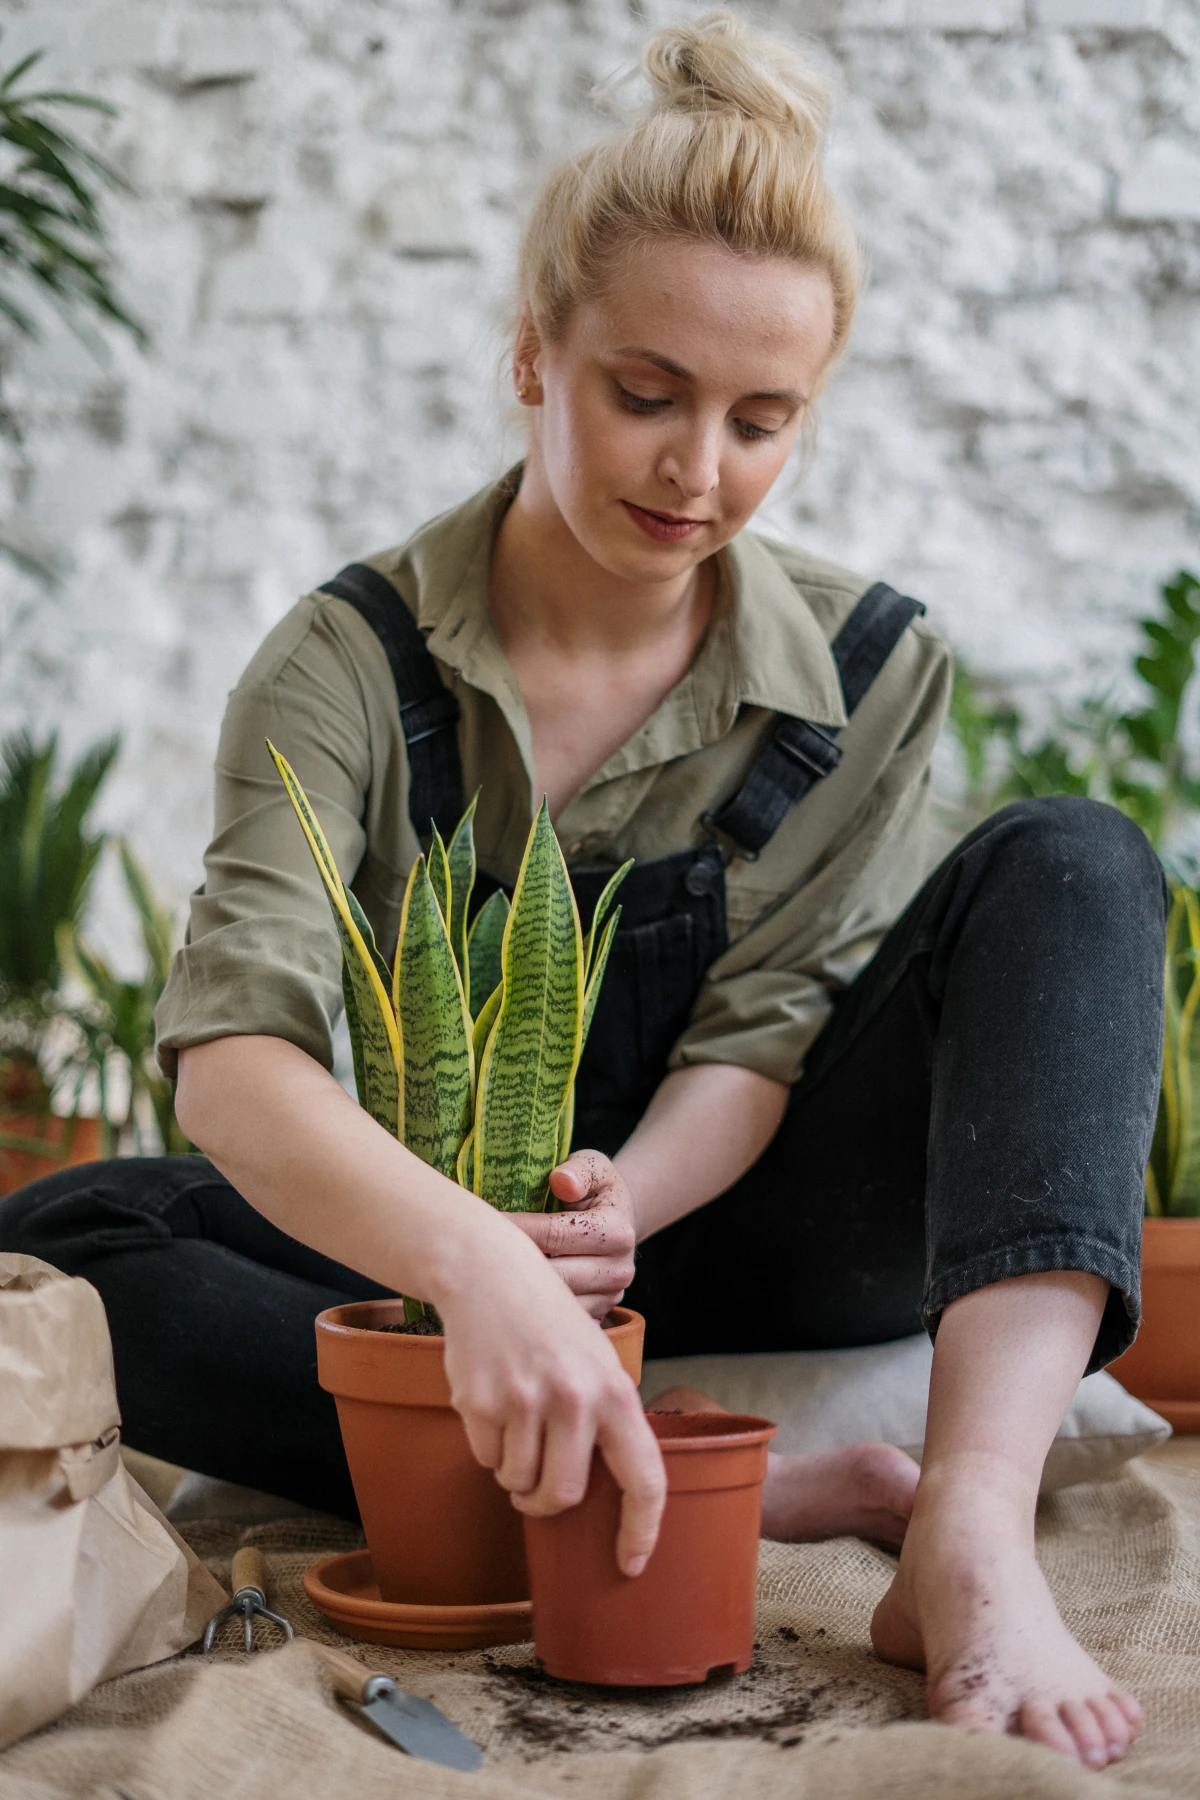
Once you’ve got yourself the right pot and soil, you need to fill the new pot to the base with the new soil mixture. However, if your pot does not have drainage holes, then make sure to add a layer of lava rocks or something similar first. This will ensure the water has a place to go and stay away from your plant’s roots, so they don’t rot. After you have placed the rocks and soil, place the root ball on top in the center of the pot. It’s important that the root ball is below the rim. This will ensure that the plant is covered sufficiently with soil. Once the plant is positioned, take some soil and gently place it around and over the roots. This way they can move and grow. When you are adding soil, make sure to pat it down. If you put your finger on top of the soil and it falls through, this means it is not packed tight enough. Roots like compact soil, but not overly compact. They do still need space to breathe. Fill the pot up, but make sure to leave at least an inch or at least a quarter-inch of space on top. This will ensure the water doesn’t overflow when you are watering the plant.
Once you’ve got yourself the right pot and soil, you need to fill the new pot to the base with the new soil mixture

#Water
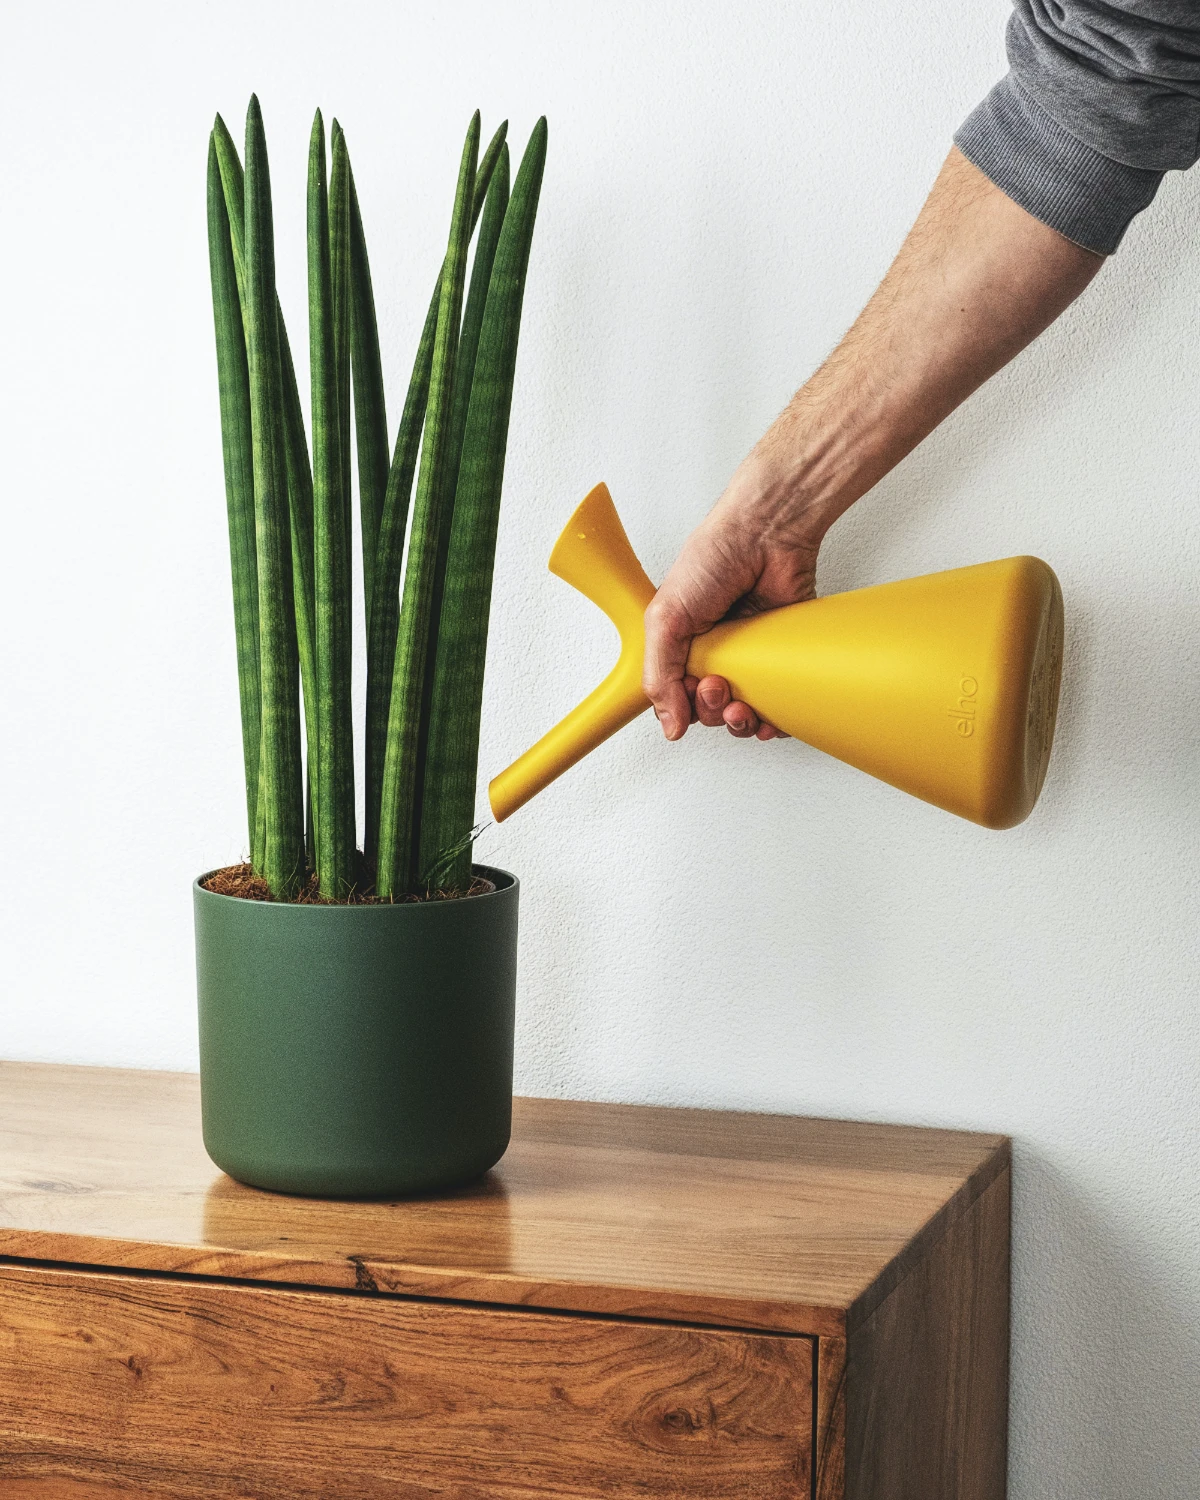
Finally, it’s time to water your plant. Newly transplanted plants may be feeling a bit stressed, so some nice, refreshing water will help them start feeling at home in their new pot. Place your plant in a saucer or in its cache pot and water it slowly, as if it is raining. Let it soak up all the water then water it again until the pot is heavy and water is running through the drainage holes. Let the plant sit in the sauce for around half an hour. If there is any excess water in the saucer, dump it and let the plant rest. It’s recommended to not water it again for at least a week, so it can have time to adjust.
Newly transplanted plants may be feeling a bit stressed, but some nice, refreshing water will help
This was how to repot a plant in just a few simple steps without killing it. We hope you found this article useful. Now that you know what to do, you don’t need to worry about accidentally killing your precious plants that are in need of a repotting.
This was how to repot a plant in just a few simple steps without killing it
Related Articles
- 6 Reasons Why Your Orchid Isn’t Blooming Like It Used To
- How To Get Rid of Mold on Houseplant Soil – 5 Effective Methods
- 4 Houseplant Mistakes You Need To Avoid For Healthy Plants
- 7 Things Plant Experts Do That You Probably Don’t
- Underrated Houseplants You Will Fall In Love With
- 5+ Common Mistakes That Are Killing Your Houseplants
