More than 80 preschool activities which are entertaining and easy to achieve
Children have the gift of creativity and you have probably already noticed. If you think about it, you will certainly find an example that proves it. How many times have you thought “Where did this child get this idea from?” However, it is often considered that instead of working and... The post More than 80 preschool activities which are entertaining and easy to achieve appeared first on Architecture E-zine.
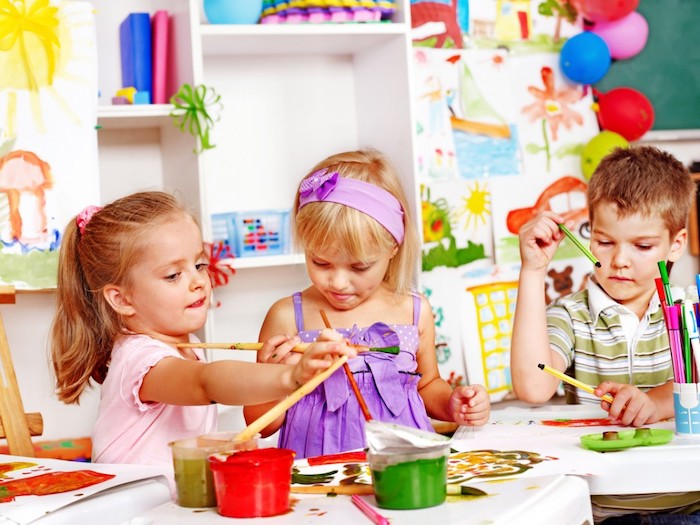
Children have the gift of creativity and you have probably already noticed. If you think about it, you will certainly find an example that proves it. How many times have you thought “Where did this child get this idea from?” However, it is often considered that instead of working and stimulating this creativity, the school annihilates it. This is why, contrary to what ambitious parents think, creative projects and preschool activities are of paramount importance for the development of the child.
In reality, the strengths of crafting for kids go a long way. Not only do they appeal to the creativity and curiosity of the child, but it also helps with the development of fine motor skills and better control of hand movements. Furthermore, it is also a good way to develop the sense of autonomy and independence in the child. Thus, the little one will learn to concentrate and will gain confidence.
Several ideas for preschool activities to work the creativity and intelligence of the child

Preschool activities are important
What’s important is not to forget the especially through play and crafts activities the child discovers the surrounding world. The playful approach is considered to be the best way to teach the child his first lessons in mathematics, biology, literature, etc. The use of recycled materials for the realisation of DIY projects will teach children how to respect the environment. To help you choose beautiful, fun and educational preschool activities, we have selected some interesting child DIY ideas. For the harder projects we even offer tutorials that will help you visualise the idea.
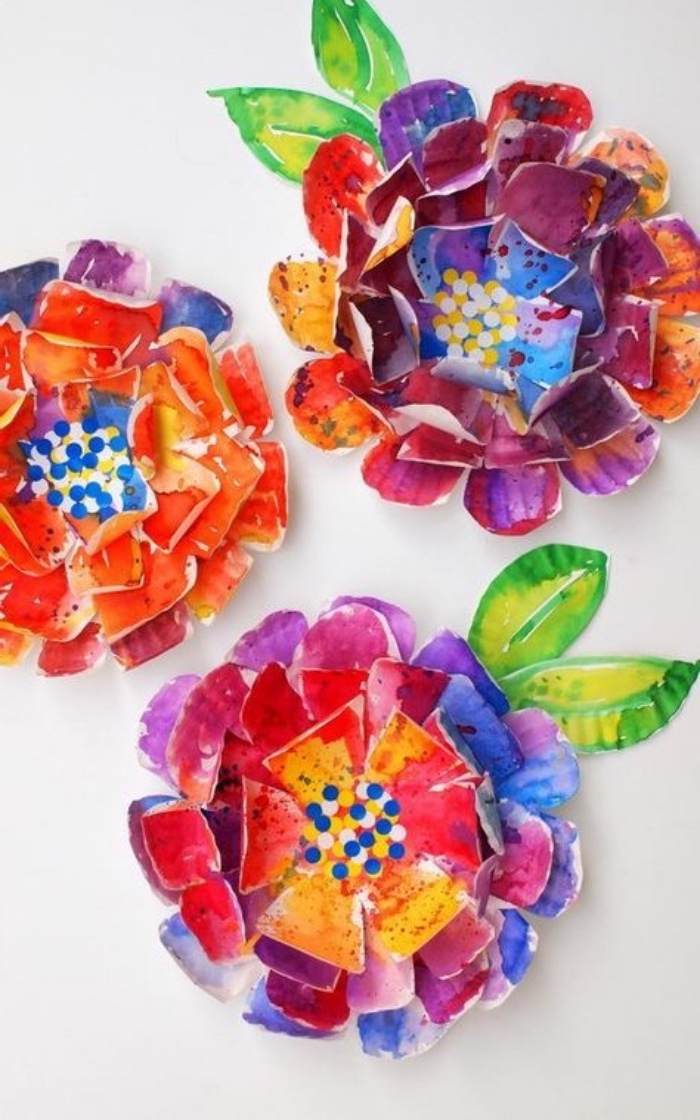
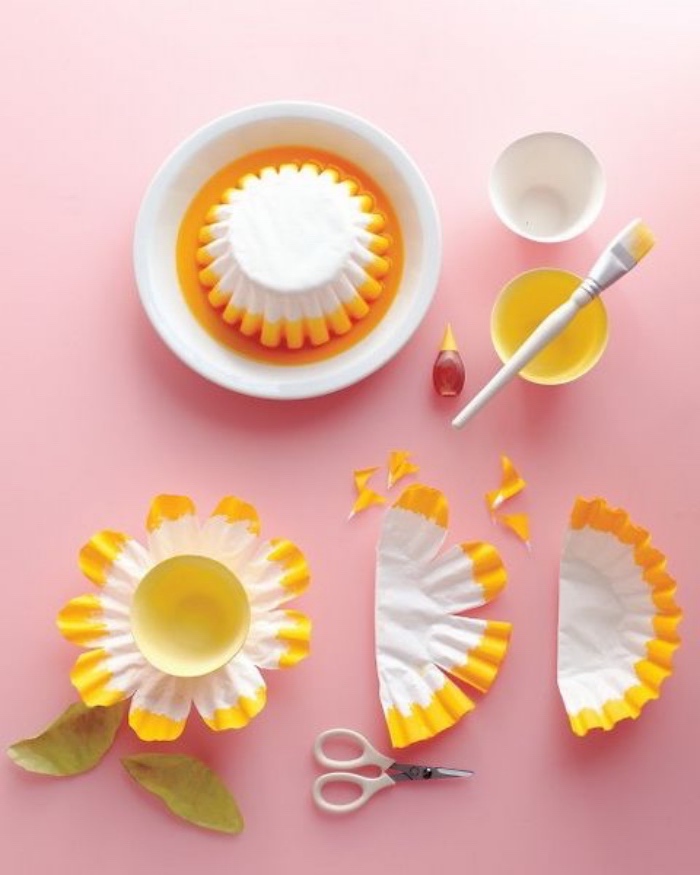
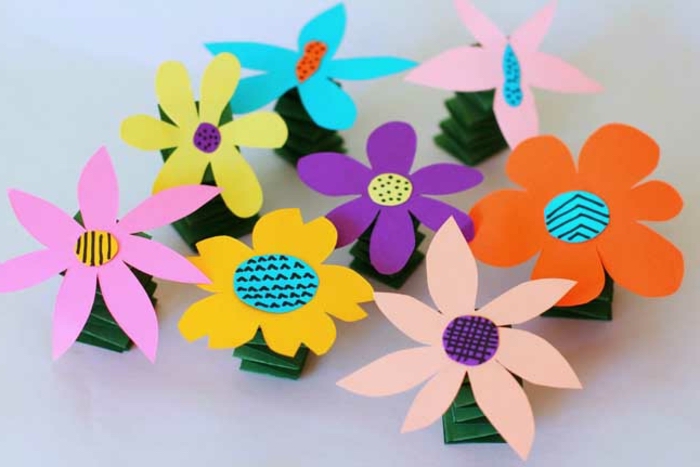
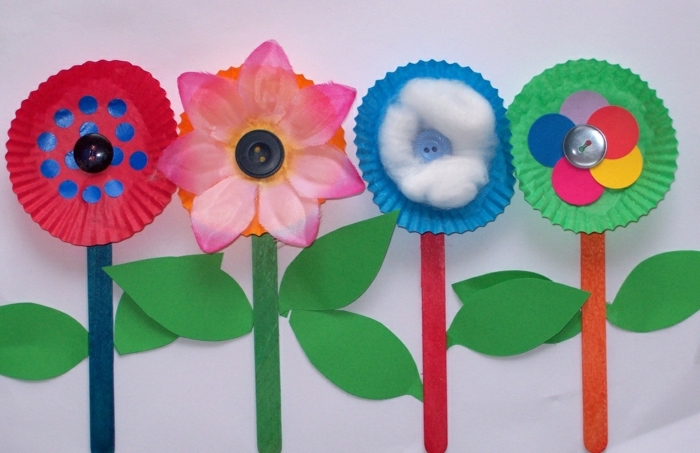
Multicoloured flowers in a paper plate – a superb idea of a preschool activity to create a colourful decor
We hope you have fun reading this article and remember that the ultimate goal of these activities is to allow the child to express themselves and have fun. Do not impose too many limits to allow the imagination to flourish and create its little works of genius.
Cute, easy-too-make cat page dividers – a great project for preschool activities
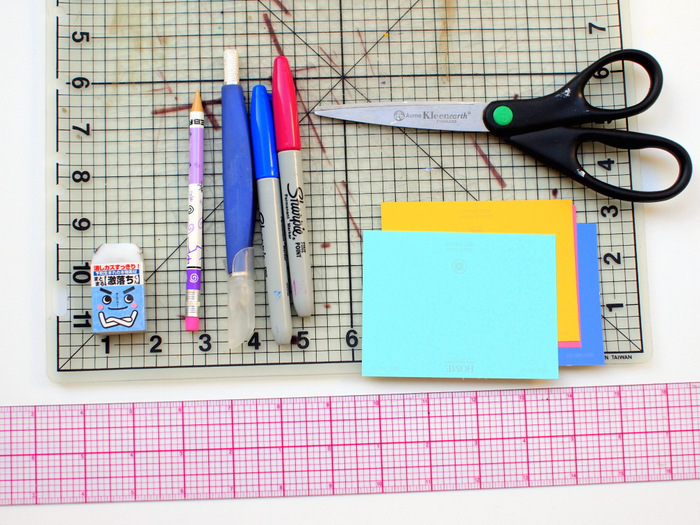
Materials needed:
- permanent markers
- coloured paper
- cutter
- scissors
- cutting mat (or a piece of cardboard)
- pencil
- rubber
- ruler
Project implementation:
Cut out rectangles, cut out the shape on coloured paper. Using permanent pencils and markers, draw the silhouette of your cat, Make sure you have drawn arms long enough to hold the pages of the book.
The materials needed to make a cat page divider. A first super tutorial for preschool activities
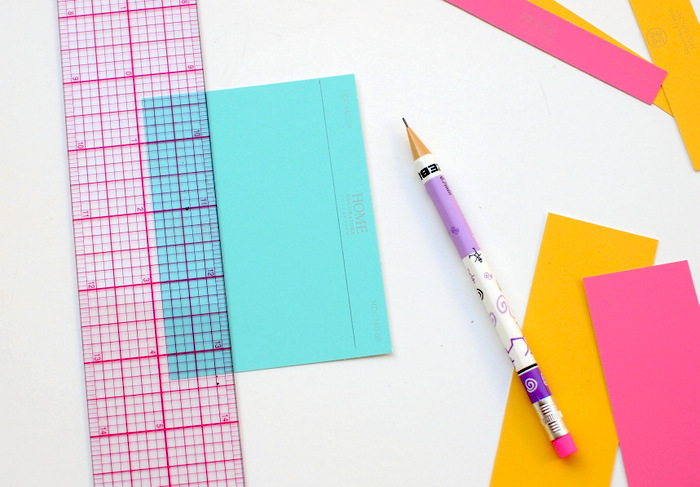
Cut out strips of paper, which will represent your mark page – the first steps of this DIY project
Draw the cat on a piece of paper to make a nice bookmark – the cutest DIY project
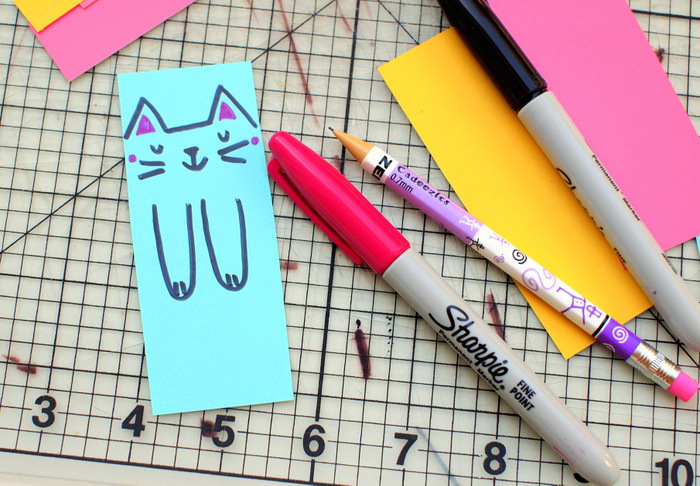
Then, using scissors, cut around the cat’s ears. Then use a cutter to cut out the paper cat’s arms, following the contours. If your cutter is not sharp enough, you may need to repeat the process a few times. Finally, you just have to bring out the arms of your cat and that’s it. Just like a magician!
Cut out the contours of your cat’s arms, so they hold the pages of the book – wonderful idea for a creative child
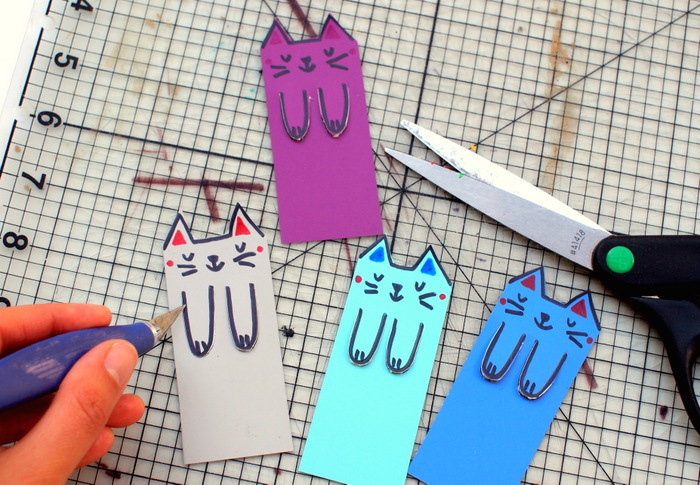
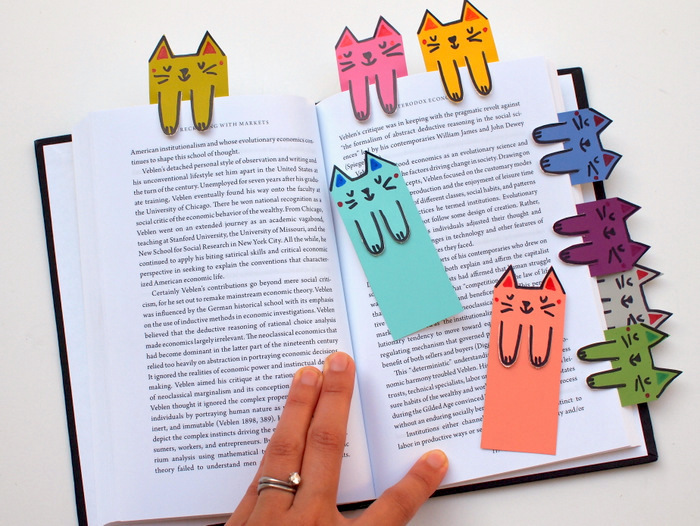
That’s the result of our efforts – a nice bookmark and a preschool activity that will entertain children
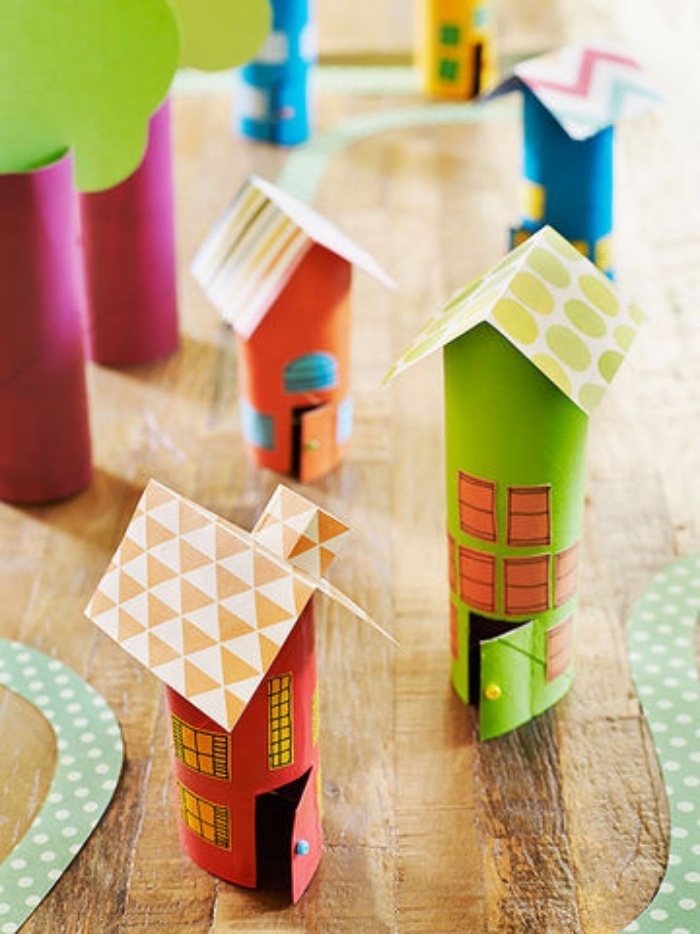
Small nice houses made of toilet paper rolls with a cardboard roof – easy DIY idea for children
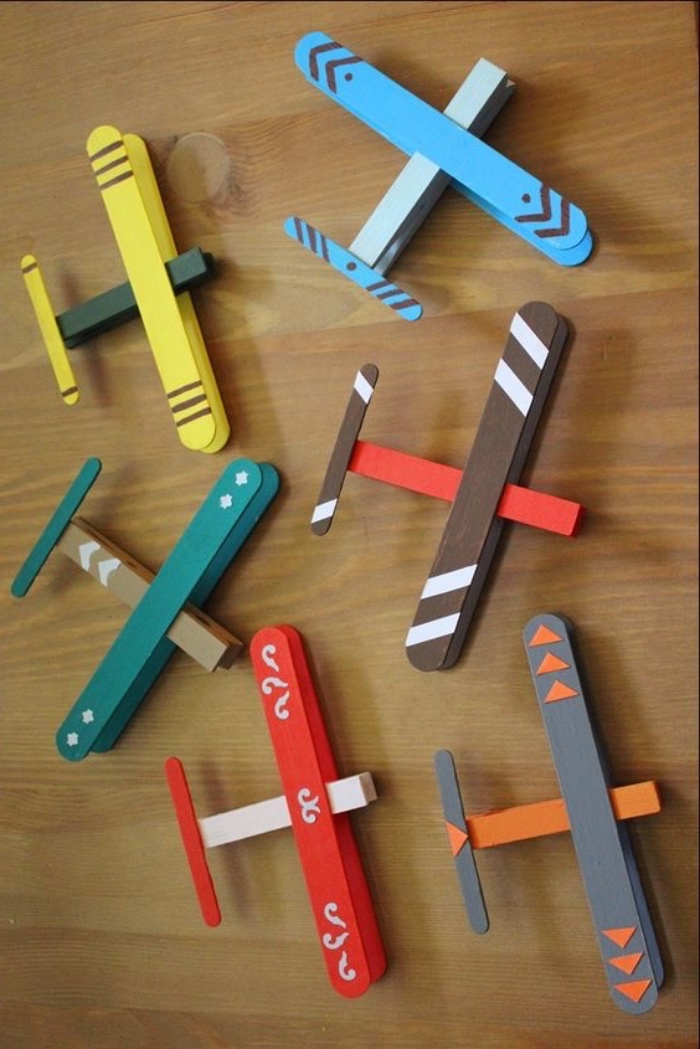
Tiny airplanes made of clothespins and popsicle sticks – child DIY project that boys will definitely like
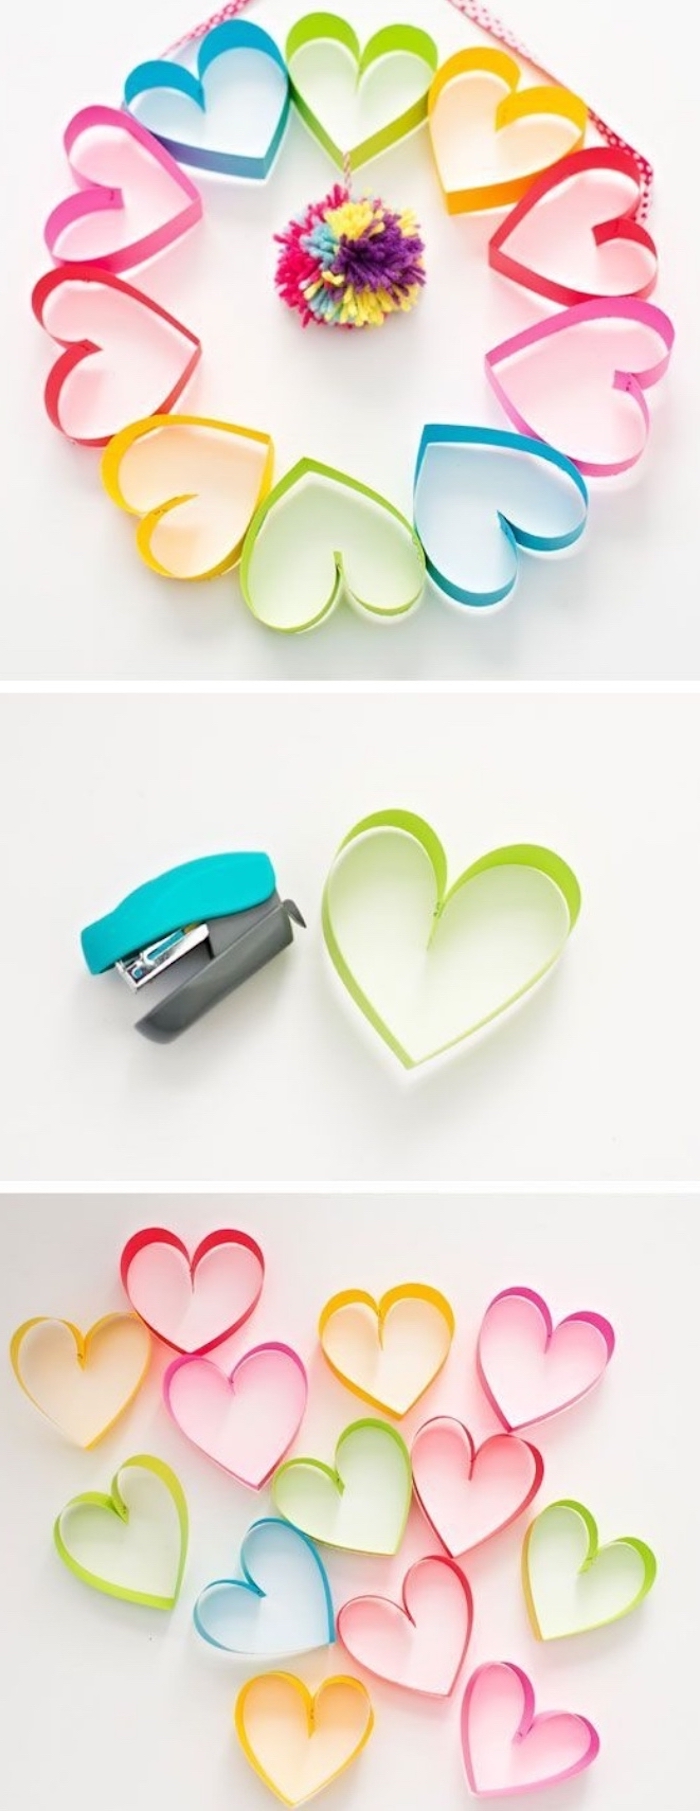
A colourful paper crown and a hanging pompon – excellent idea for paper crafting
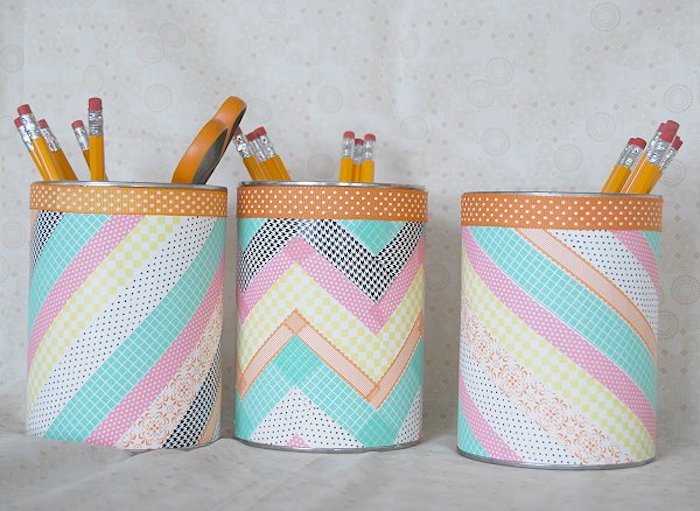
How to make a pencil jar, decorated with washi tape – a super fun back to school preschool activity
For this DIY child project, you will need:
- tin can
- card stock
- washi tape
- pencil
- ruler
- ribbon
Step-by-step tutorial:
The first thing you need to do is see how much card stock you will need. On it you will then apply your masking tape. After completing this important task, set the angle and direction to follow in the washi tape application. You can arrange it horizontally, vertically or diagonally… it’s up to you. Whatever the case, draw a line with a pencil and a ruler. The latter will serve as a reference.
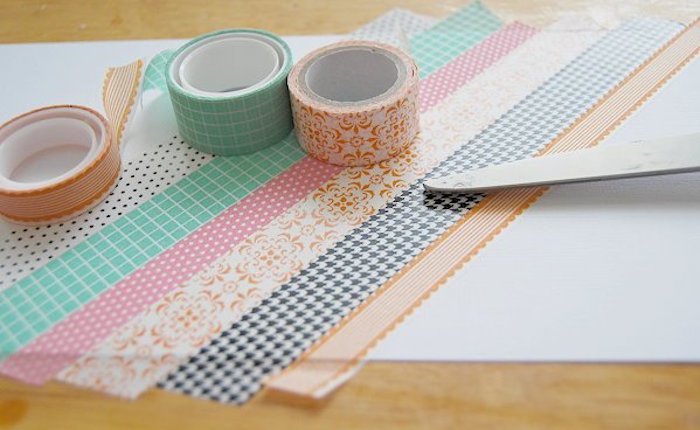
Then, start adding the strips of washi tape next to each other. Be sure to allow the strips to stick out a little bit of the card stock. The, stick the excess masking tape on the back of the card stock. Finally, using strong glue, have the decorated card stock tied around the can. You can use a few pieces of tape to secure the ends as the glue dries. And finally, it’s optional, but you can also decorate the top of your tin can.
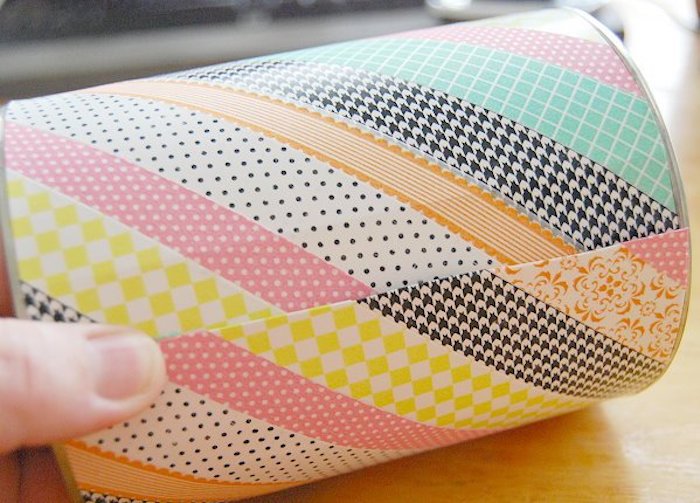
DIY pencil jars – one of the best ideas for preschool activities on the back to school theme
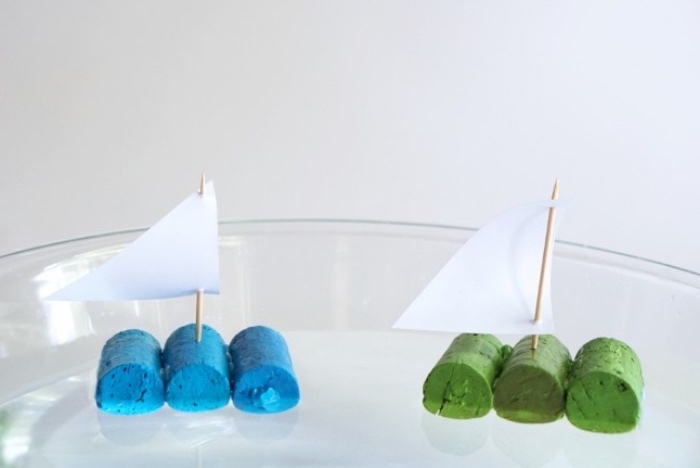
Small sailboats made of corks, toothpicks and paper veil – a DIY project for children to do during the summer
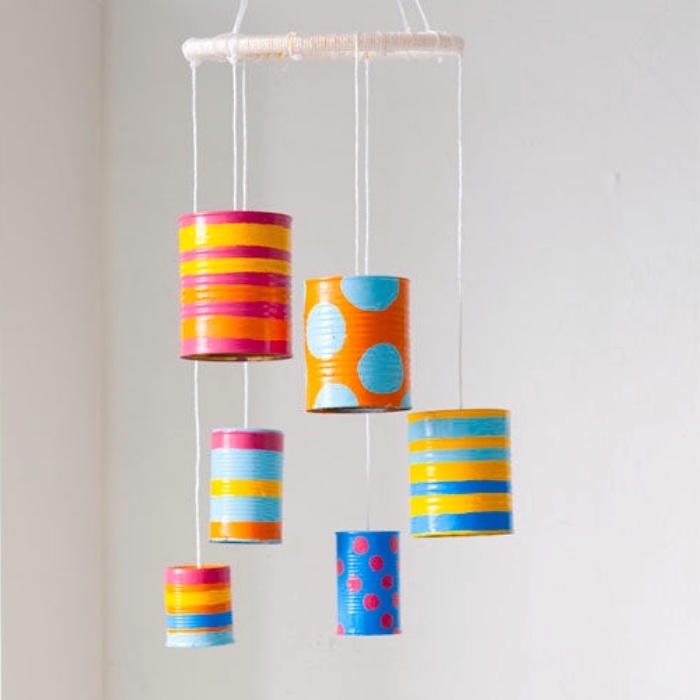
Recycling cans to put over a baby’s crib – preschool activity to give a lesson in ecology
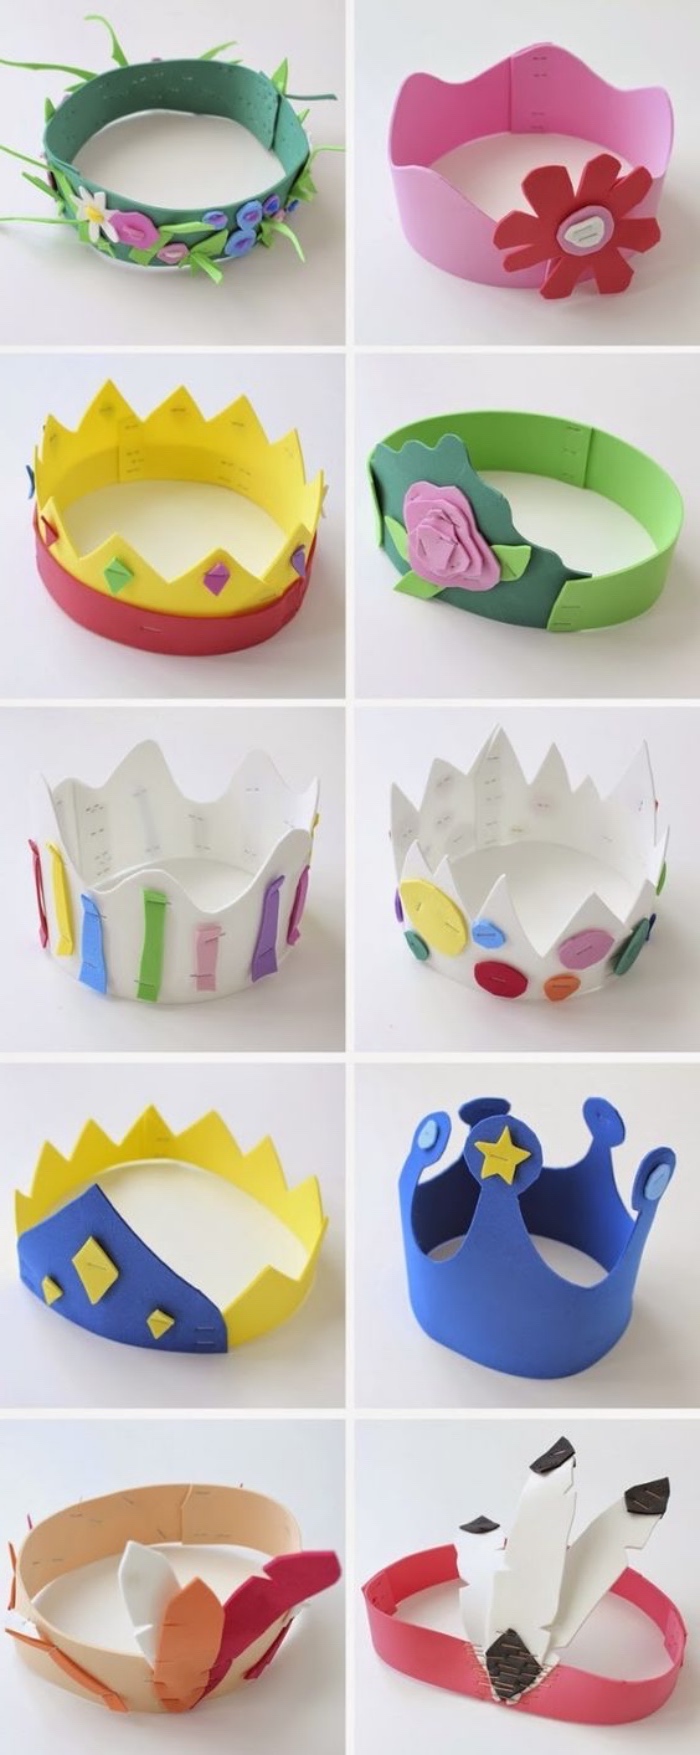
Various patterns of foam paper wreaths with floral decorative elements
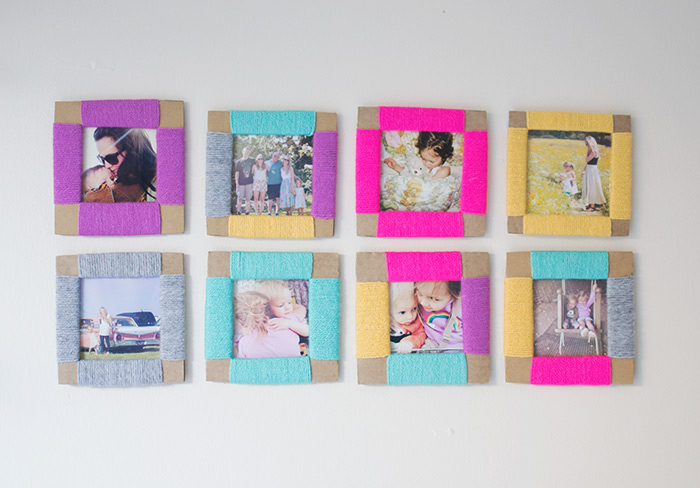
A great Mother’s Day gift idea – cardboard photo frame with woollen threads
Materials needed:
- cardboard
- photos
- pencil
- ruler
- scissors / cutter / cutting mat
- glue gun
- wool
Realisation step-by-step:
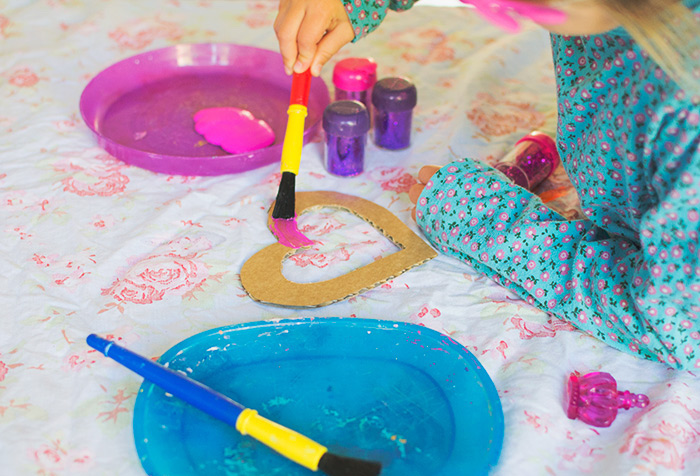
The thing you can start with is to put the photo on the piece of cardboard to trace its contours. In the first formed square, draw another, smaller one, to create the inner part of the frame. Then, using a cutter, cut out and remove the center part of the cardboard. It is behind this small part that we will put the photo. Then, cut with scissors following the outer frame. Put the picture frame created on another piece of cardboard, trace over the contours and cut out (in case you want to create several photo frame).
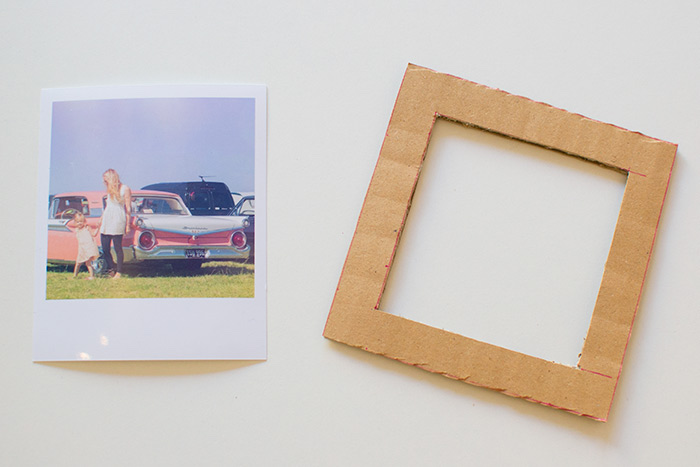
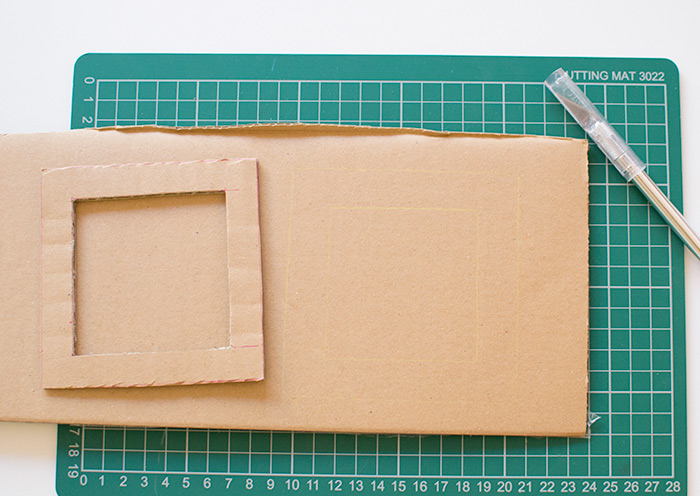
Now start wrapping the wool around the four sides of the photo frame (we used different coloured wool for each side of the photo frame). Then you have two options – either you knit the two ends of wool on each side, or stick them to the frame with a glue gun. Be careful, the angles are left bare, because it is difficult to tie them around them.
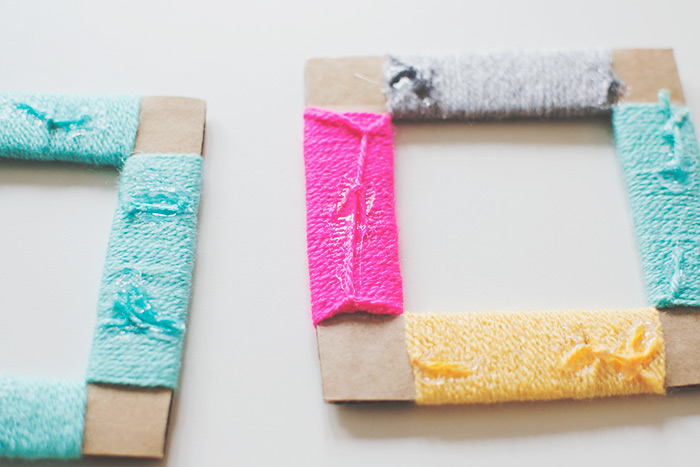
Finally, you have to attach the photo to the back. Super easy, right?! One could think of making a whole collection of childhood photos for mom. She will be charmed and surprised.
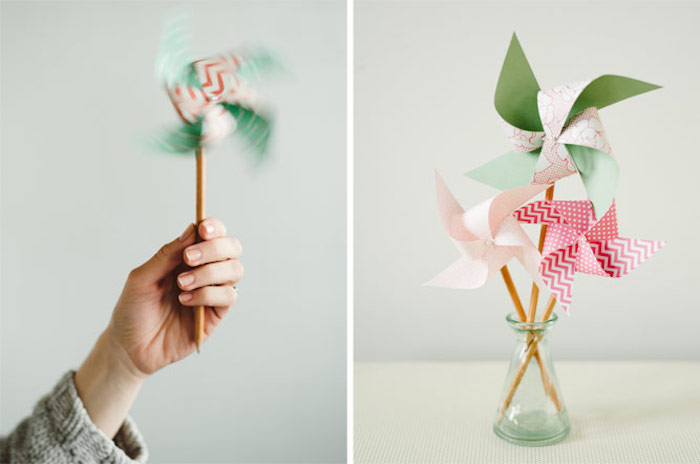
A windmill made of paper and pencil – an ultra easy creative activity
Materials and tools needed:
- wooden pencil with eraser
- scissors
- beaded pins
- needle-nose pliers
- colourful card stock
How to carry out the project:
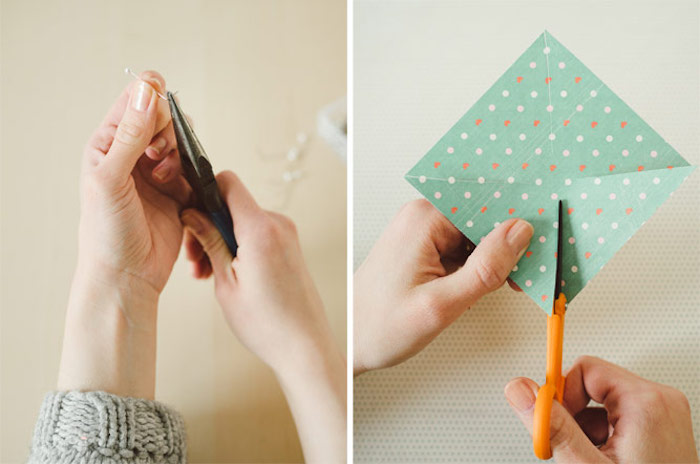
The first thing to is to bend a pin at a 90 ° angle. Attention, in order to achieve this task children will obviously need the help of an adult. Secondly, cut out a square of 10/10cm in the paper. Then, fold each of the angles in half and with scissors cut lines converging towards the center, but without cutting them entirely. Stop cutting at about 1 – 1.5cm from the center.
Third, lay the paper on a flat surface and bring the left ends of each notch to the center. Hold with your fingers. Then take the pin to get it through the center, making sure that it goes through all four points that have been brought back to the center. Then, make the paper slip jently into the pin pushing until the beaded end. Finally, insert the pointed end of your pink into the eraser of the pencil pressing firmly.
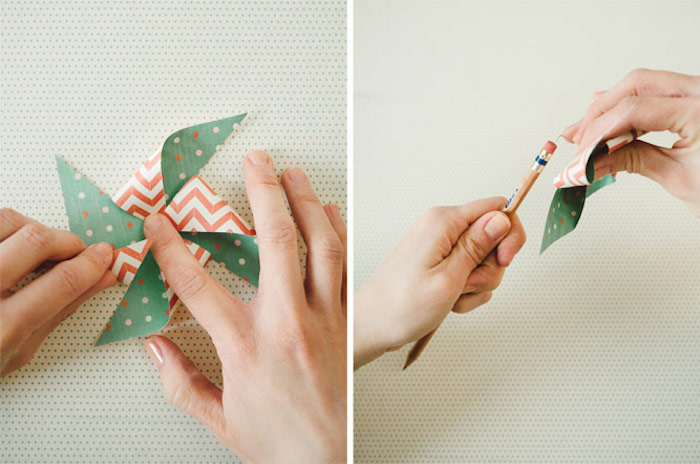
Spin and admire the magic of the windmill. That’s it, are you ready?
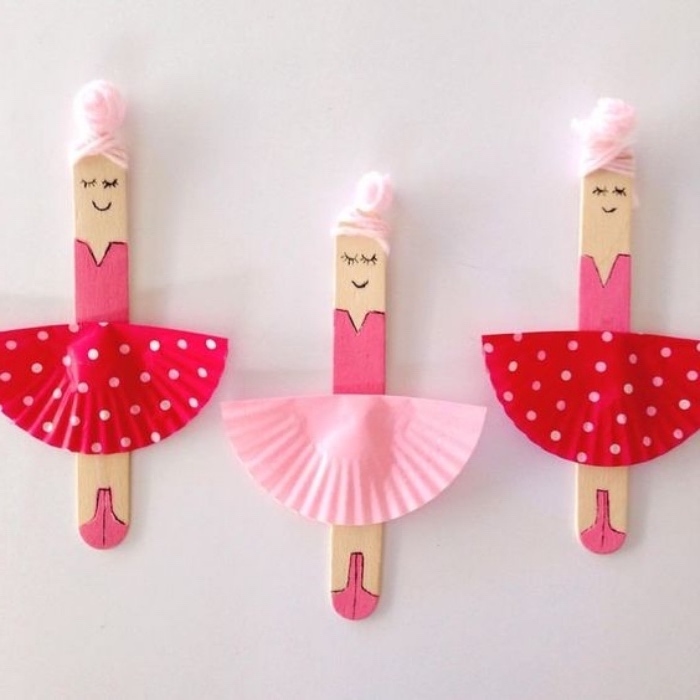
Idea how to make dancers from popsicle sticks – a preschool activity for little ladies
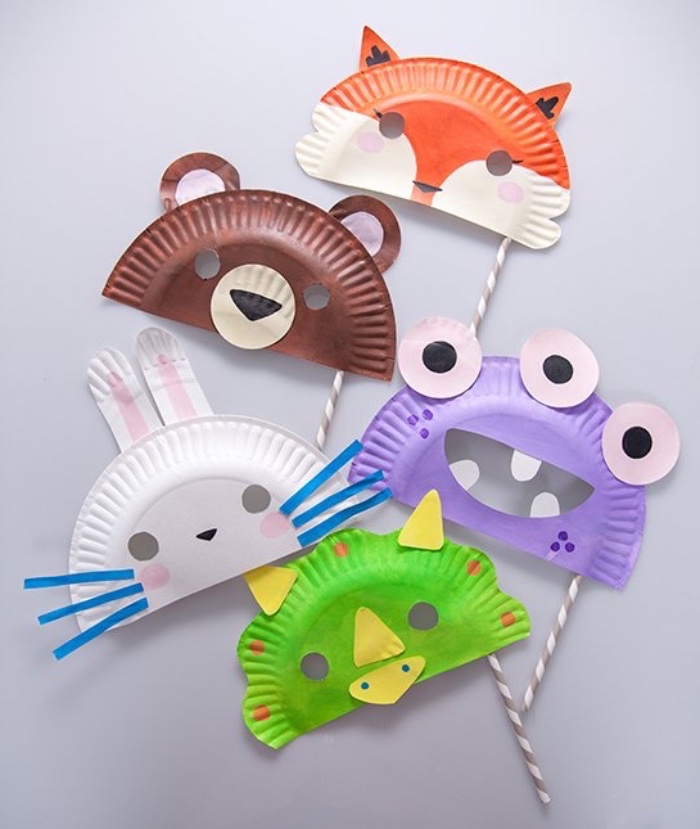
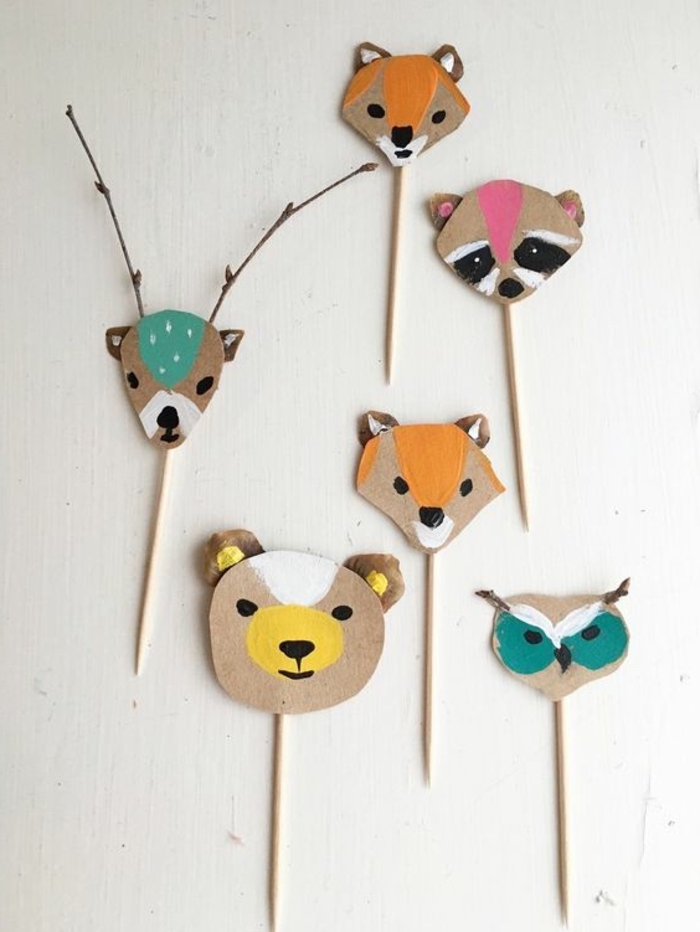
Paper animal masks – a great way to get to know the world that lives in the forests and an even better kindergarten classroom activity
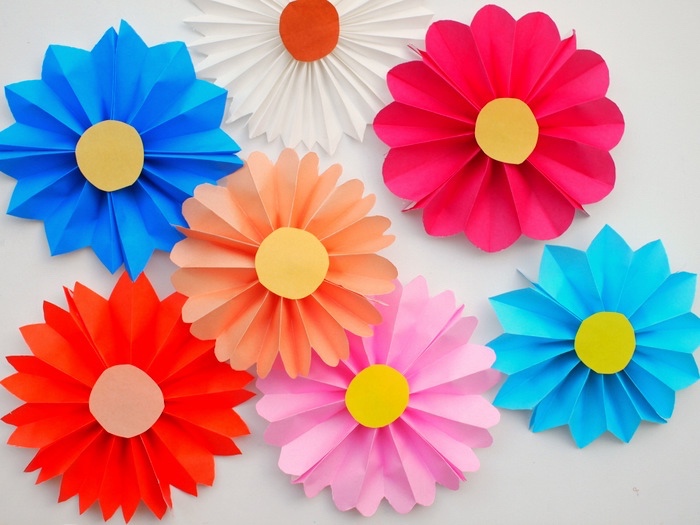
Idea how to make paper flowers – easy DIY to create a beautiful floral decoration
What you need:
- origami paper (two sheets)
- scissors
- stapler
- double-sided-tape
- wool (optional)
- perforator (optional)
Step-by-step tutorial:
Take a sheet of origami paper and fold it in half, then in half again and so on until you have done three folds in total. Do the same with the other sheet.
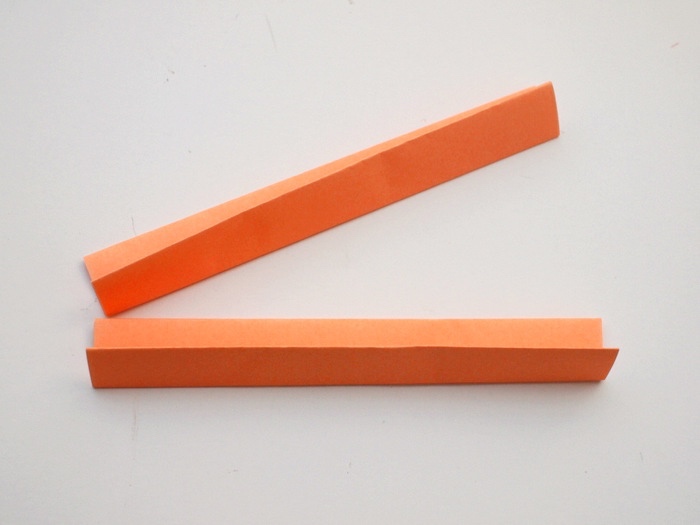
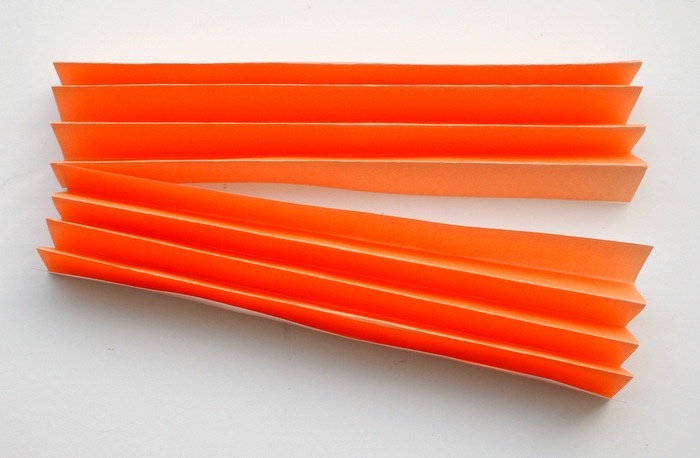
Then, unfold the paper and fold it again but this time in accordion. The folds made in the previous step will serve as a reference.
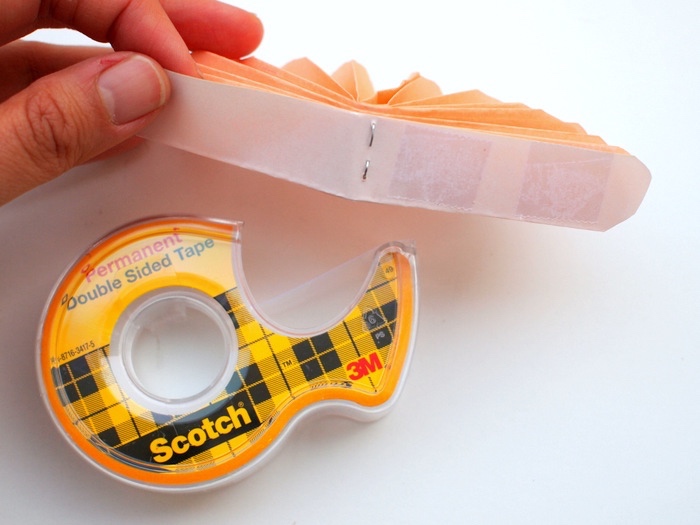
Then fold each of the accordion sheets in half and staple them together through the middle. Cut the ends of the accordion paper to give them a nice shape. The shape of the pattern to be carved is left to your choice.
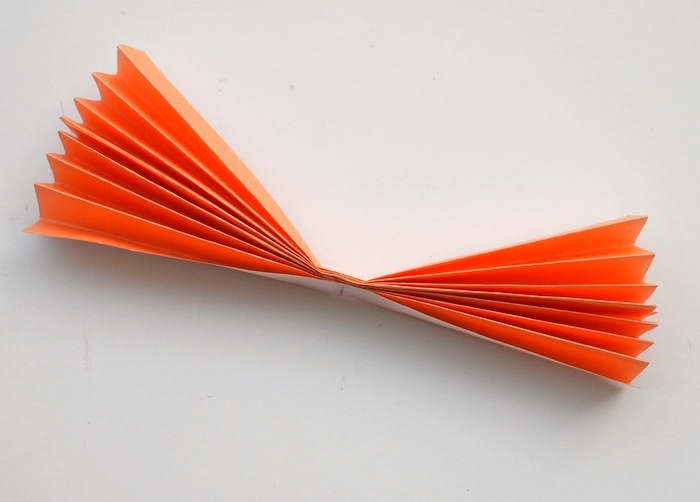
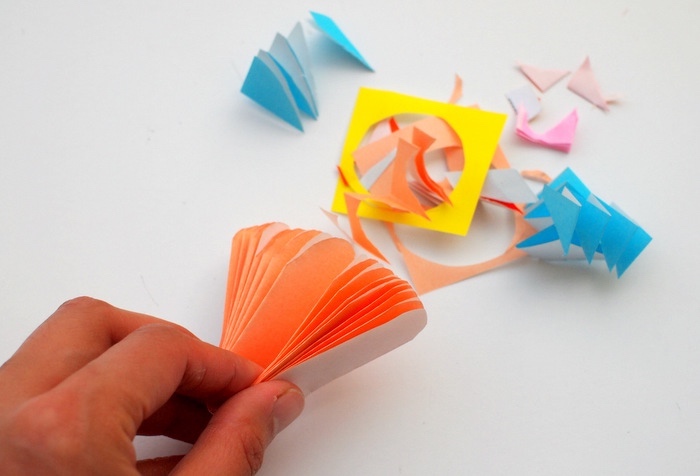
Finally, using your double-sided tape, start assembling the parts of your flower.
The end result of this DIY – extremely pretty origami paper flowers to decorate the walls of the kid’s room
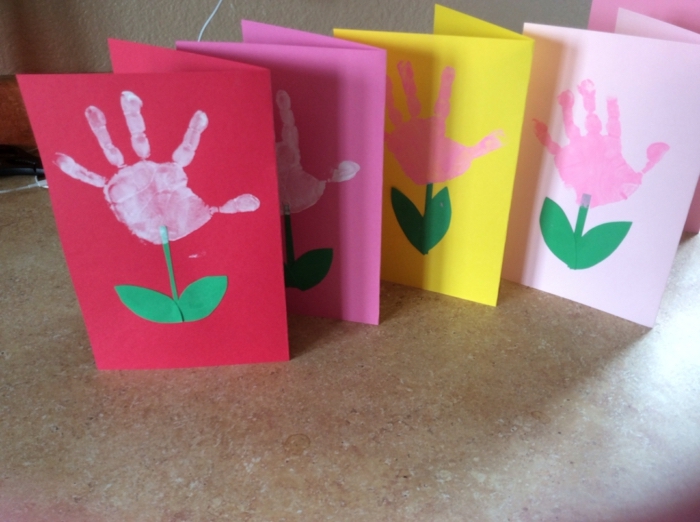
Handprint drawing tricks for kids – video tutorial

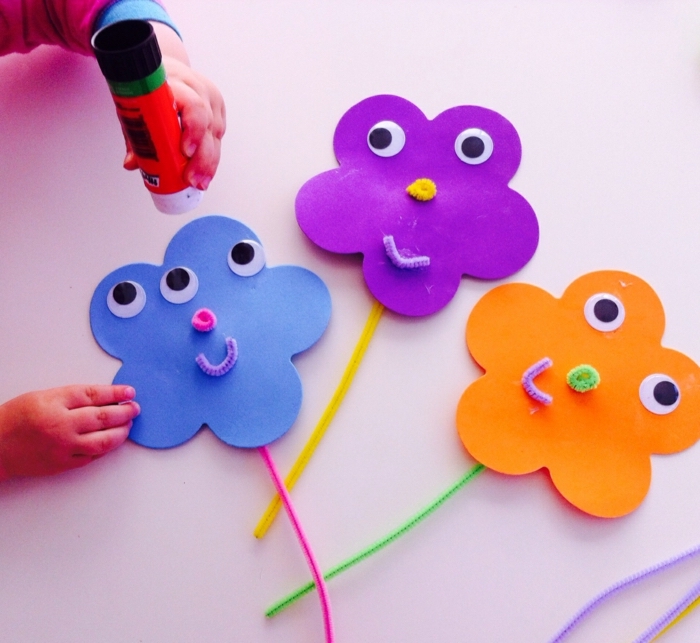
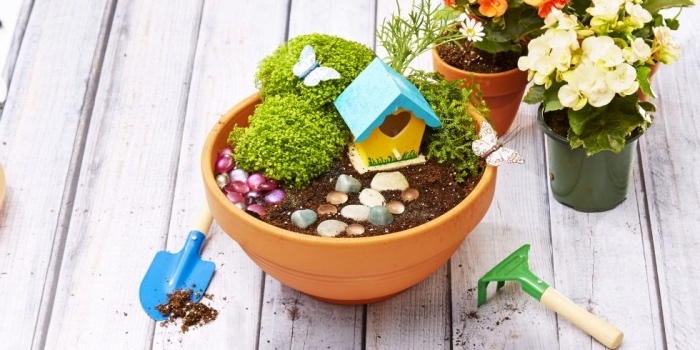
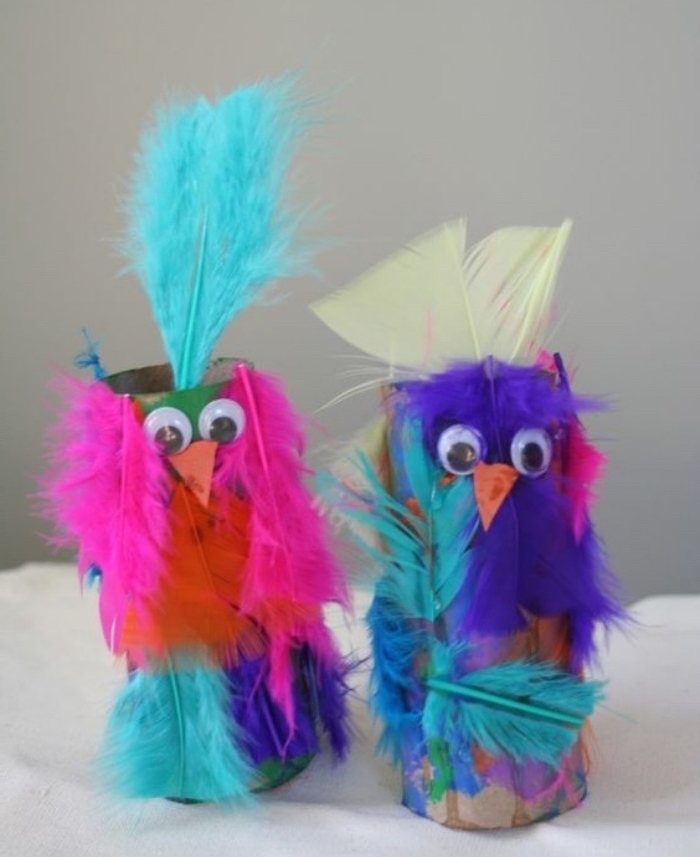
Preschool activities – fun coffee mugs

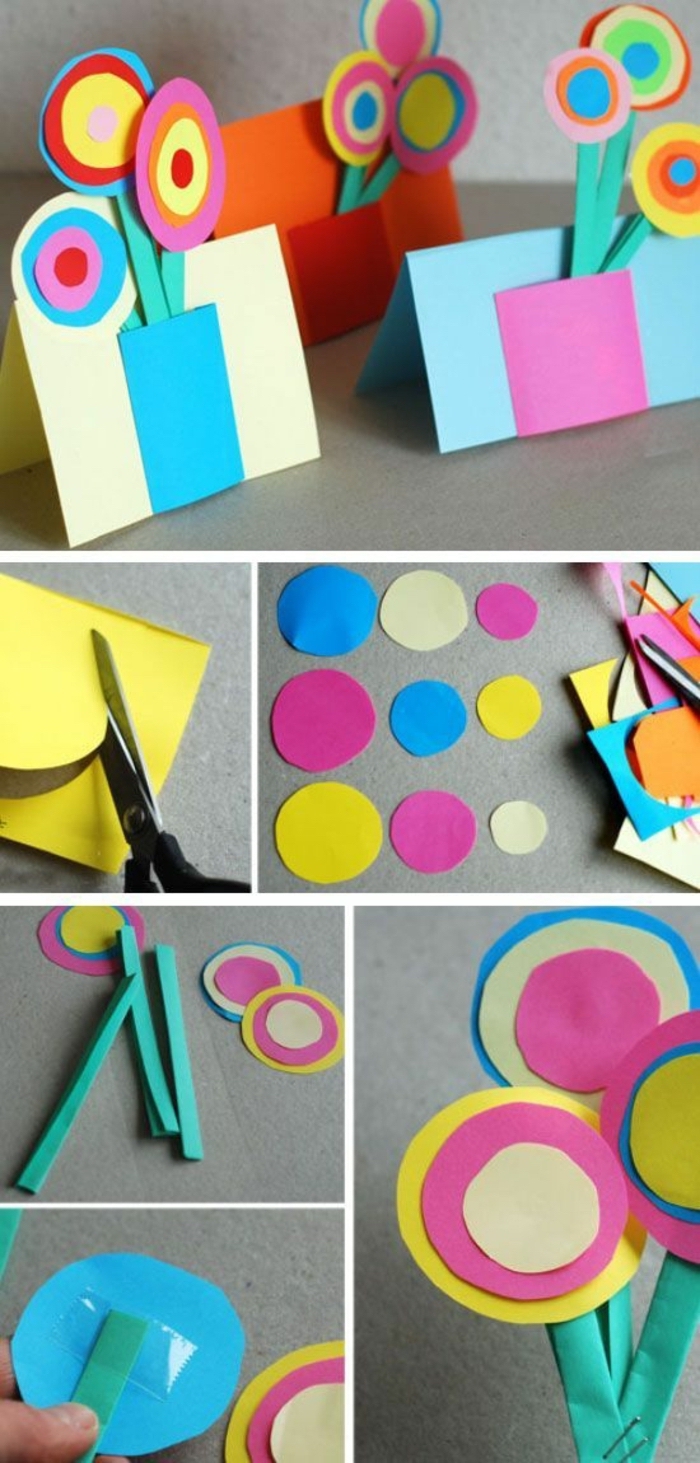
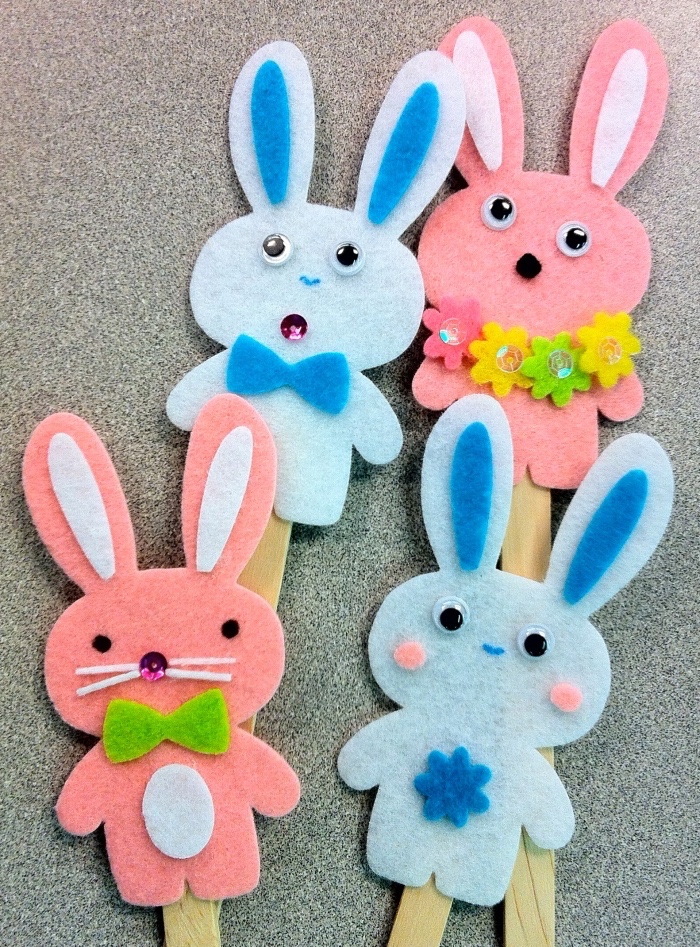
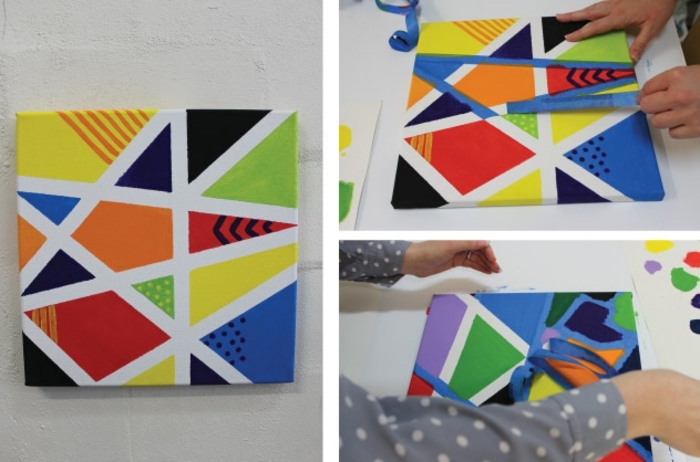
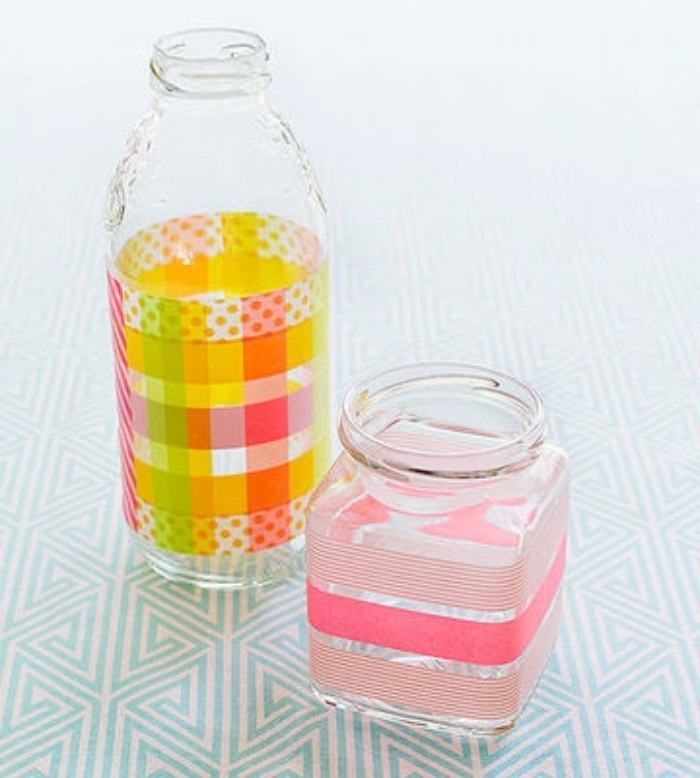
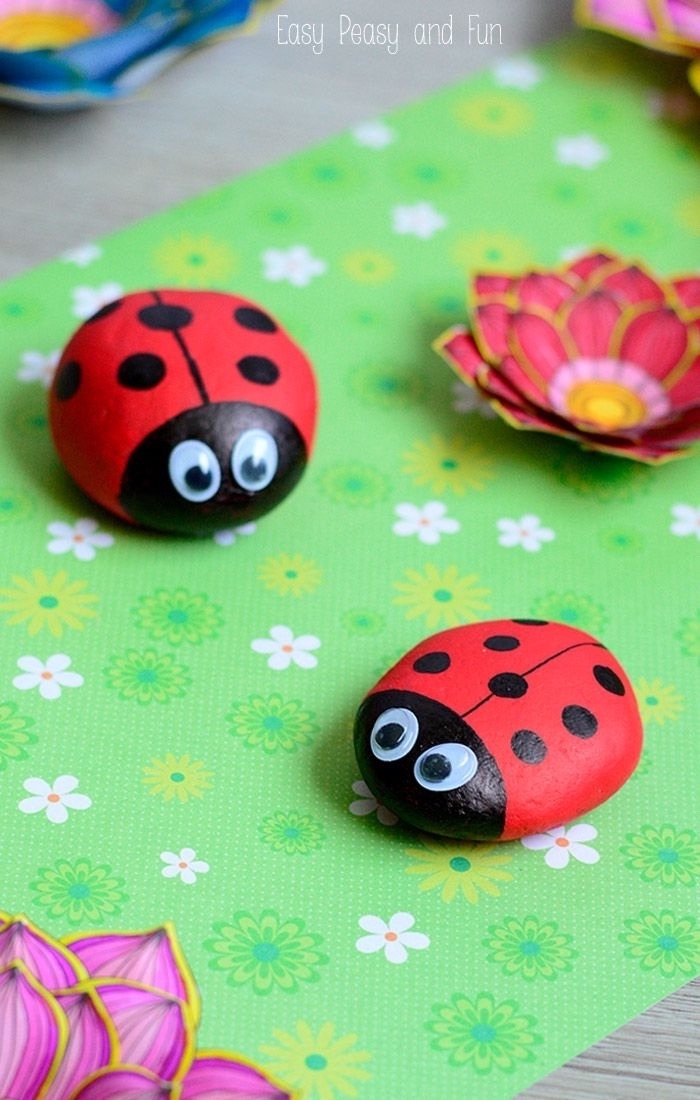
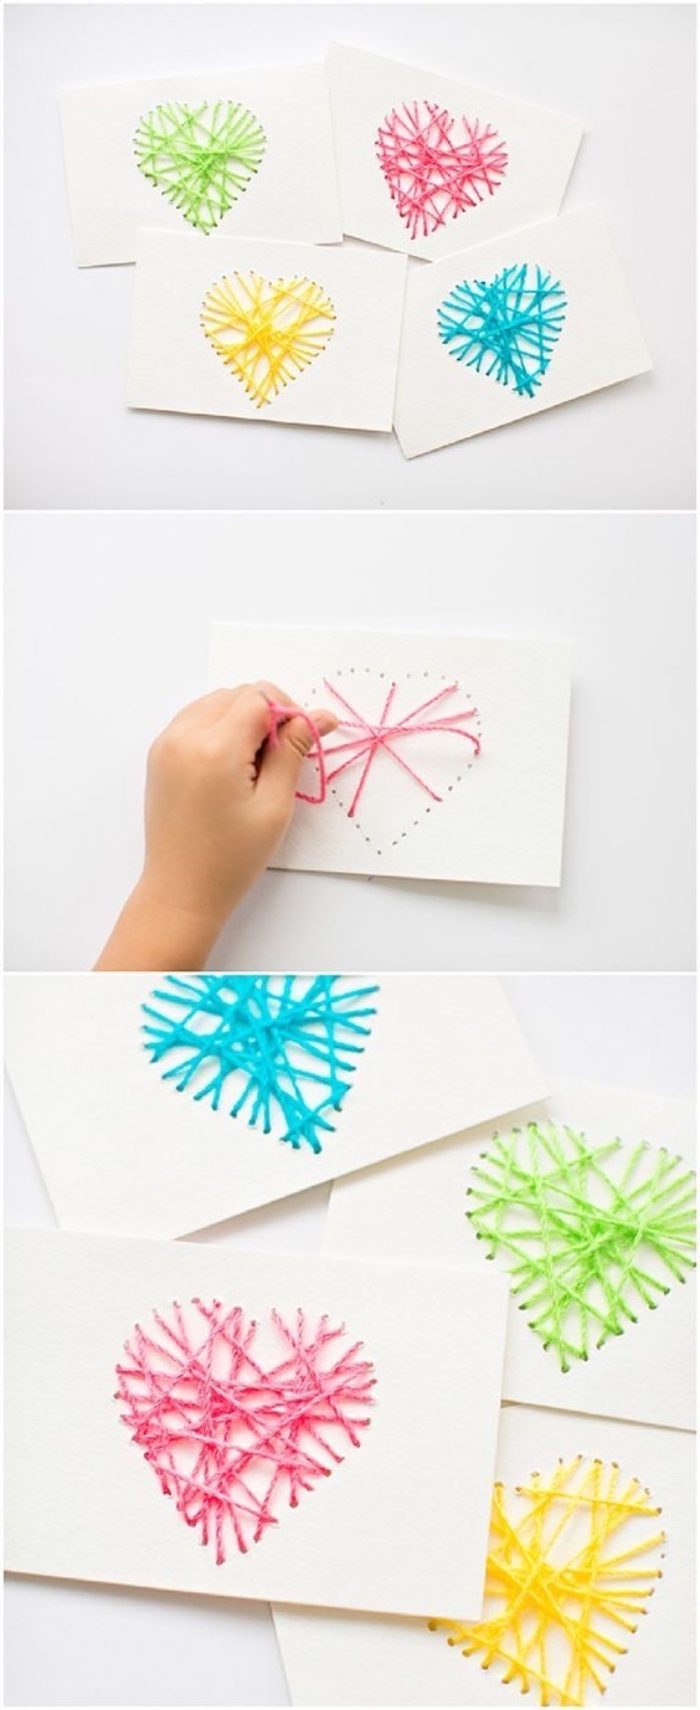
Beautiful and easy greeting cards


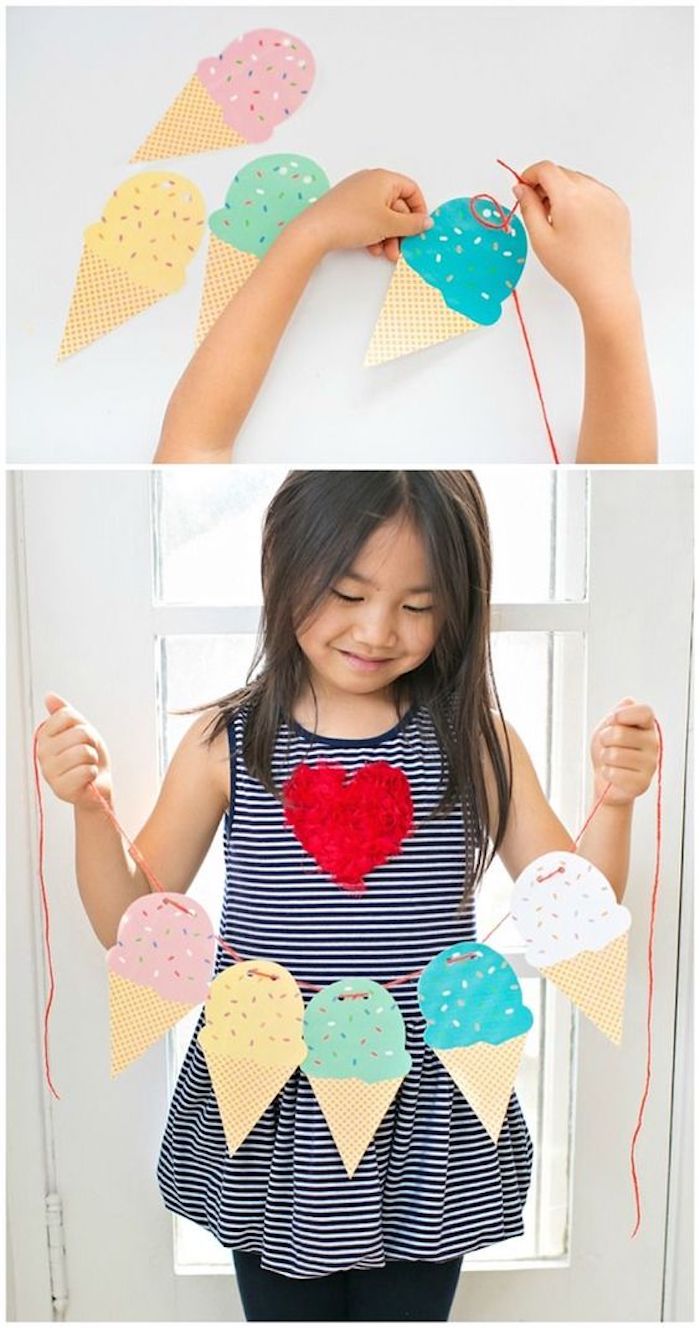
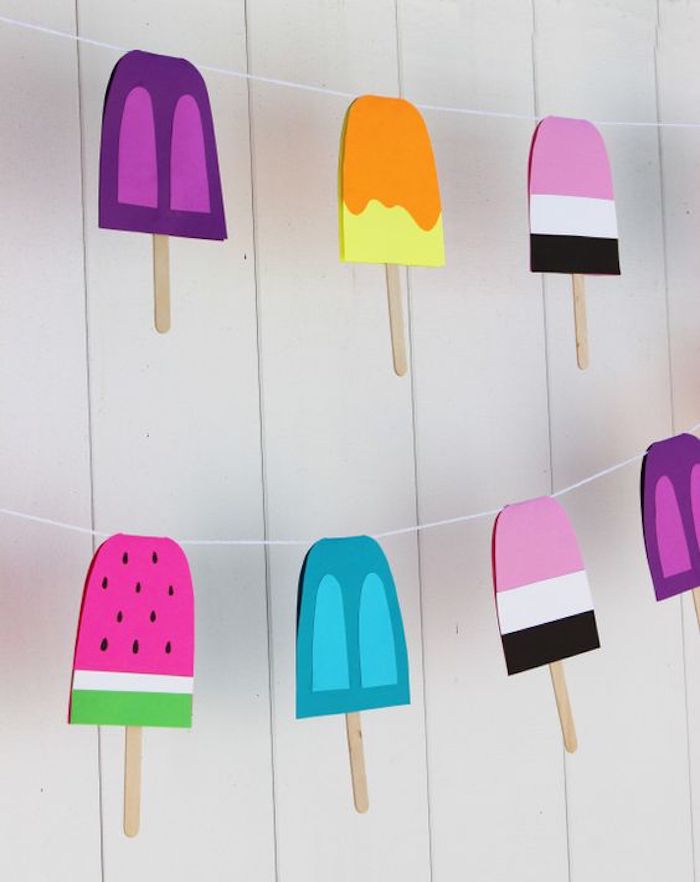
Let your kids master the art of quilling

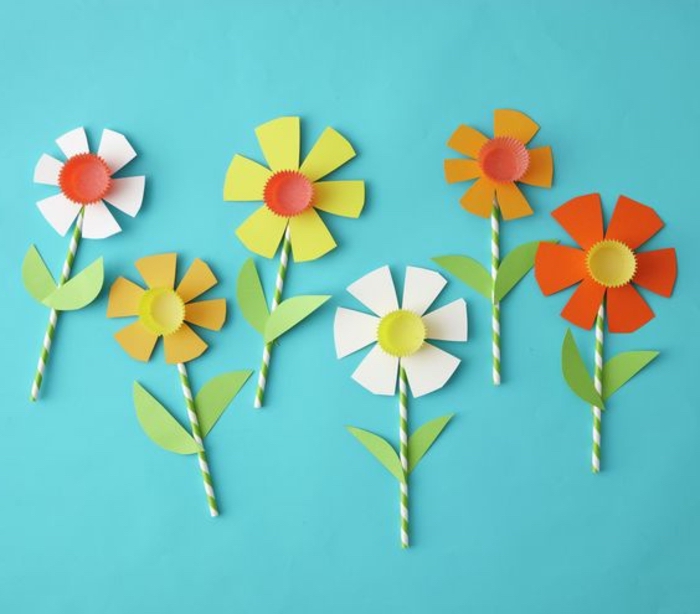
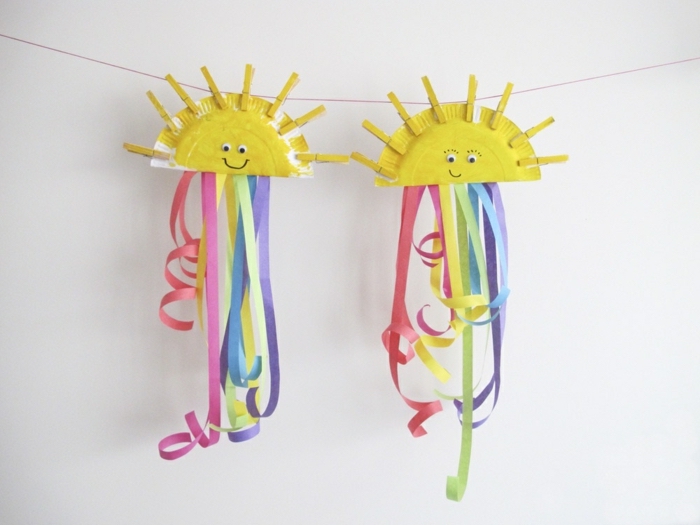
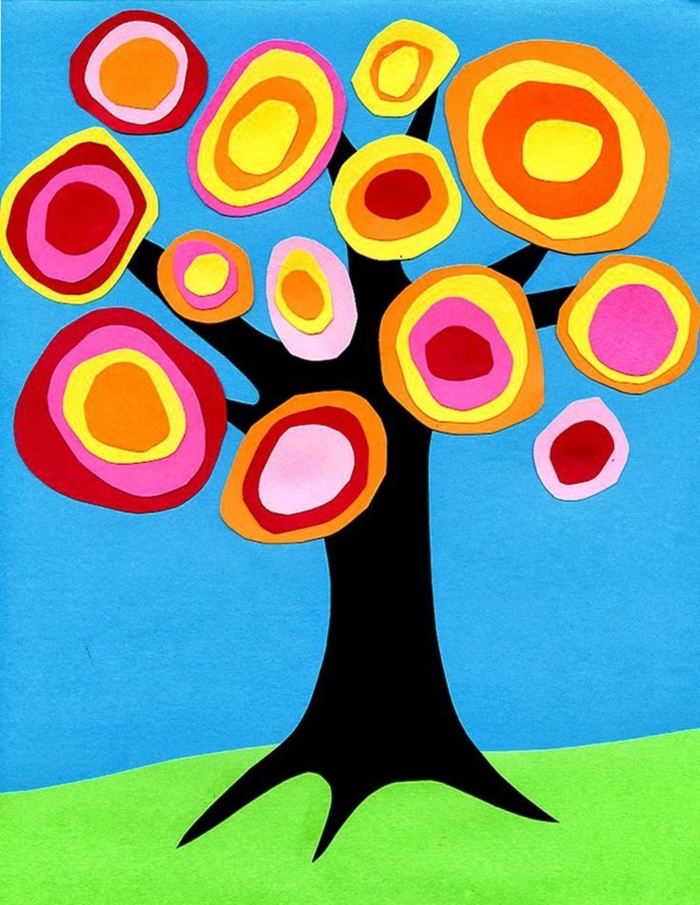
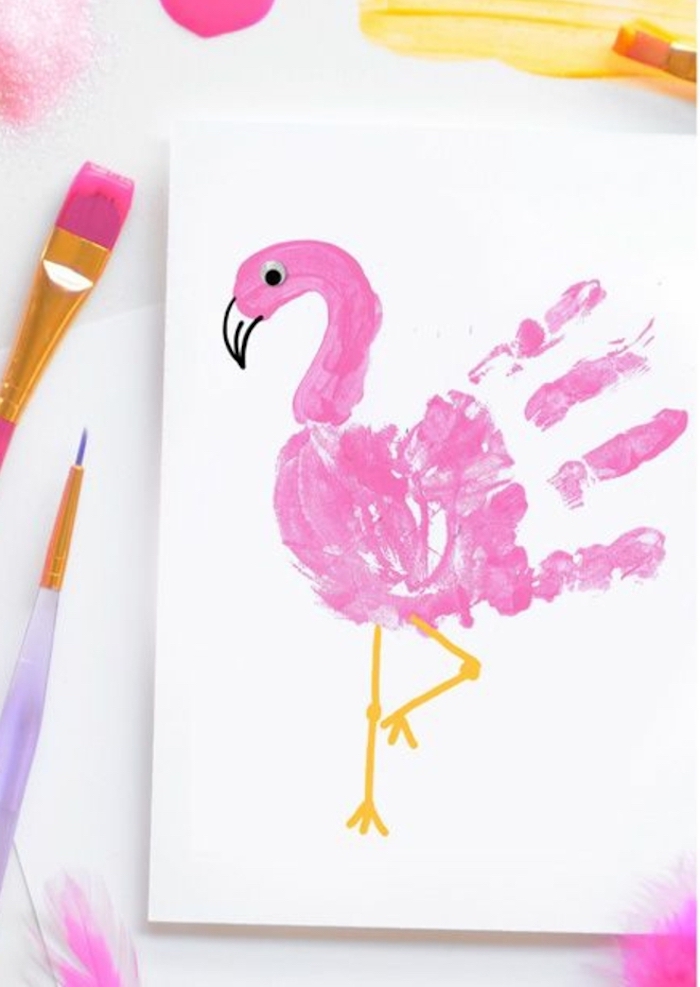

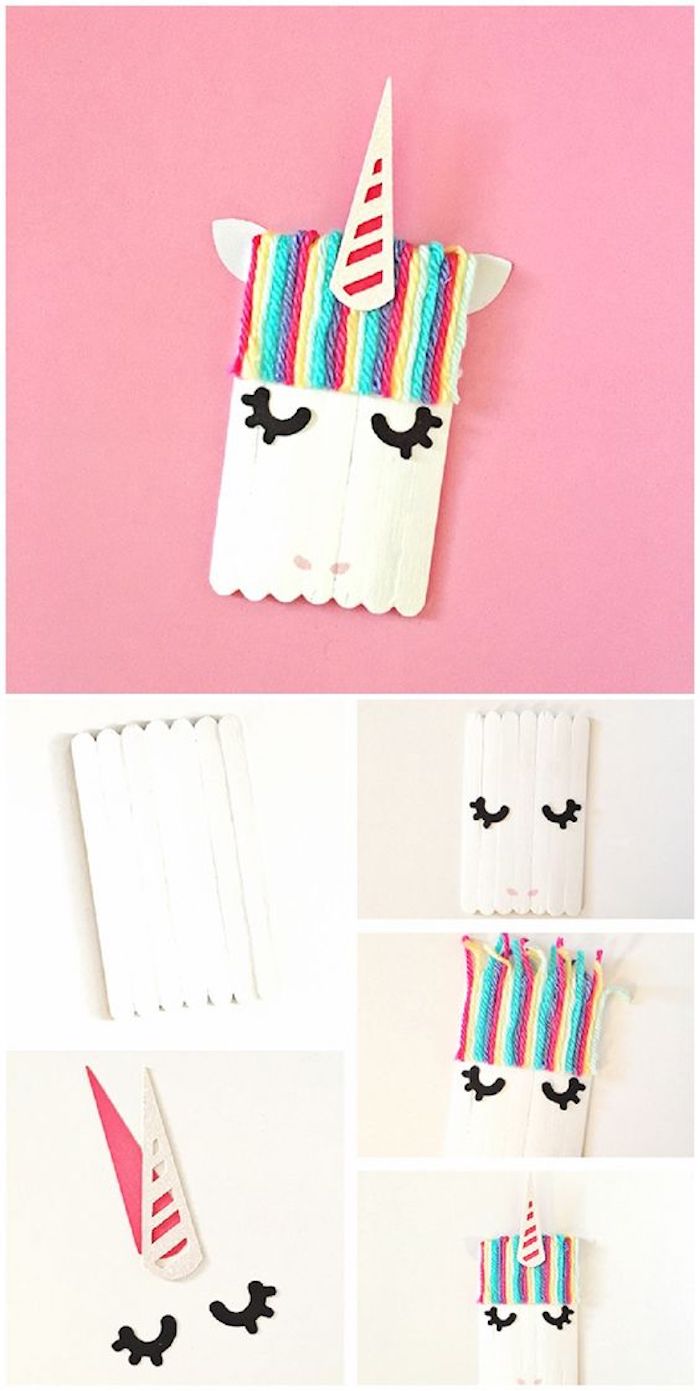
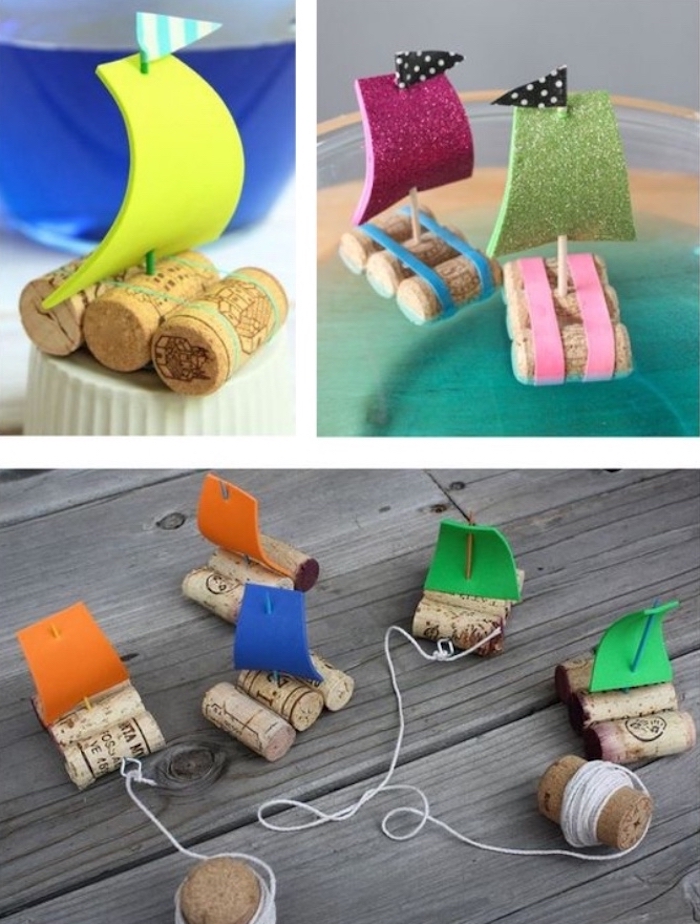
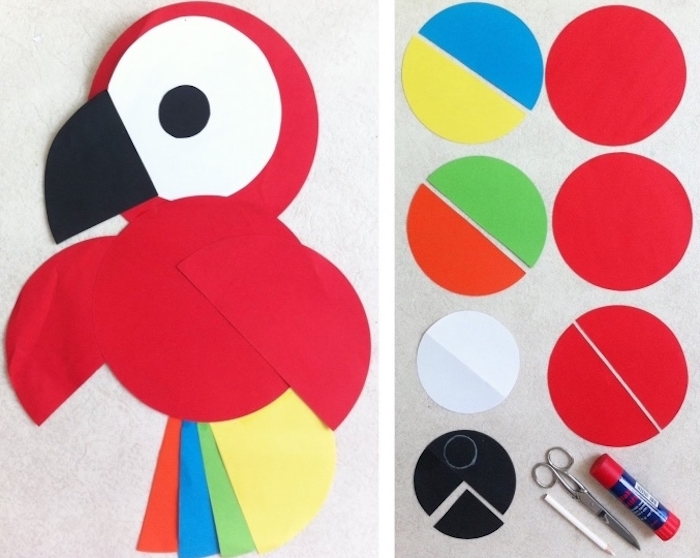
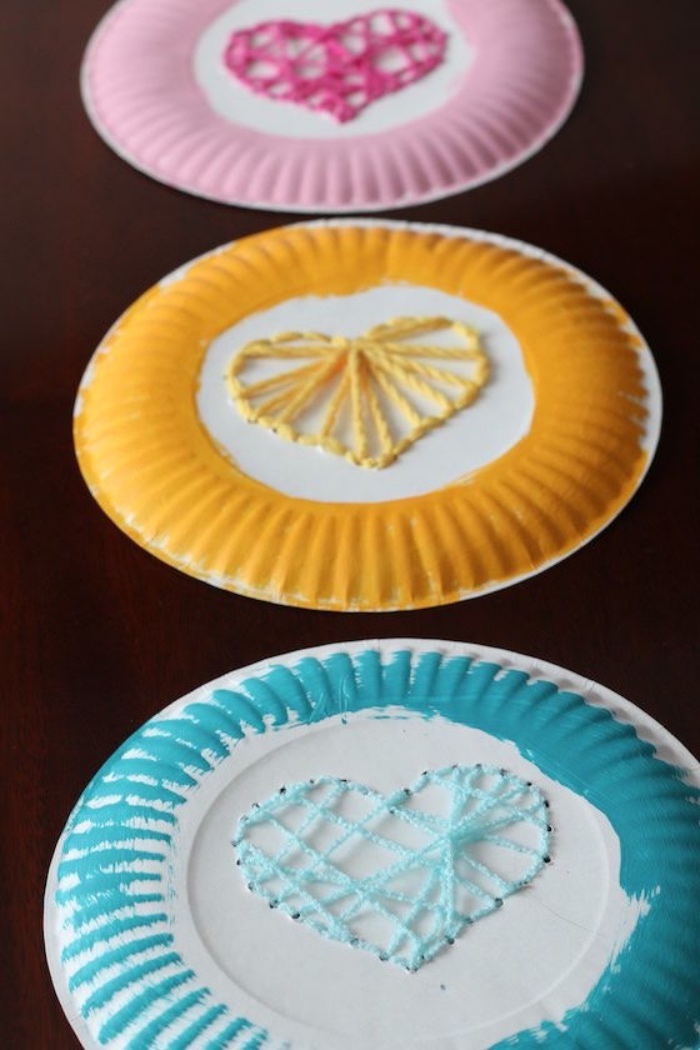
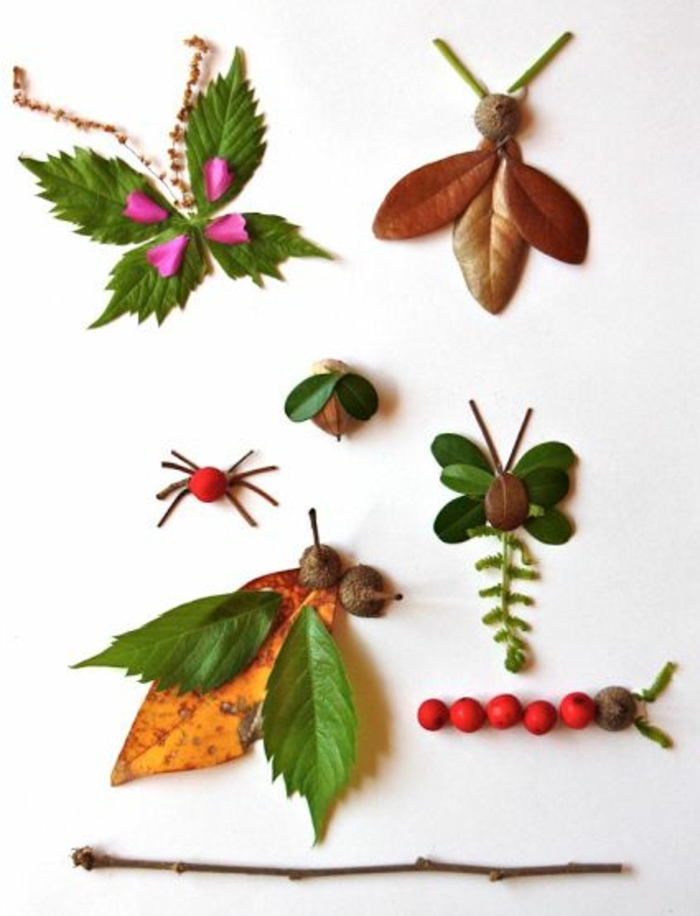
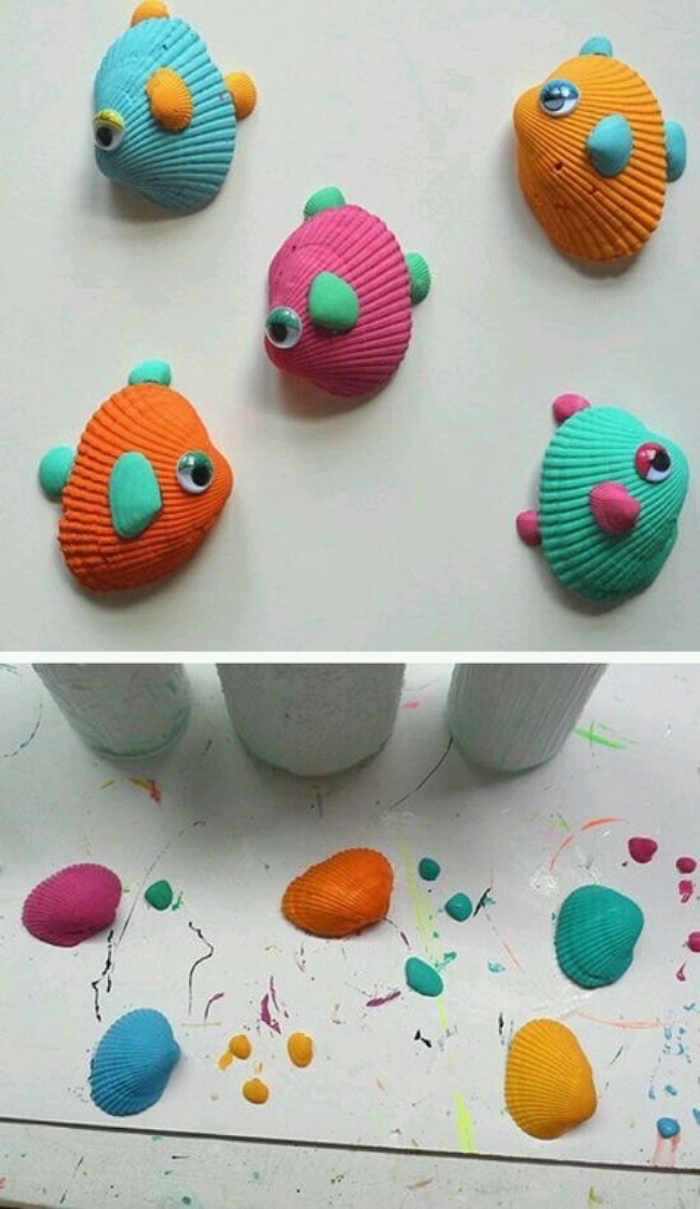

Let your kid’s imagination run wild
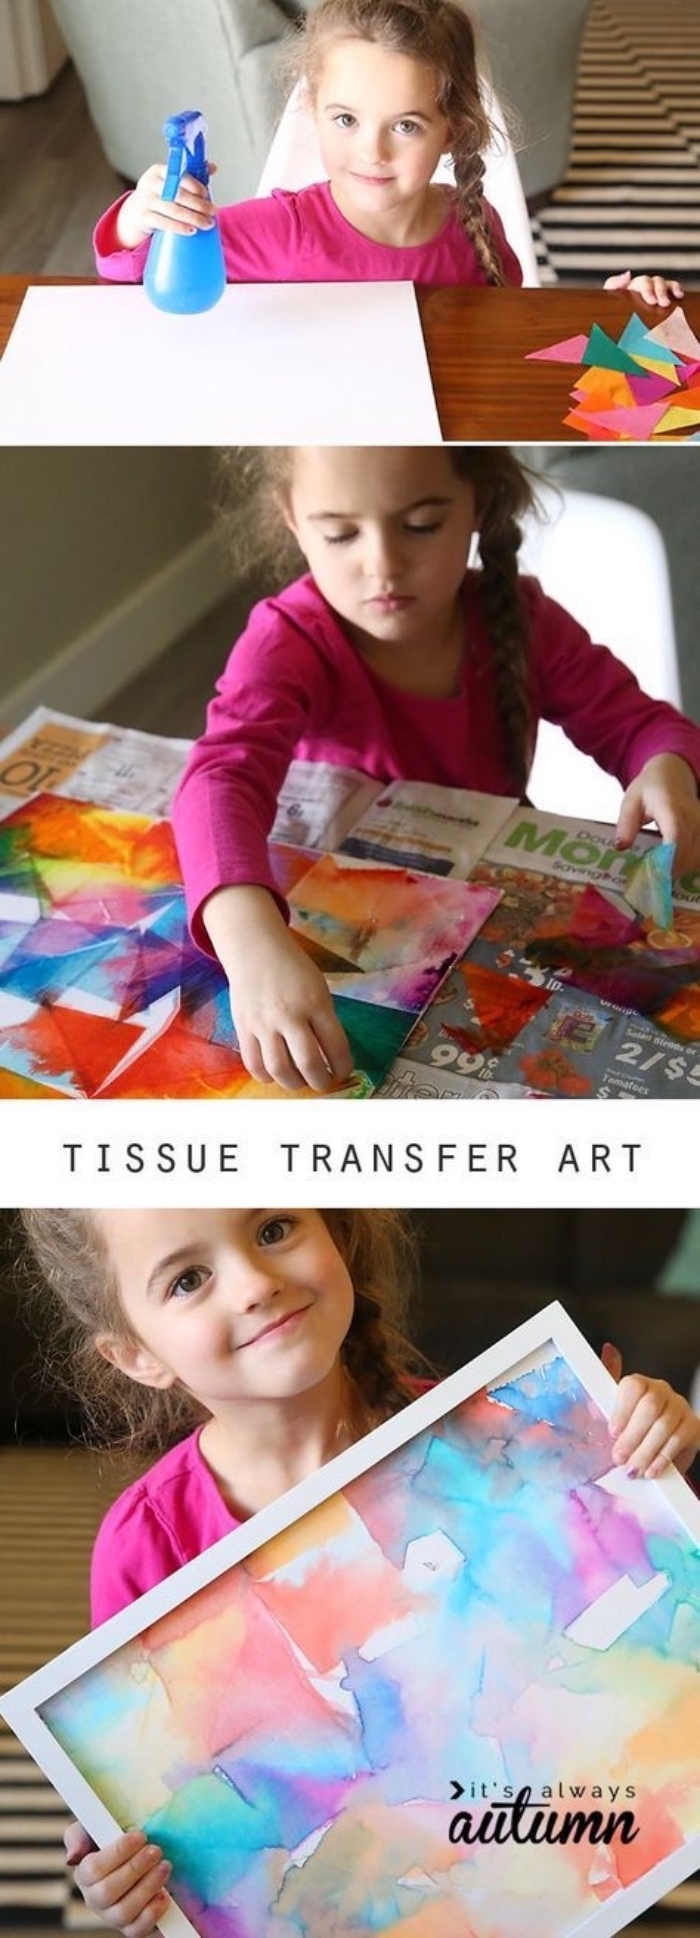
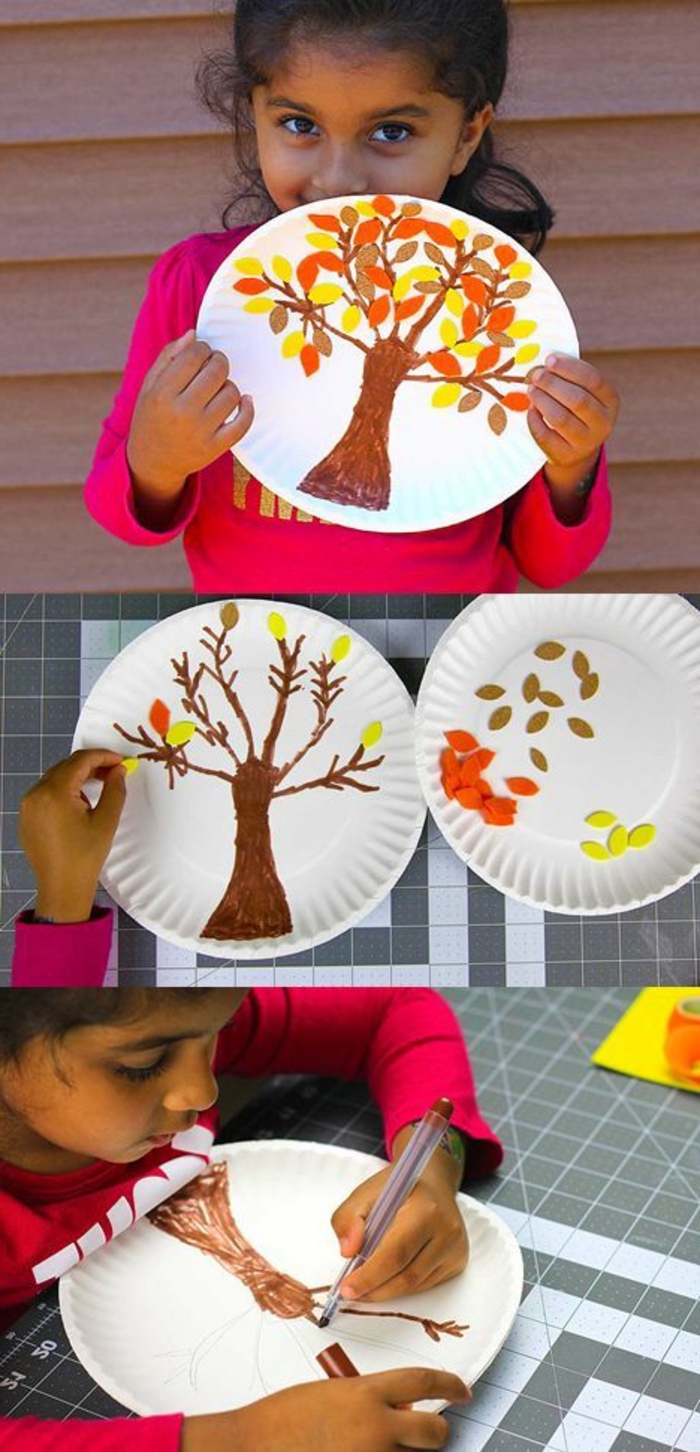
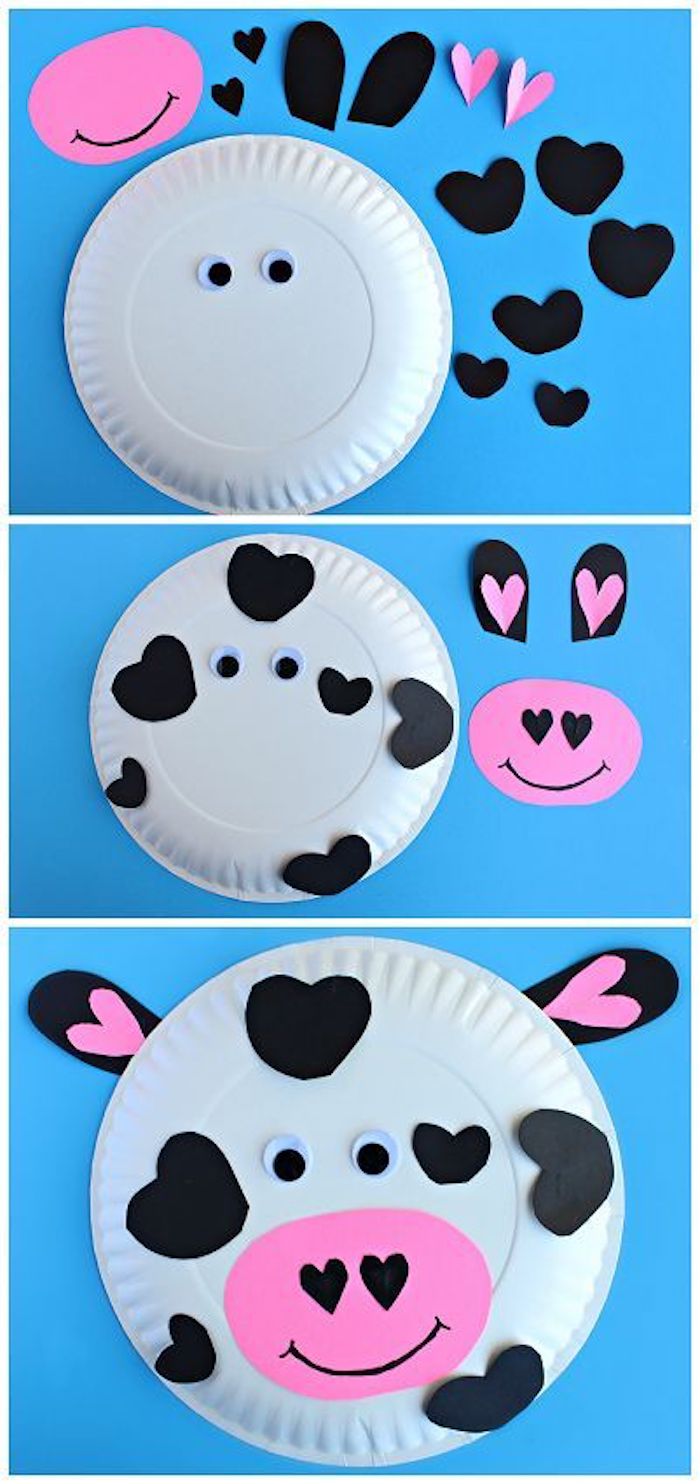
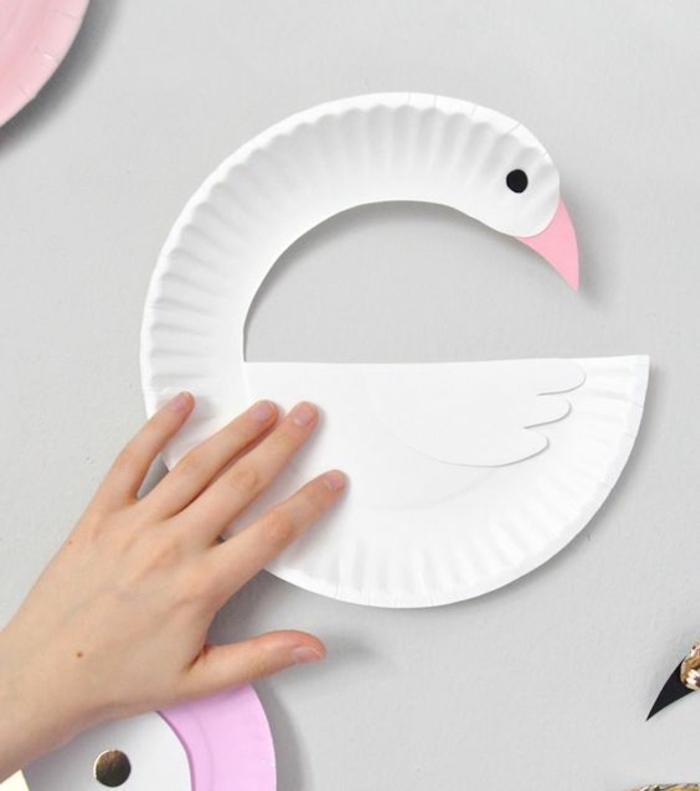

The post More than 80 preschool activities which are entertaining and easy to achieve appeared first on Architecture E-zine.
