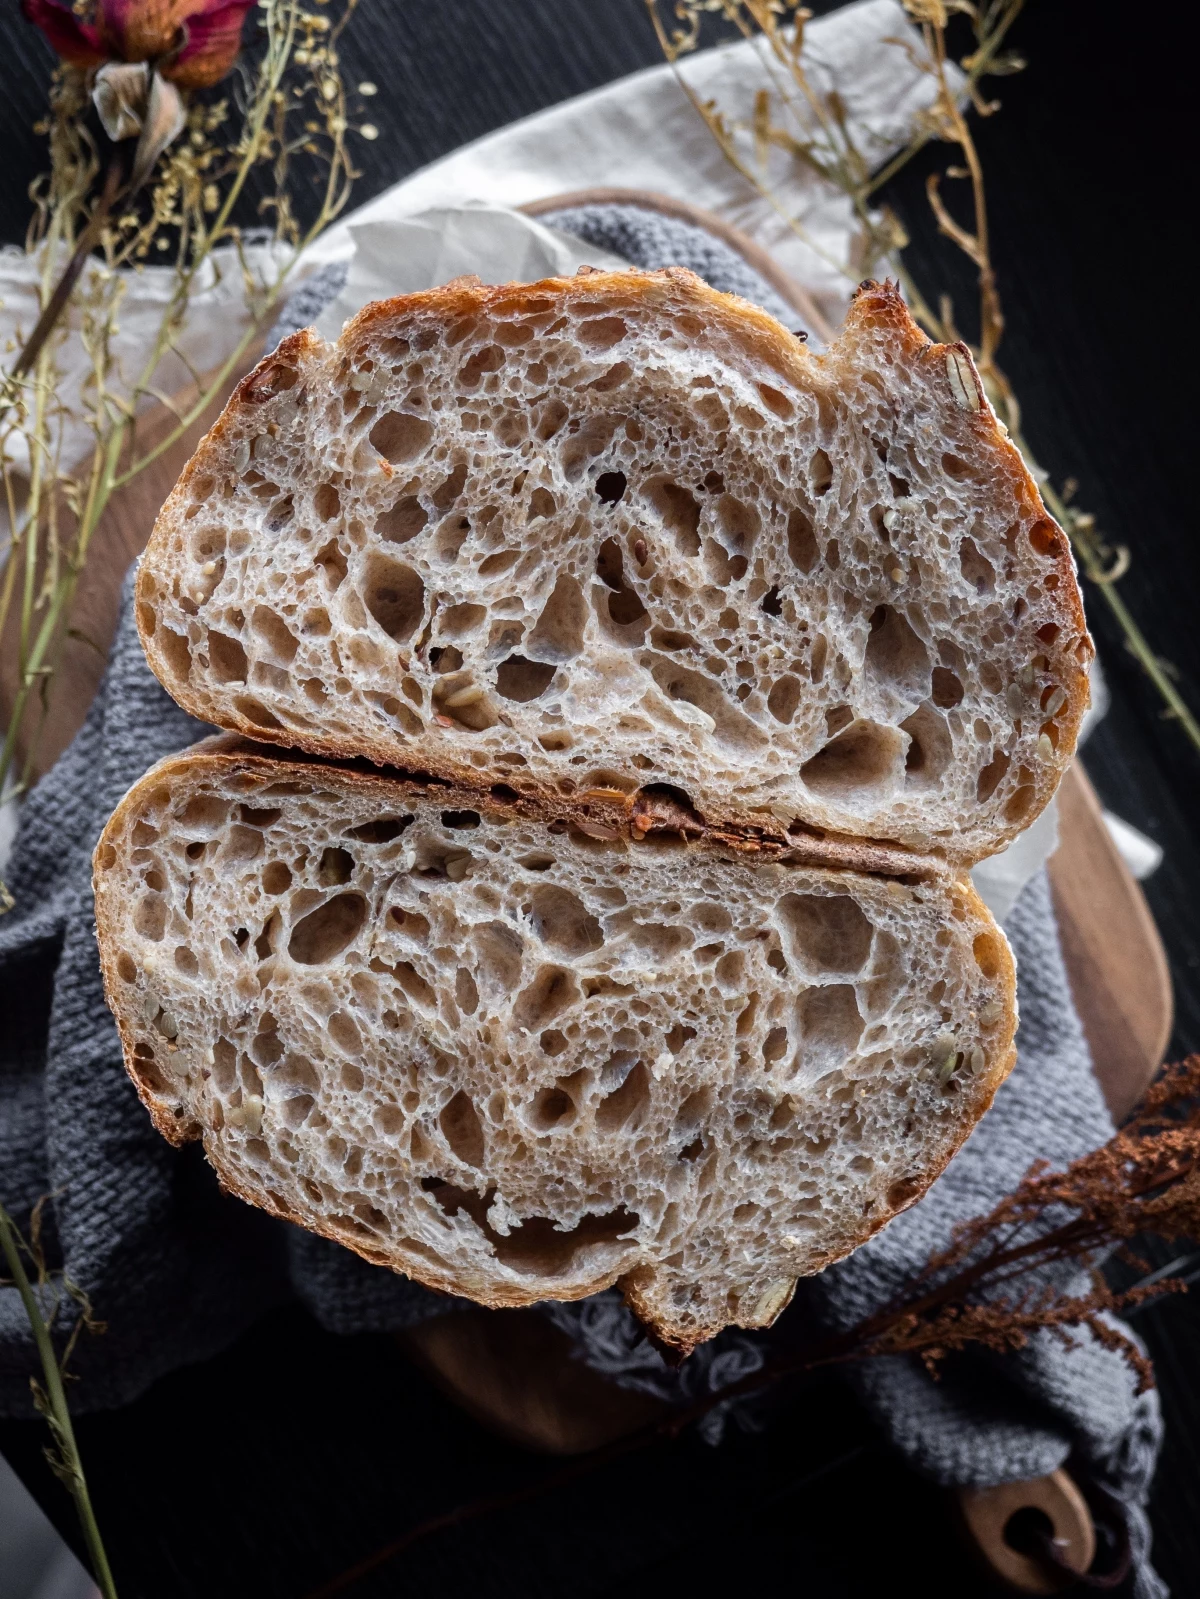
Start from Scratch: Make Your Own Sourdough Starter in 7 Days
There are many reasons to start making your own sourdough bread. For one, sourdough bread has numerous health benefits. It is more easily digestible, it has a lower glycemic index, simple ingredients, and no artificial additives. Next to that, we have to mention the delicious taste, texture, and aroma. Sourdough bread is truly unmatched. You might think making your own bread requires a lot of steps and ingredients, but you are actually very wrong! In reality, you only need water, flour, and salt to make sourdough bread. In this article, we will guide you through the process of making your...
There are many reasons to start making your own sourdough bread. For one, sourdough bread has numerous health benefits. It is more easily digestible, it has a lower glycemic index, simple ingredients, and no artificial additives. Next to that, we have to mention the delicious taste, texture, and aroma. Sourdough bread is truly unmatched. You might think making your own bread requires a lot of steps and ingredients, but you are actually very wrong! In reality, you only need water, flour, and salt to make sourdough bread. In this article, we will guide you through the process of making your own sourdough starter in just 7 days! Once you learn how to make your own sourdough starter, you can start baking whatever your heart desires!
Today, we will show you how to make your own sourdough starter in 7 days
Start from Scratch: Make Your Own Sourdough Starter in 7 Days
#Day 1
What you will need:
- 50 g STONE MILL flour (rye, whole wheat or white)
- 50 g room temperature water (spring or filtered water, not tap!)
- 2 glass jars
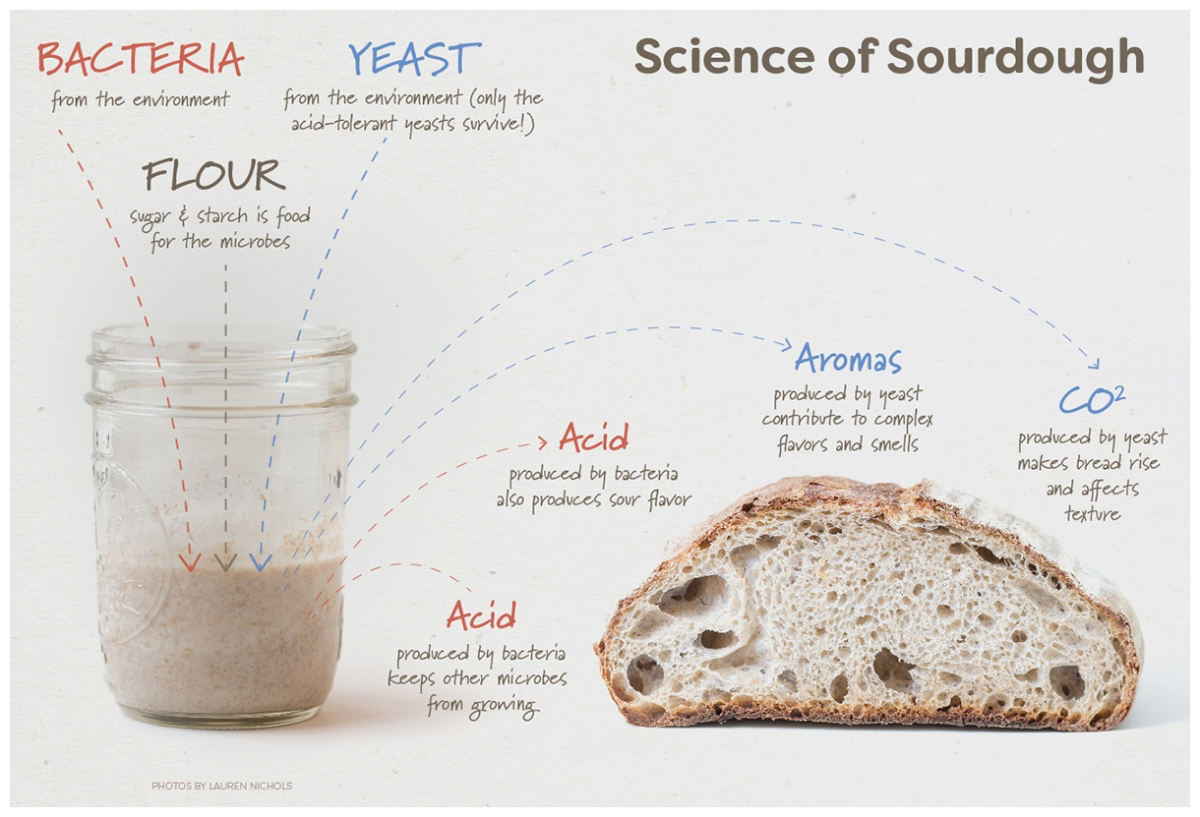
This is the main science behind making your own sourdough starter and bread
The beginning:
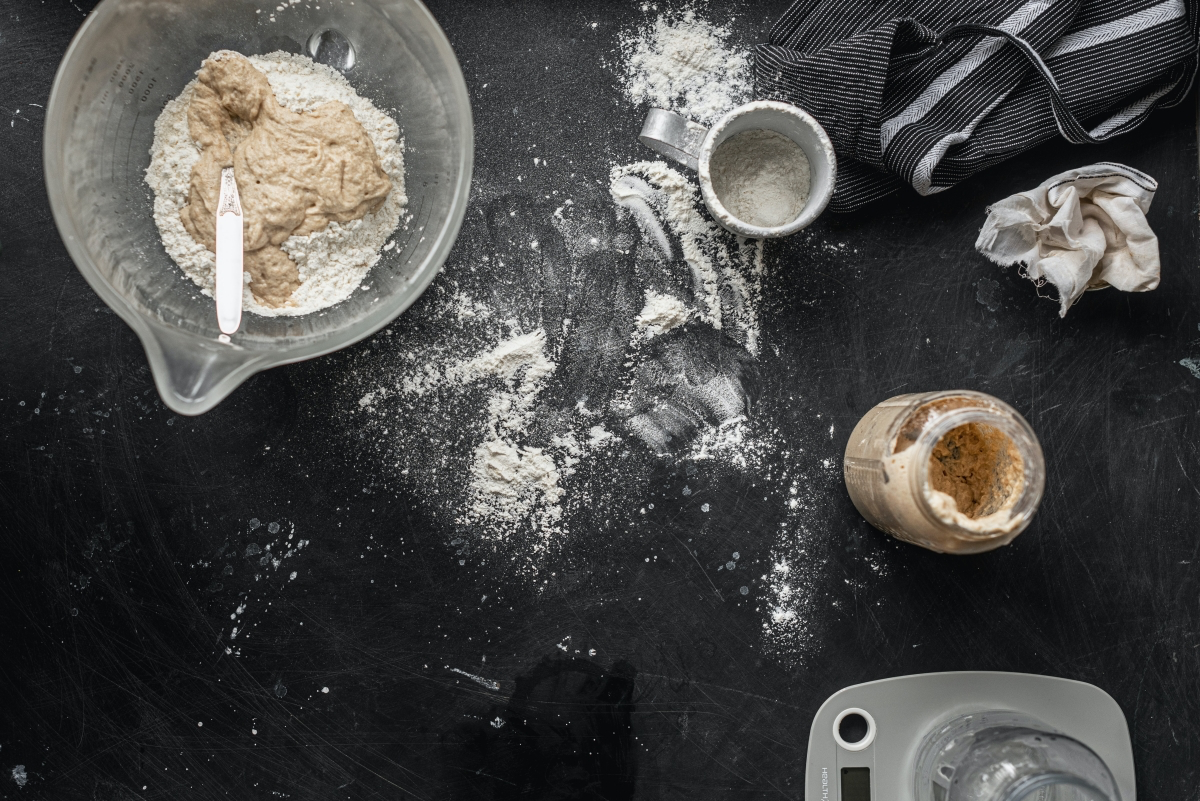
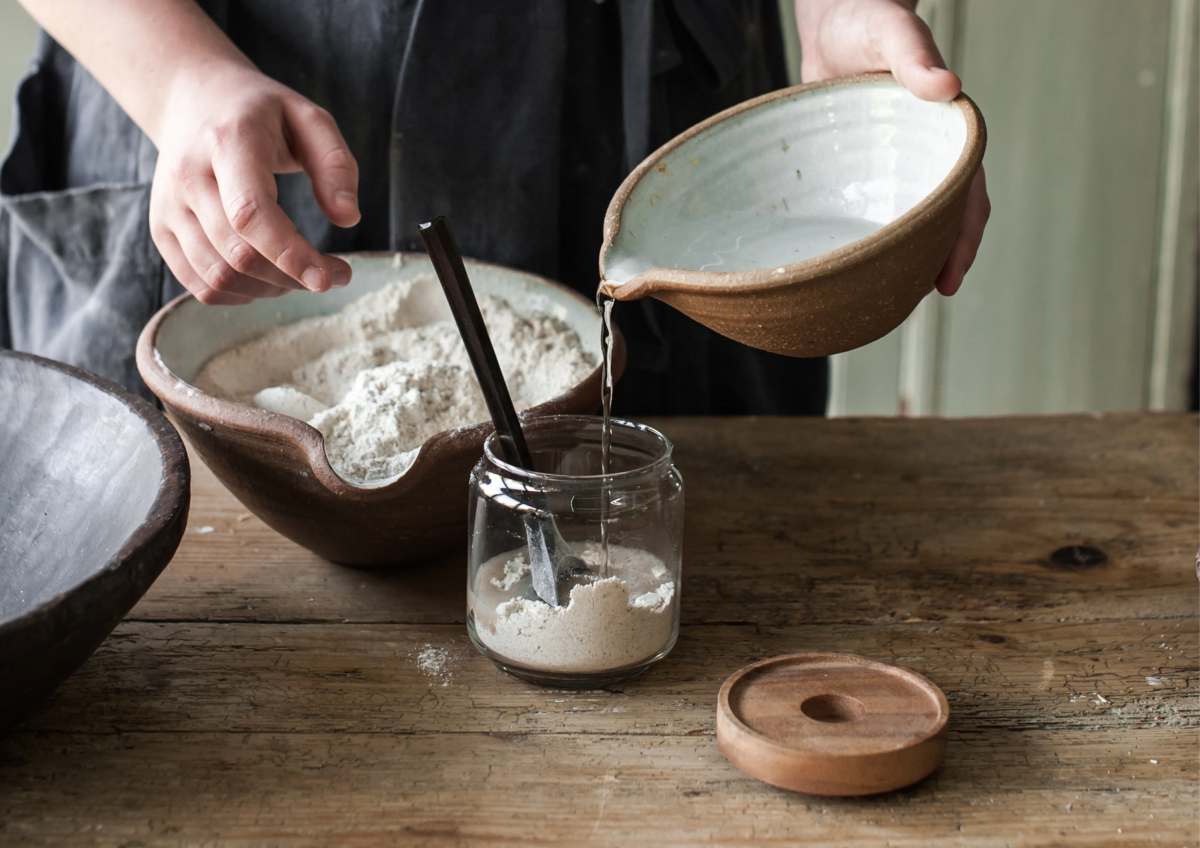
- Mix the ingredients in the glass jar, stir well and put the lid on without tightening it. You have to let some air in, so you can even tie a napkin. It should not be quite tightly closed.
- Then put the jar somewhere in plain sight in the kitchen, so you don’t forget it. In a cool and dark place that is warm, but not near a heat source.
- Put a timer or daily alarm on your phone every 24 hours for the first few days to repeat the feedings at the same time. If on Day 1 you started at say 10 am, feed the sourdough again every day at 10 am.
On Day 1, you do the first feeding of the starter
#Day 2
The sourdough starter probably has tiny bubbles on the top already. Don’t do anything today in terms of feeding the starter.
On Day 2, do not feed the starter
#Day 3
What to do:
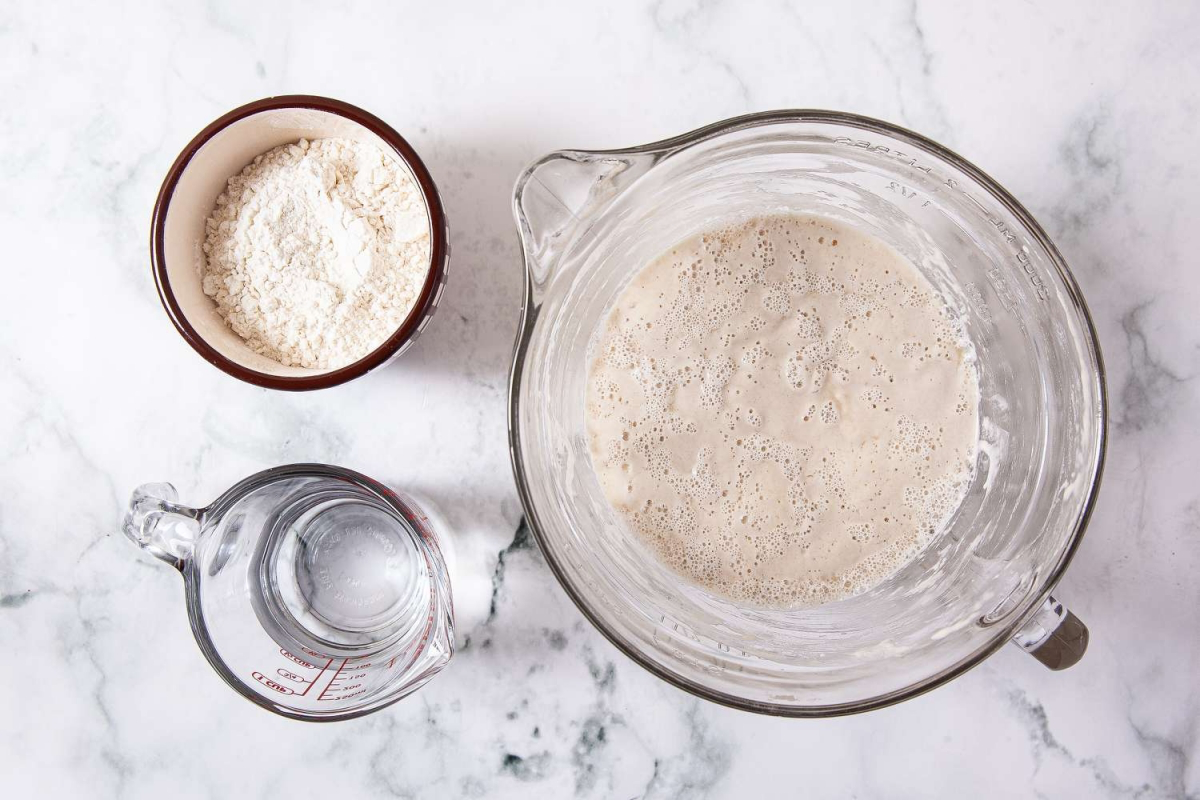
- On Day 3, prepare your second glass jar, put it on the scale and pour 50 grams of the mixture from Day 1 inside.
- Then add 50 grams of flour and 50 grams of water.
- Wash the first glass jar and prepare it for the next day.
- Don’t be tempted to feed the whole amount of starter, instead throw it away (if you have a composter – there). Feeding a large amount of starter makes it harder to leaven.
On Day 3, you transfer the starter to a new jar and feed it once again
#Day 4, Day 5 & Day 6
You are probably noticing signs of life already – bubbles and a slightly sour smell. This means that the bacteria are already multiplying. Here is what you need to do on Day 4, Day 5, and Day 6:
- Every day prepare the clean jar, put it on the scale and pour 50 grams of the mixture into it.
- Then add 50 grams of flour and 50 grams of water again and stir, leaving it covered again for 24 hours.
- Always throw away the remainder.
The mixture will get bubbly, and develop an ashy sour aroma. If there is liquid coming off the top or no bubbles, then the bacteria are hungry. So stir, dump, and feed! During this time, you can also put an elastic band on the jar to monitor if the volume of the starter grows.
On Day 4, Day 5, and Day 6 the starter is beginning to show signs of life
#Day 7
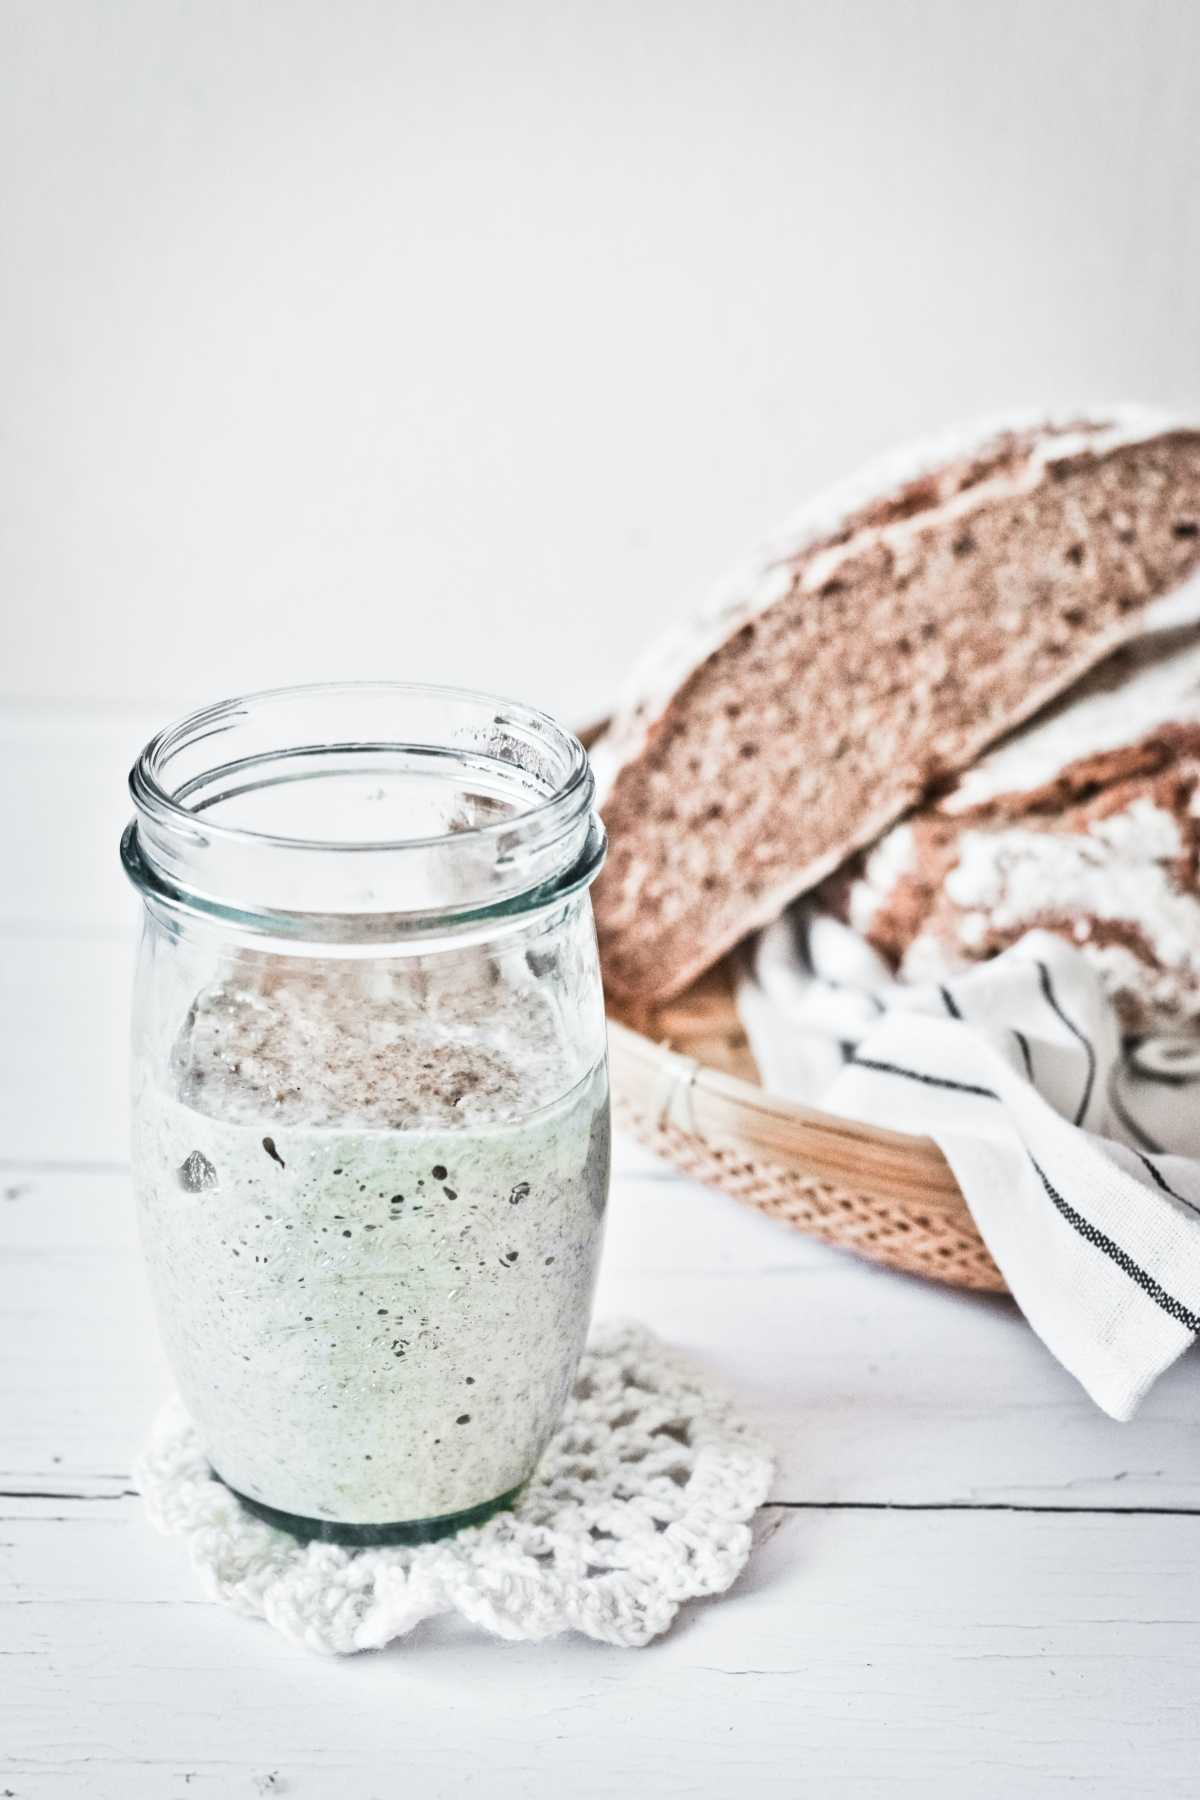
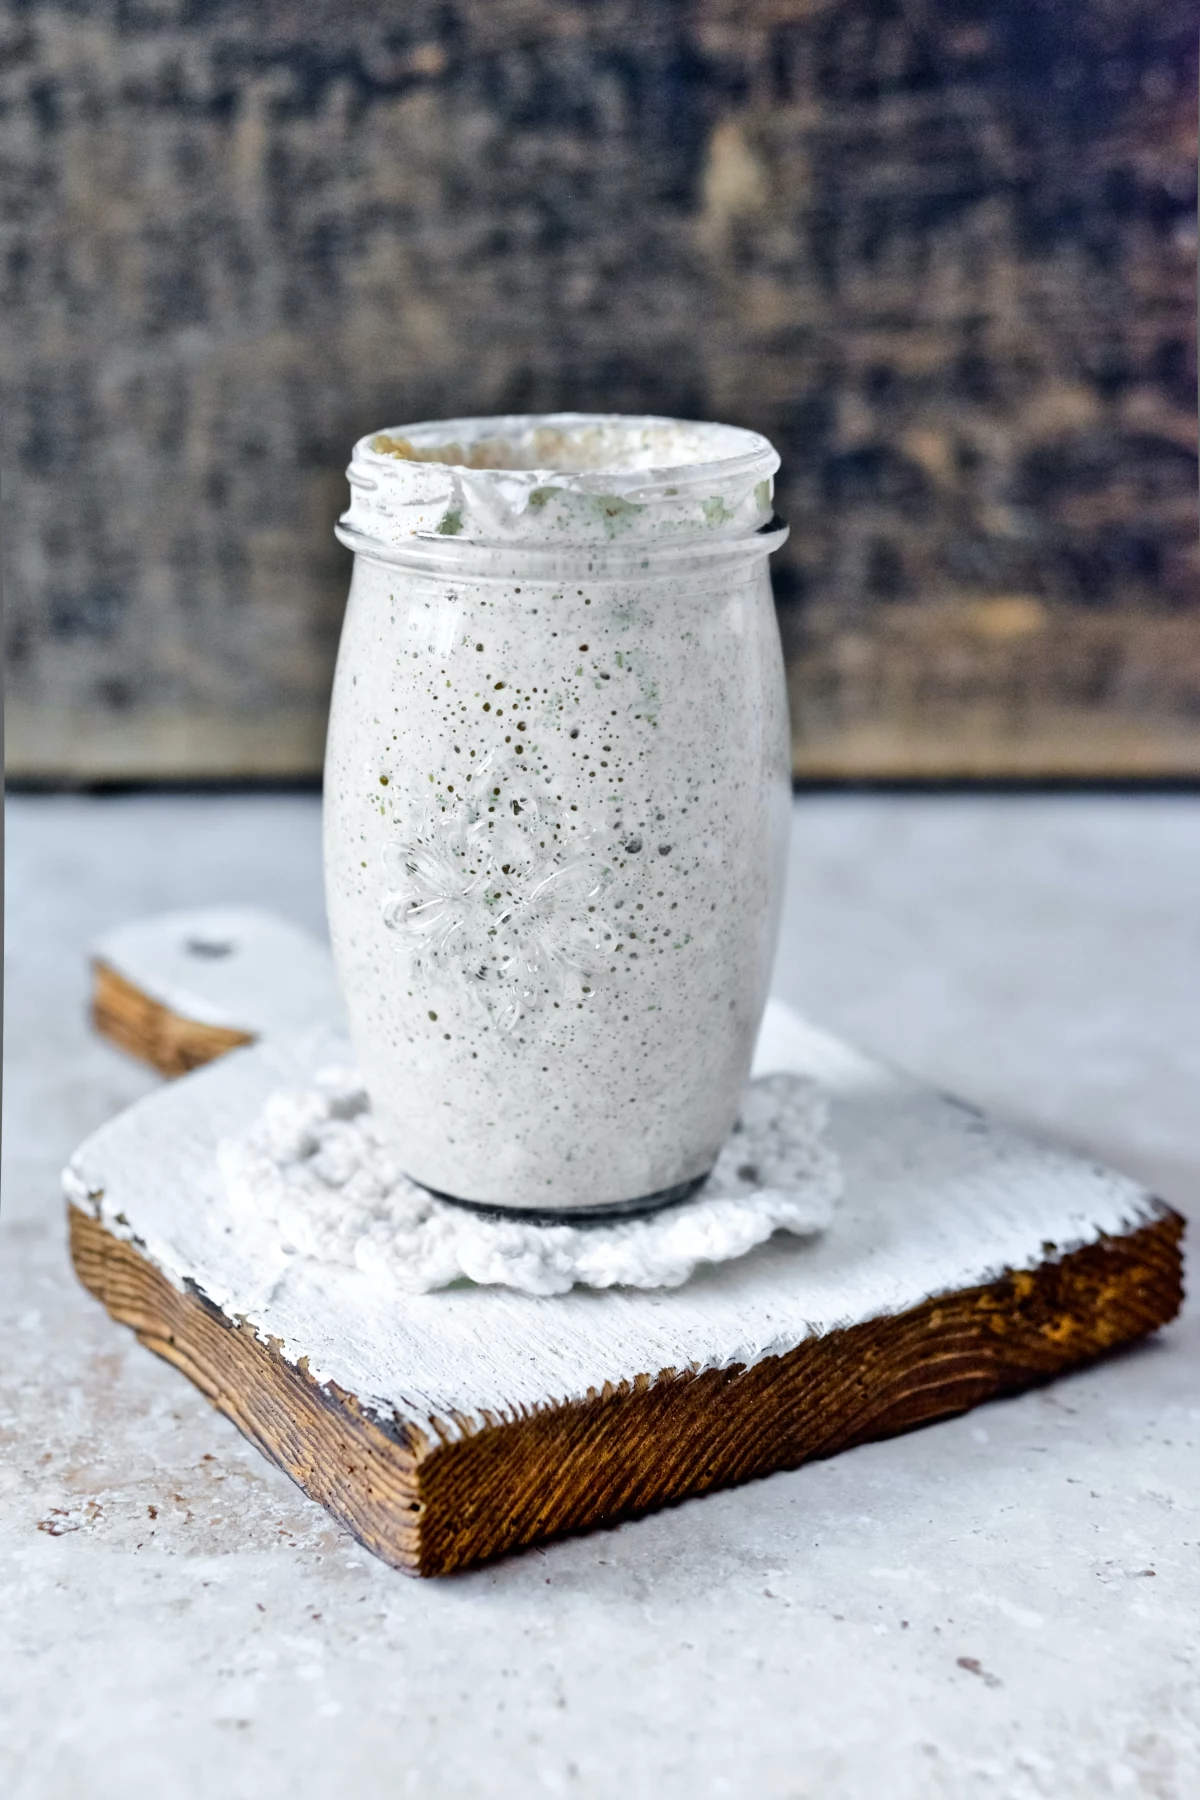
On Day 7, there should be lots of bubbles, as well as rising and falling. If this hasn’t happened yet, keep going. On the seventh day you can already use your starter, but it is generally better to wait until the tenth, twelfth day to have a strong leaven. From now on, you can feed the starter with white flour so that the bread is not too sour. If you like it sour, feed with rye or spelt flour. Always feed your starter in the beginning of the day you will be suing it. When you are done, leave the rest in the fridge.
It is better to wait until Day 10 or Day 12 to use your starter for a strong leaven
#Maintanance
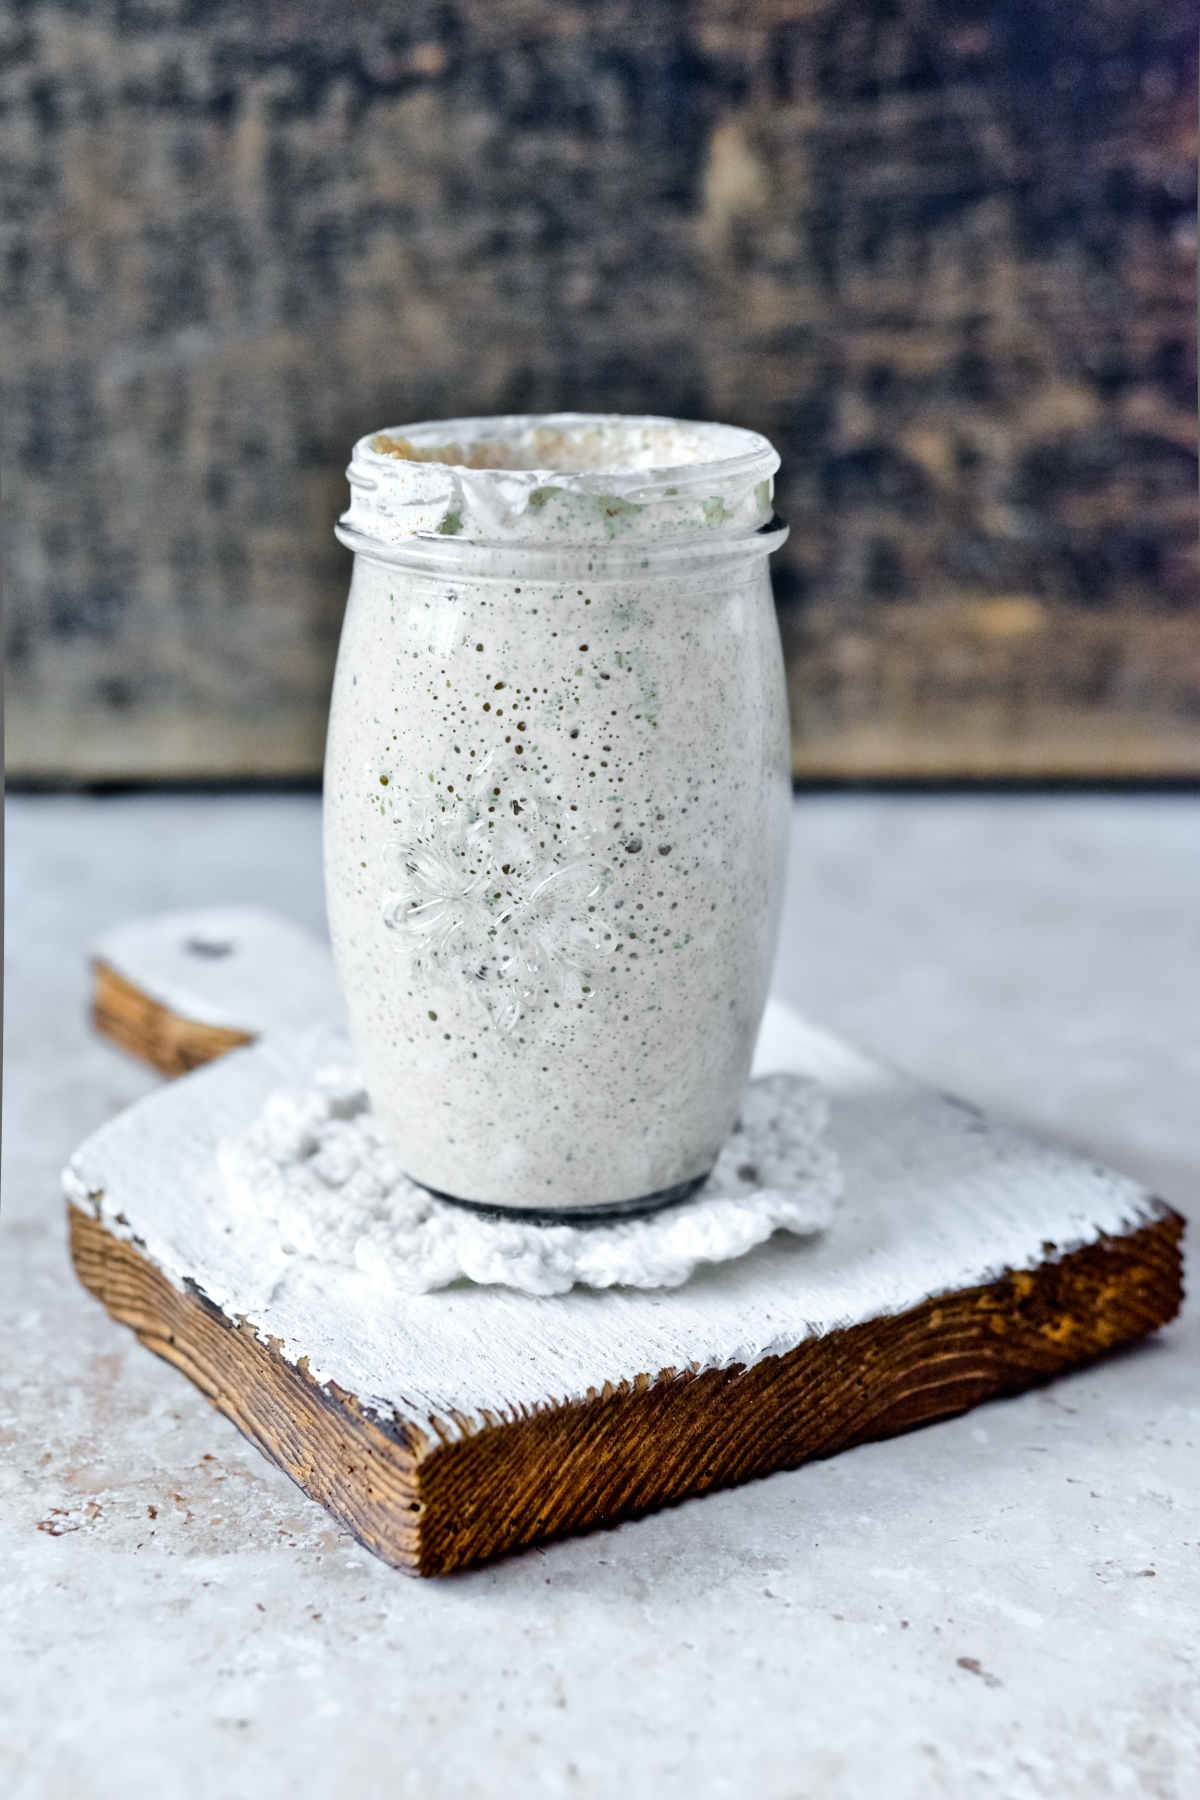
When the starter starts to double and triple in volume after feeding, usually 4–5 hours after feeding, or up to 8 hours if it is cold, the sourdough is ready to be used. You can hardly get rid of it anymore. It may sit hungry for a long time, secrete alcohol smelling liquid on top and not move, but if you feed it, it will live. You can only kill it if you don’t transfer it to a clean jar and contaminate it, the most dangerous being mold. You will recognize mold and harmful contamination by the gray spots or browning of the surface. If you notice that, throw the jar away. If you only make bread at weekends and not very often, keep your starter in the fridge and feed it once a week. Take it out, weigh 50g of the starter into a clean jar, add 50g of flour and water again and return to the fridge. If you bake more often, keep it out and feed it every day if needed.
Once you have your own sourdough starter, it is very hard to kill it

Now you know how to make your own sourdough starter at home in just 7 days!
