127 techniques and ideas for making a macrame wall hanging decoration
If you’re fans of modern trends and bohemian spirit, in particular, you’ve definitely seen these beautiful macramé creations as part of the decor of each interior. Whether you like the modern style or prefer the traditional feel, making a macrame wall hanging is a great idea to bring a touch of... The post 127 techniques and ideas for making a macrame wall hanging decoration appeared first on Architecture E-zine.
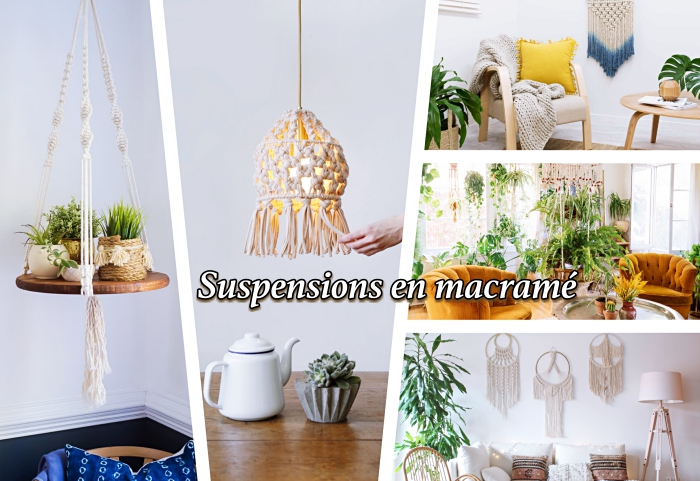
If you’re fans of modern trends and bohemian spirit, in particular, you’ve definitely seen these beautiful macramé creations as part of the decor of each interior. Whether you like the modern style or prefer the traditional feel, making a macrame wall hanging is a great idea to bring a touch of character to your home. For all who are enchanted by the art macrame but do not always dare to embark on this challenge (which seems too complicated), we challenge you. In the following lines, you will discover the main techniques to master easy weaving in no time.
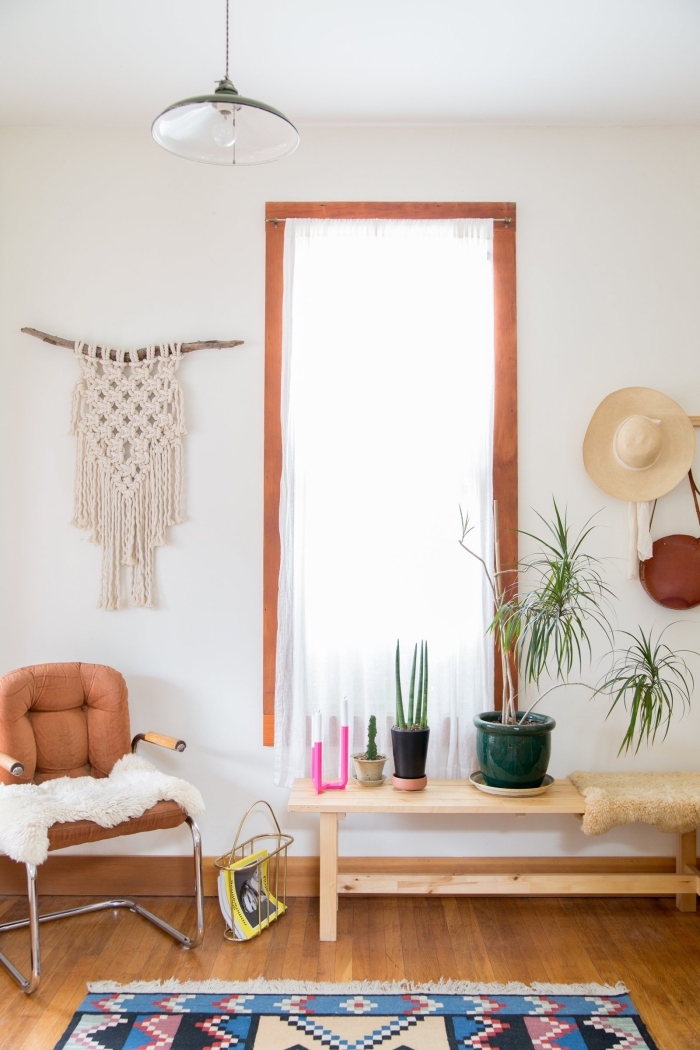
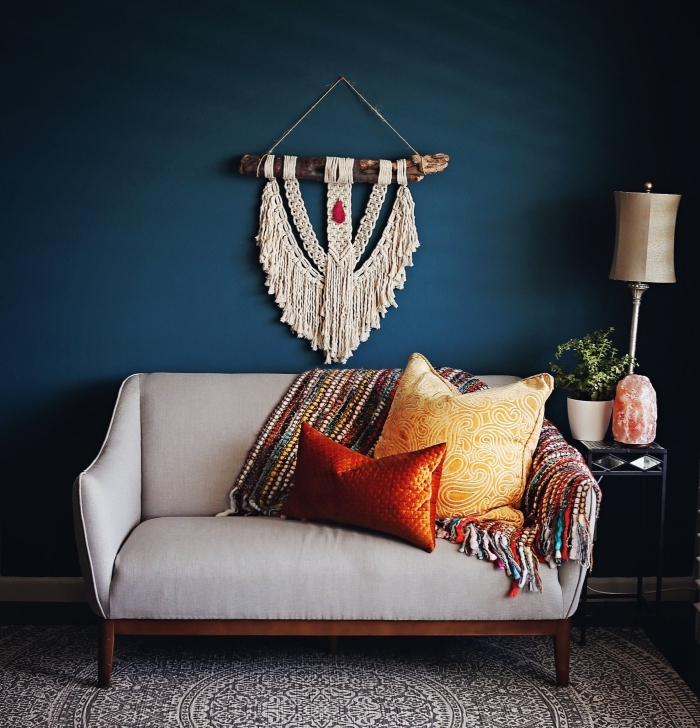
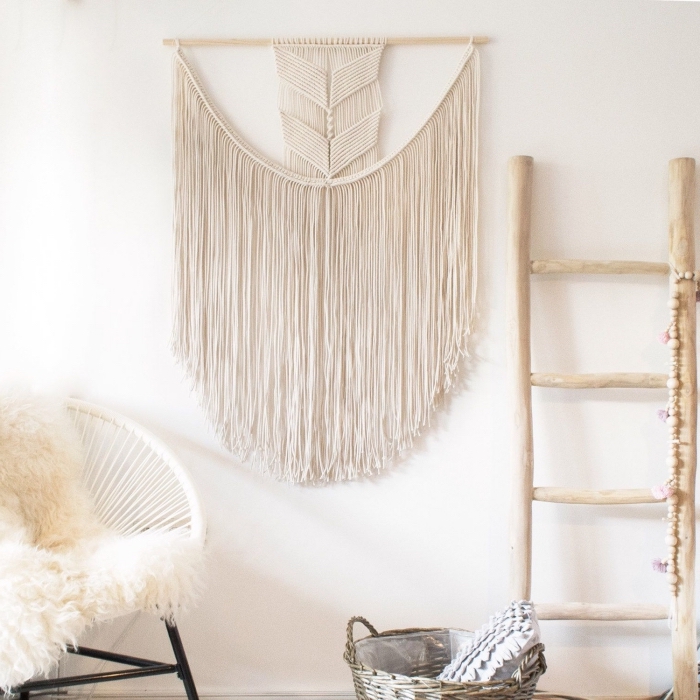
Bring a touch of bohemian spirit to your home with an original macrame wall hanging

Making a macrame wall hanging decoration
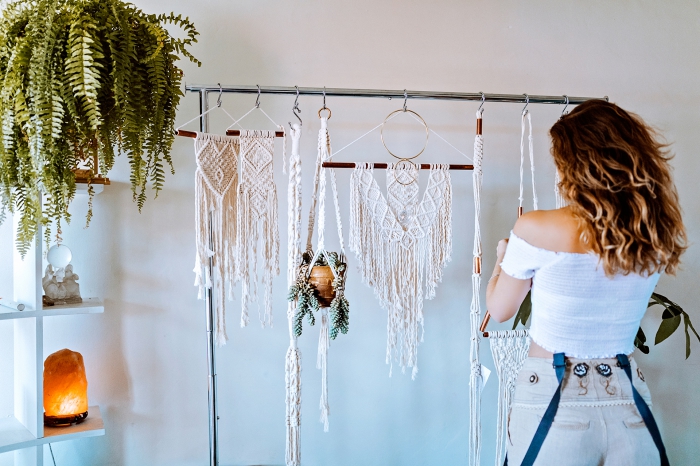
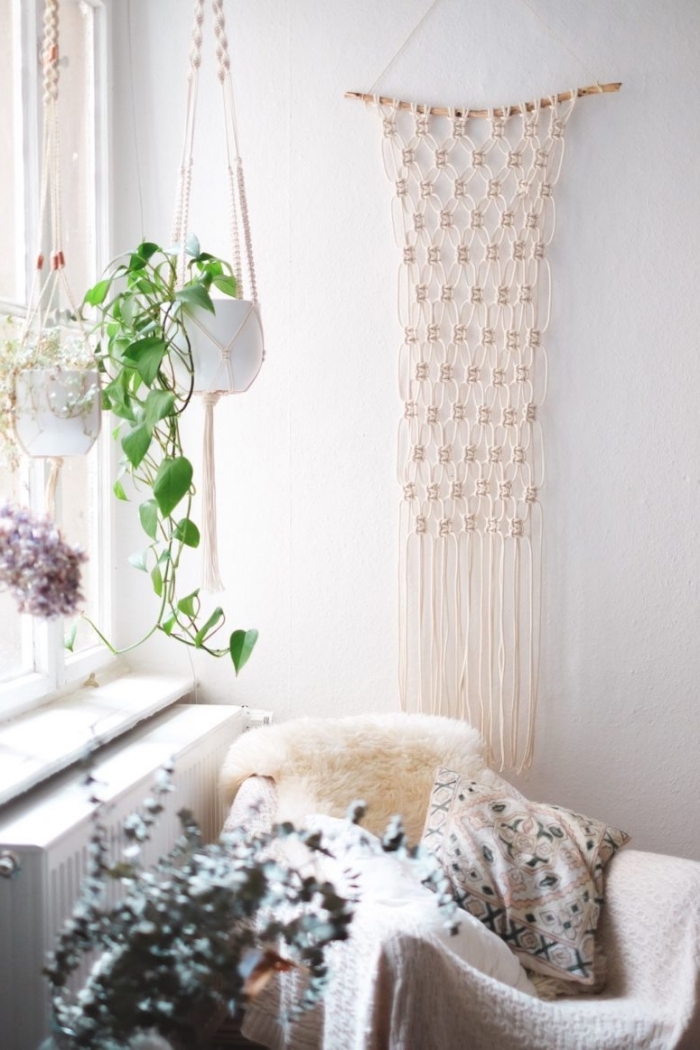
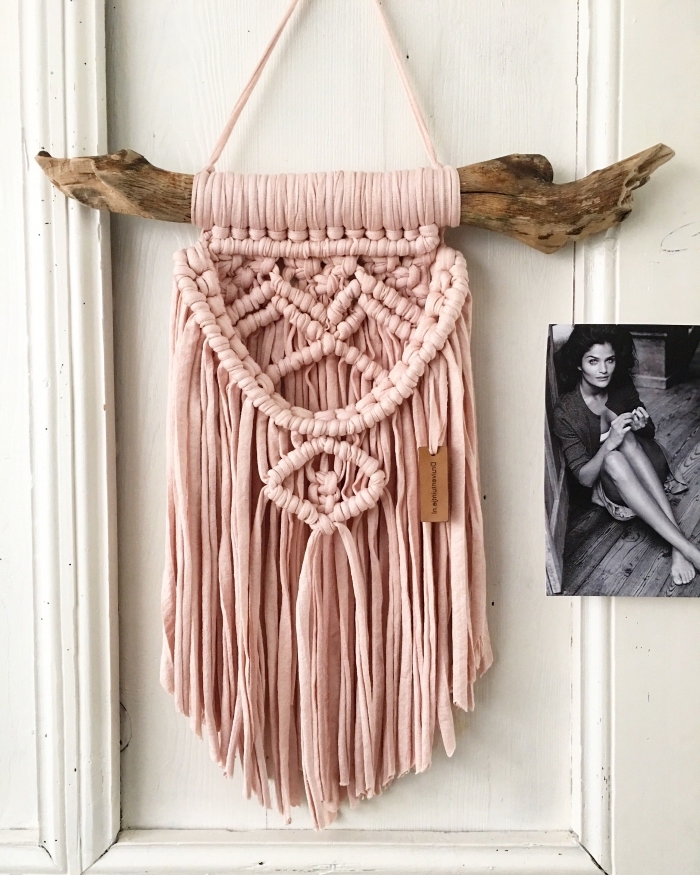
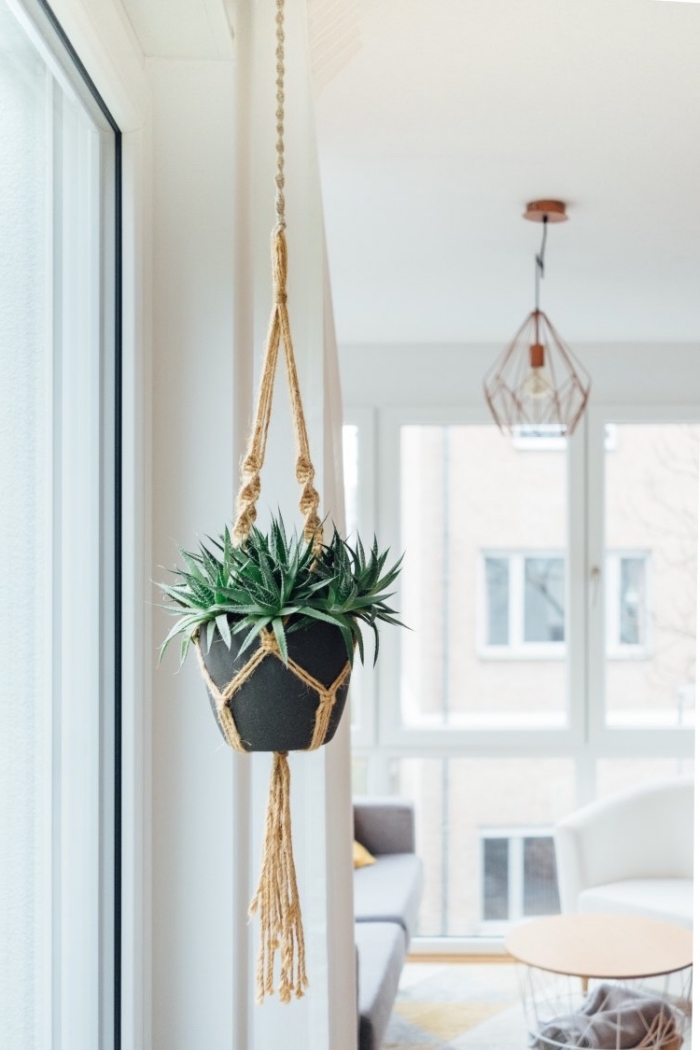
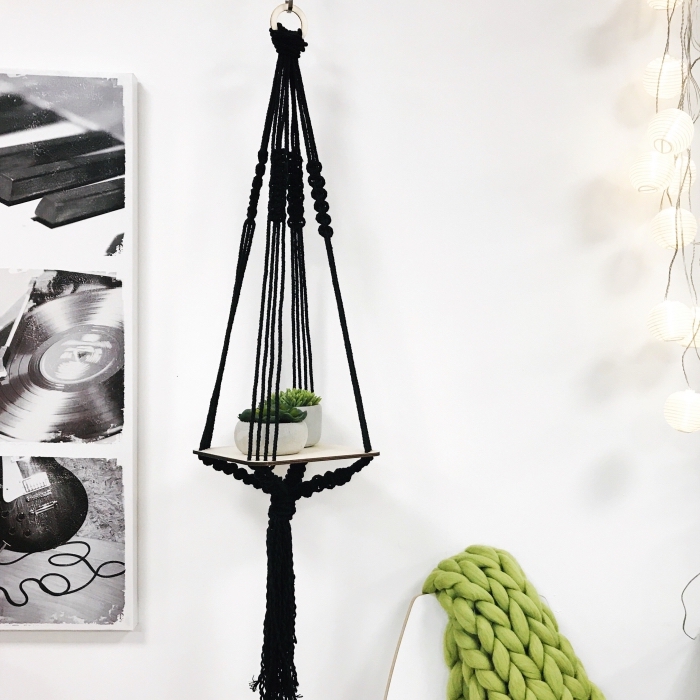
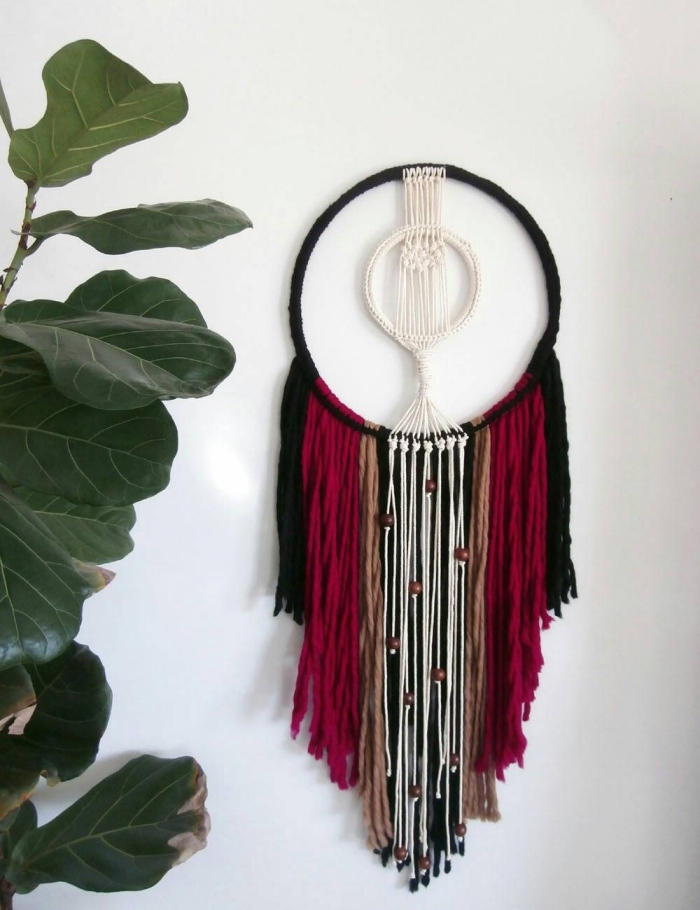
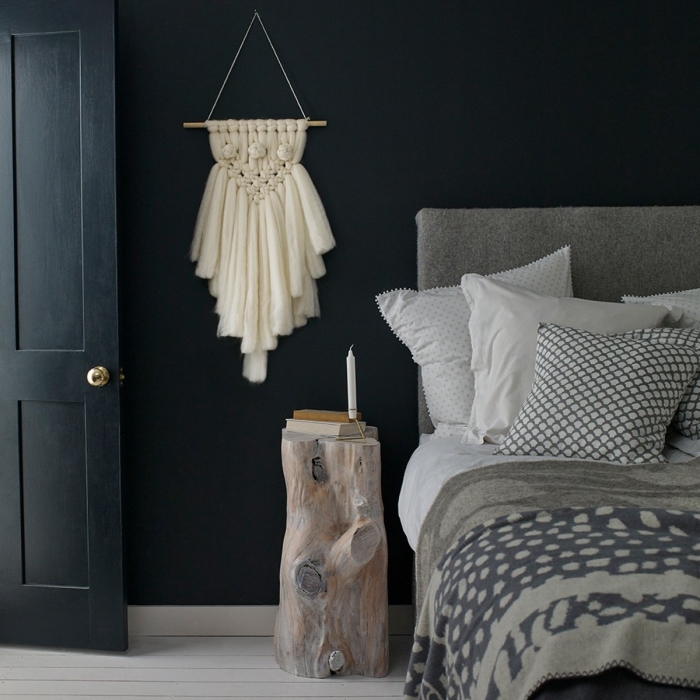
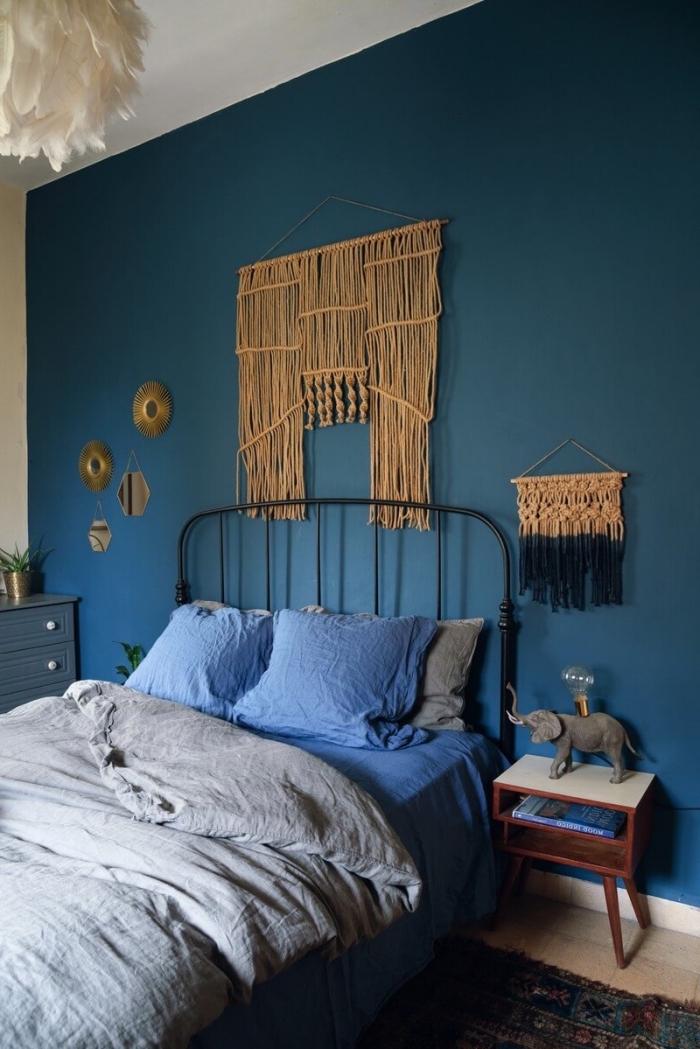
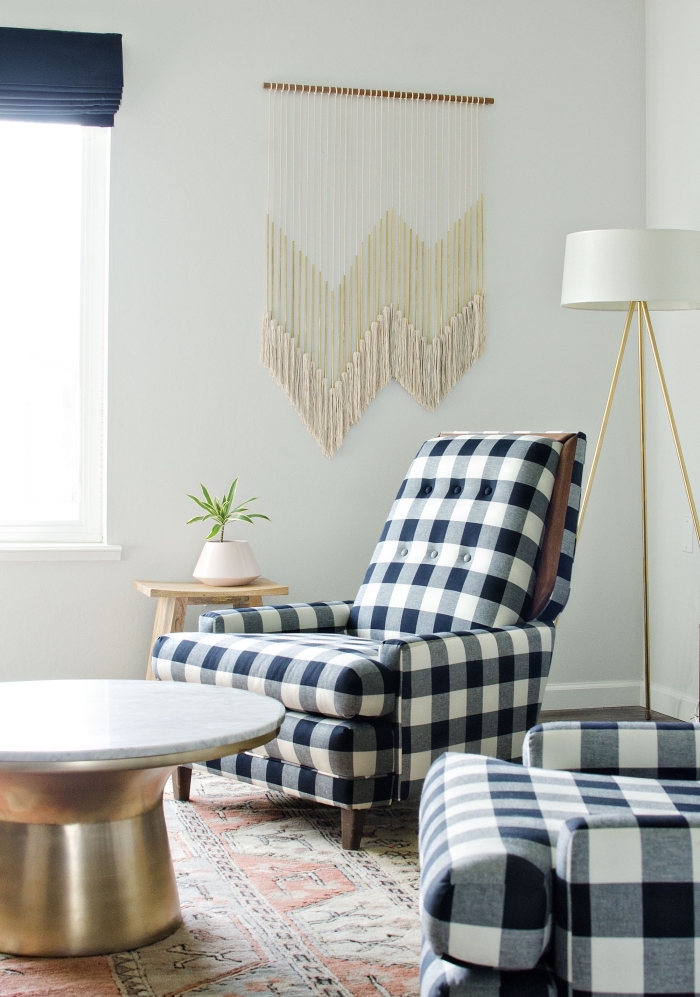
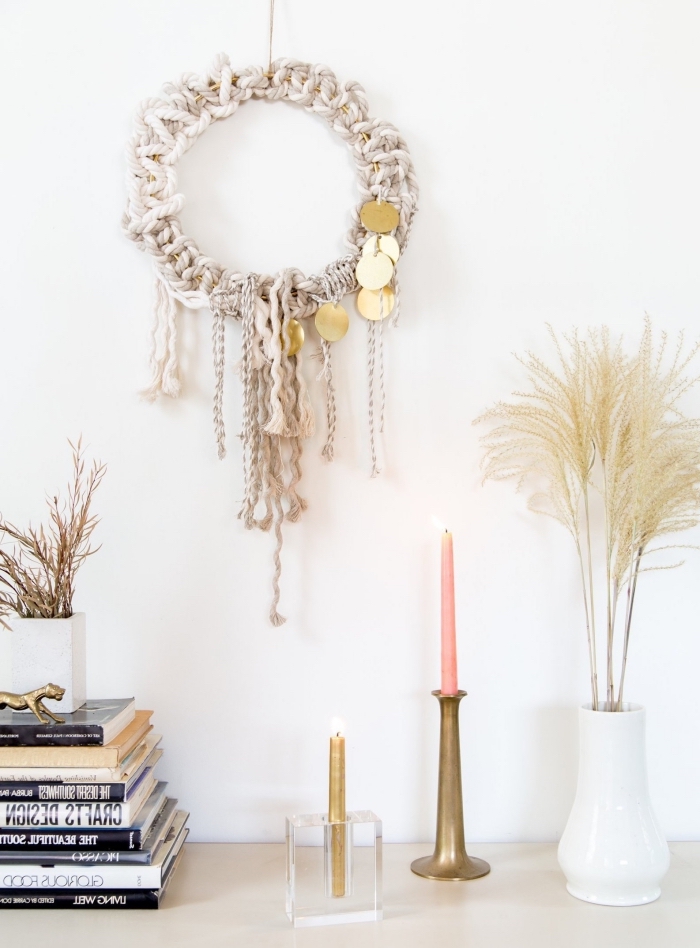
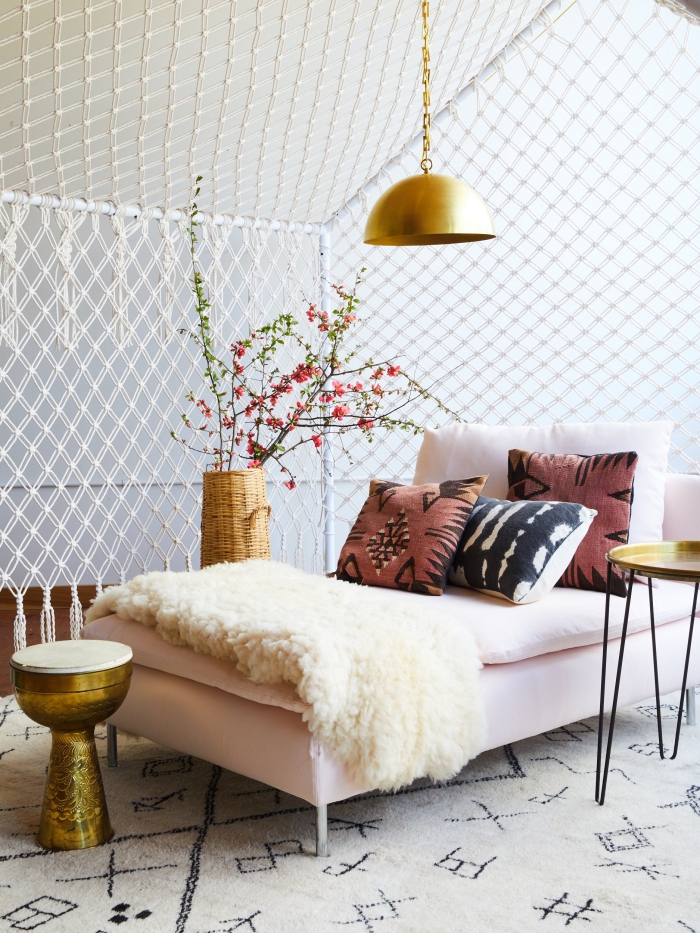
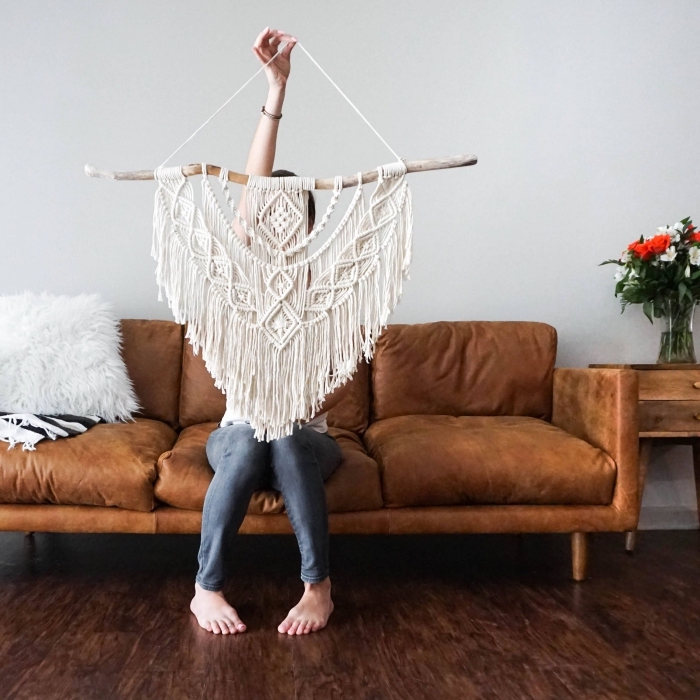
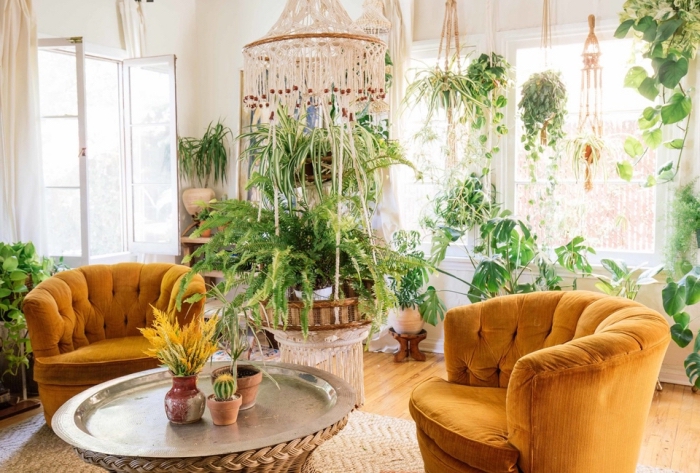
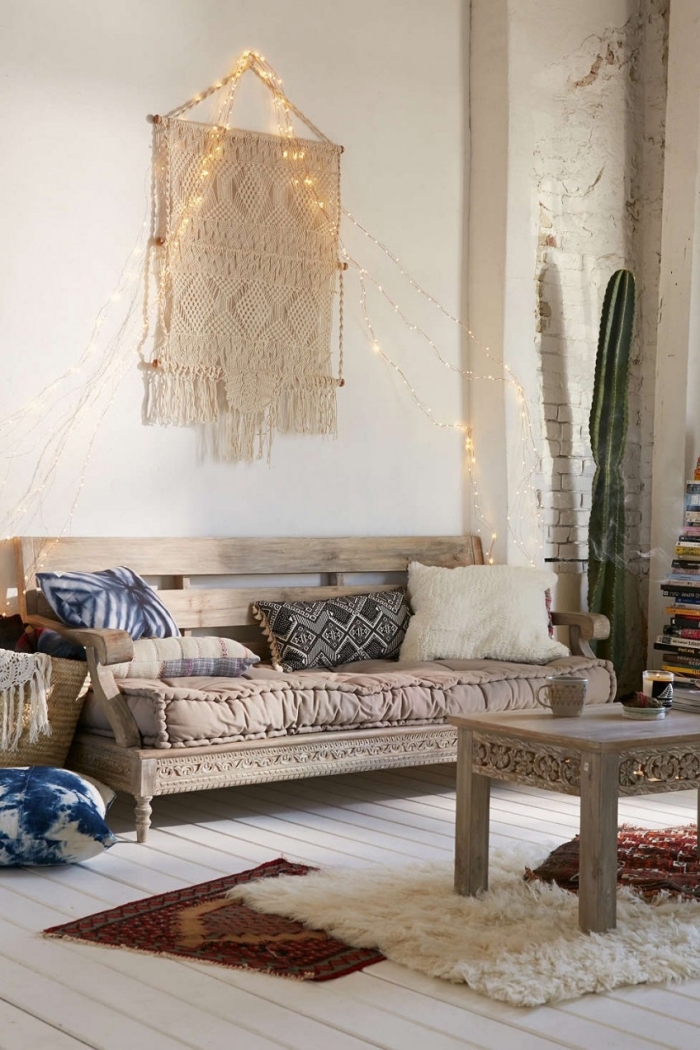
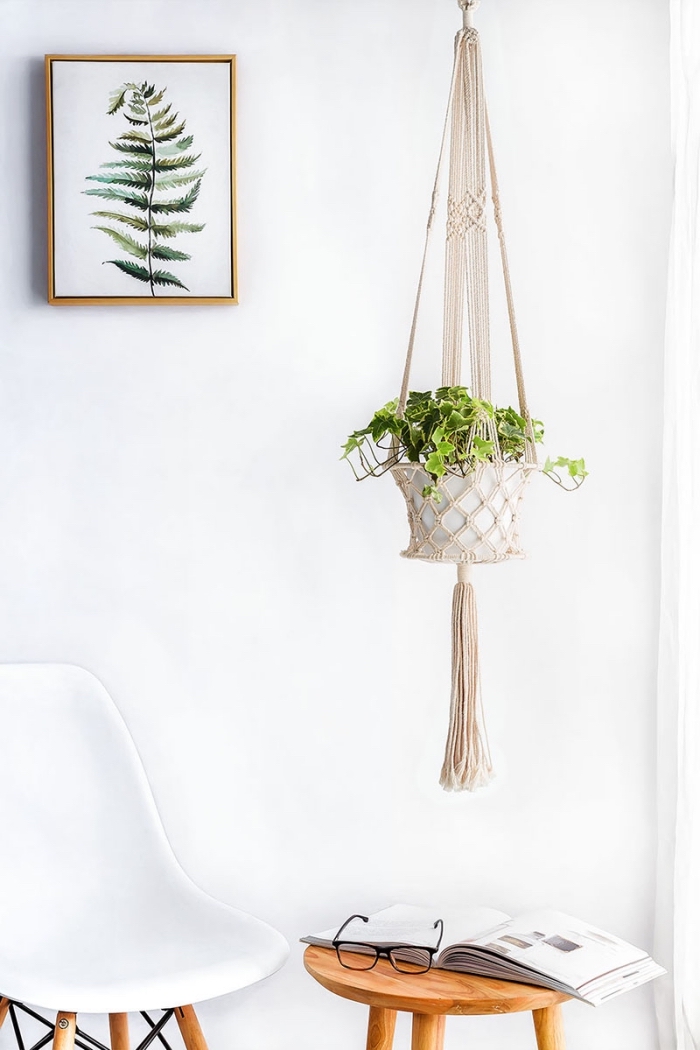
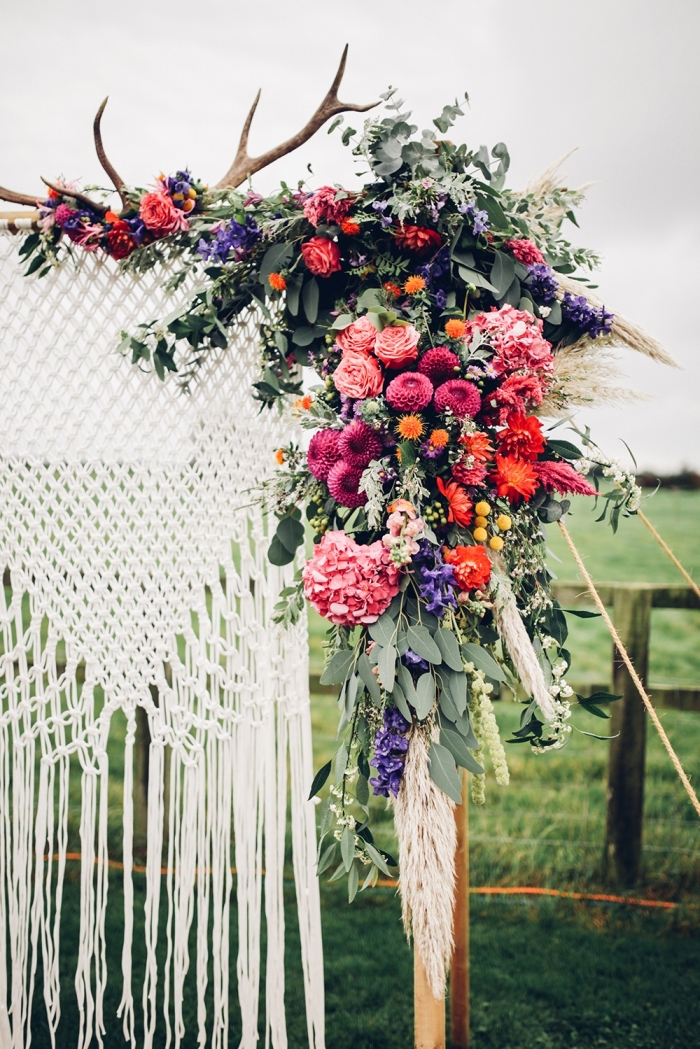
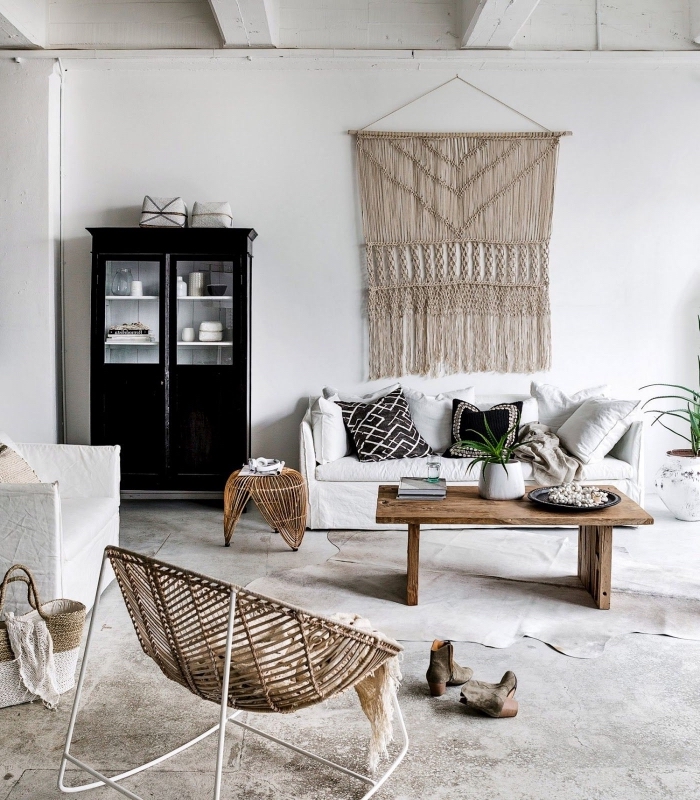
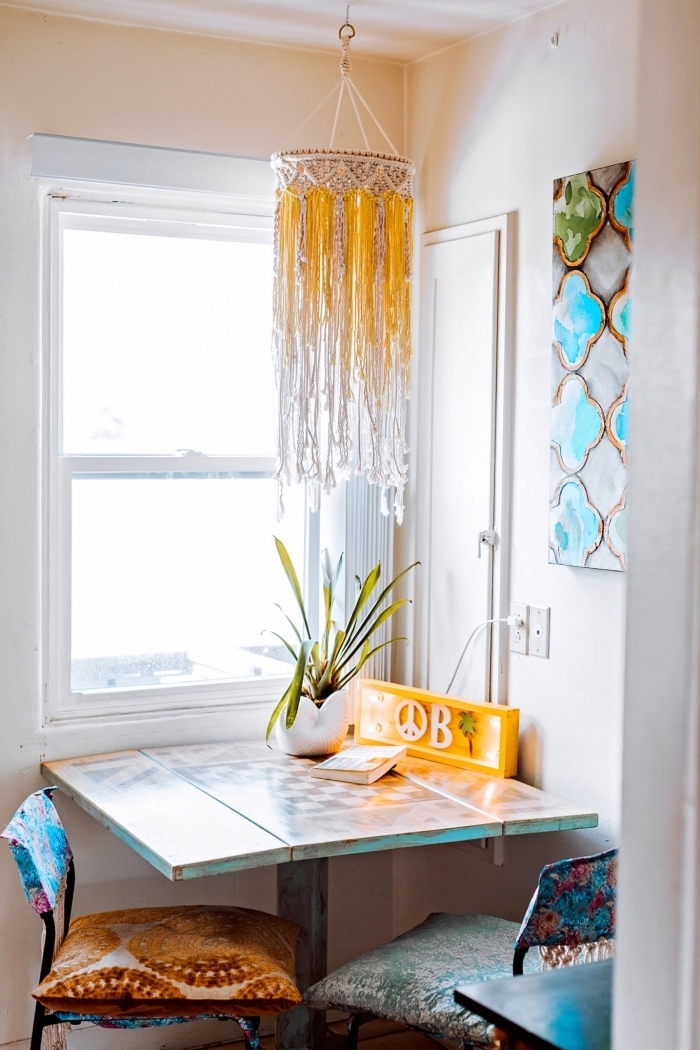
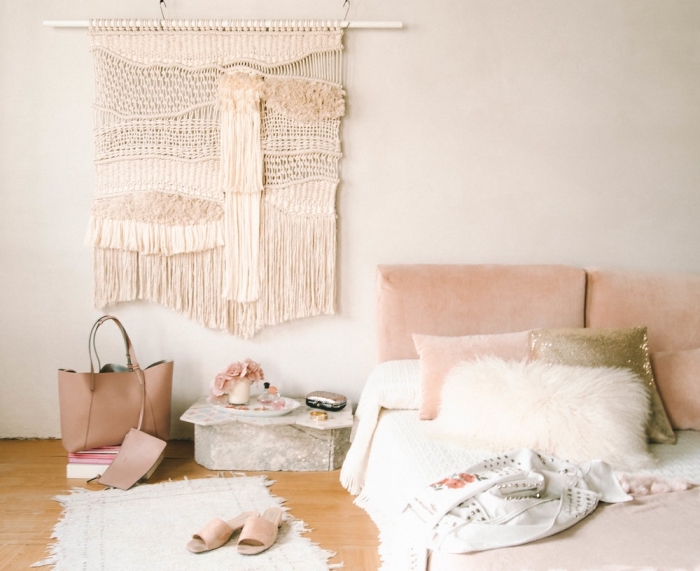
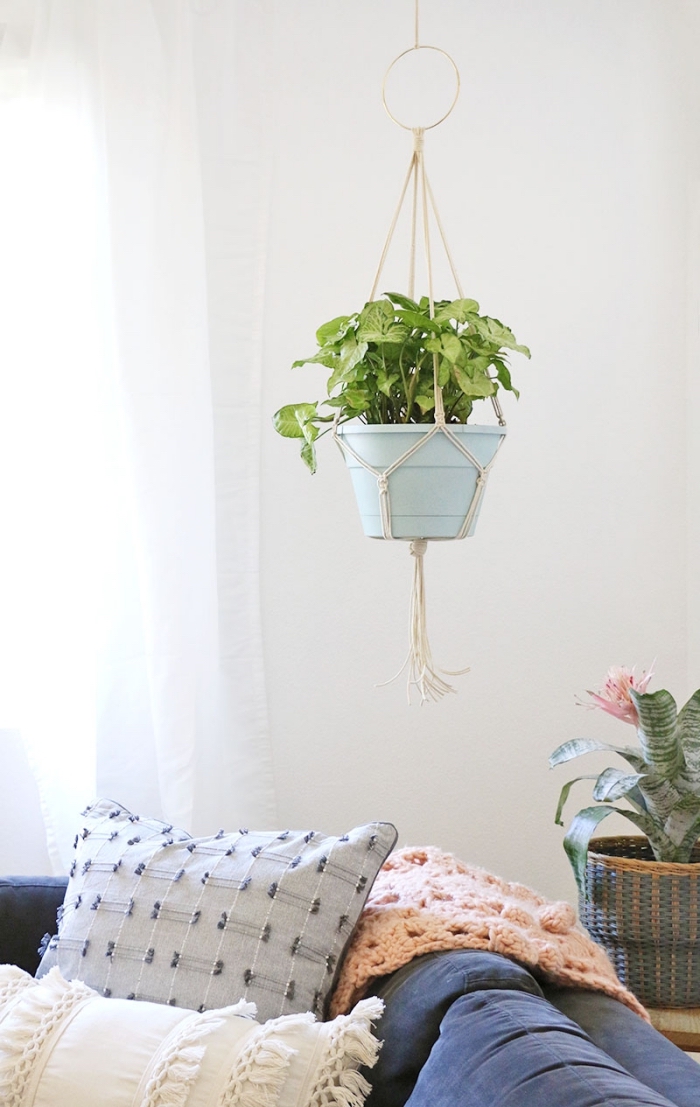
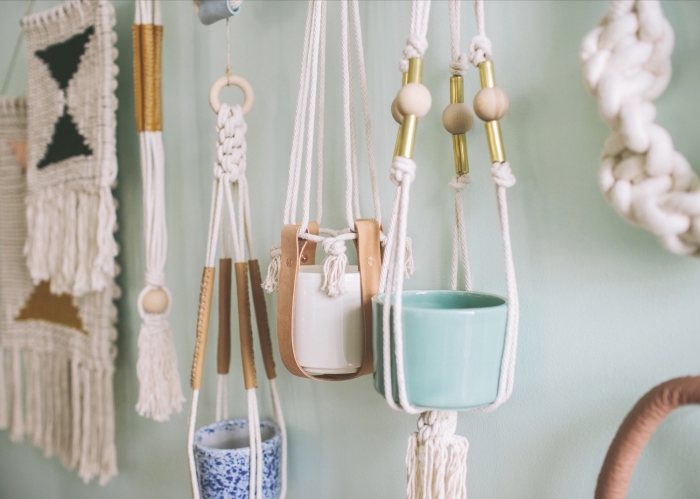
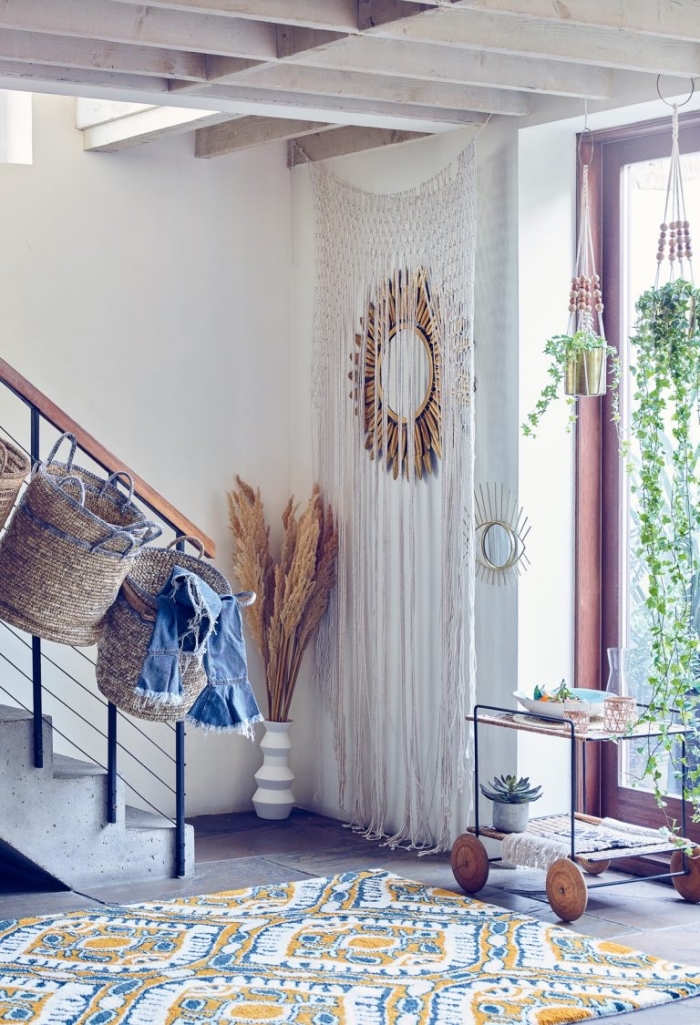
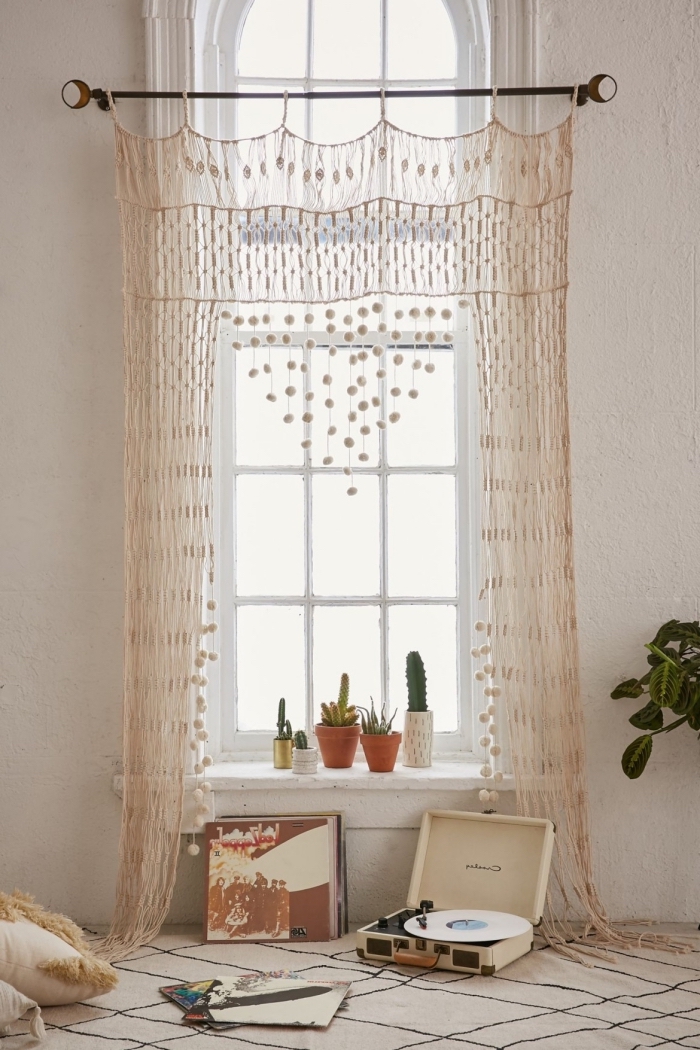
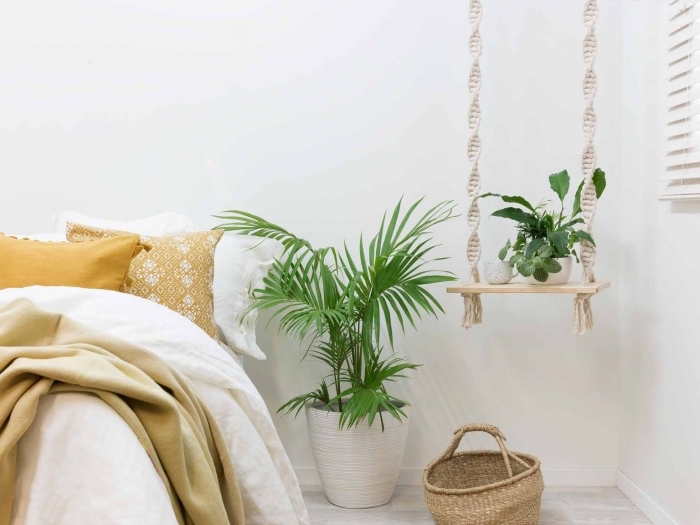
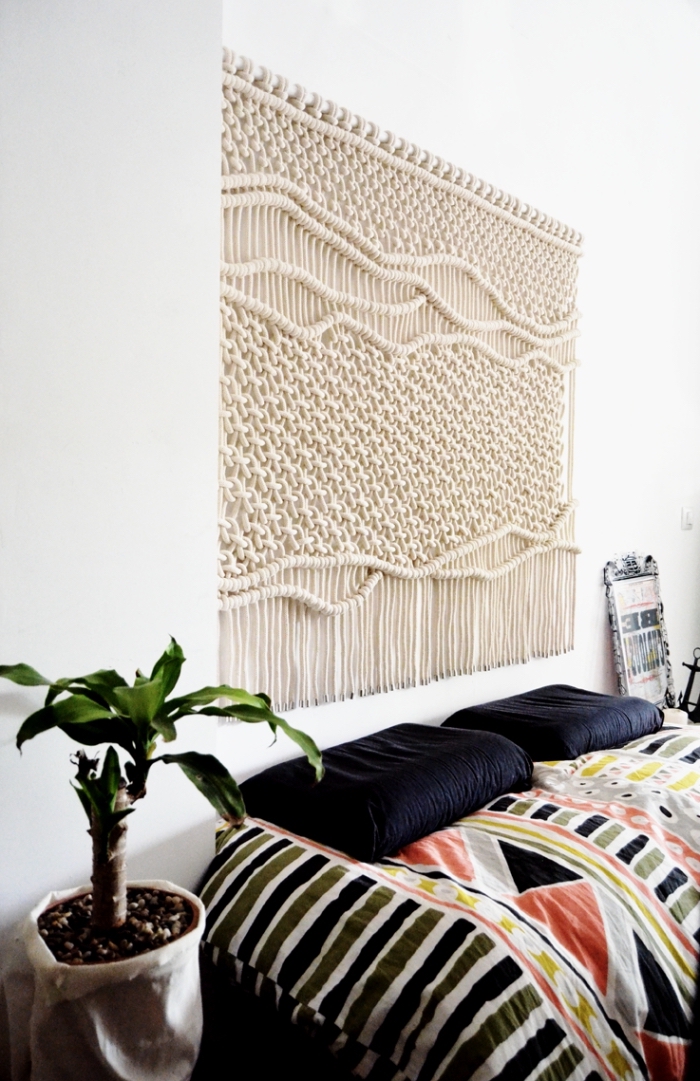
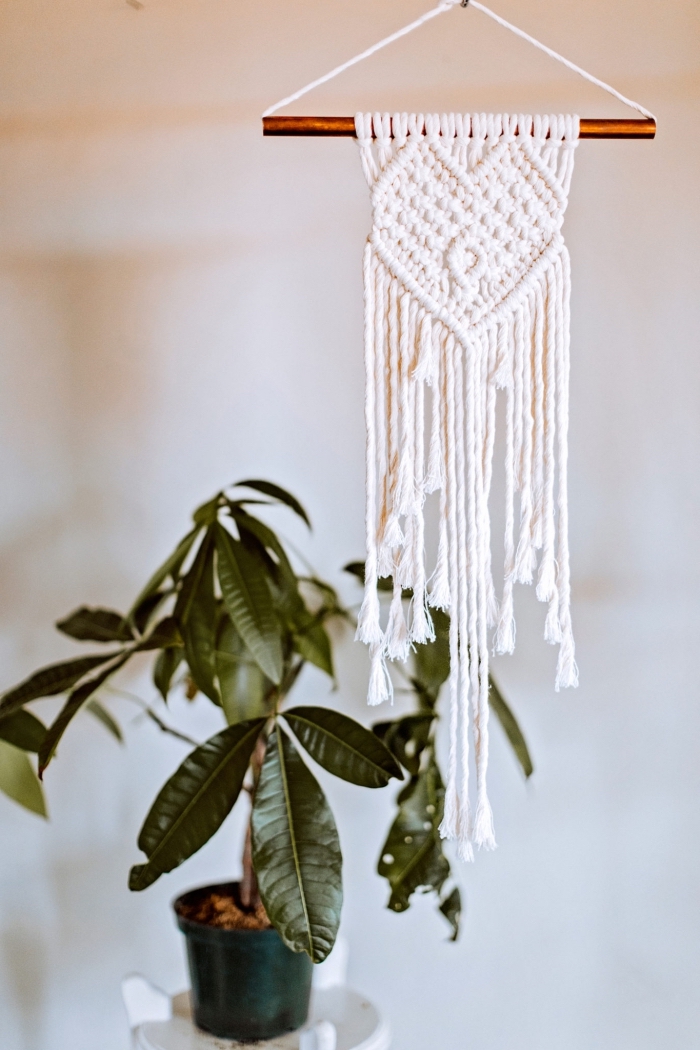
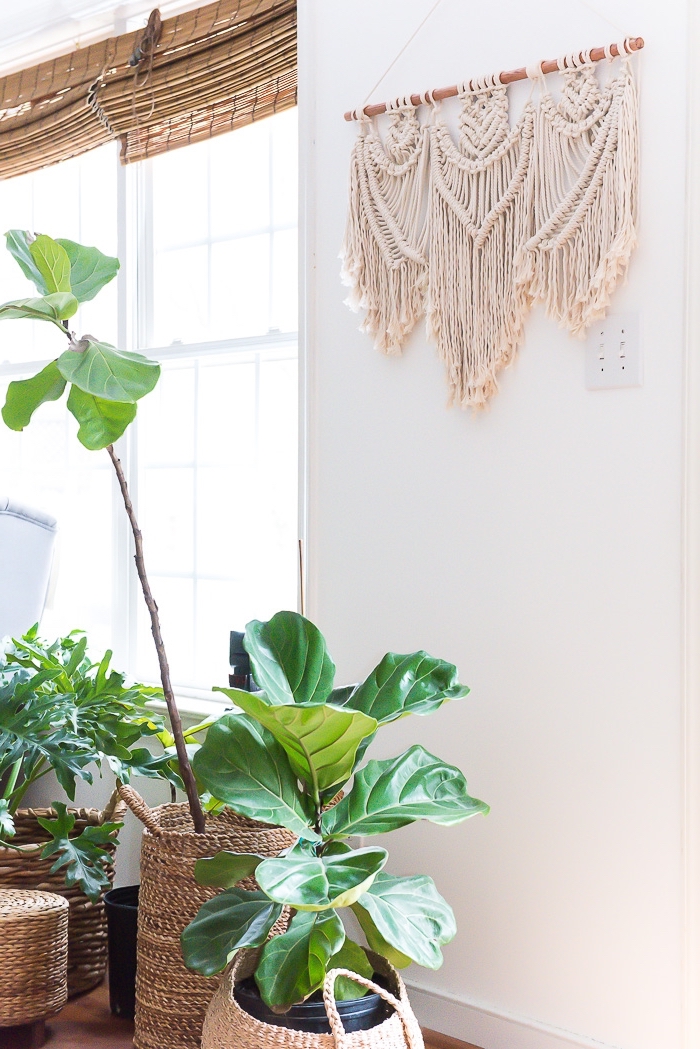
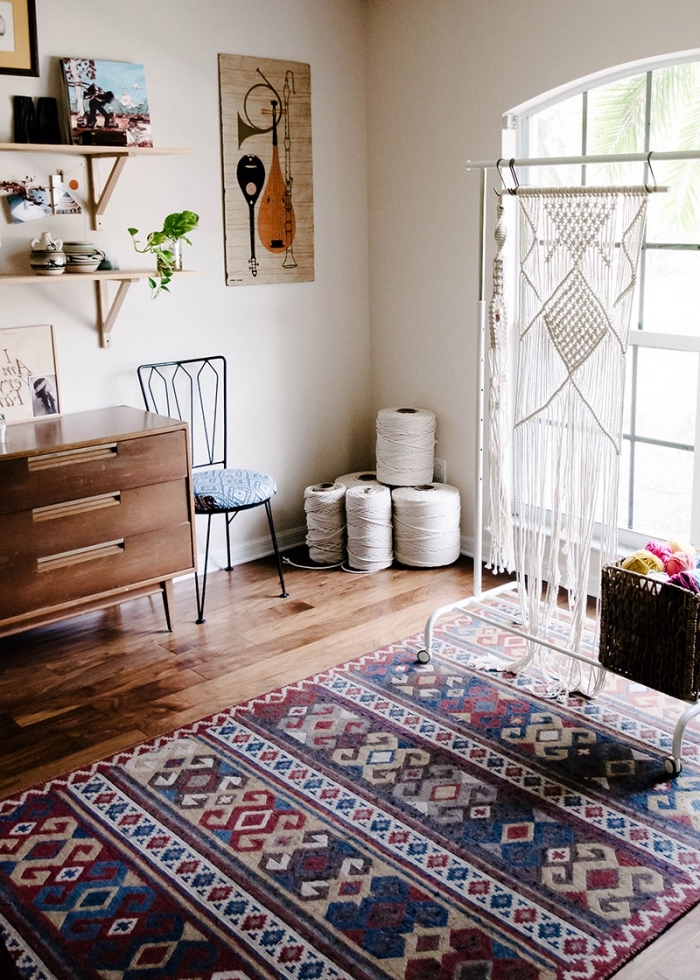
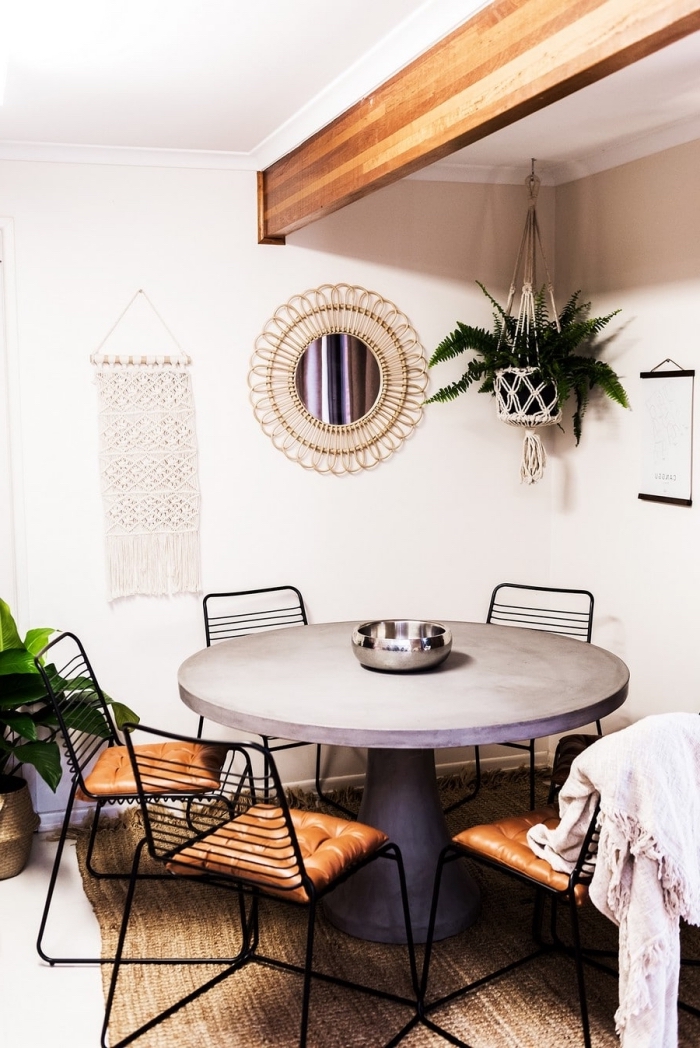
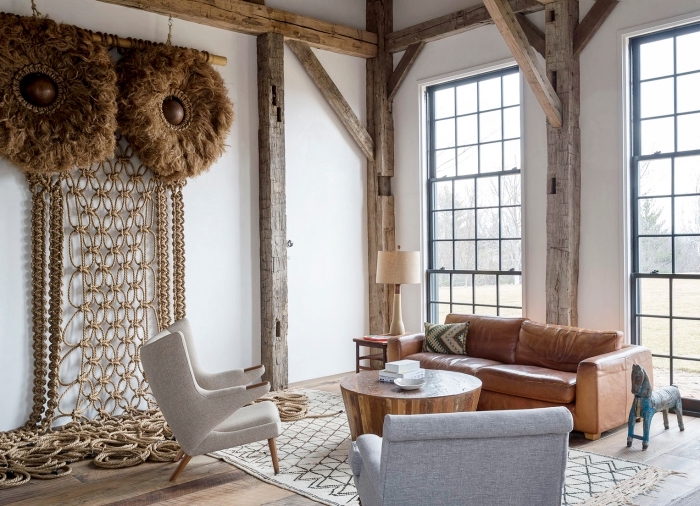
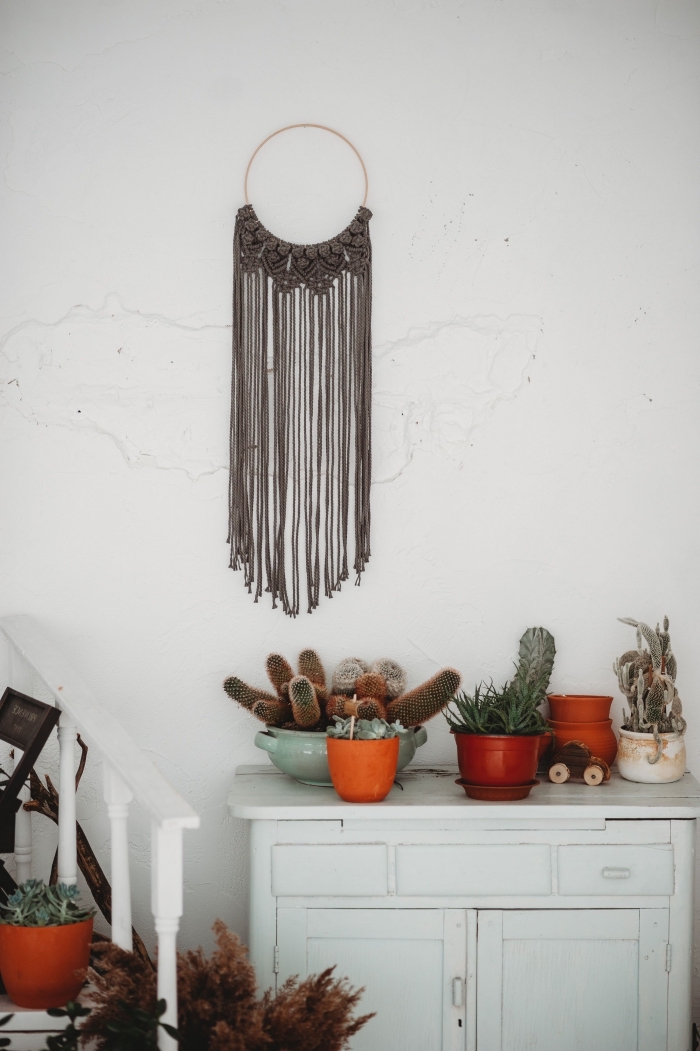
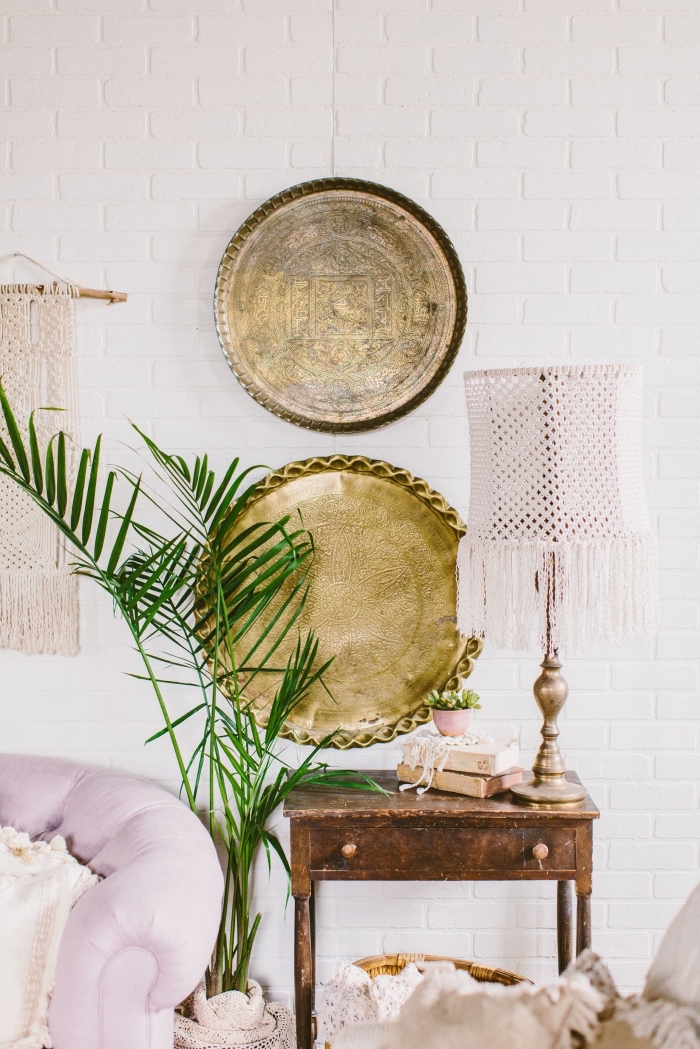
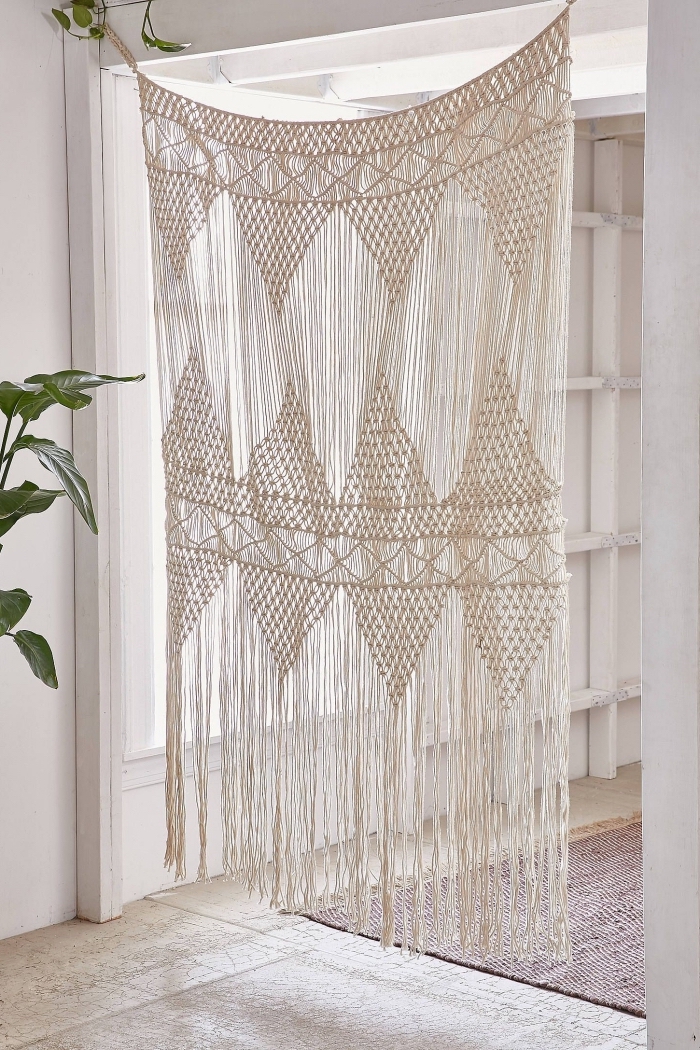
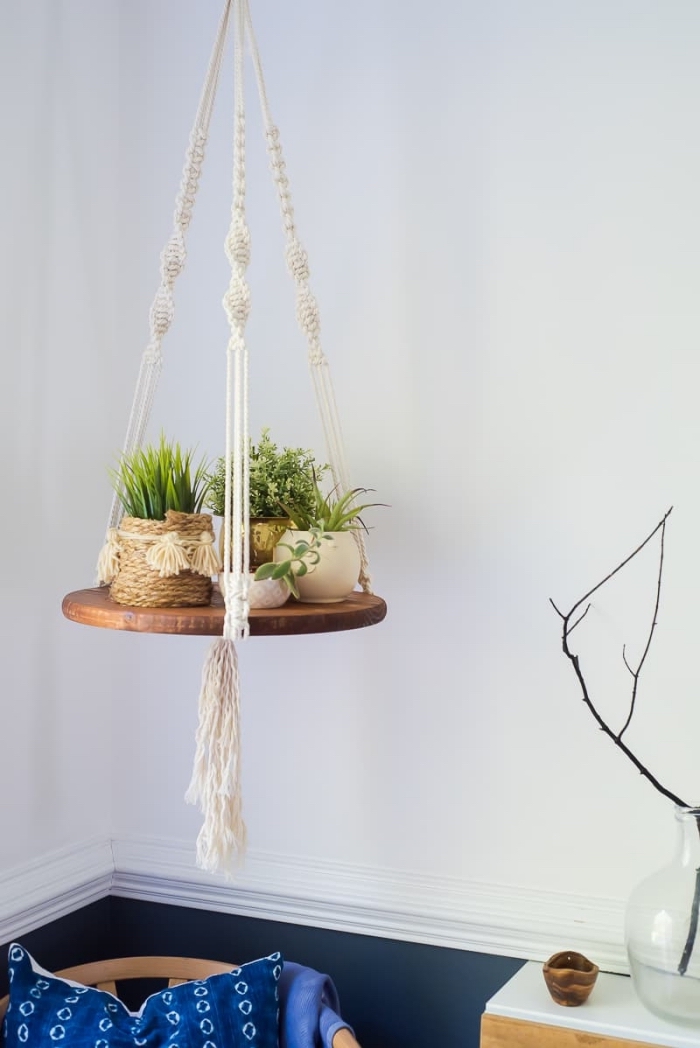
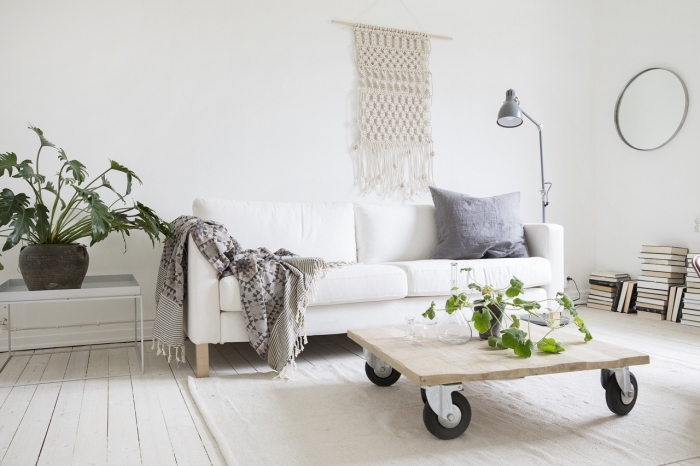
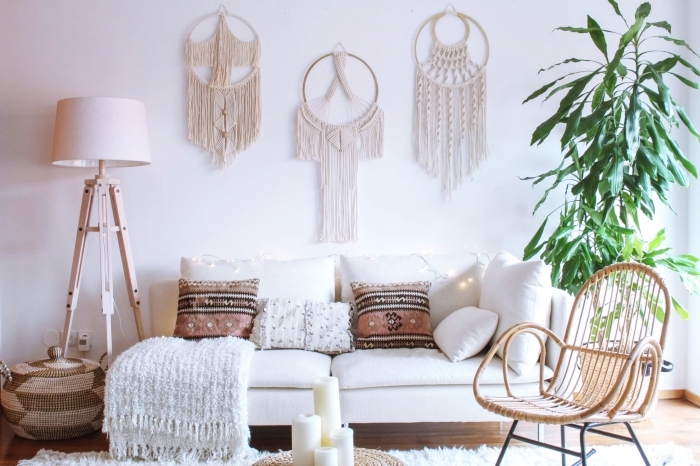
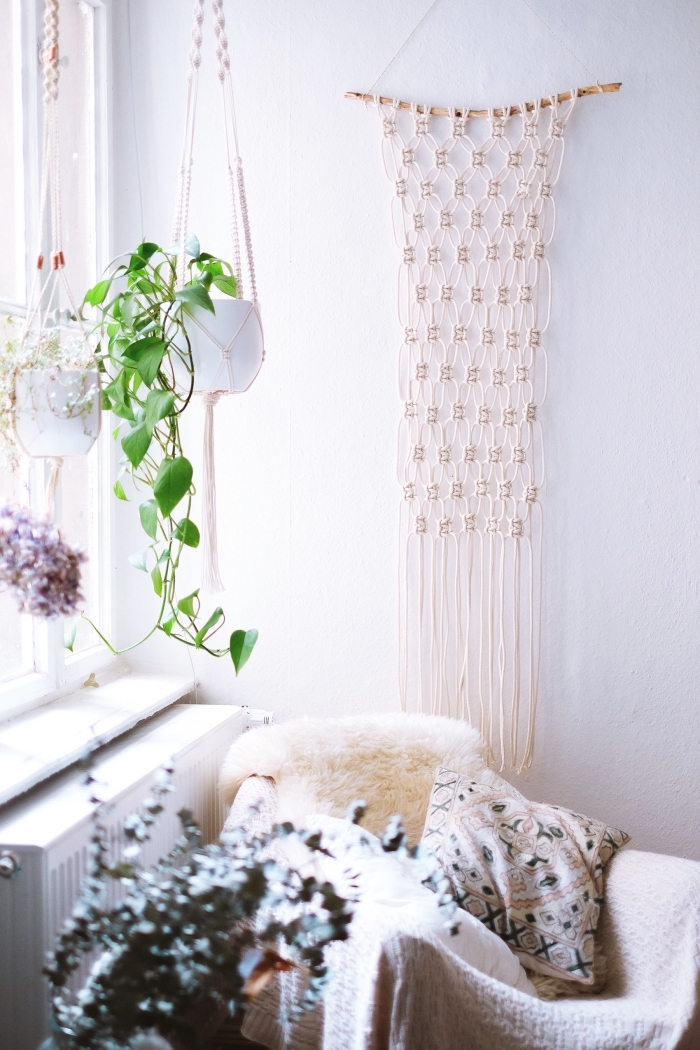
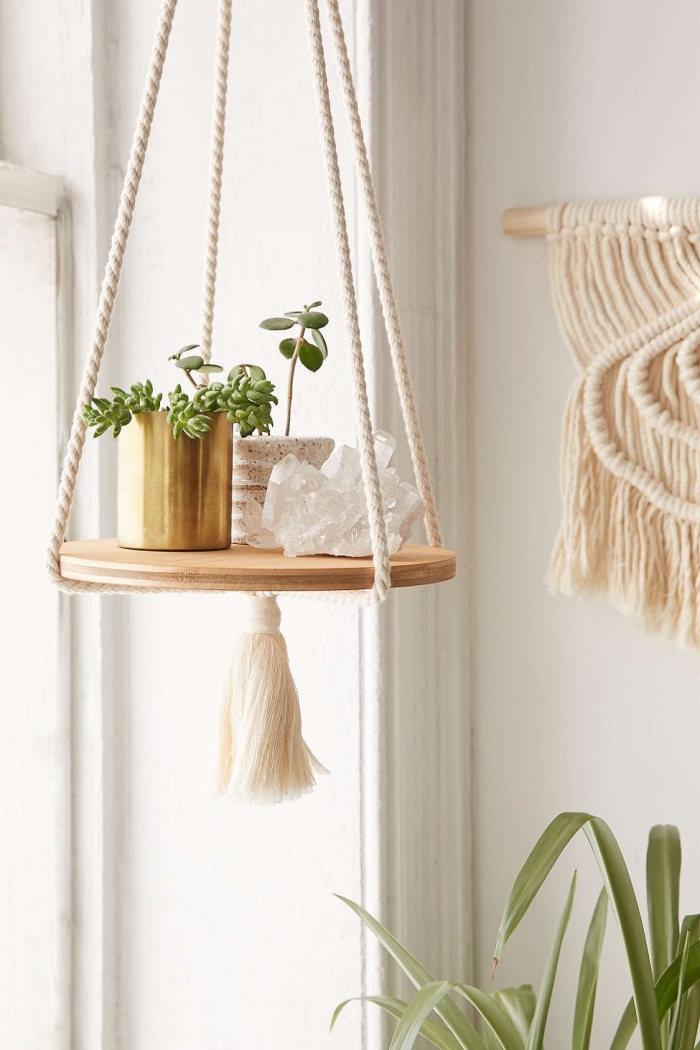
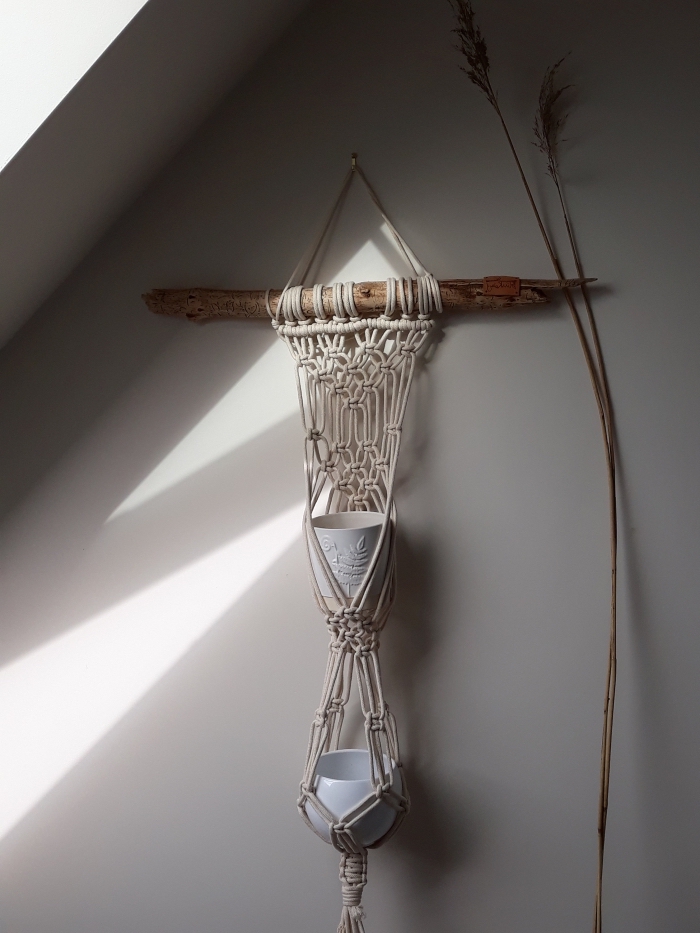
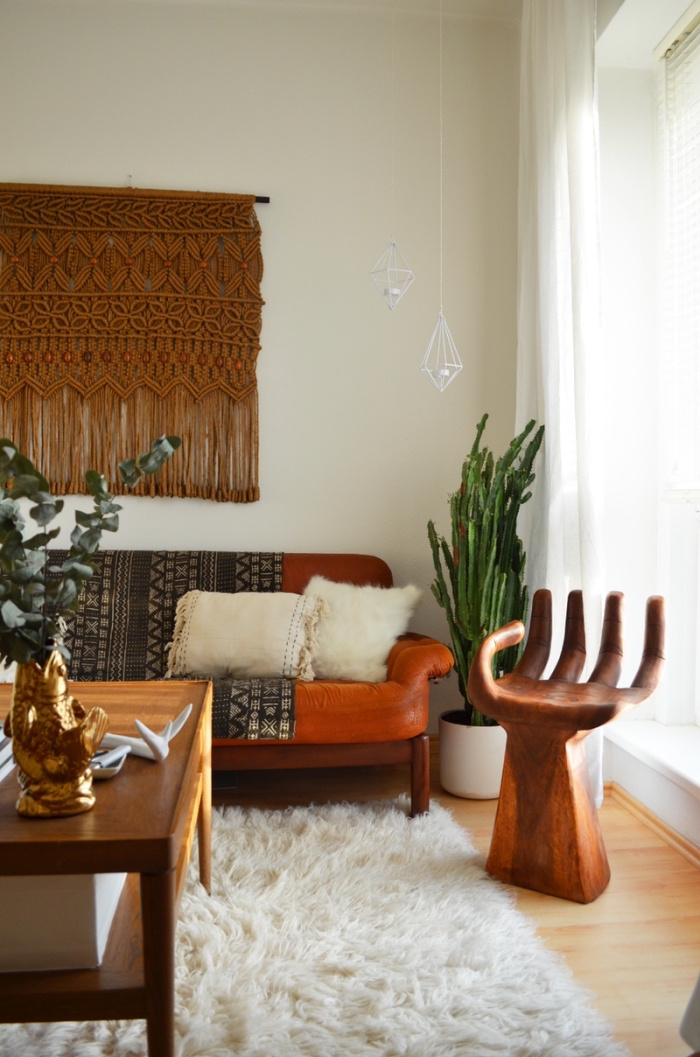
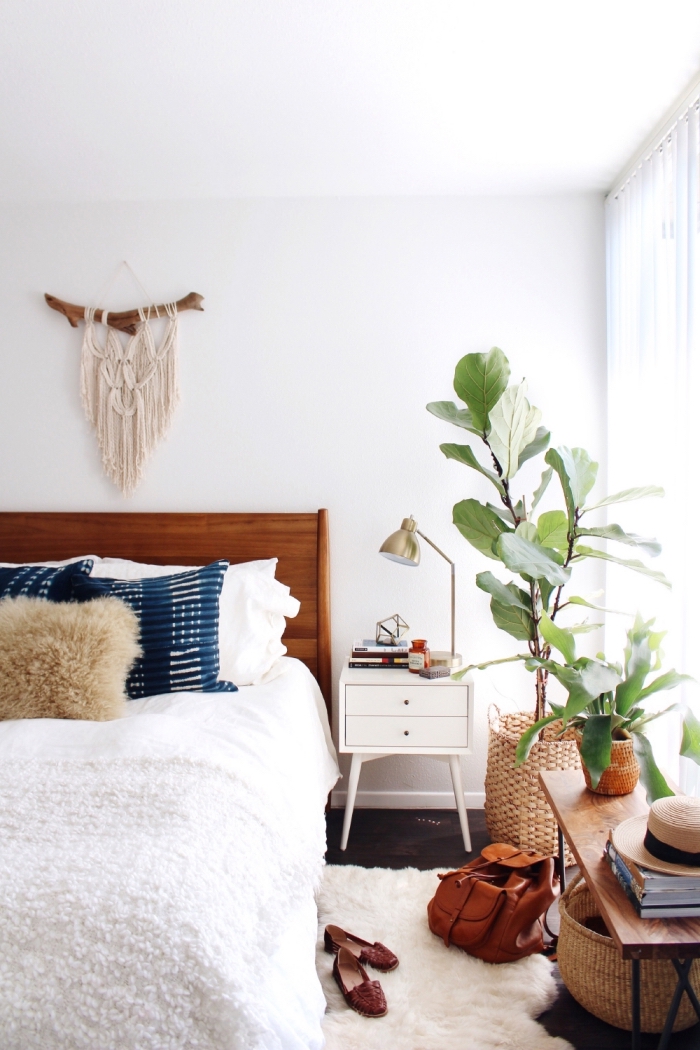
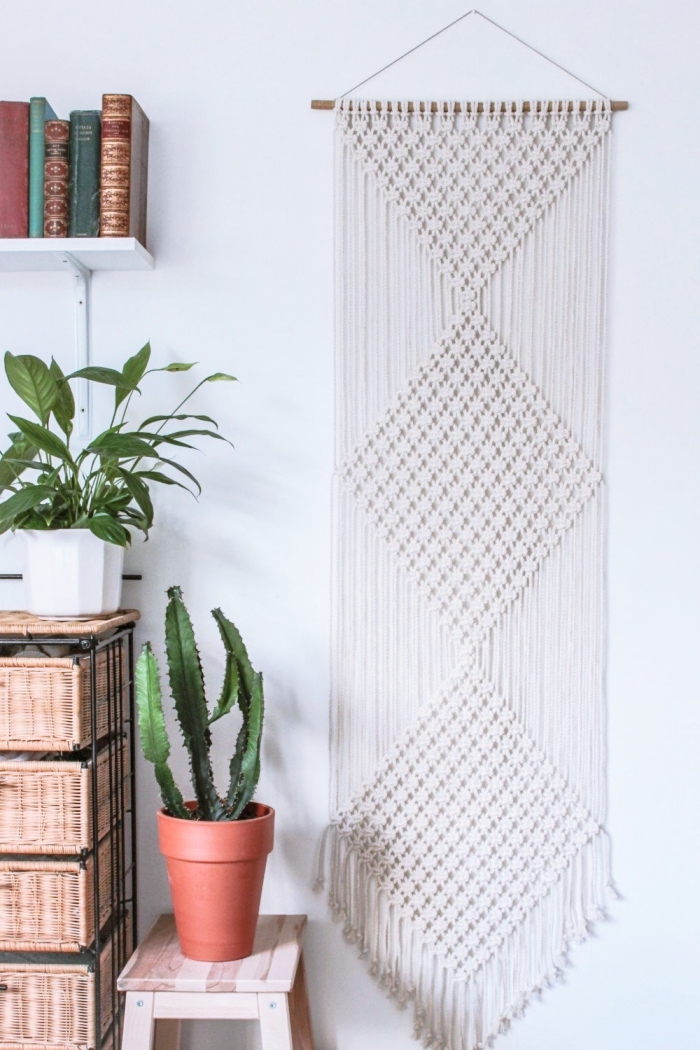
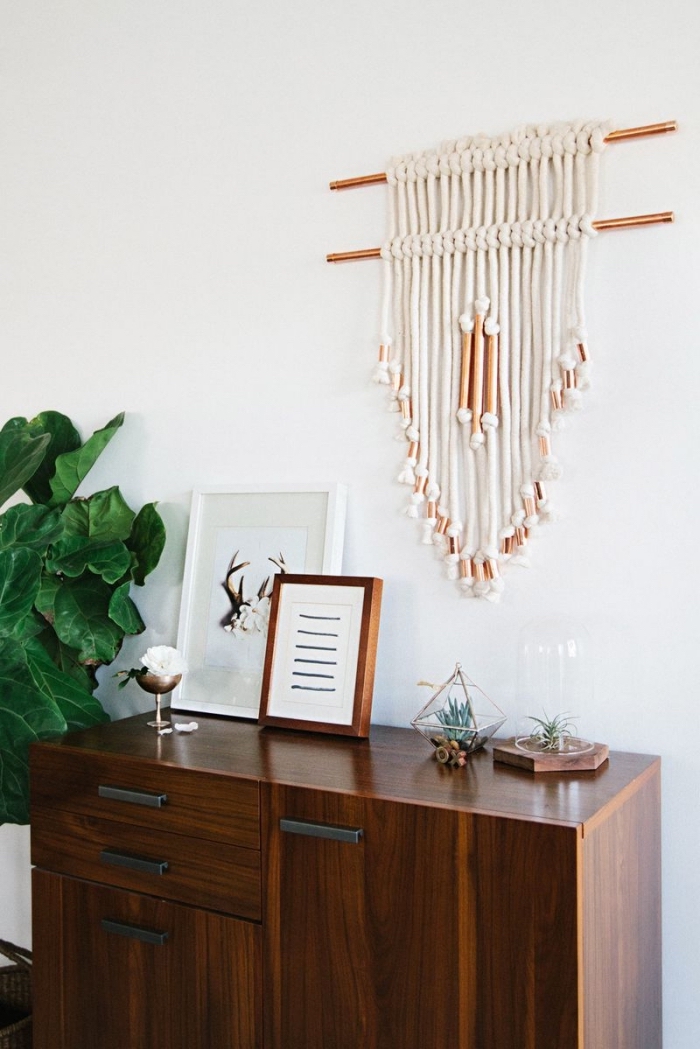
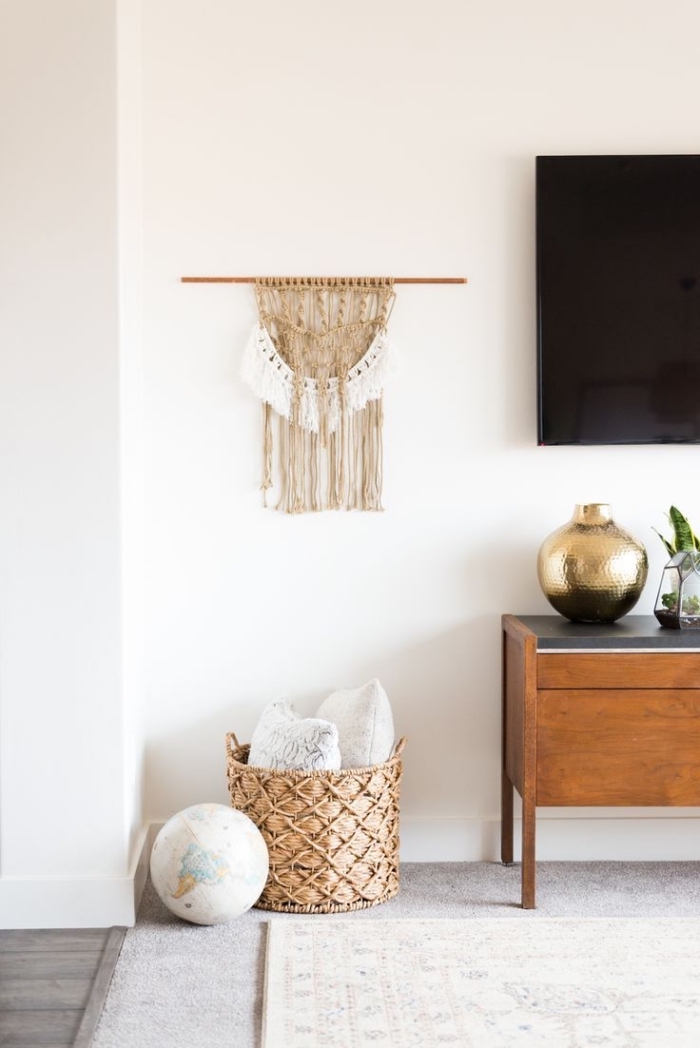
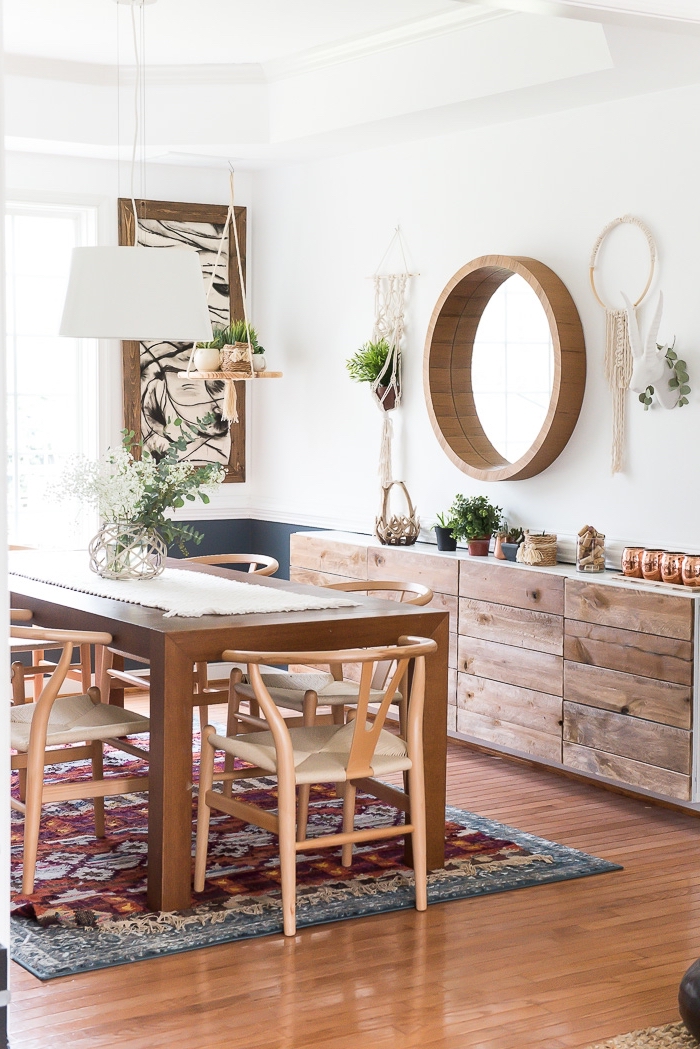
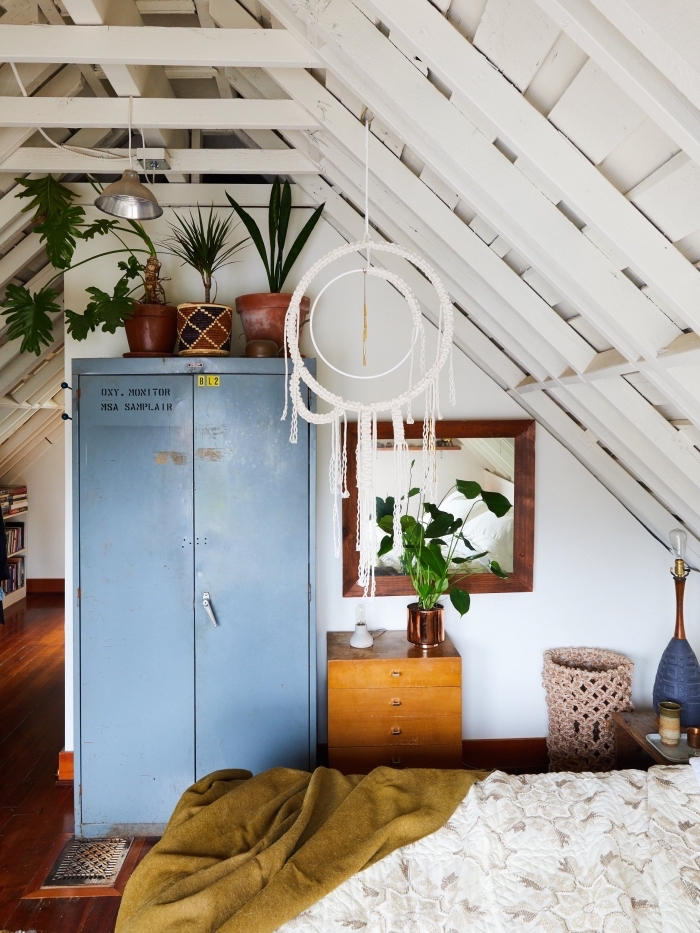
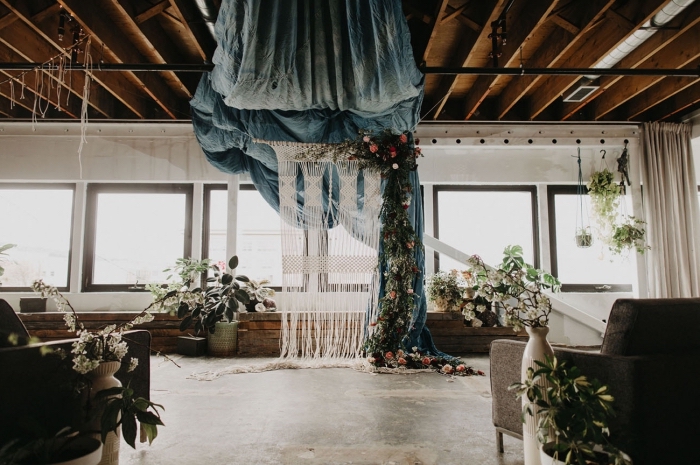
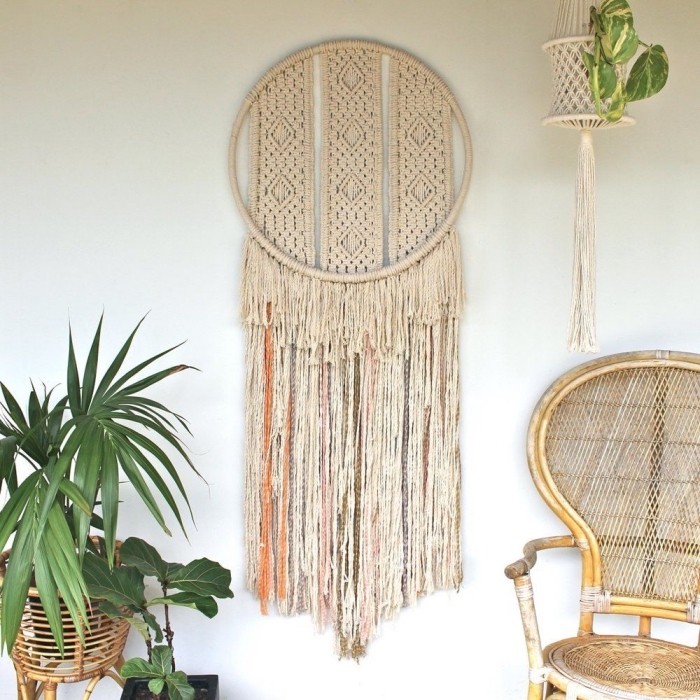
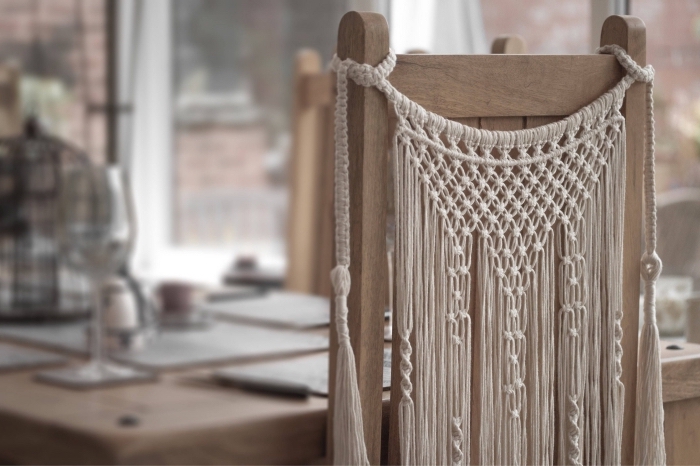
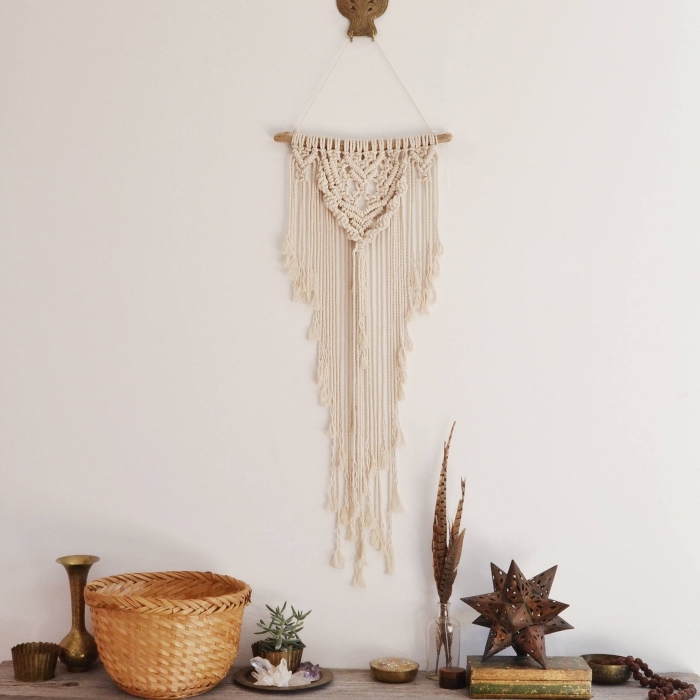
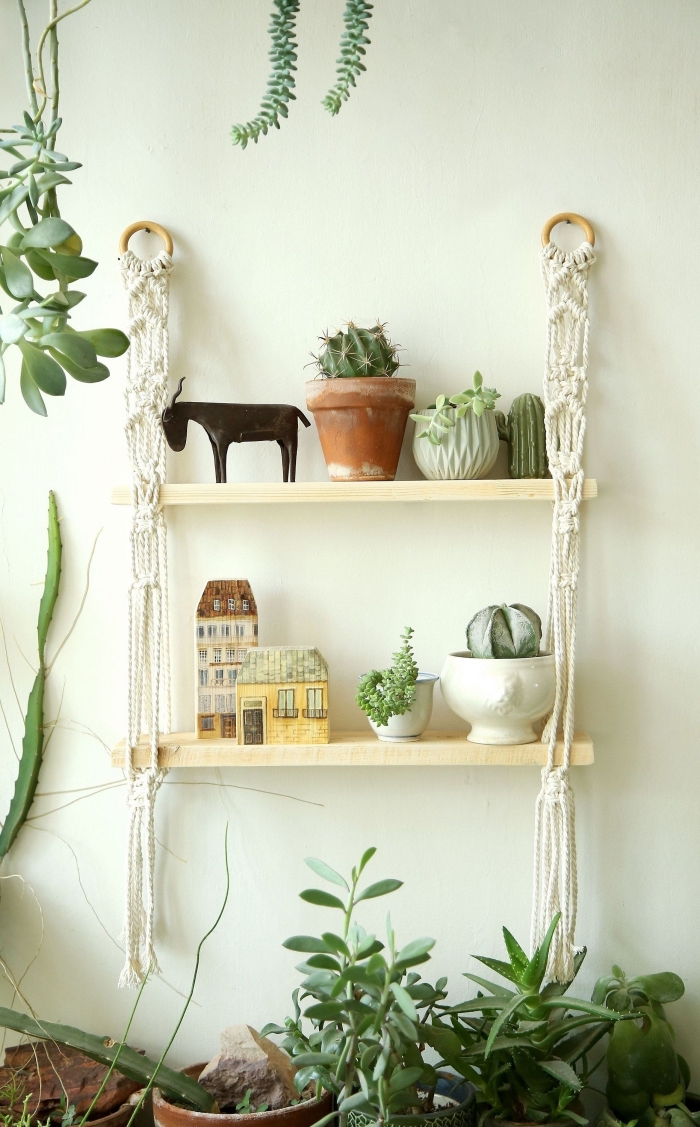
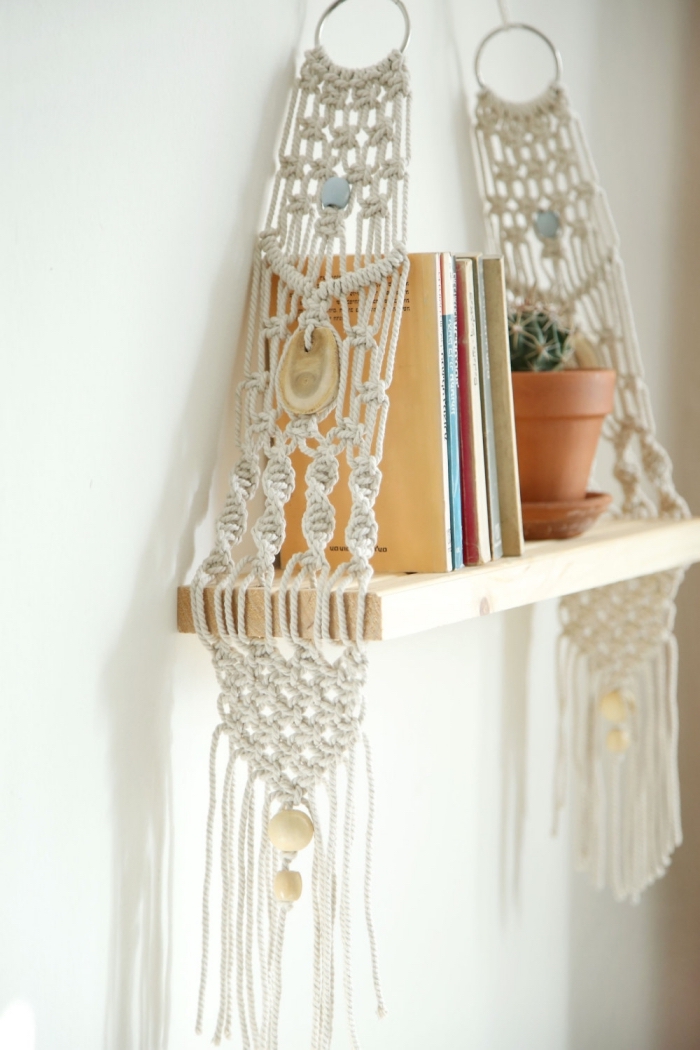
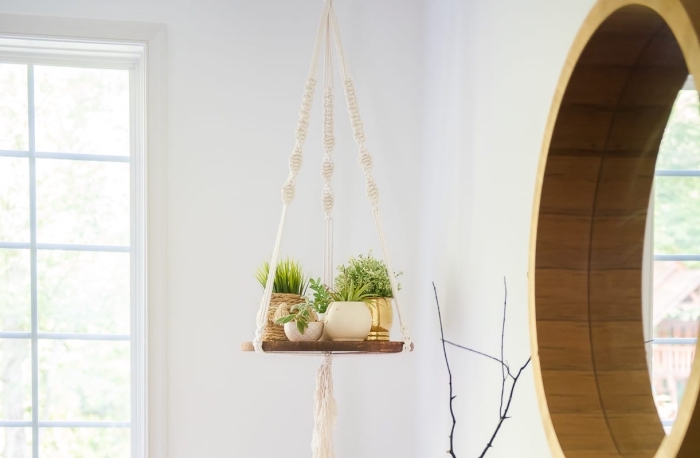
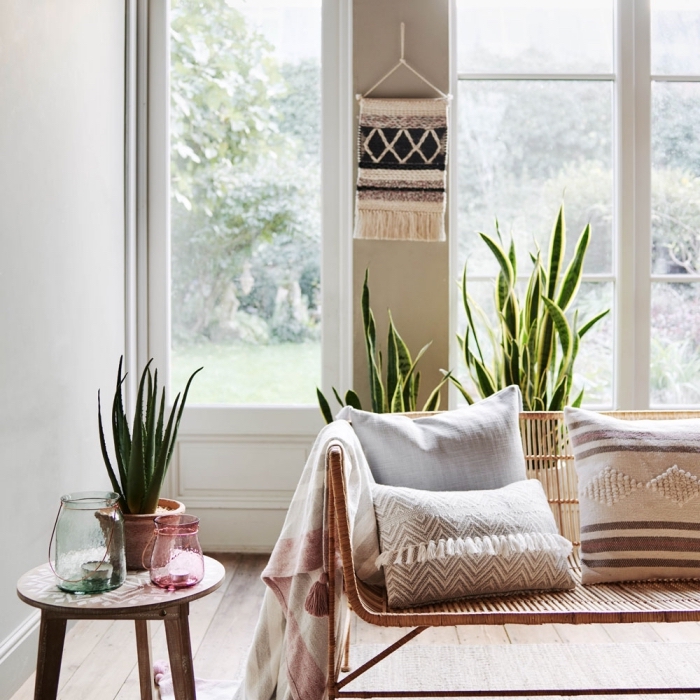
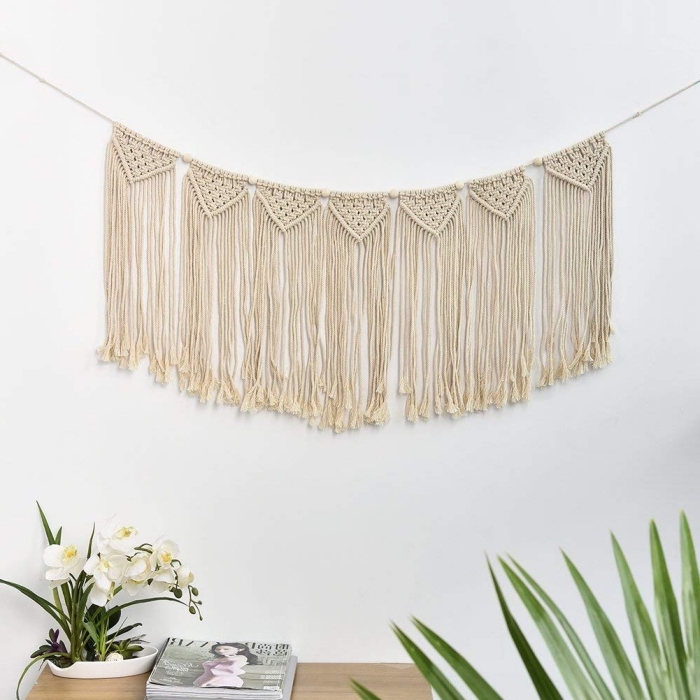
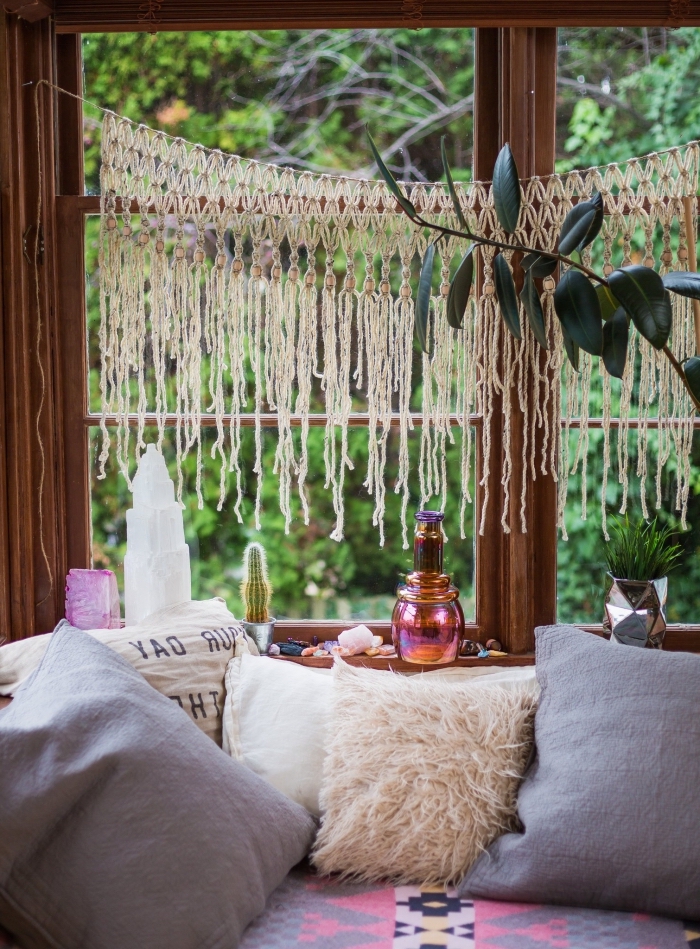
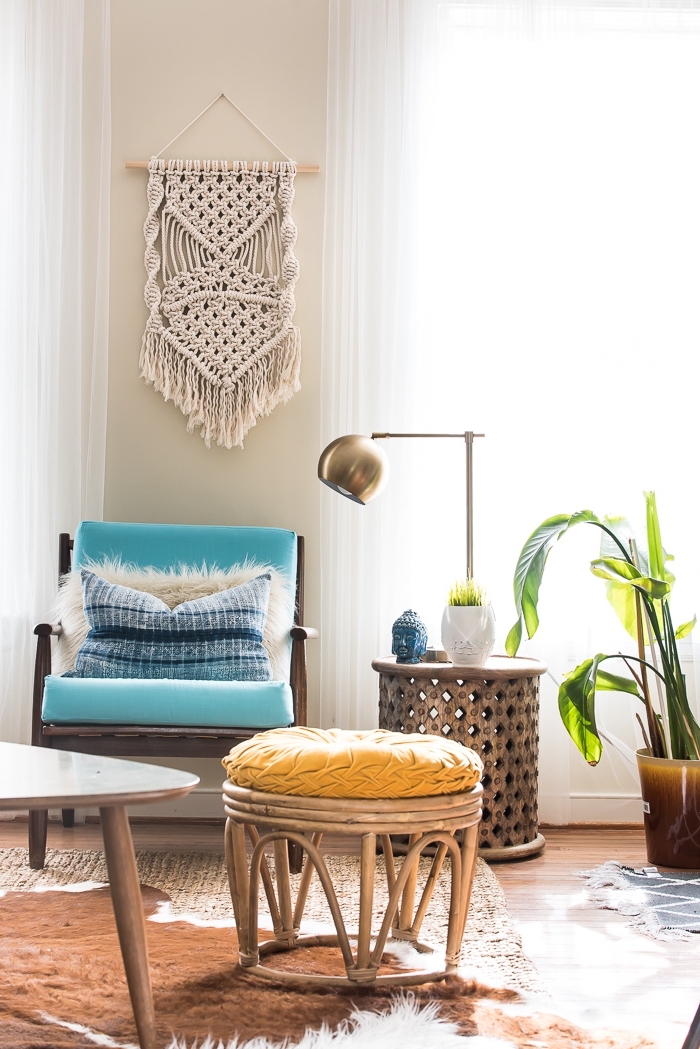
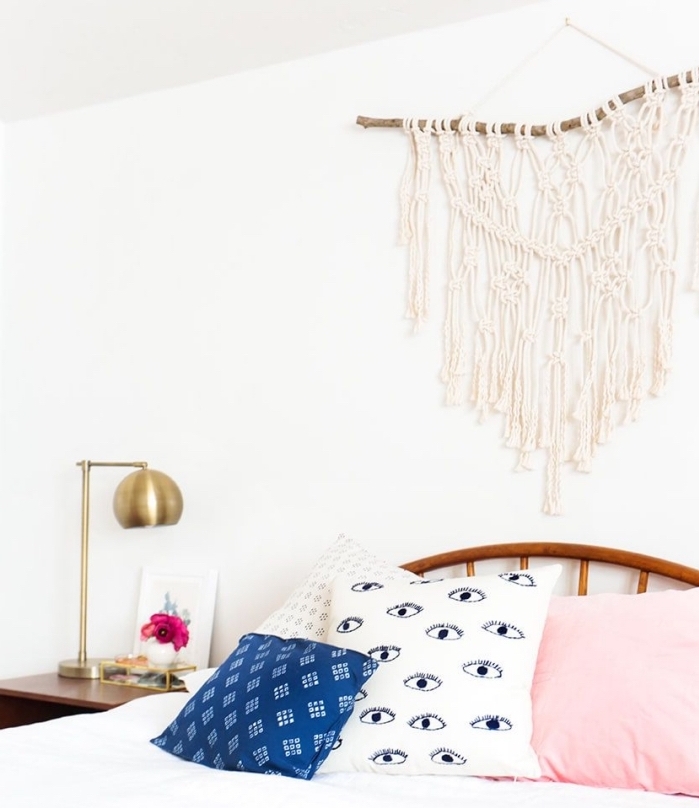
In general, the macrame wall hanging comes in several fantastic versions. Wall decoration or headboard, plant hangers, exotic chandelier and more: curtain or room divider, hanging chair, wall shelf, even a beautiful wedding decor. Thanks to macramé DIY objects, you can totally refresh your interior with a natural and exotic note. The macramé creations blend perfectly with the wooden furniture and green plants in a bohemian chic atmosphere. But, macrame suspensions fit into a more stylish design with the same success. Need ideas how to integrate a macrame accessory in your decor? Take a breath of inspiration in the gallery below.
Wonderful idea to turn the teen room into a cozy place with macramé DIY objects
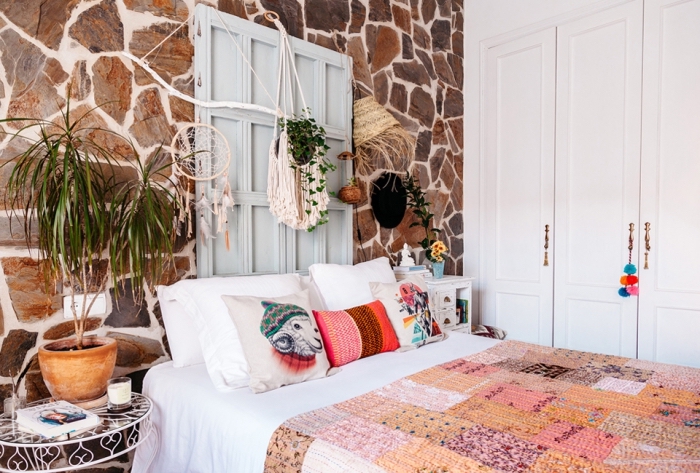
If you do not have fairy fingers and are simply looking for suitable macrame wall hanging models for your home decor, you can find a wide range of cool items on the modernemacrame , etsy, amazon etc. websites . In case you fall into the category of enthusiasts who are eager to start their first macrame project, we bring to your attention some simple and easy tutorials. You can also get the book Modern Macrame with instructions to make 33 different macrame projects.
With the macrame technique we can make different fantastic objects of exotic taste

Learn the basic knots
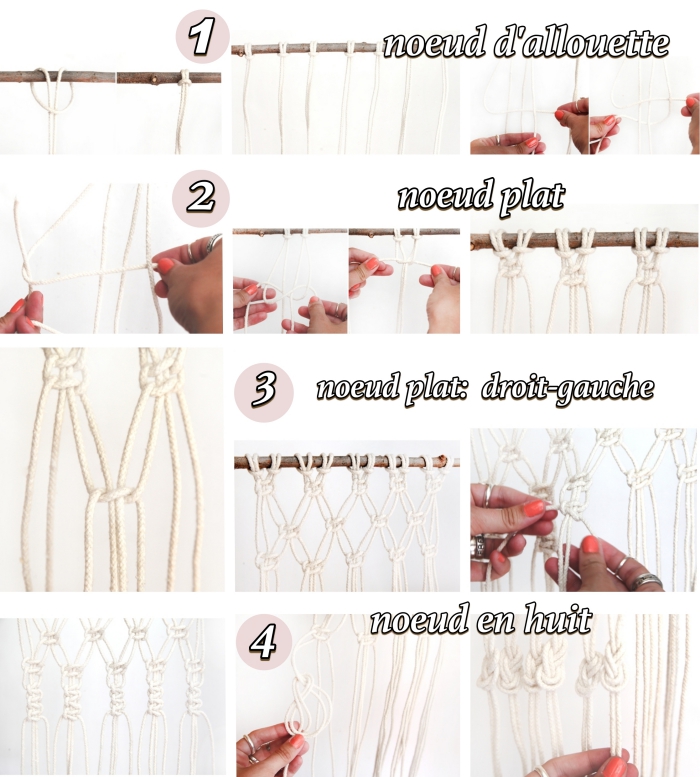
What seems like an impossible project at the beginning is a quite fulfilling mission if we explore the world of macrame tricks and techniques. To enjoy your own macrame creations, you just have to learn the main knots and experiment with different combinations. Let’s see how to make the three most used knots: lark knot, flat knot and oblique wand pattern.
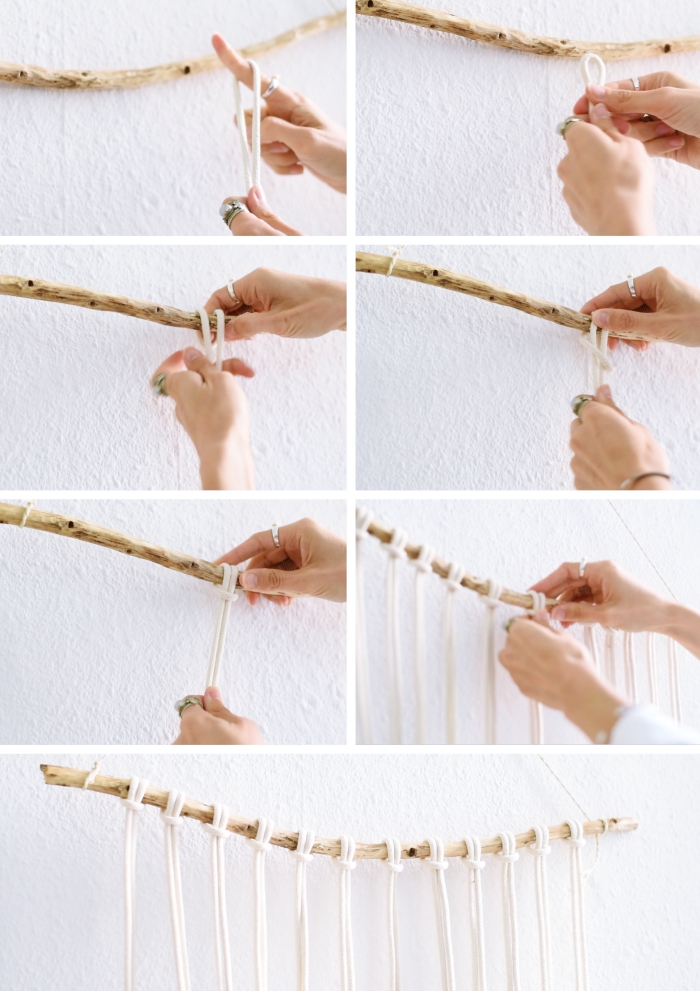
One, two, three and we have already mastered the technique of making a Lark’s knot
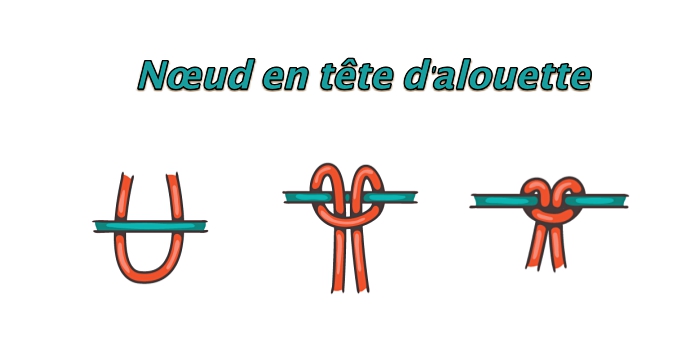
Square knot
- We begin by folding the wire (red on the photo) in two so as to form a loop.
- Then you have to go under the main wire (the green wire on the picture).
- We fold the loop down.
- Now, you have to get the two wires back into the loop. Pull.
Video to give you a clearer idea about the realisation of the Lark’s knot:
The second type of very popular macrame knot is the flat knot
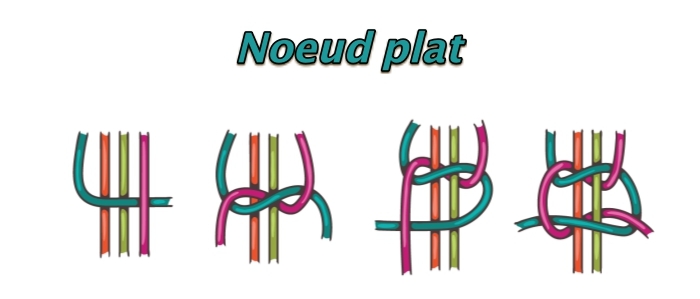
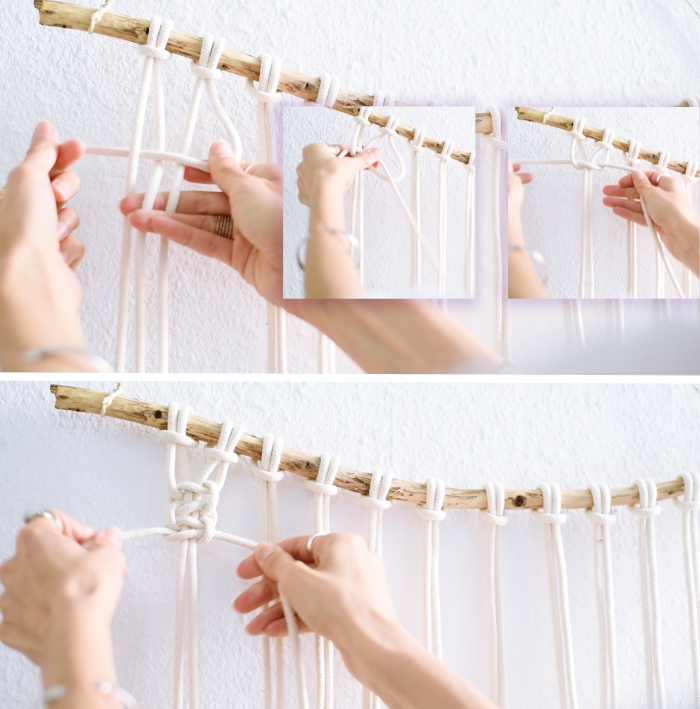
Make a flat knot
- To make this type of knot, first the left-hand thread forms a loop and passes over the central thread.
- Then, the right yarn passes over the left yarn and then diagonally goes up in the loop passing under the main yarn.
- We pull on both ends and that’s it.
And here’s how to do the flat knot:
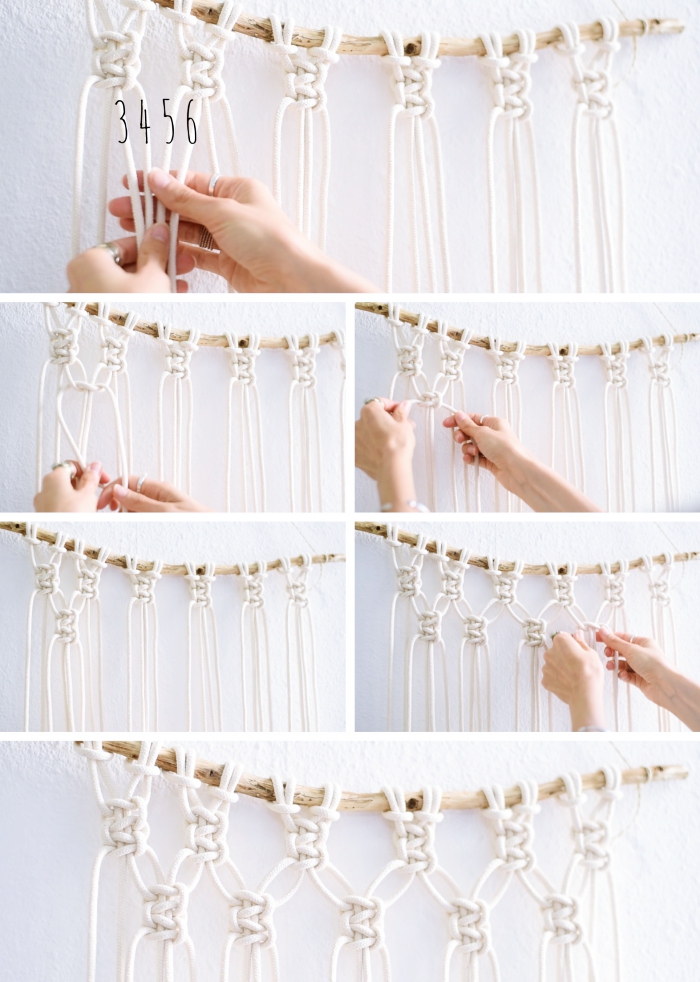
The hitch knot pattern serves to give a well-formed structure to its macrame creation
Master the “hitch knot” motif
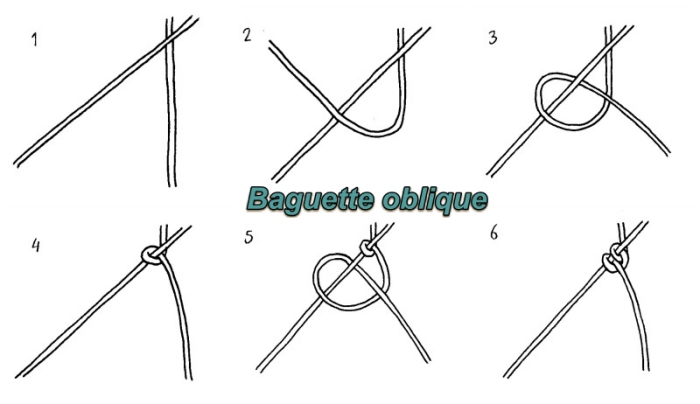
The hitch knot is a macrame technique that consists of making diagonally semi-circles. For that:
- Take the left thread and pass it over the right thread.
- We form a loop with the right wire and draw.
- We repeat the previous step again.
- Then we continue to weave downhill. Leave aside the left-hand thread, take the right thread and pass it over the next thread.
Tip to face the challenge “oblique wand”:
These are the three basic knots that can be combined in many ways to create fantastic macroscopic creations. If you are very passionate about macrame art and are curious to learn about the other types of popular knots, you will find even more techniques online.
Relaxing atmosphere that combines natural materials and colours
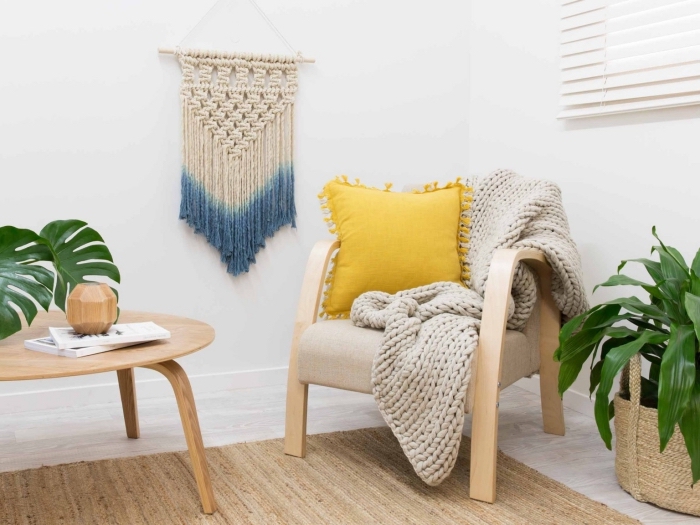
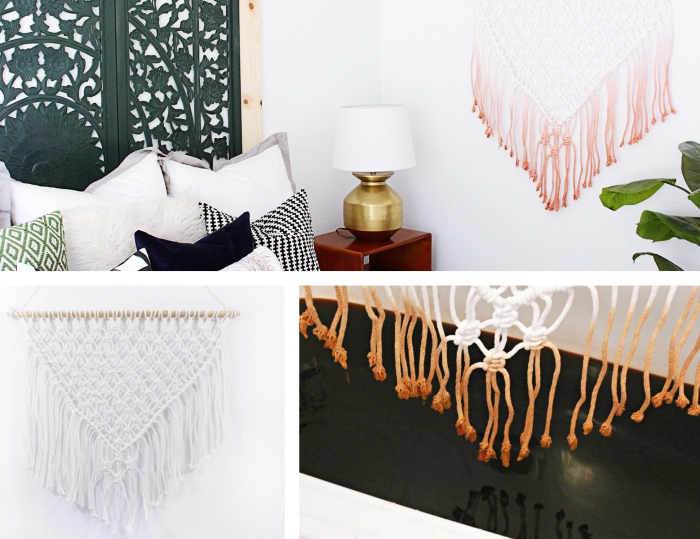
Tutorial 1. Macrame wall hanging in two colours
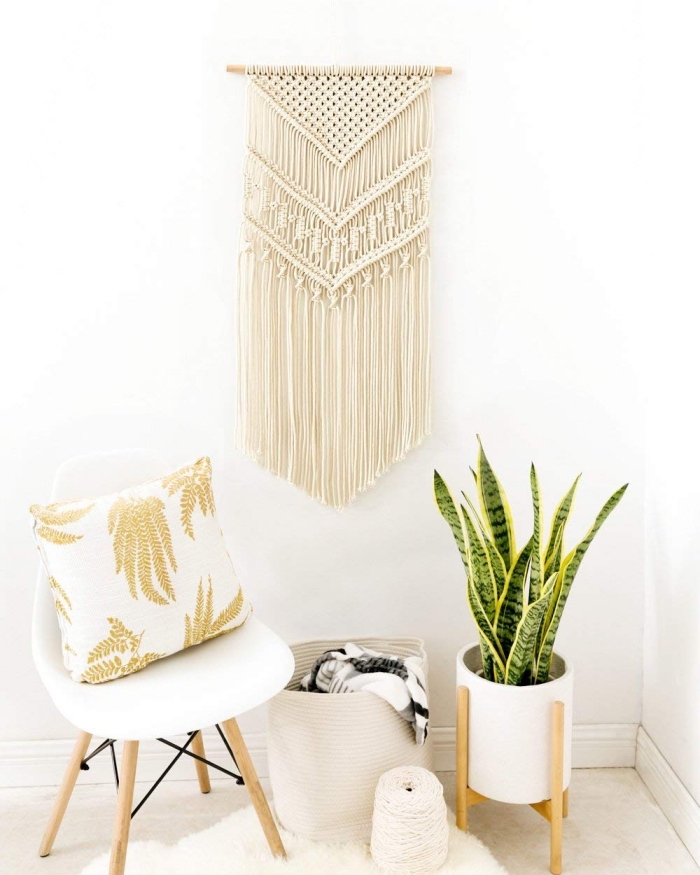
Once the basic knots are mastered, we embark on the realisation of sublime macramé suspensions. In this first tutorial, we will use the three techniques that have already been examined to make a wall hanging design in two colours. Let’s see how the magic happens:
The necessary materials:
- wooden stick
- cotton rope
- favorite color textile dye
- scissors
The steps to follow:
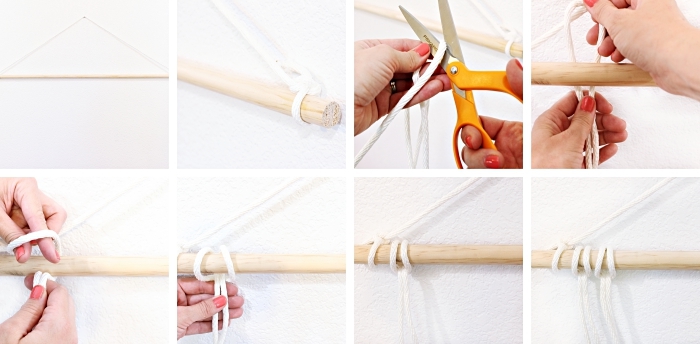
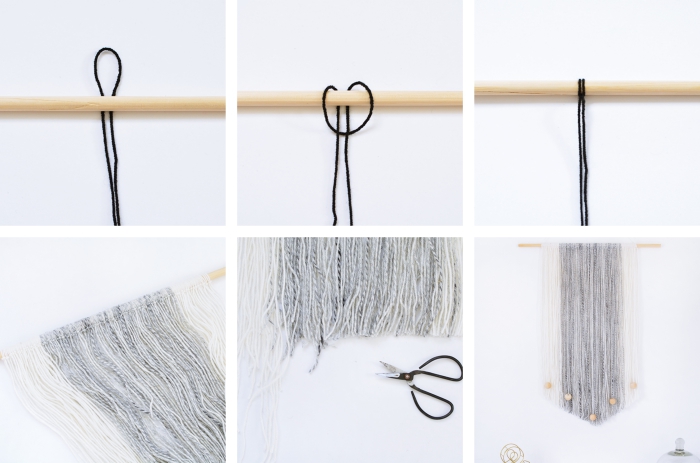
- We begin by forming a string of rope at both ends of the stick. This will help us hang it later on the wall.
- Then you have to cut a number of ropes of the same length (about 1.5-2m).
- Now we begin to tie the ropes to the bat using the lark knot technique .
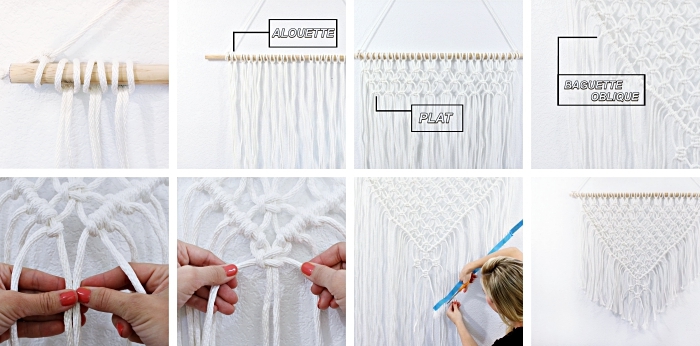
- Once all the strings attached to the stick (lark knot) we start the weaving using the technique of flat knot.
- We make the first row of flat knots.
To make this beautiful suspension we have to make a row of lark knots
- For the second row, skip the first two strands and start making flat knots (from the third strand) until you reach the last two strands.
- Repeat the previous step 11-12 times until you get a square knot in the center, creating a V shape (triangle).
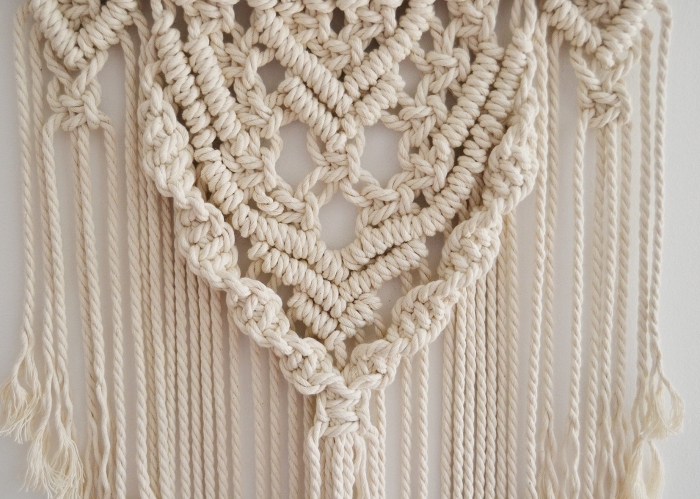
- Now we start a series of hitch knots (double half-knots diagonally) along the left and right sides of the triangle. The hitch knots will create a border of the macrame.
- Finally, gather 4 strands of the macramé fringe and knot a few flat knots.
- To give the suspension a more triangular shape, cut the two ends of the fringe diagonally.
Once the hanging is ready, we only have to create this nice shaded effect on the fringes. For this, mix the dye with water by following the instructions on the box. Immerse the fringes in the dye. Let dry well.
After that, flat knots and hitch knots are used.
A layer of paint to achieve a subtle fading effect
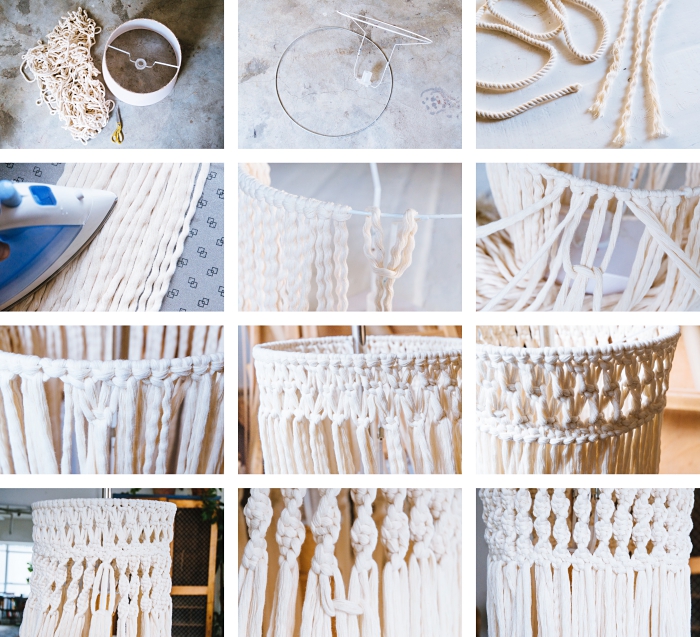
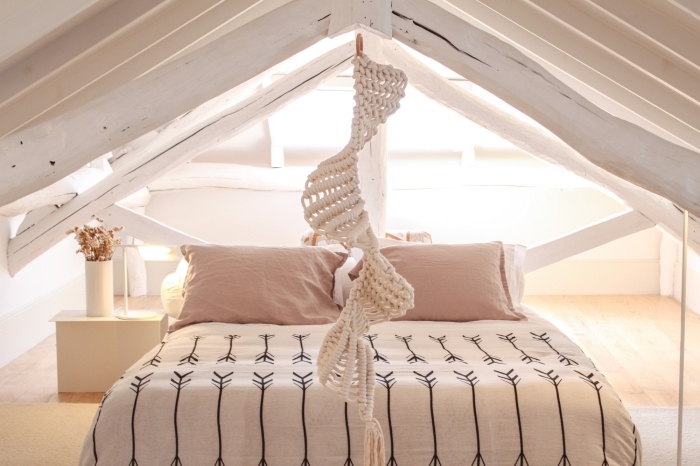
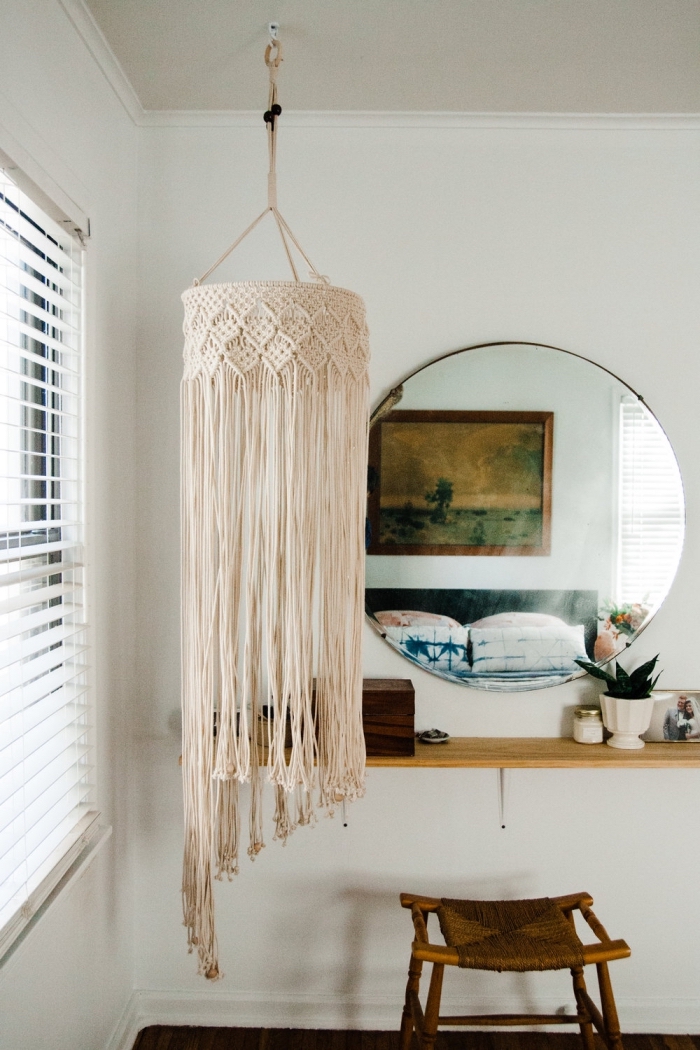
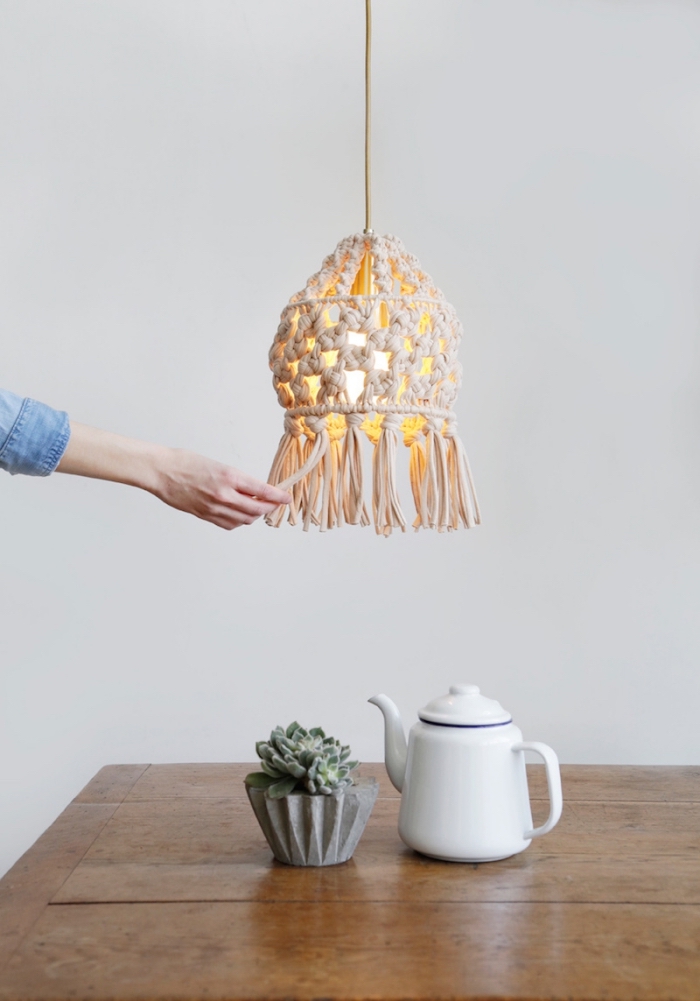
How to make a chandelier with macrame knots?
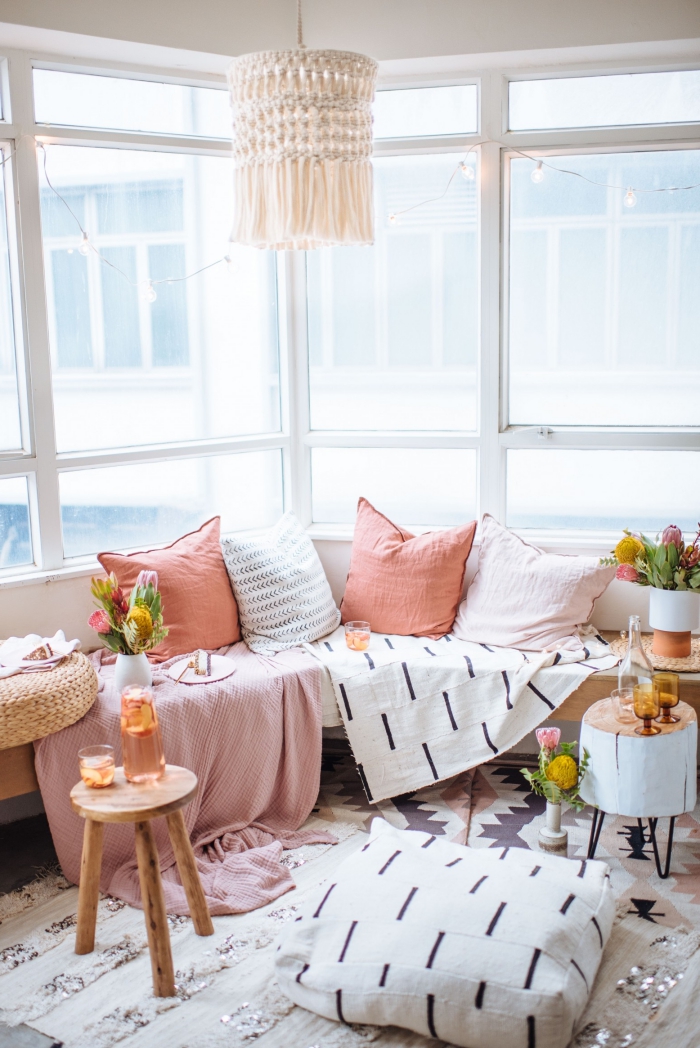
Tutorial 2. Macrame chandelier by apairandasparediy
Material: cotton rope, lampshade structure, scissors and iron (optional)
How to do it:
- Cut the rope into small ropes of the same length (about 3m).
- To achieve this subtle effect of the strings, you can iron them.
- Now, we begin to tie the strings on the iron ring using the lark knot technique.
- Make the first row with half-knots.
- Measure 1 cm and start a row of flat knots.
- Measure 1 cm and make a second row of flat knots.
- Now you have to make two rows of half-knots without space.
- After, we make twisted half-knots.
- Make two more rows of half-knots.
- Measure the length and cut off the excess of the rope.
The technique remains the same: an alternation of varied macrame knots
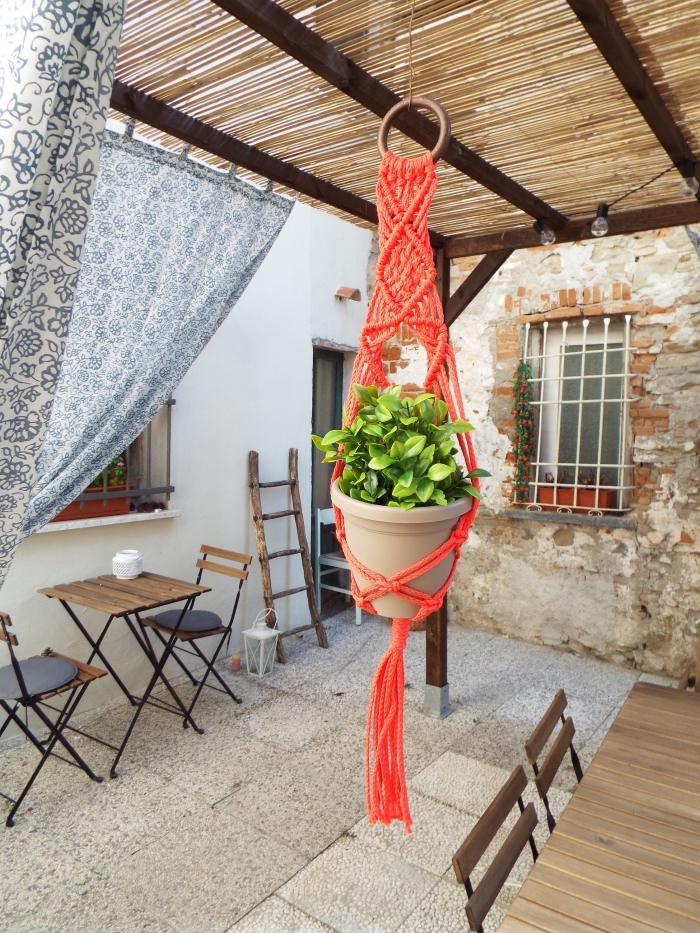
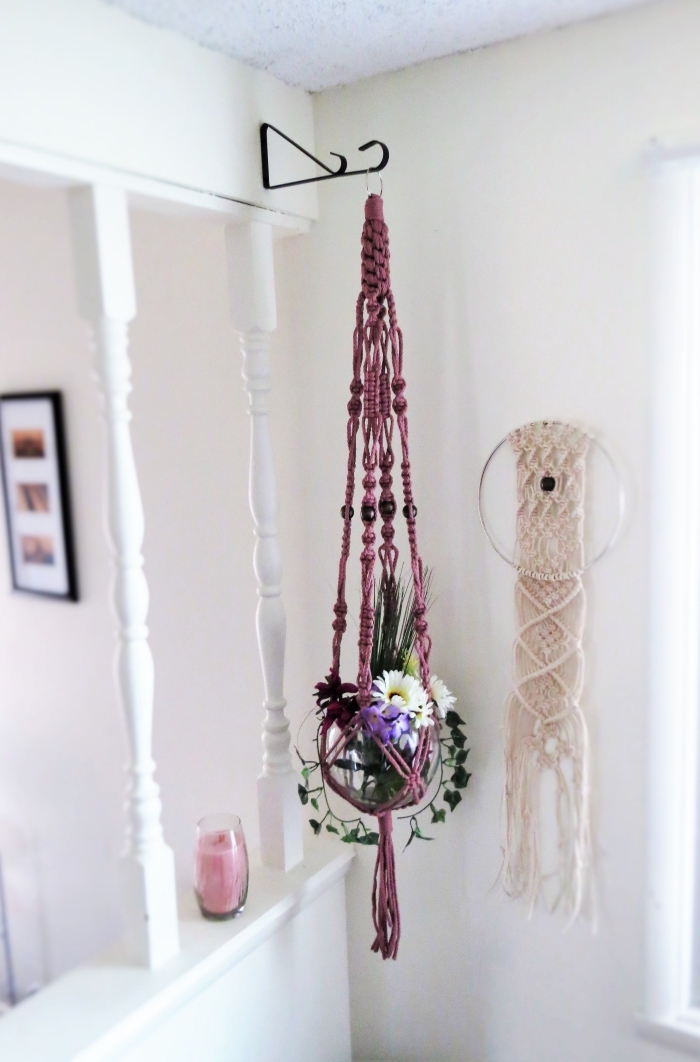
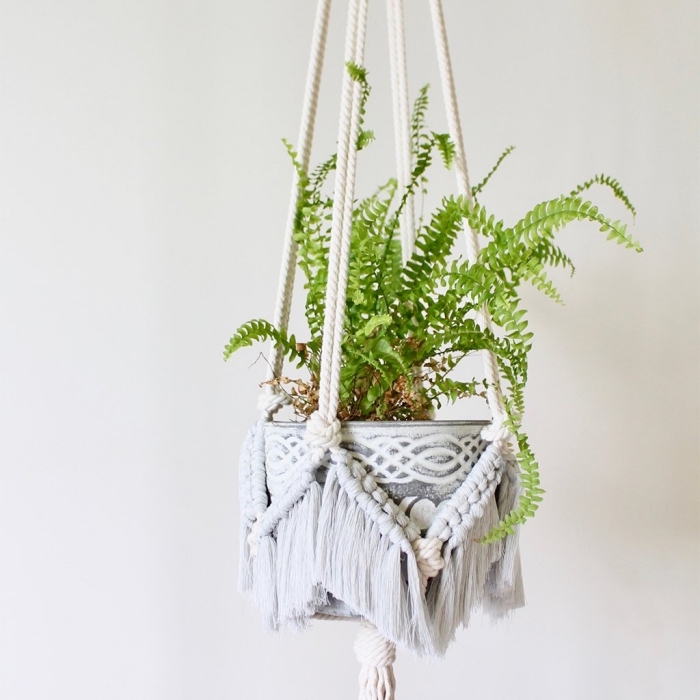
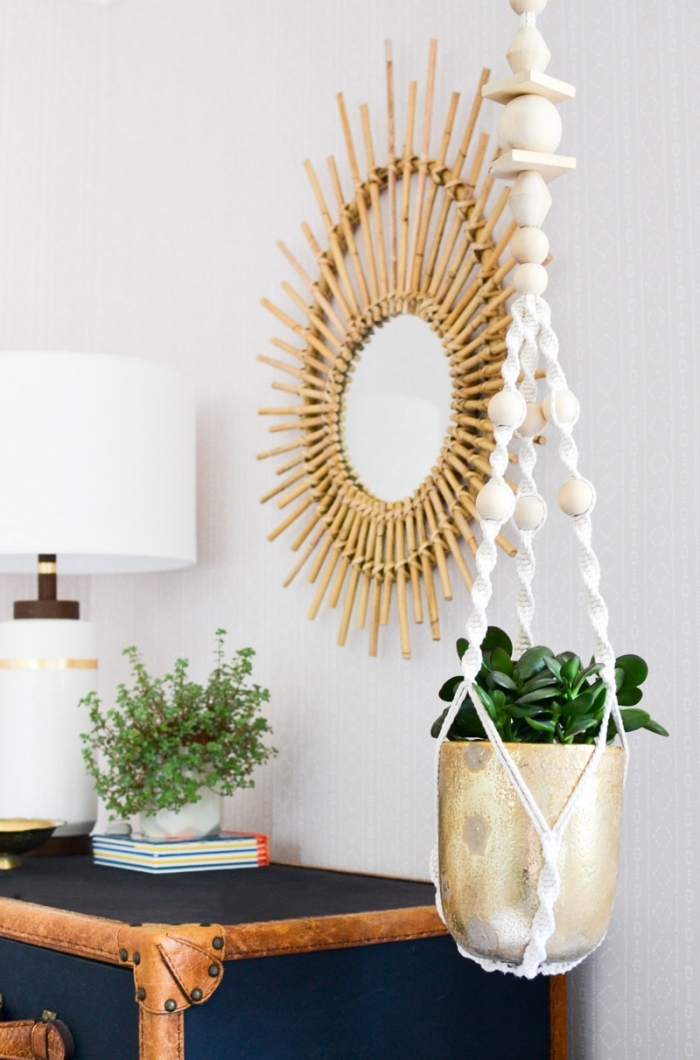
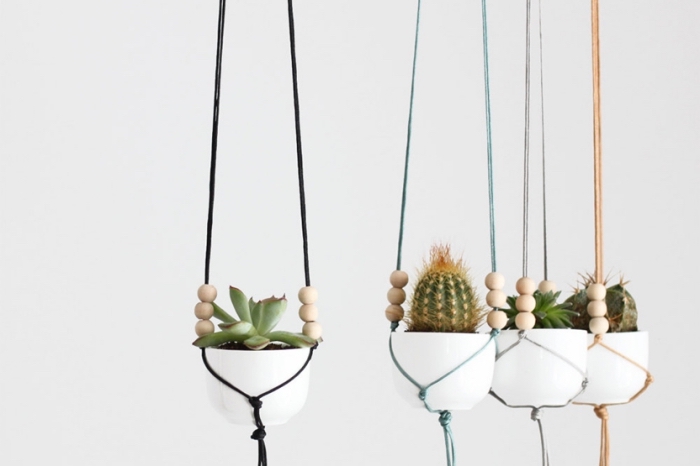
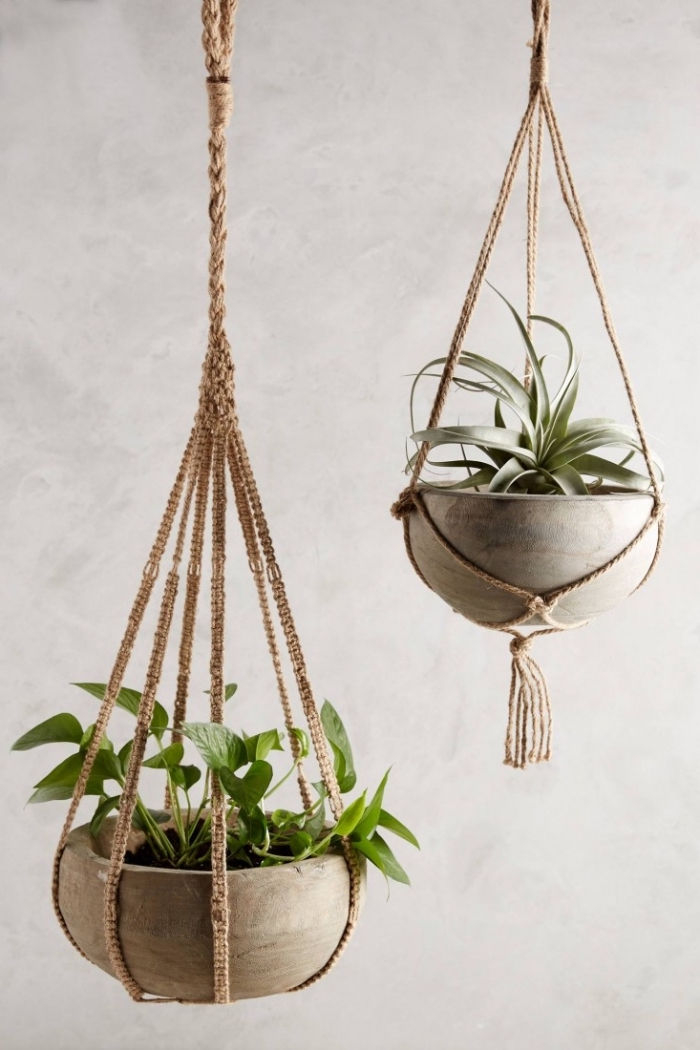
Make a macrame hanger to hang your favorite plants
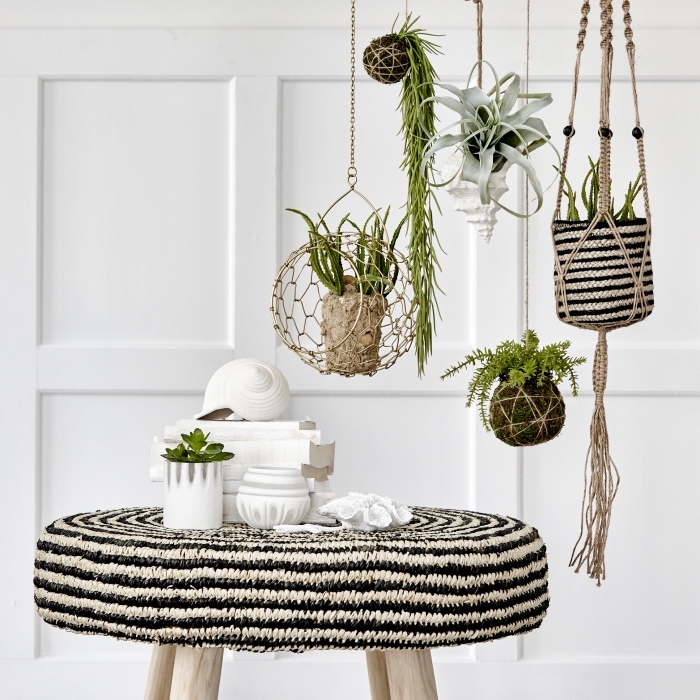
Easy and simple tutorial like a child’s game
In this beautiful tutorial by heylilahey we start with a row of lark knots
And we continue with a row of flat knots …
That’s the result of our efforts!
Video tutorial to make another version of the macrame plant hanger:
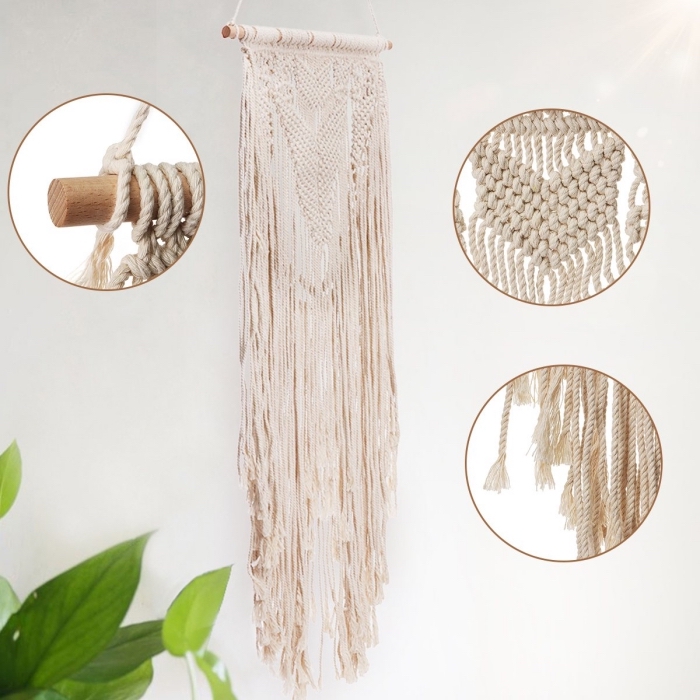
Instruction by Macrame School to make an impeccable macrame wall hanging decoration:
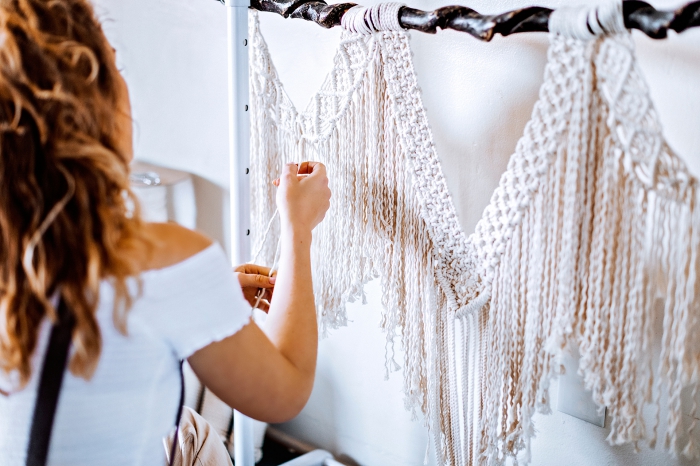
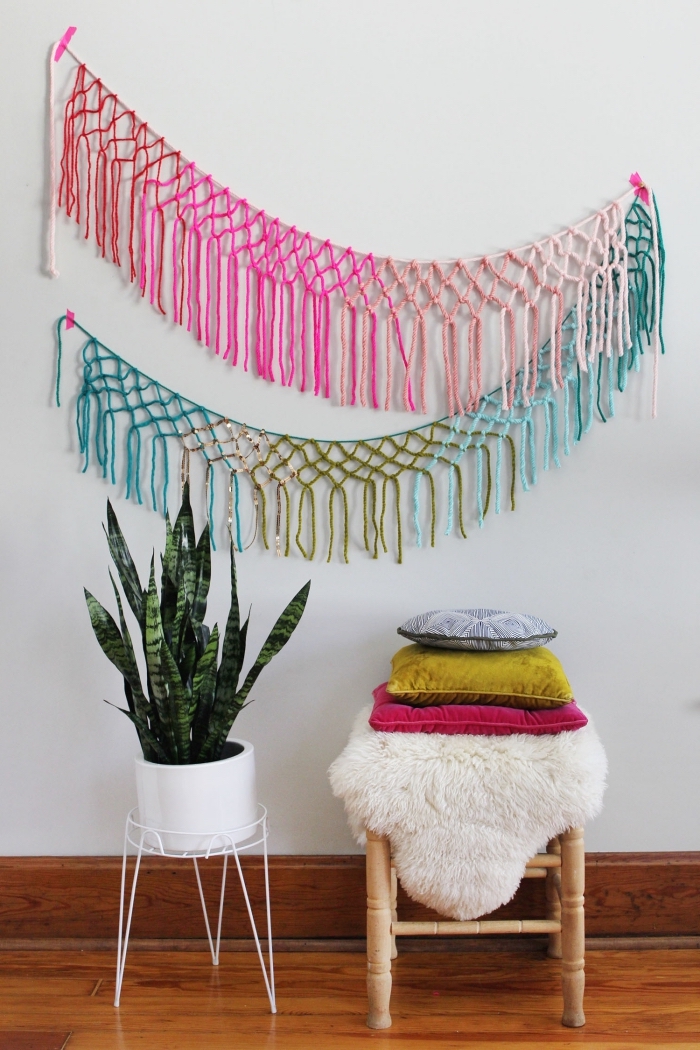
Create hyper cool and easy to achieve macrame decor with burkatron
Bohemian chic interior design with DIY macrame wall hanging decor
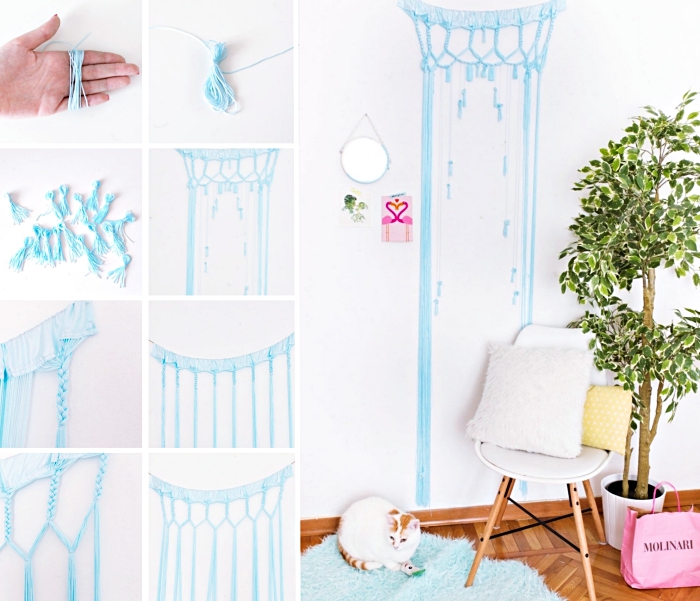
Macrame pattern in pastel blue coloured fabric by britco
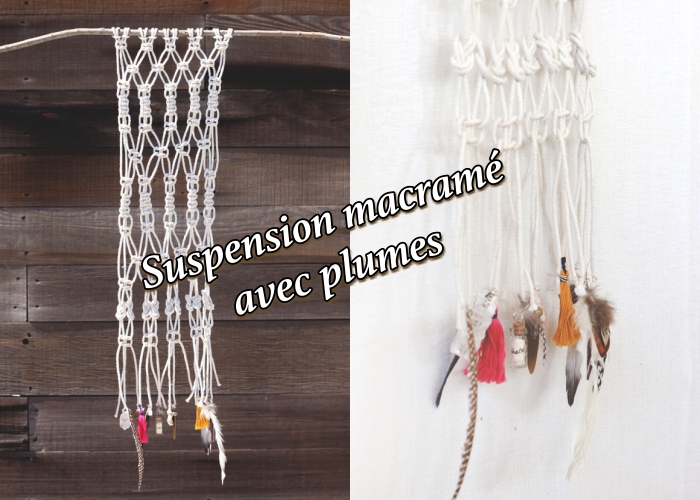
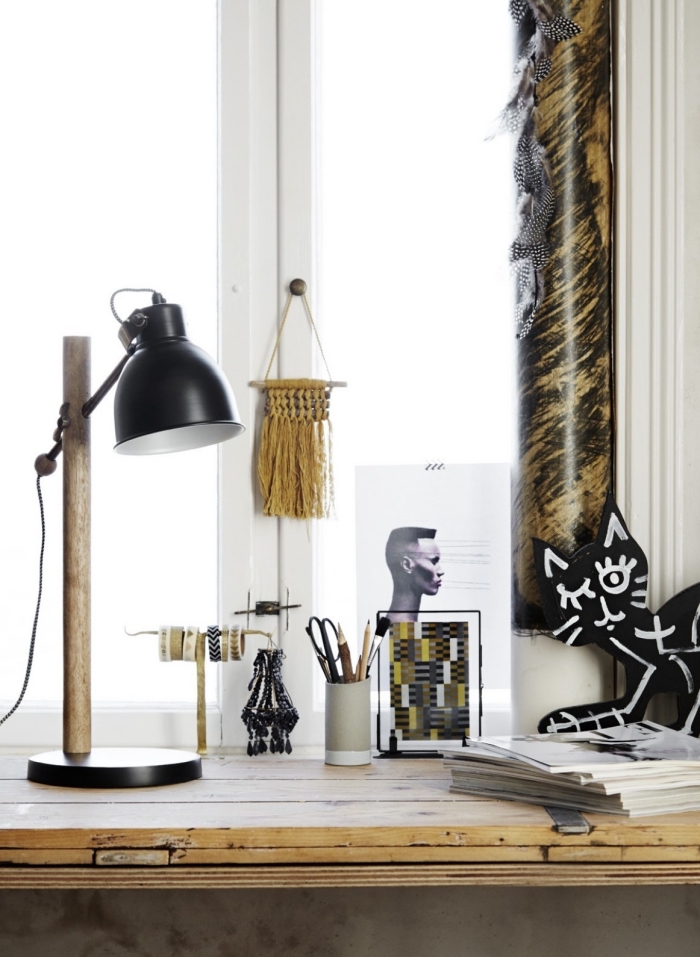
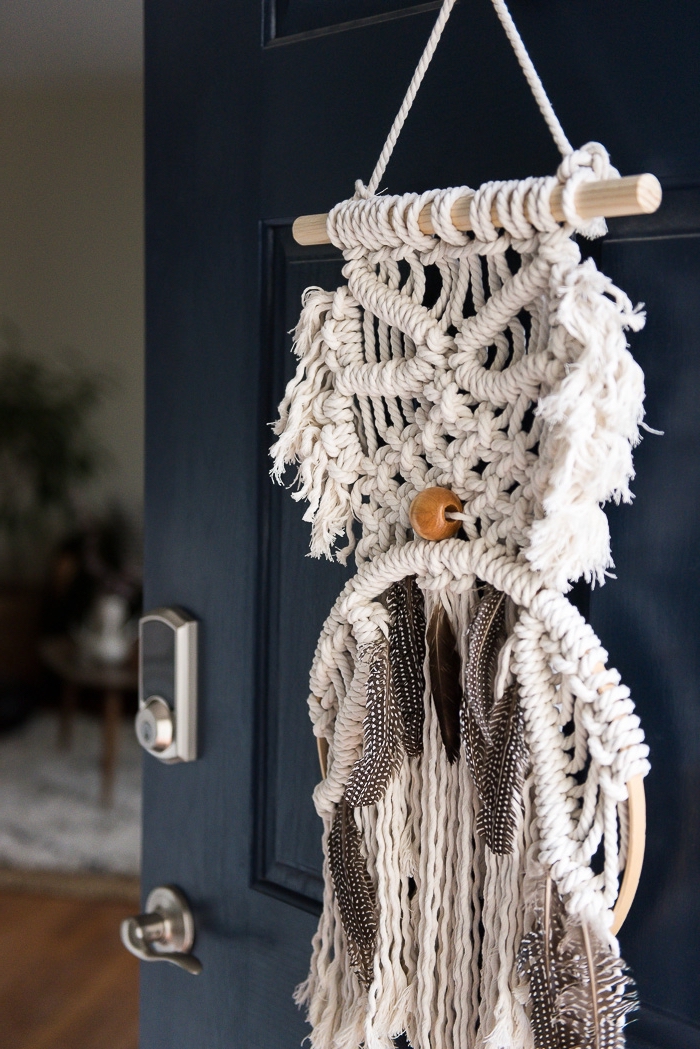
And if we add some feathers to complete the bohemian look? Tutorial by blogfreepeople

Macrame tent


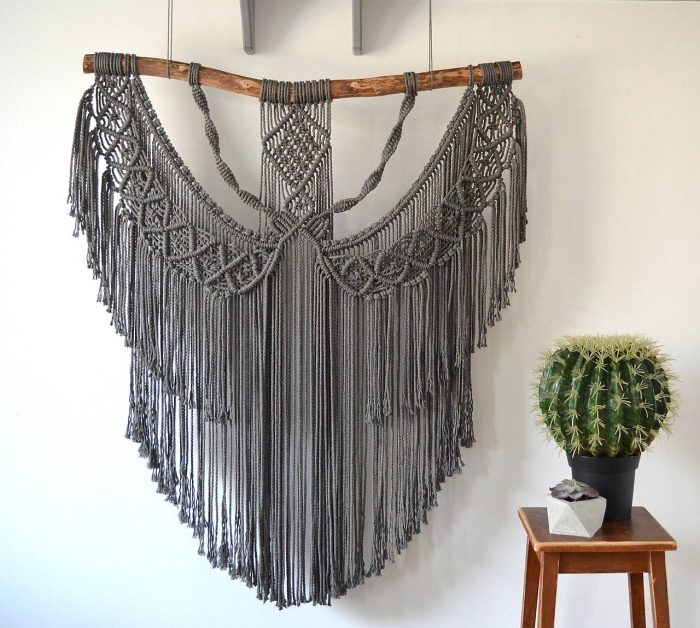
How to macrame
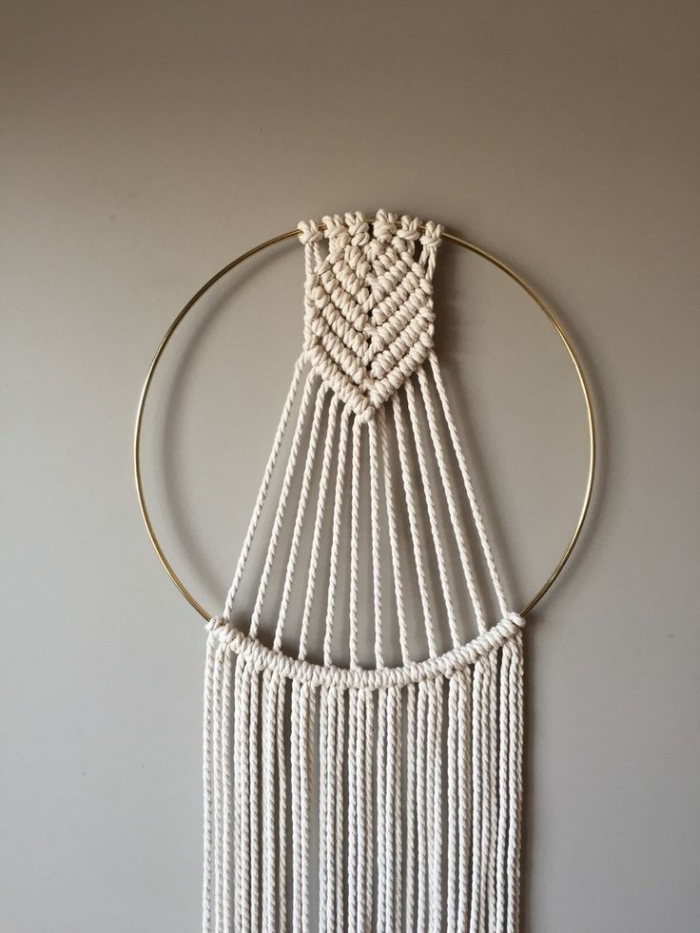
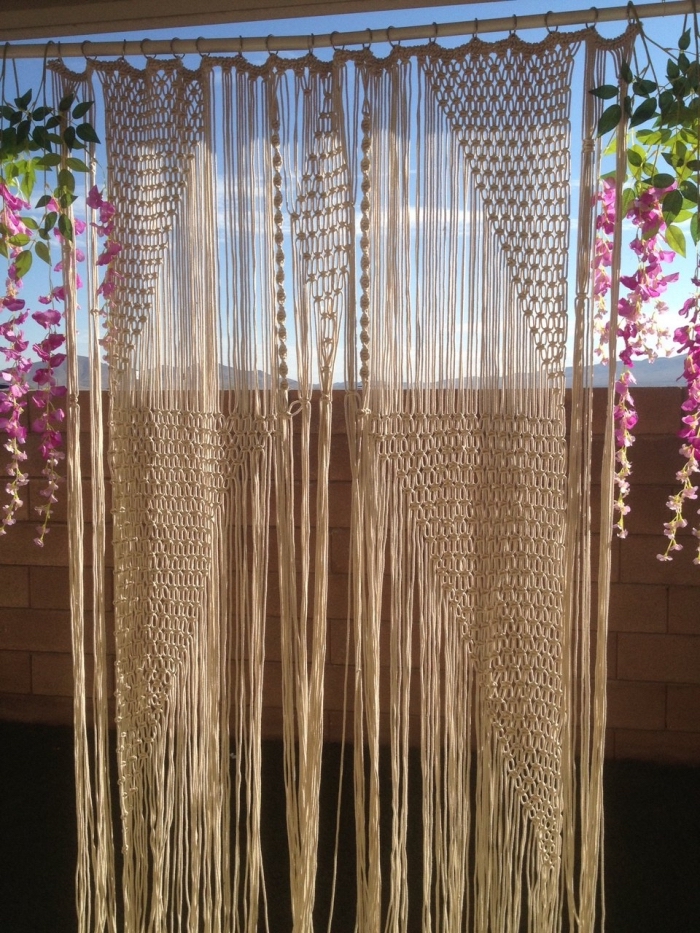
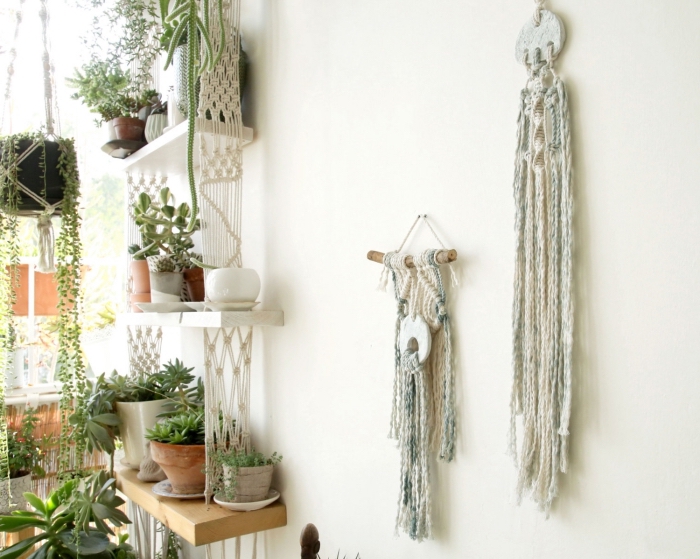
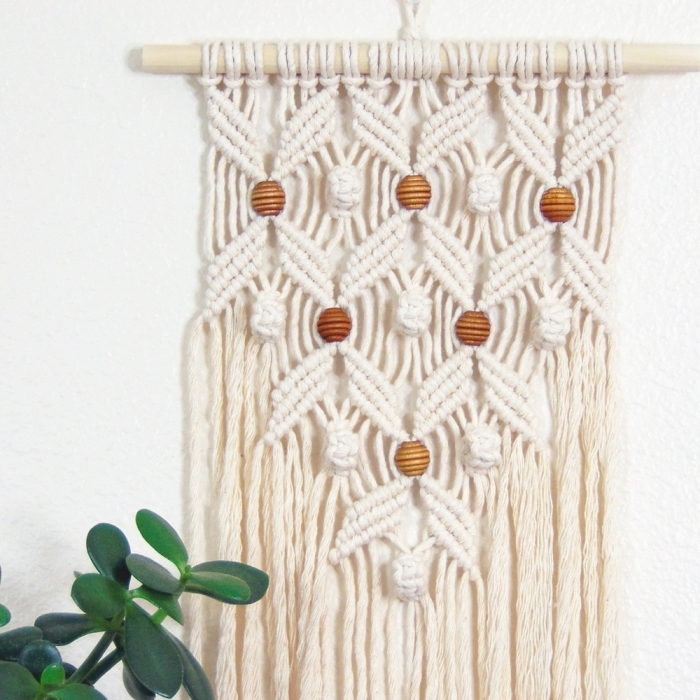
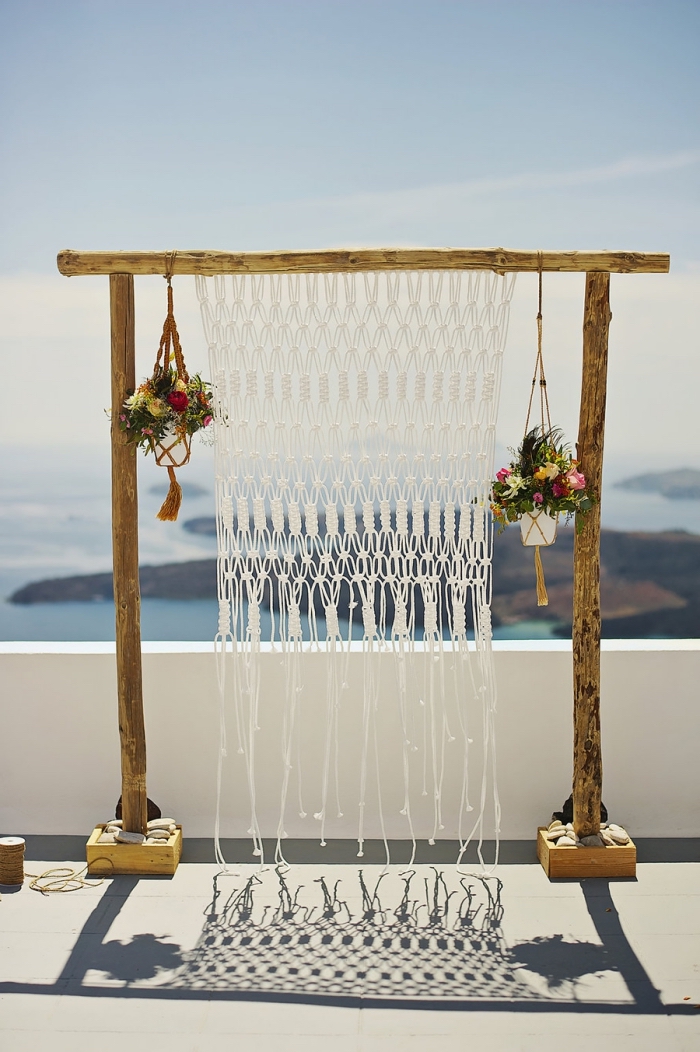
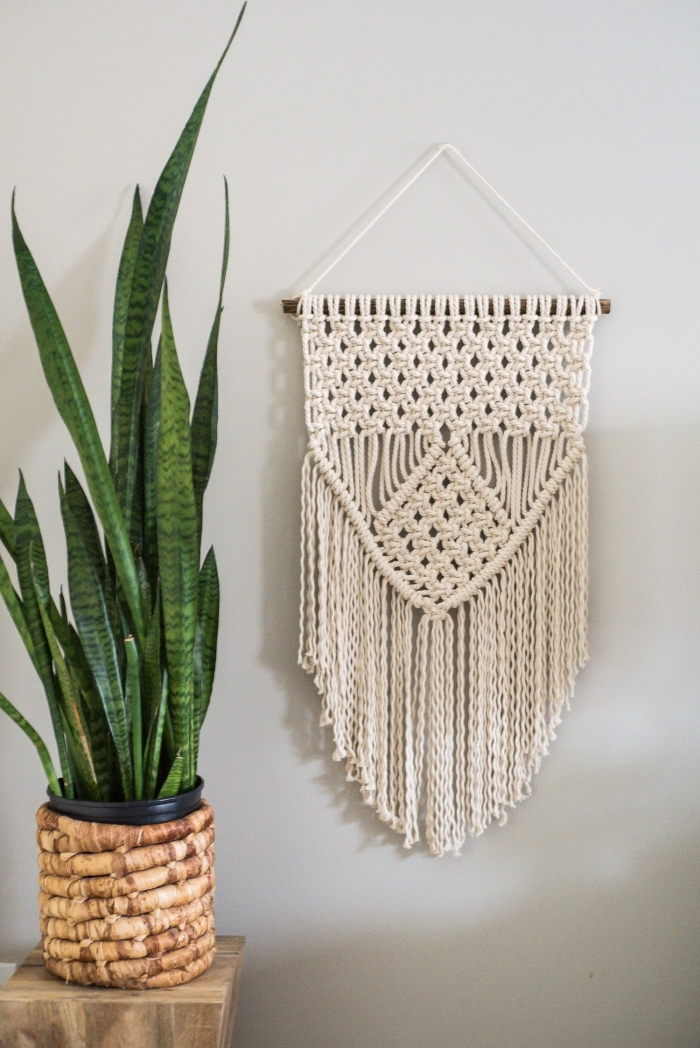
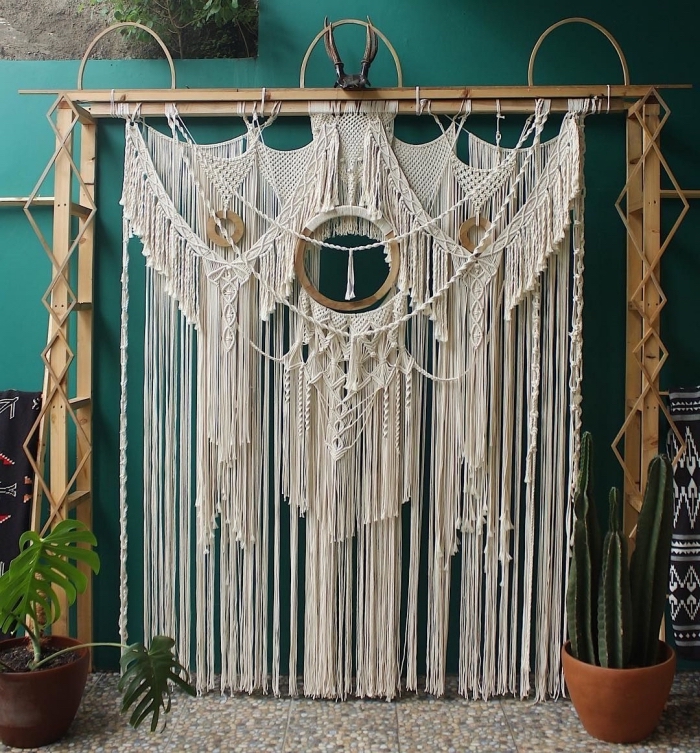
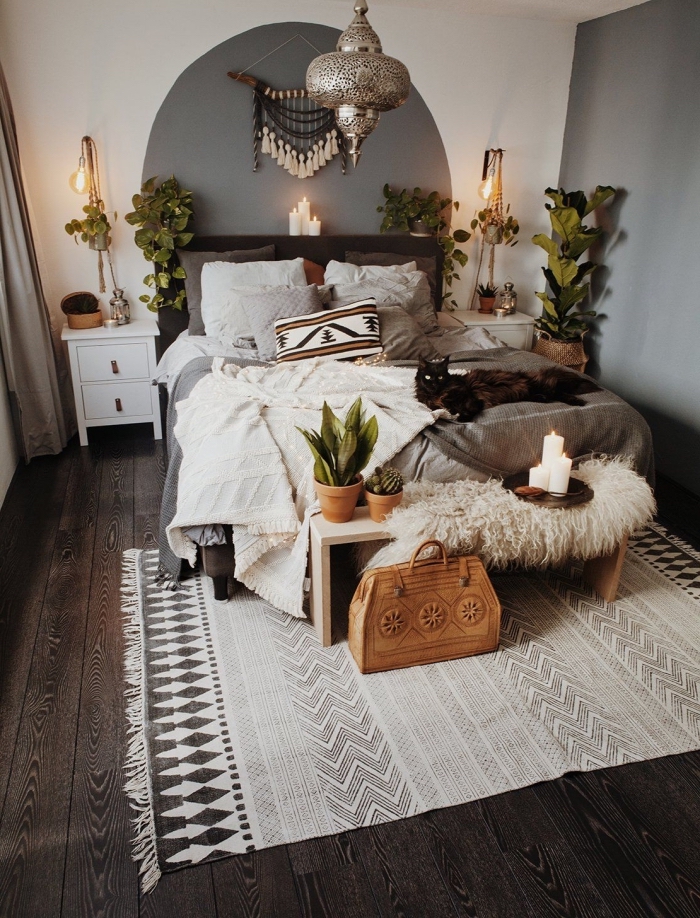

Macrame wall hanging patterns
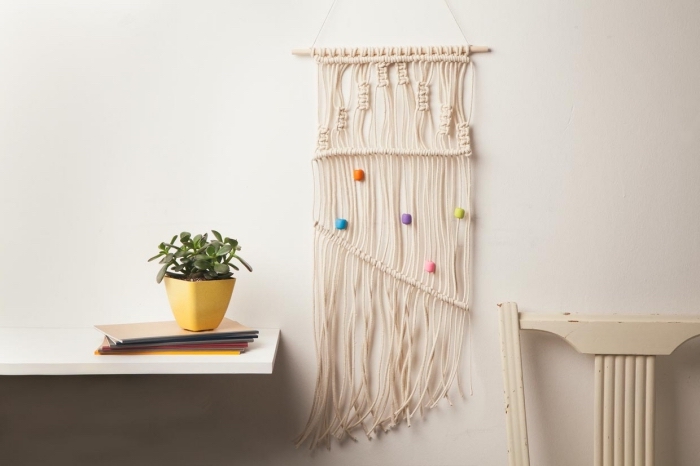
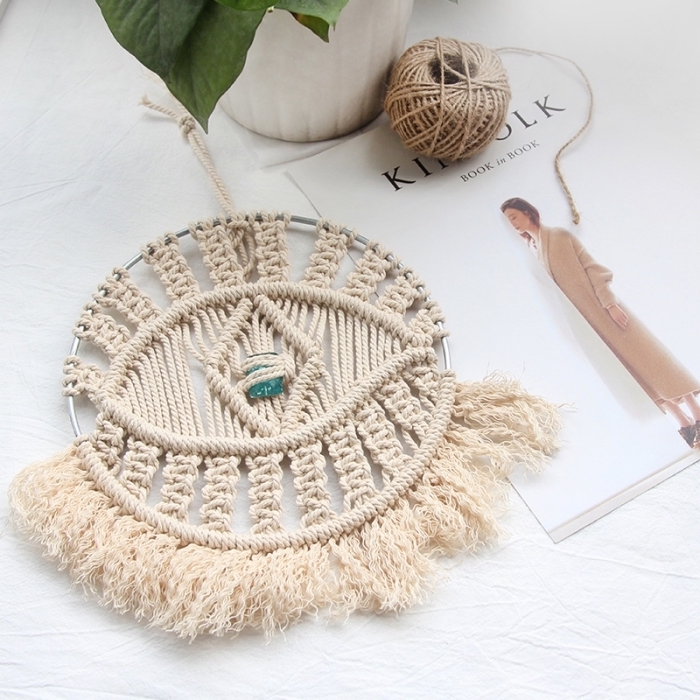

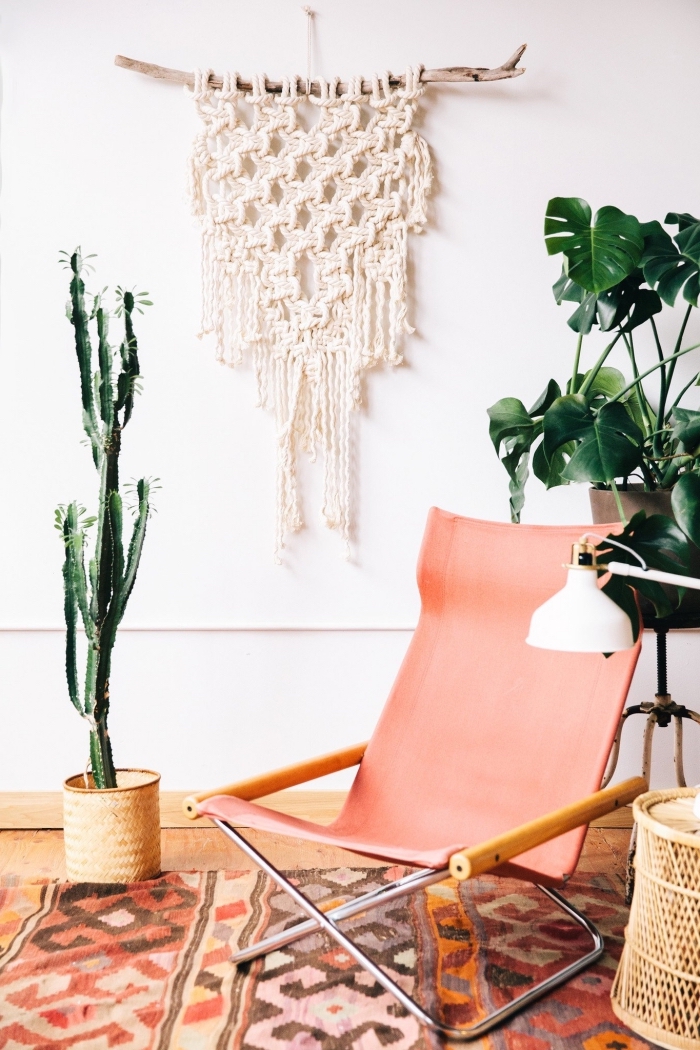
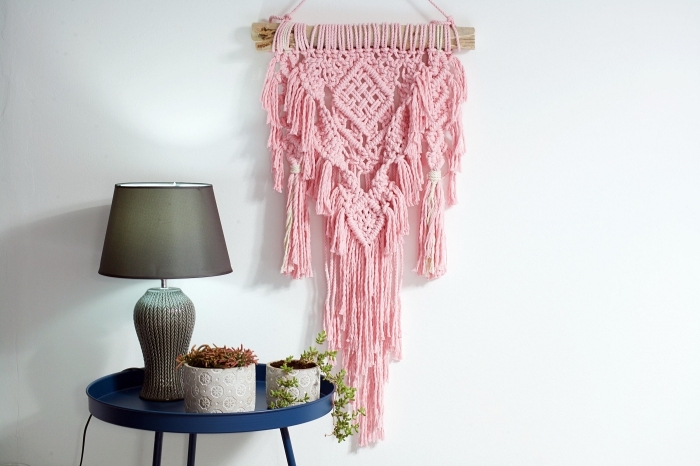
How to do macrame
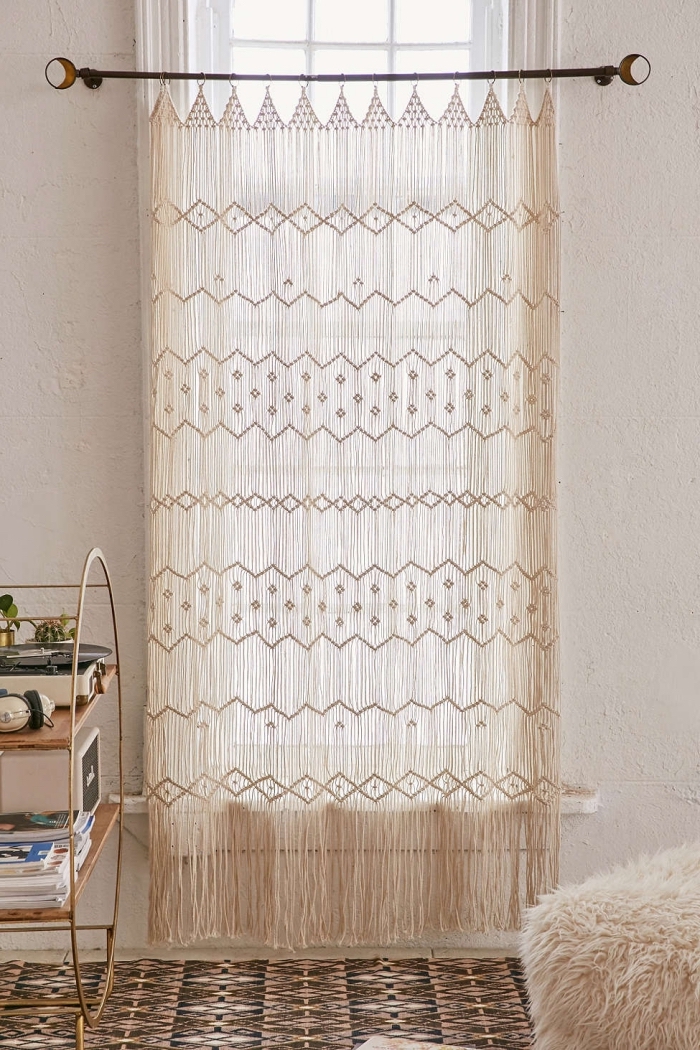
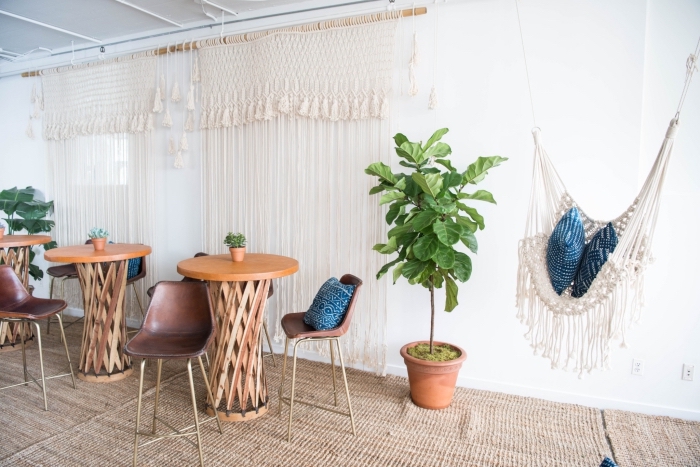
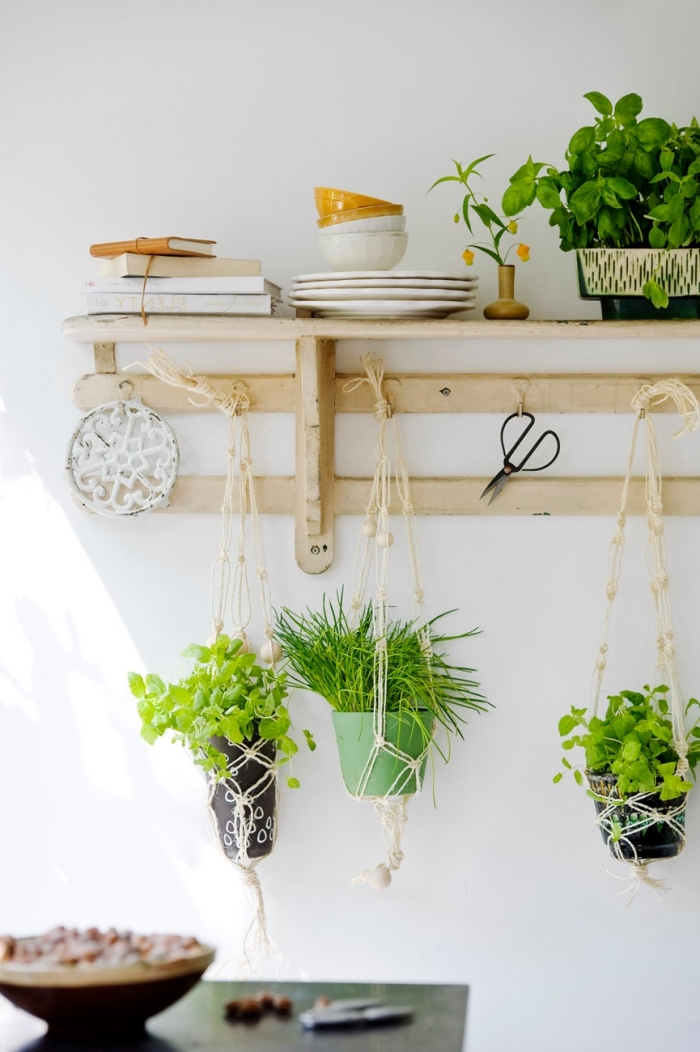
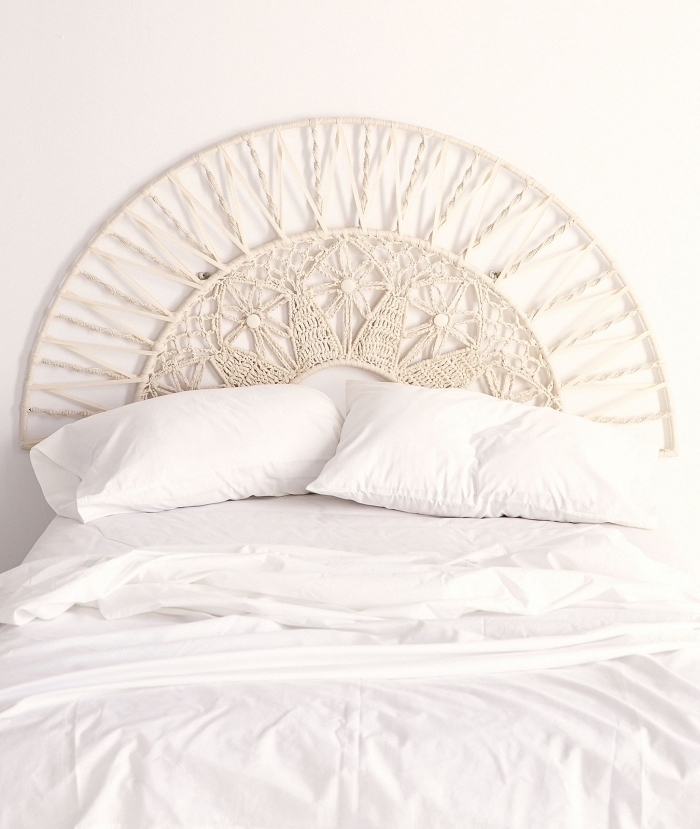
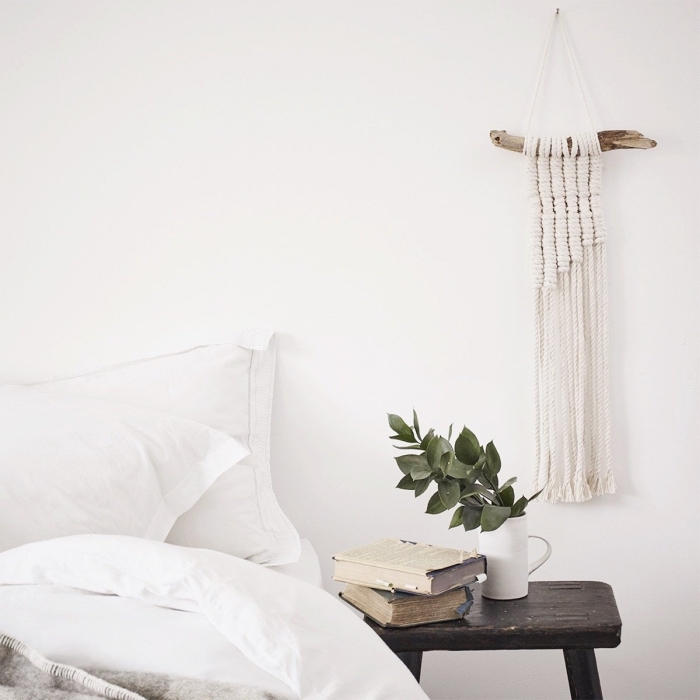
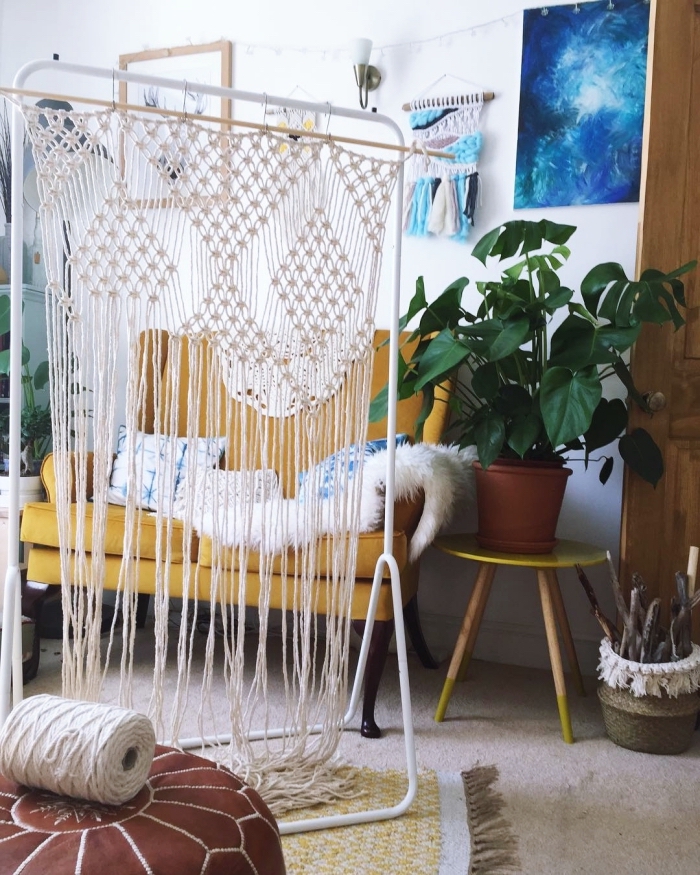
Large macrame wall hanging room divider
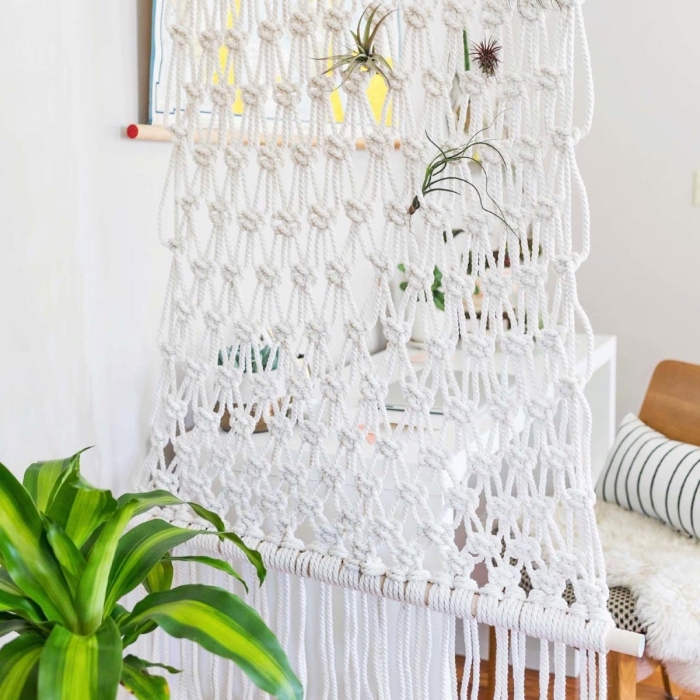
How to make macrame
Macrame for beginners
The post 127 techniques and ideas for making a macrame wall hanging decoration appeared first on Architecture E-zine.
