Enjoy the summer with our easy DIYs and tutorials for kids and grown-ups
Summer is already knocking at the door and one dreams of distant countries and exotic landscapes. Each of us will take his vacation either to visit a top destination with his friends, or to spend some time with family and recharge the batteries. The creative summer activities are a great way to... The post Enjoy the summer with our easy DIYs and tutorials for kids and grown-ups appeared first on Architecture E-zine.
Summer is already knocking at the door and one dreams of distant countries and exotic landscapes. Each of us will take his vacation either to visit a top destination with his friends, or to spend some time with family and recharge the batteries. The creative summer activities are a great way to relieve stress and have a good holiday. In addition, they are the best way to occupy the time of our children. To inspire you, we have selected some tutorials and easy DIYs which are entertaining and suitable for adults and children.
Fruity coasters to invite the tropical spirit
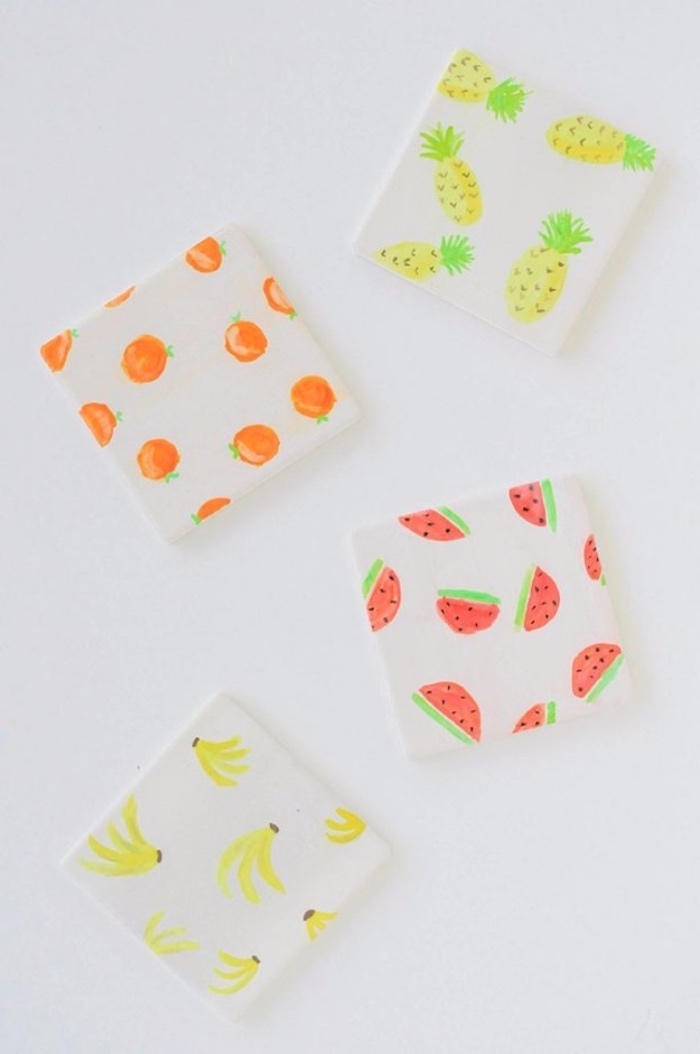
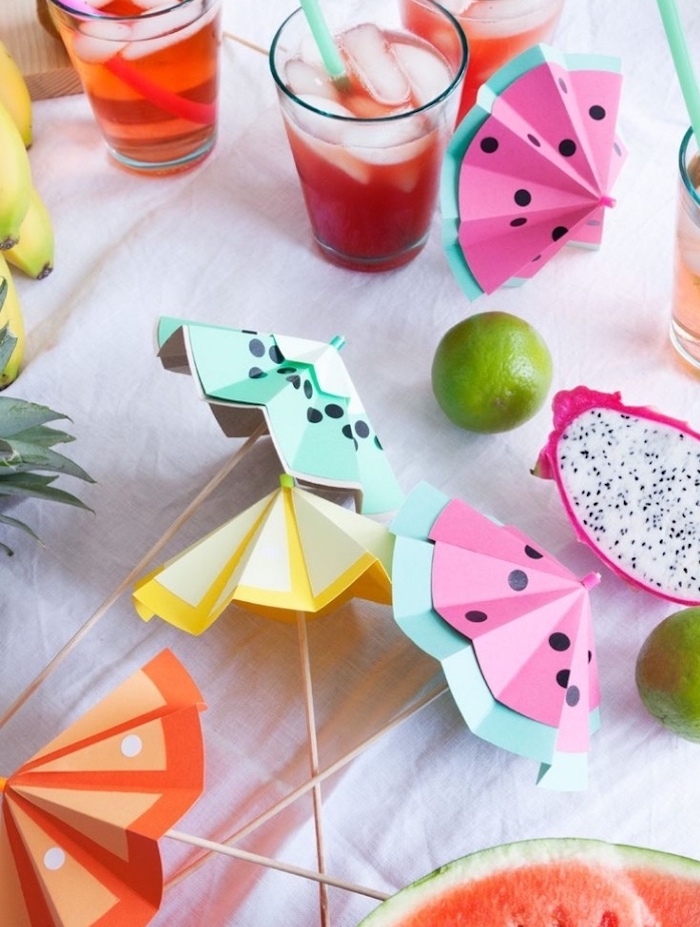
Summer is the season to explode the colours on the table. The flowers, the seaside motifs and the tropical fruits, colourful, are a real must of the summer decor. To invite this happy spirit on the table, we propose to make these spectacular fruity coasters. This is a perfect project for both adults and children, so it could be an opportunity to spend some time with your kids.
What you will need is:
- coasters (like these here )
- Acrylic paint (which you can usually find in every hobby store)
- brush
How to make them:
The colours used for the three fruits presented below are light green, cadmium orange, vermeil, white and black. If it seems necessary, you could play with the tones by mixing them to get a more realistic effect.
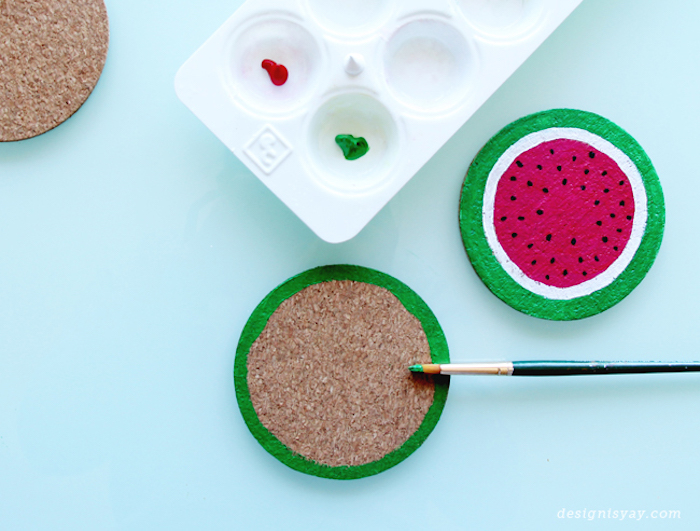
Then, all you need to do is reproduce the drawings you see below. You will be given, however, some useful tips. On the one hand, start with the dark colours, then continue with the lighter tones and finish with the white. Finally, we agree that it is easier to apply a darker color to a lighter color than the other way around. On the other hand, know that low-pigment colours such as yellow and orange would require the application of a white base. This ensures you do not miss the drawing and get a nice effect at the end.
Idea how to make coasters from cork pucks – easy DIYs
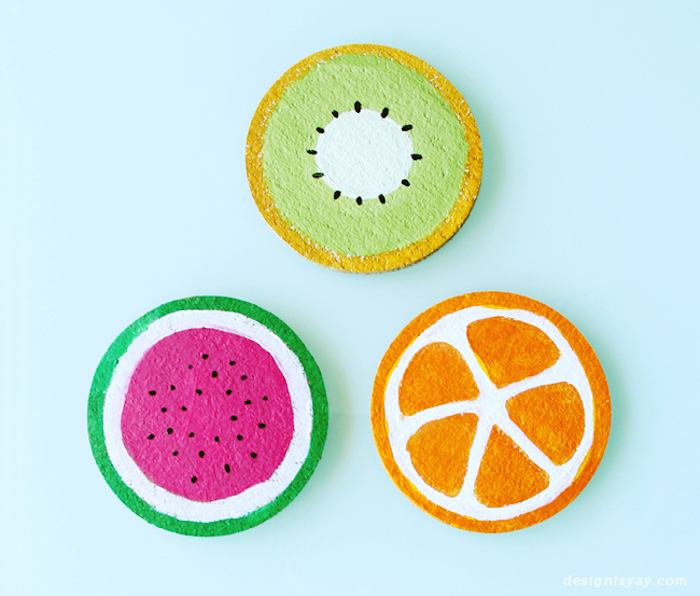
Start with applying dark colours – the number one rule for doing this easy DIY
An easy DIY for your green corner – nice custom flowerpots
Summer is probably the time of the year when we spend the most time outside. That’s why transforming our garden into a small paradise of relaxation is essential for having a good time outdoors. To your attention, we present a creative activity that will personalise and beautify your flower pots to transform them into an exterior decorative accent.
To make it you will need:
- oil markers (multiple colours)
- ceramic flowerpots (this DIY project could lead to the creation of a decor that will give a new life to these)
- acrylic paint (various colours)
- sponge brush
- glossy varnish
How to make them:
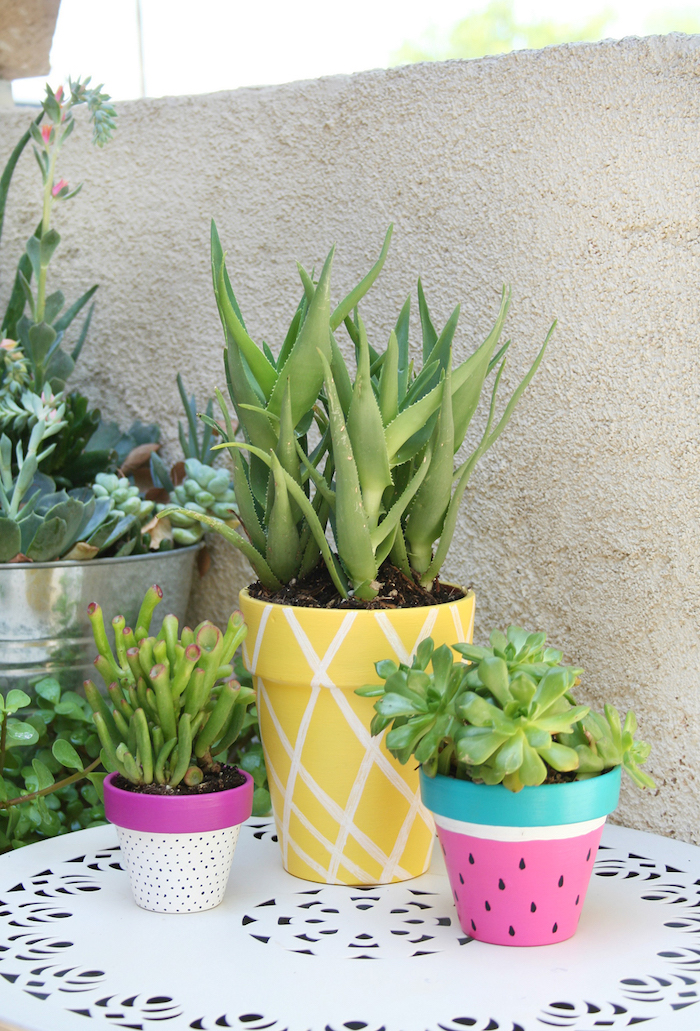
The first thing you need to do is repaint your ceramic pots, using a sponge brush. The patterns recreated on the flower pots, are again inspired by the theme of tropical fruits but this time we decided for a pineapple motif, dragon fruit, and watermelon. To repaint the pineapple pot, we naturally opted for yellow paint. The dragon fruit pot is repainted in white with a clear fuchsia ring. And finally for the watermelon pot, we chose the light pink paint with teal for the upper ring.
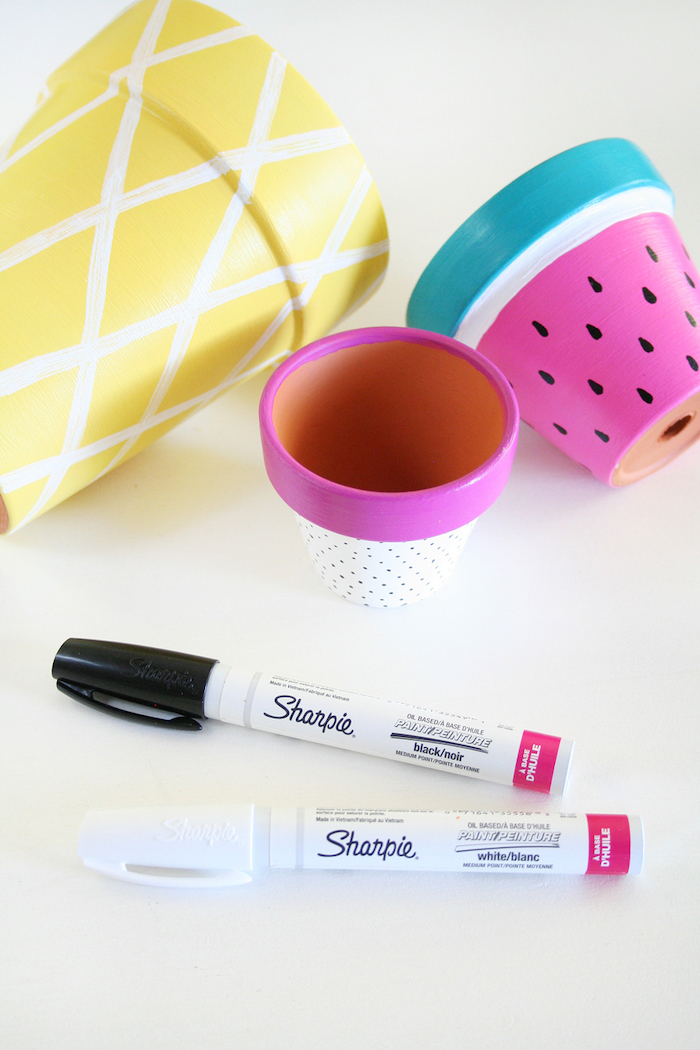
Then, we have to add details with the oil marker. Start by shaking the marker well so that the paint can go down to the tip of the marker.
Now you can draw the details. For the pineapple motif, we create diagonal white lines that intersect. For the dragon fruit, it is necessary to draw dots and finally to succeed the watermelon, apart from the small sharp points imitating seeds, one also draws a white band under the ring.
Finally, do not forget to add a layer of varnish that will protect your paint against the risk of damage.
DIY idea for a very creative flower pot. Easy DIYs to create a tropical patterned decoration. All you need are markers, acrylic paint and sponge brushes
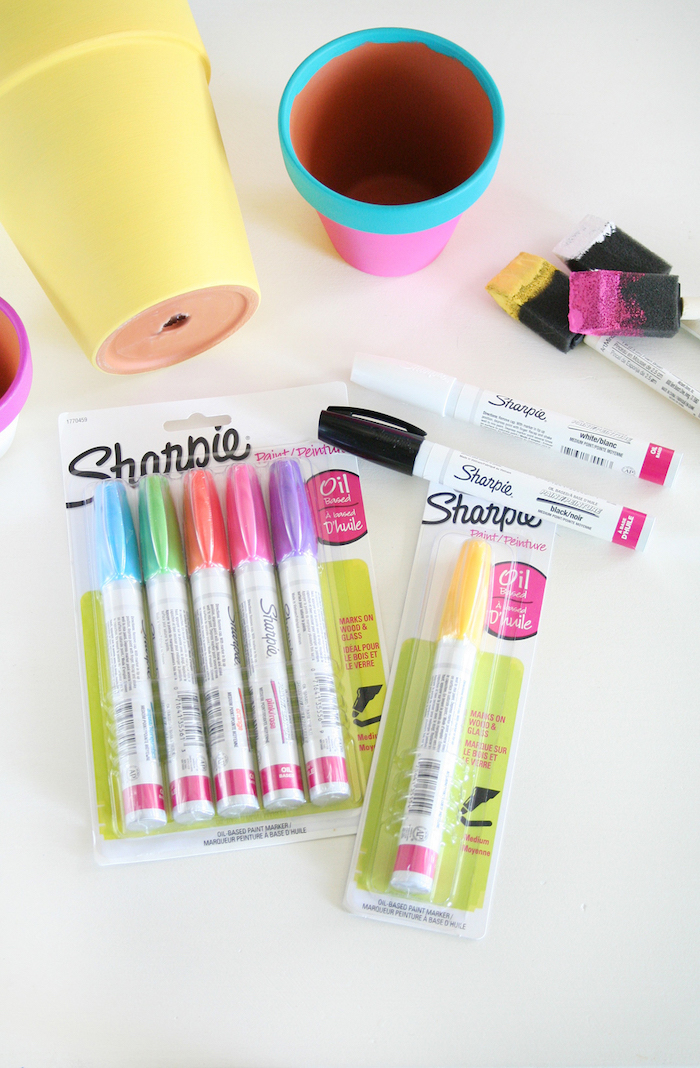
That’s the colours you need to repaint the ceramic pots to create a watermelon pattern, dragon fruit and pineapple. Great DIY idea – easy and creative
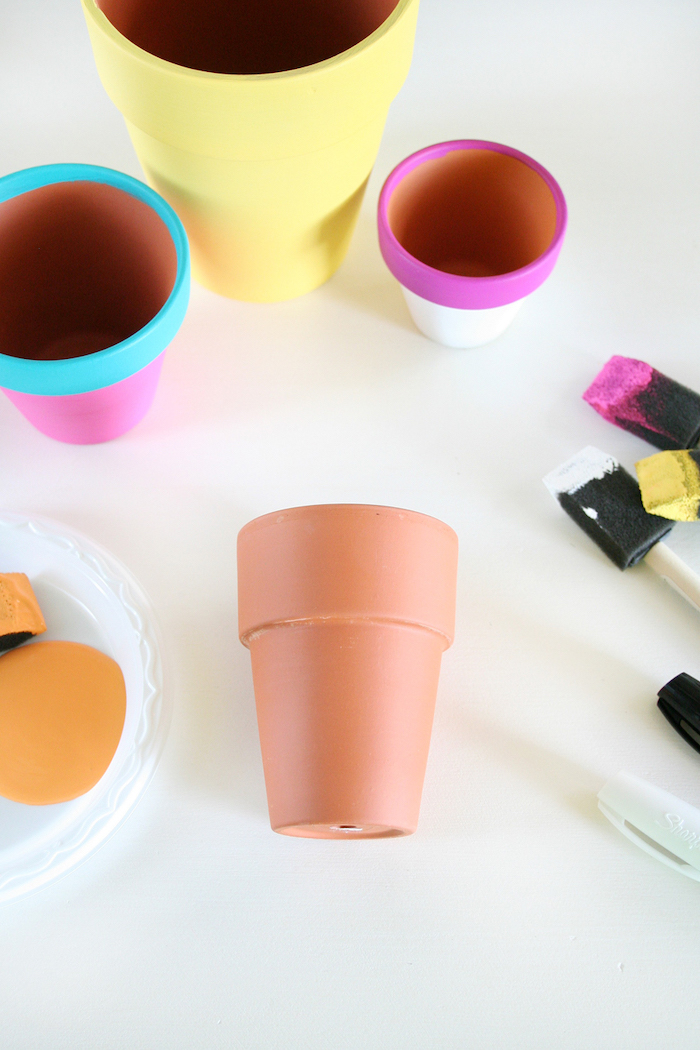
Last step in the making of this creative project – customise the flower pots with markers to complete the tropical fruit patterns
A superb suggestion for an outdoor decoration – ceramic pots to beautify your garden during the summer
A summer interpretation of the famous snow globes
While waiting for the arrival of the holidays, we all need a little artificial oasis around to remind us that the much desired and expected rest is coming. We propose that you make this beautiful tropical snow globe.
You will need:
- glass pot
- small plastic figures representing summer motifs (palms, flamingos , others …)
- blue glitter powder because blue is the color of the season
- glycerin
- hot glue gun
The making:
Remove the lid of the glass jar and stick on the back (of the inner part) the plastic figurines. Then fill your glass jar with water almost to the edge of the glass jar. Add a pinch of glitter and a few drops of glycerin that will allow the flakes to float in the water. Put the lid in its place, wave the ball and here is your exotic fairy. Great, right?
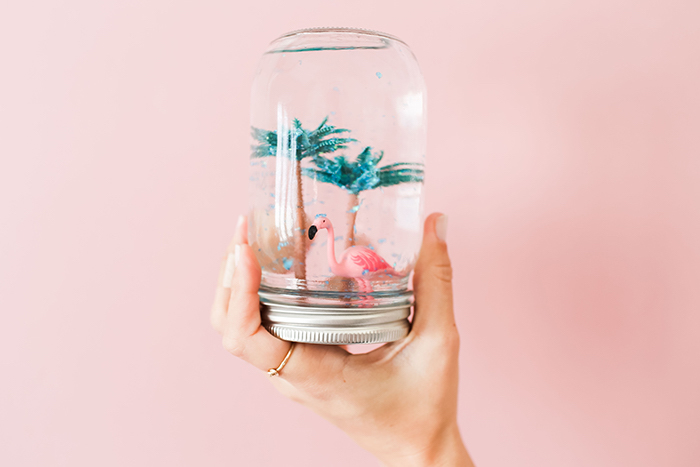
That’s how to create summer snow globes. A great idea of DIY project with the star of the summer – the flamingo
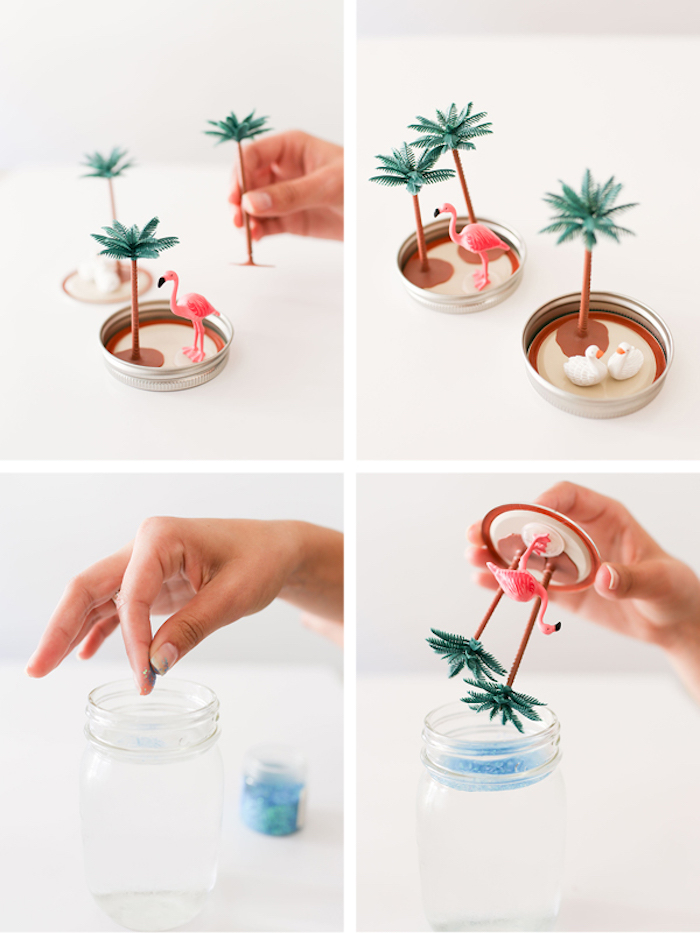
And that’s the end result of this creative project – a decoration that transports us to a tropical world

Pebble and copper wire photo props – a gift for mom and dad
The following tutorial is devoted to the manufacture of a beautiful photo holder with pebbles and copper wire. This is an excellent craft for the summer. However, you can do it during any other season of the year. In addition, the idea is very suitable as a DIY project for all ages .
What you will need are:
- pebble rocks
- copper wire
- beak pliers
- acrylic paint
- varnish adhesive
The stages of making it:
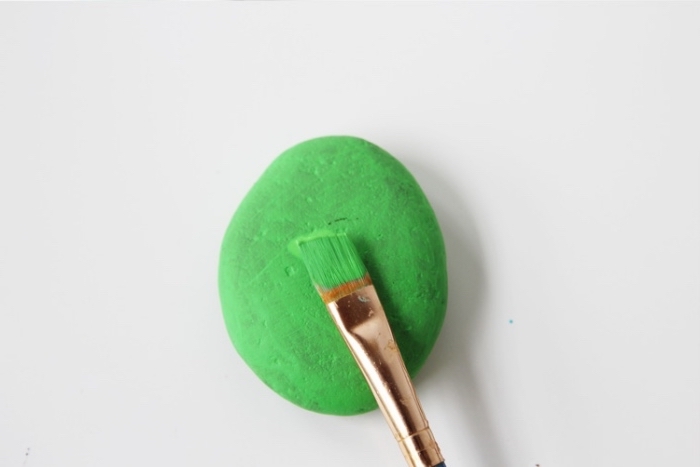
First, you must repaint the pebbles by coating them with a few coats of paint to make them opaque. Let dry and then add some patterns that appeal to you (peas, crosses, etc.) with a fine-tipped brush. Let it dry again.
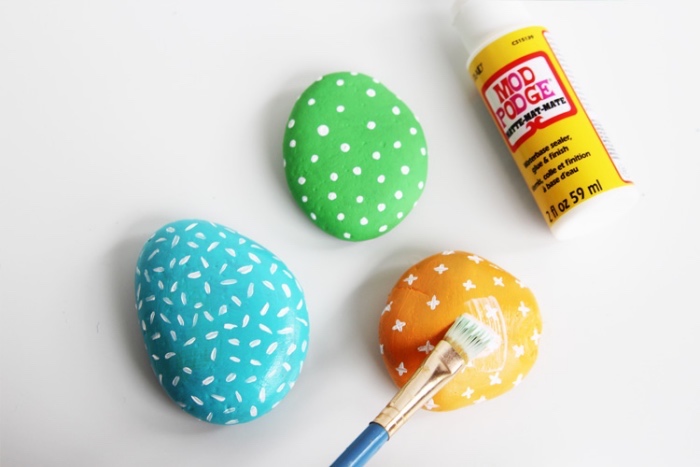
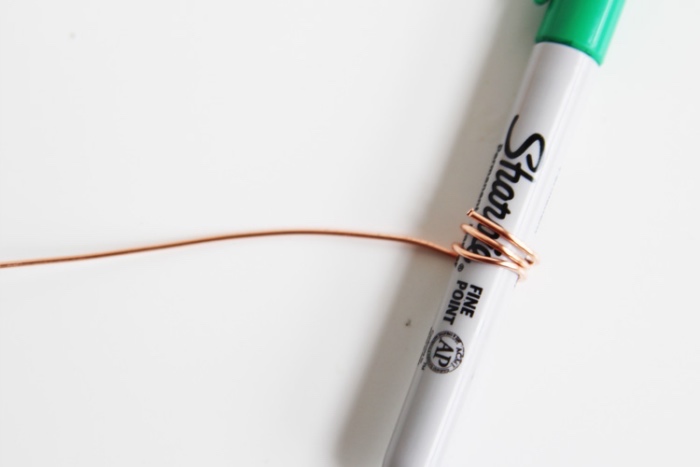
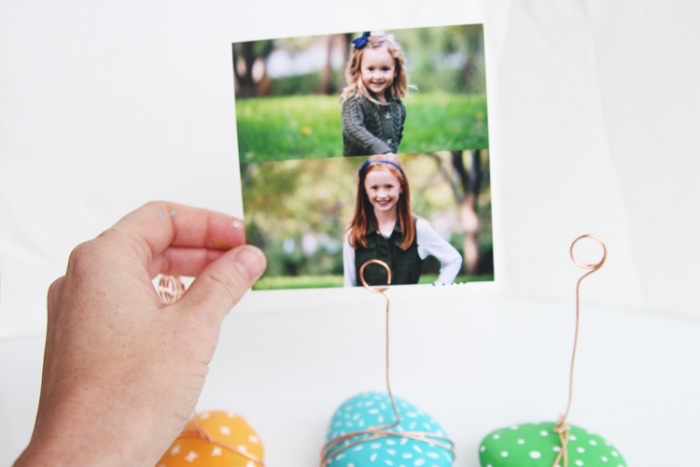
Again, it’s good to protect the surface of the repainted stones from any damage. To do this, coat the pebbles with nail polish. Take a pen and wrap the end of the copper wire around. Straighten the rest of the copper wire. Then, roll the other end around the pebble a few times and that’s it. All you have to do is insert a photo between the small upper rings and arrange the photo media in a visible place.
Here is a great and easy DIY idea for a child that leads to the making of a very interesting photo holders. Below, we see the necessary materials
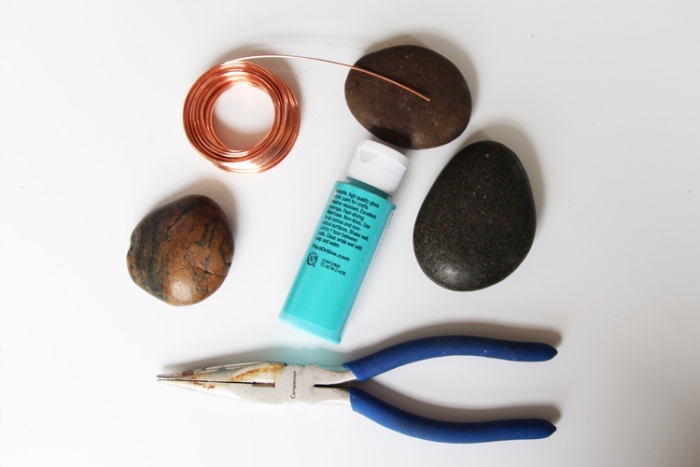
The first thing to do is to repaint the collected pebbles. To achieve this stage of our creative activity, we need acrylic paint
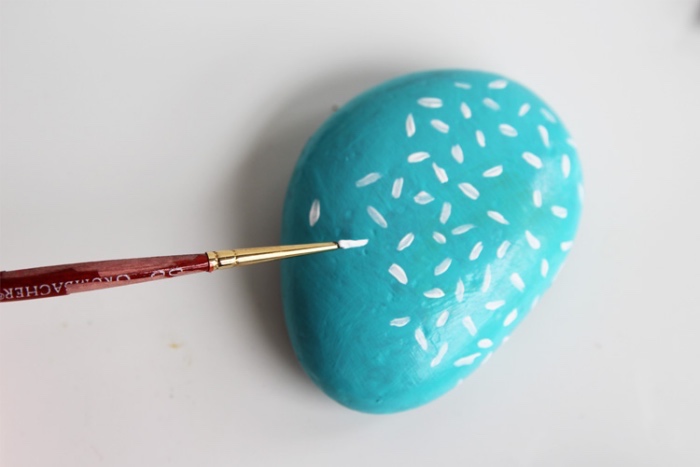
Apply the varnish to protect the already applied paint and have a successful DIY
And that’s what to do with the copper wire that will serve as a support for the photos. DIYs for kids – easy and entertaining
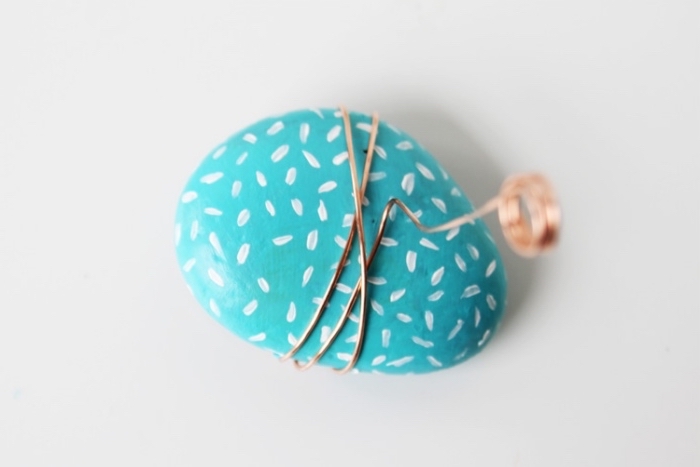
The end result is a little too pretty and cute. A DIY that is very suitable as a preschool activity
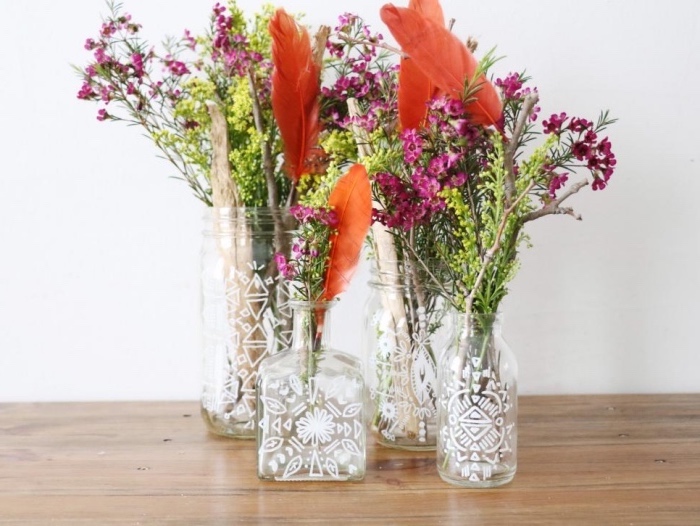
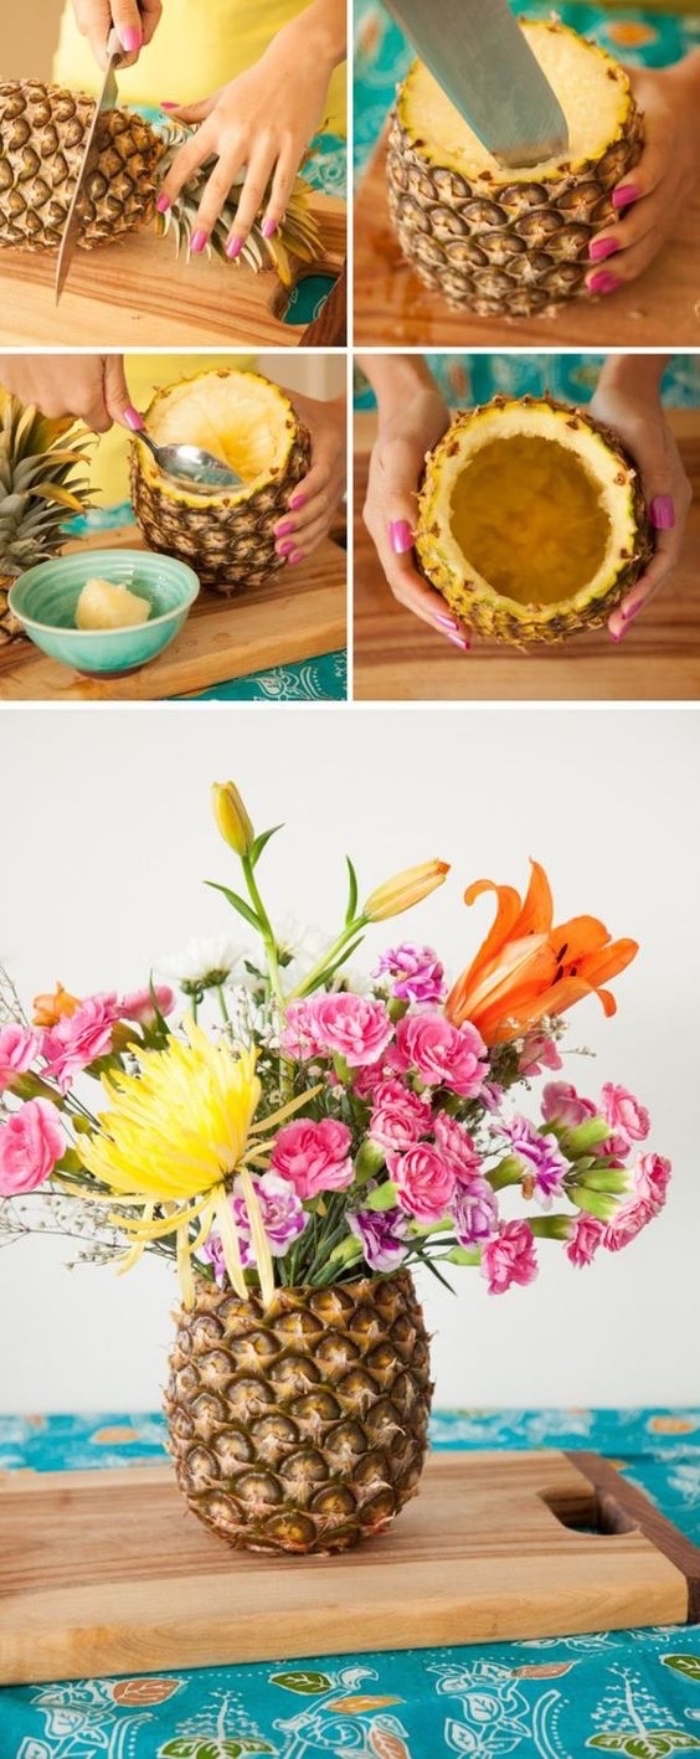
Our idea of floral centrepieces made from jars or empty glass bottles
The recycling of jars or glass bottles could be an opportunity to create pretty customised vases for flowers. This is a really simple craft for adults that will not take too much time or effort.
In order to make this project you need:
- empty bottles
- spray paint (colours of your choice)
- tape
- sheets of newspaper to protect your surfaces
- protective gloves
Instructions for making the vases:
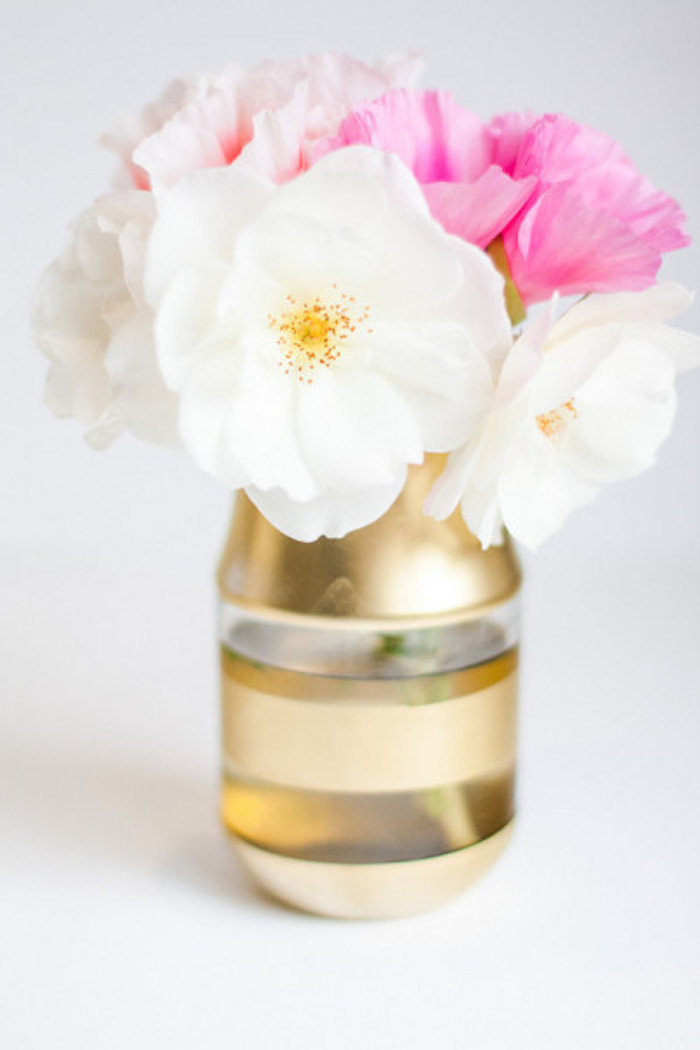
The first thing we advise you to do is wash your bottles or jars empty before starting their customisation. Then protect your work surface with newspaper. If you want to create a striped pattern vase, you can wrap strips of duct tape around to create this effect. Following the instructions on the spray can label, apply a few coats of your favorite color. Let it dry and put pretty seasonal flowers in it.
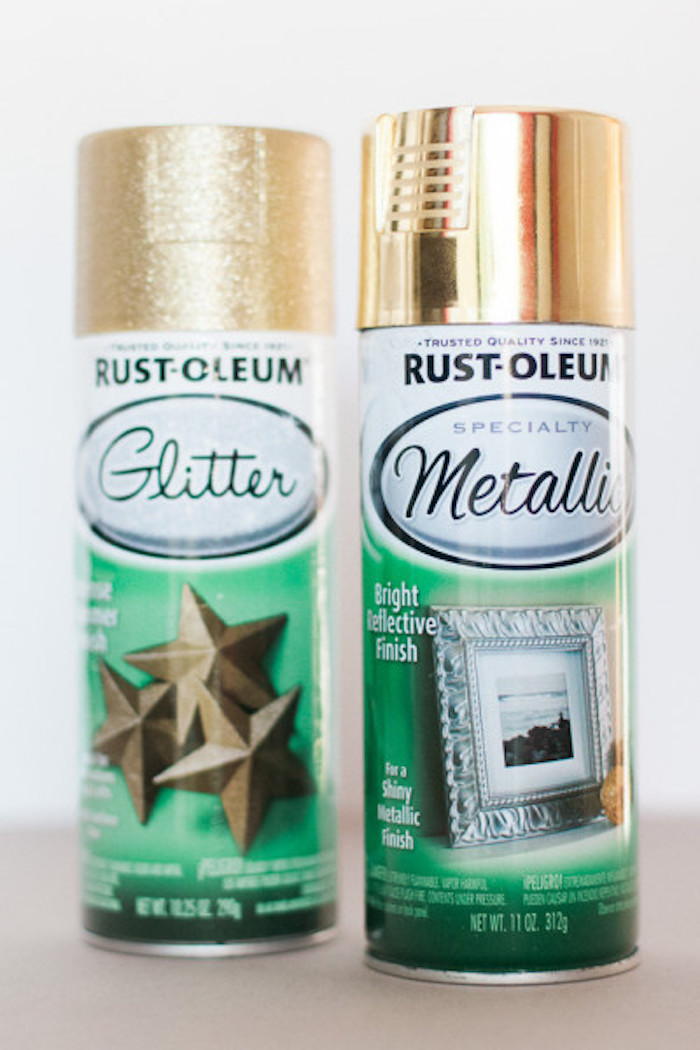
Another very beautiful decorative idea to make a vase of golden flowers. DIY that requires little effort
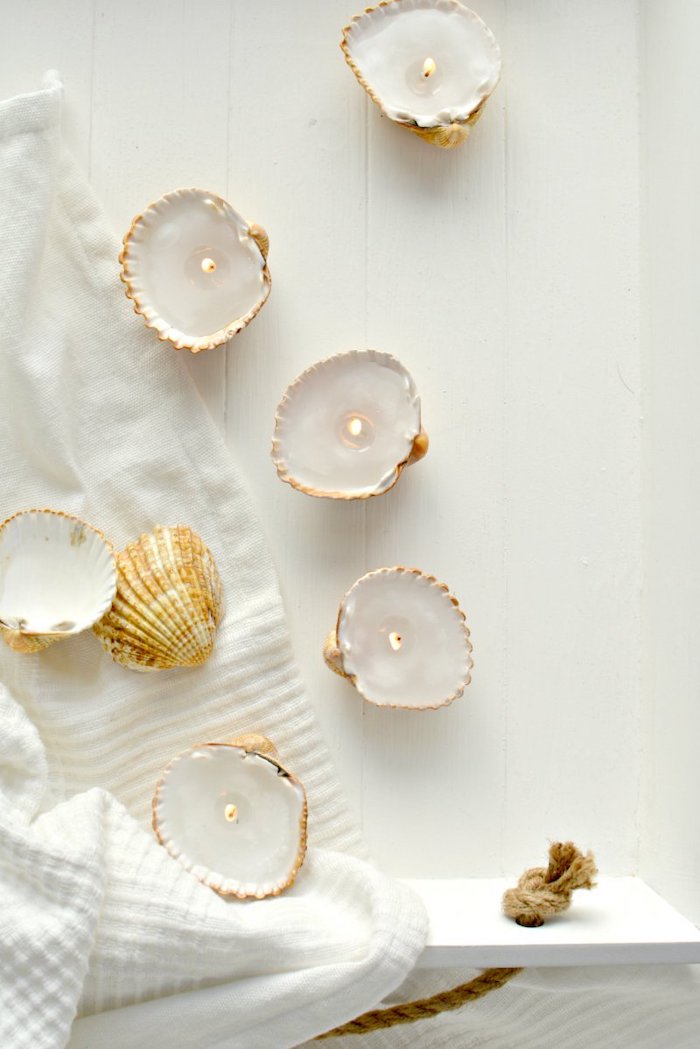
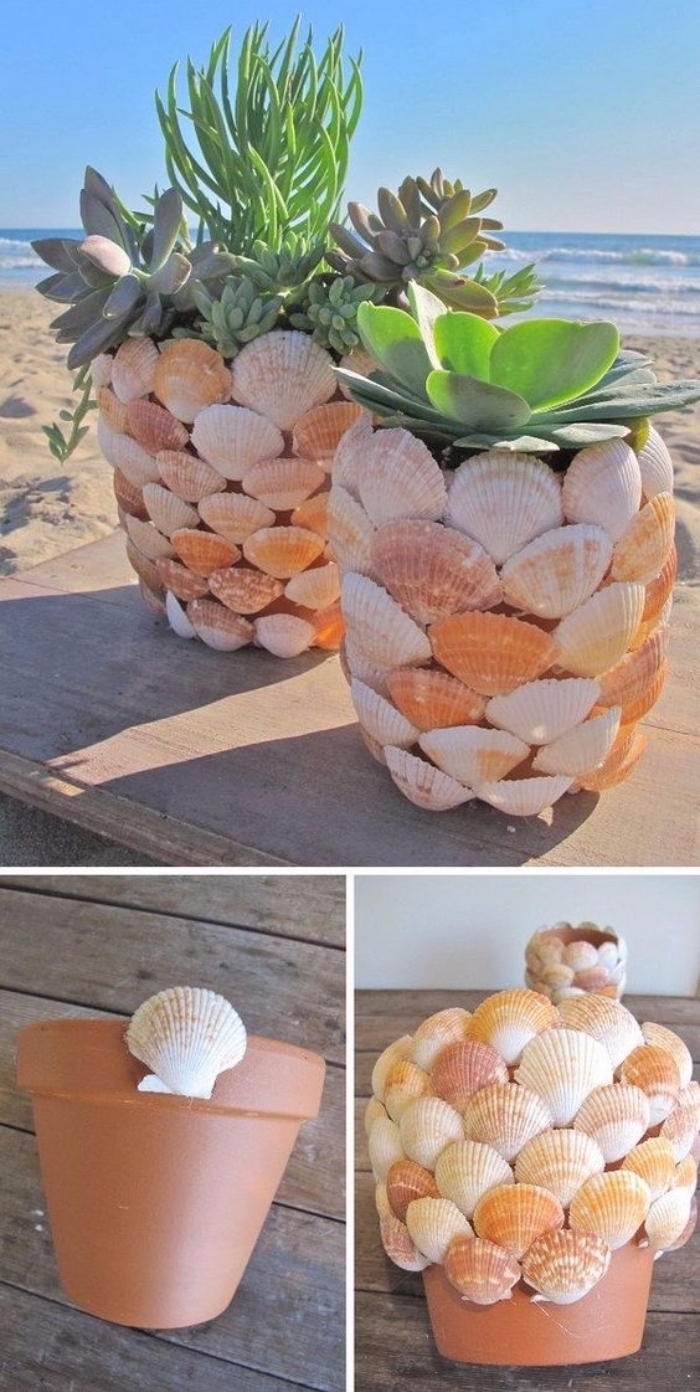
Making candles in a seashell – a great idea to create a romantic setting
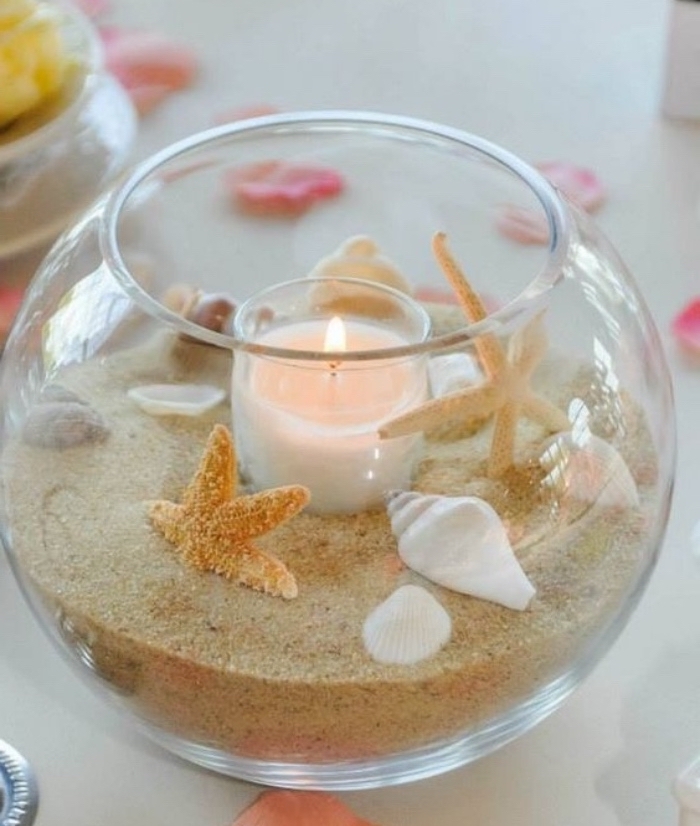
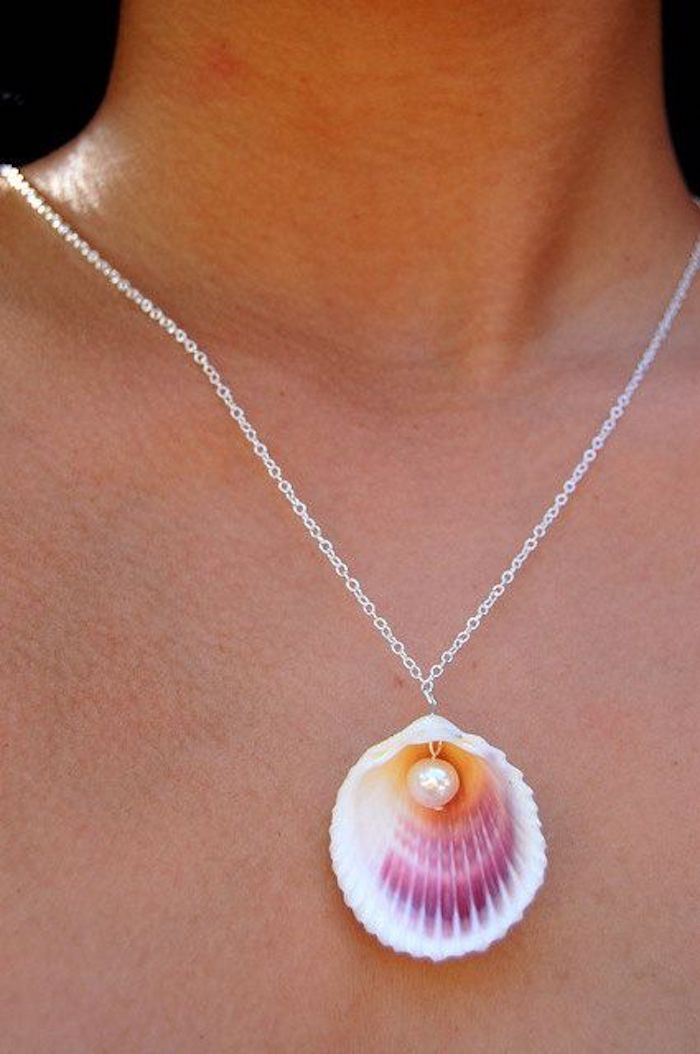
We end up with a wonderful and creative project that uses seashells – the star of the seaside decoration. We propose that you transform them into beautiful decorative accent that will bring a marine breath to your interior.
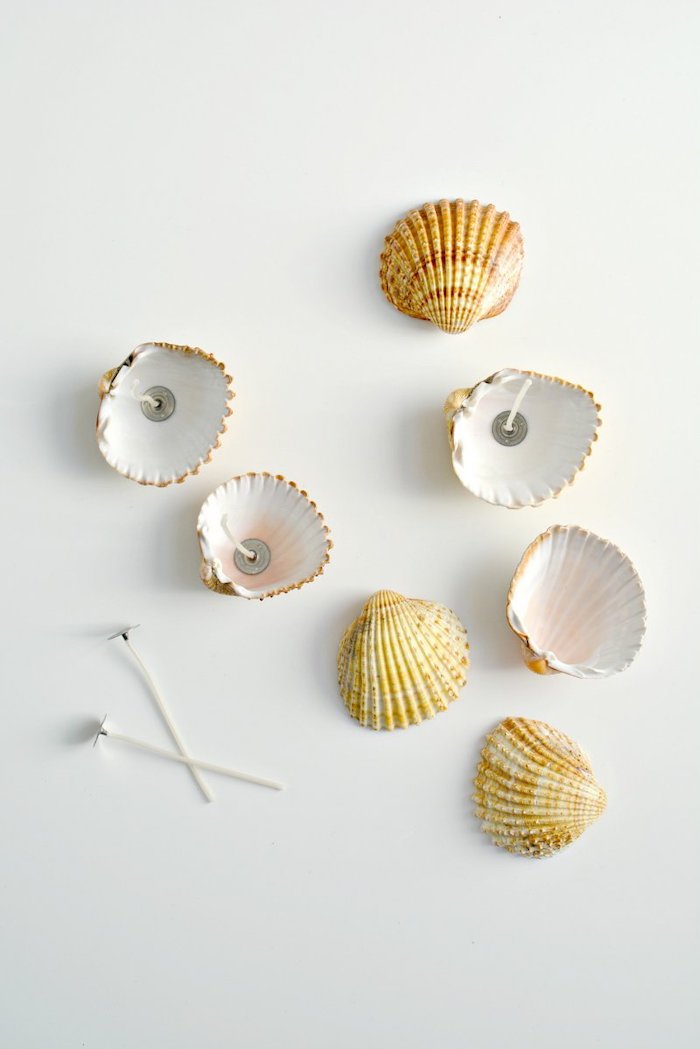
To make candles you will need:
- candle wicks with tabs
- a sea shell (the bigger it is, the better)
- strong glue
- wax
Step by step tutorial:
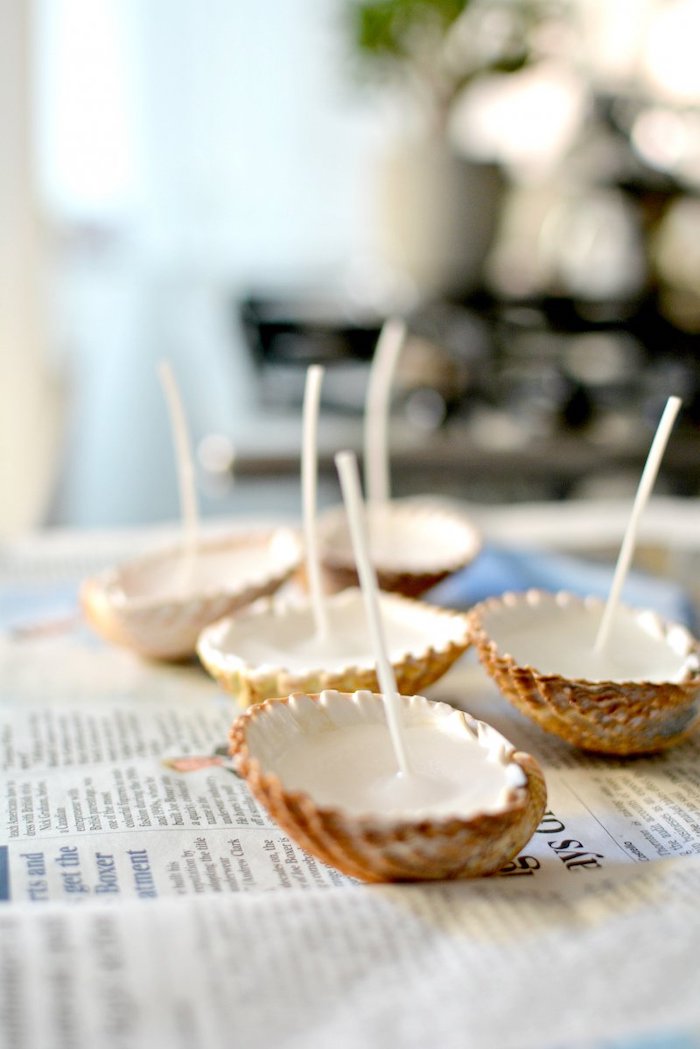
This project is easier than it looks. All you need to do is attach the wick to the bottom of your shell with glue. Then, it is necessary to melt the wax in a saucepan and finally pour it into the shells. That’s all, you can now divert the use of seashells brought as a nice memory of holidays, spent at the seaside.
We present you now in photos the consecutive stages of the making of these miniature candles, inspired by the theme seaside
To your attention, some super cool videos that add to our creative and easy DIYs
We leave you now with some great ideas to try yourself during the holidays and not only. You will still find plenty of easy DIY projects that are appropriate for each season. Also be aware that the article contains exclusive ideas, dedicated specifically to DIYs for kids. Enjoy!
Nothing better than making a personalised travel diary thanks to the scrapbooking technique. Easy DIYs to create a place where we will collect the memories of our holidays and travels



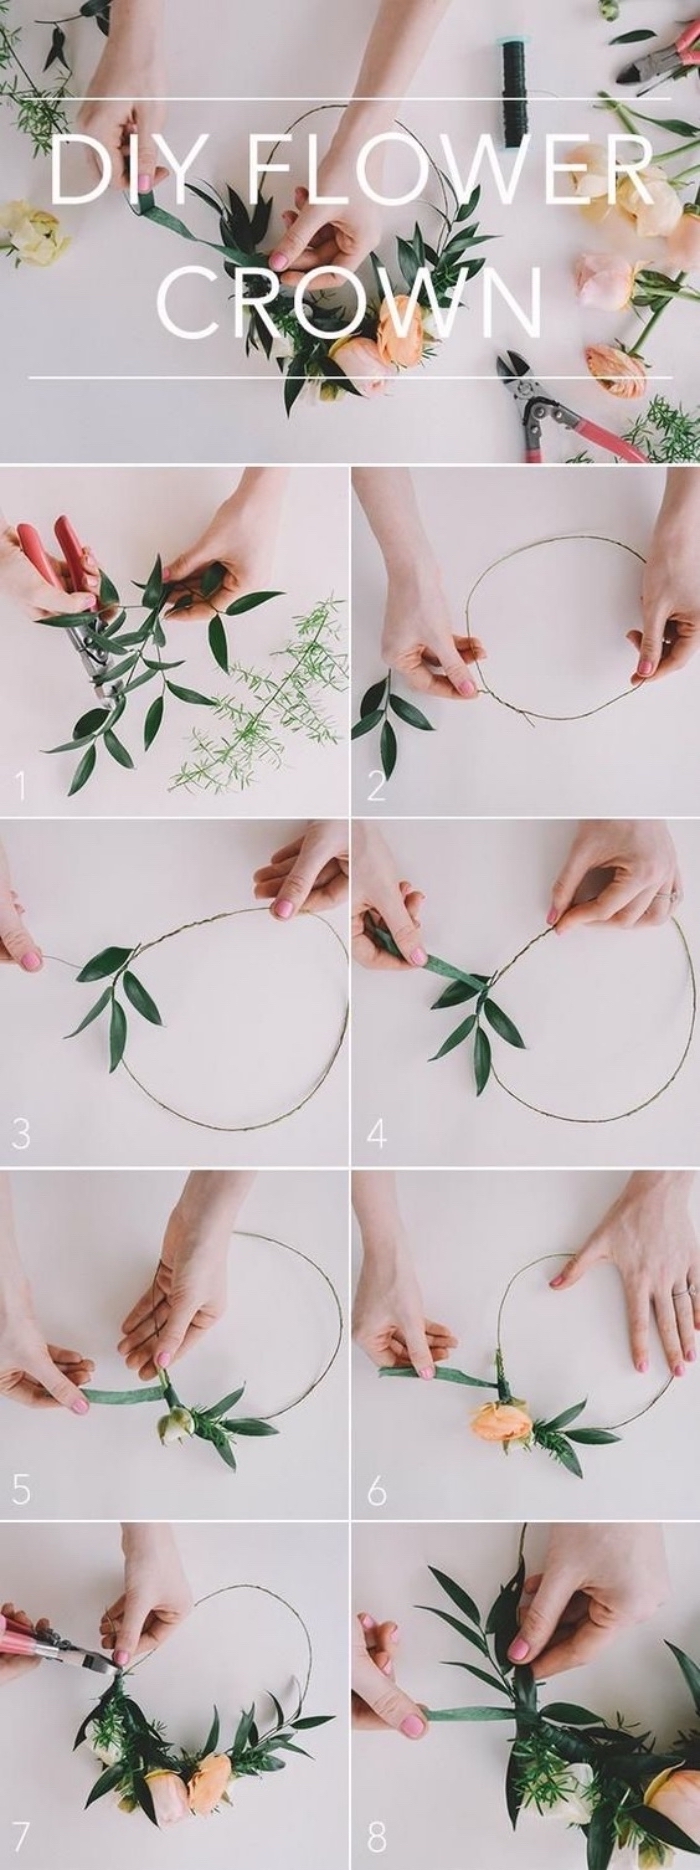
Cool DIYs

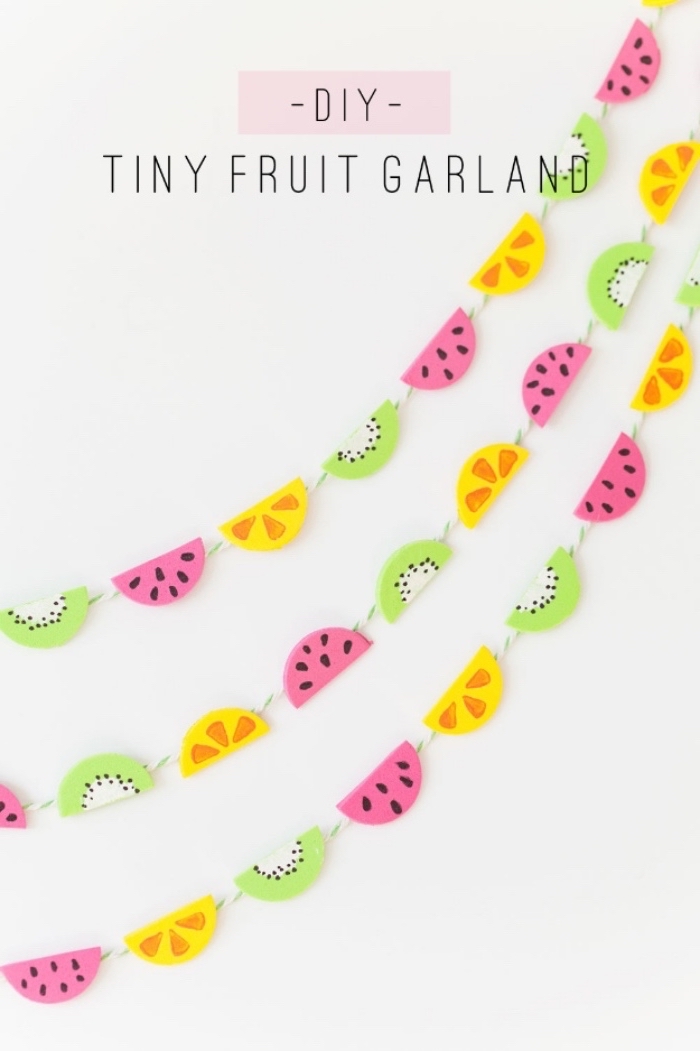

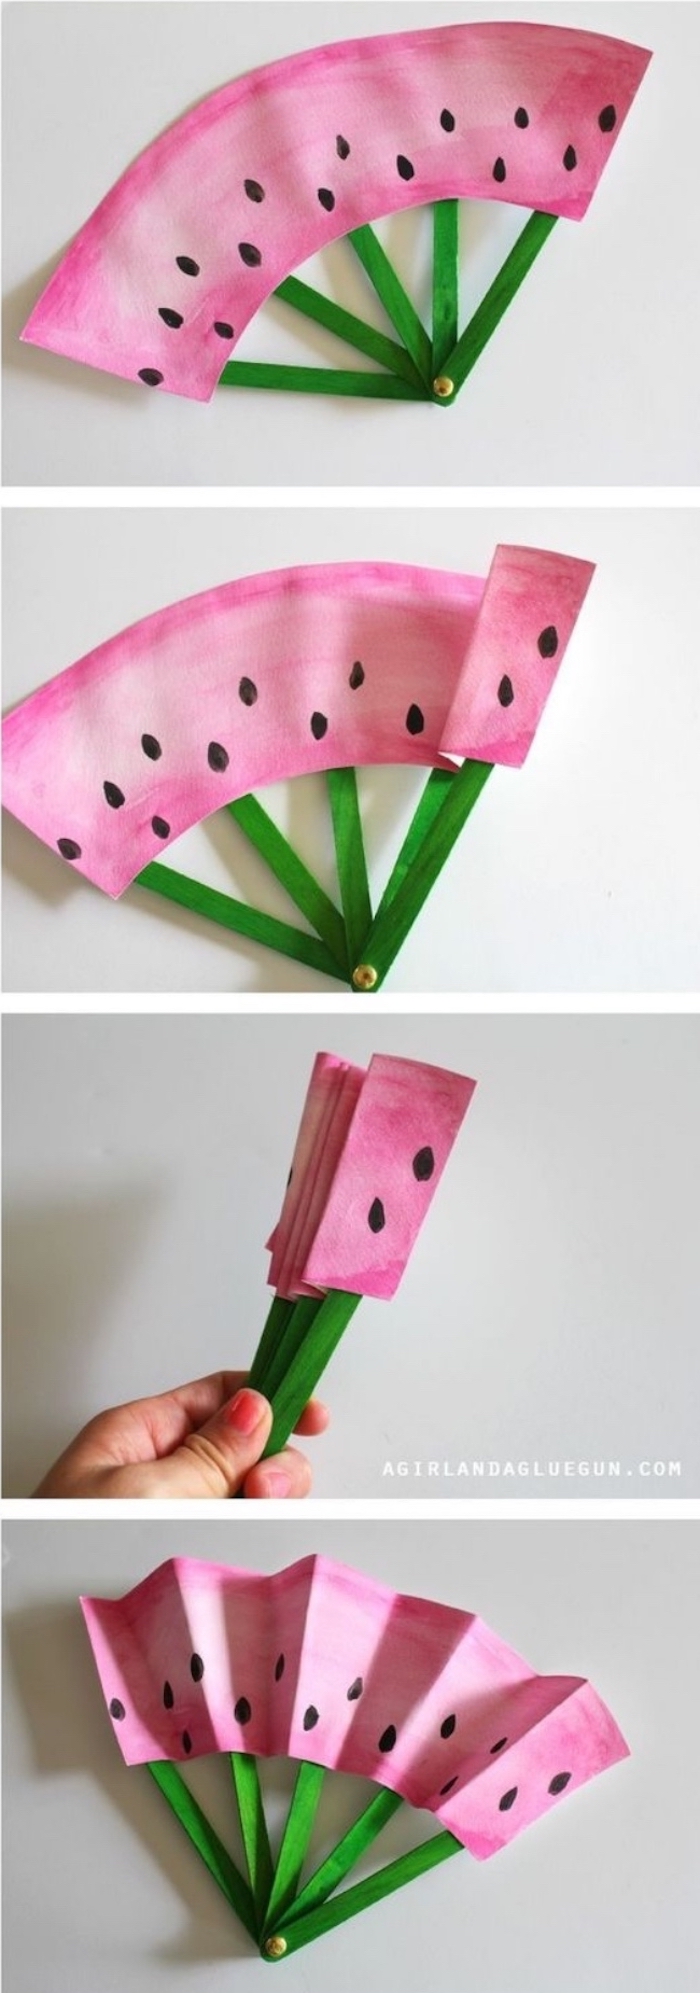
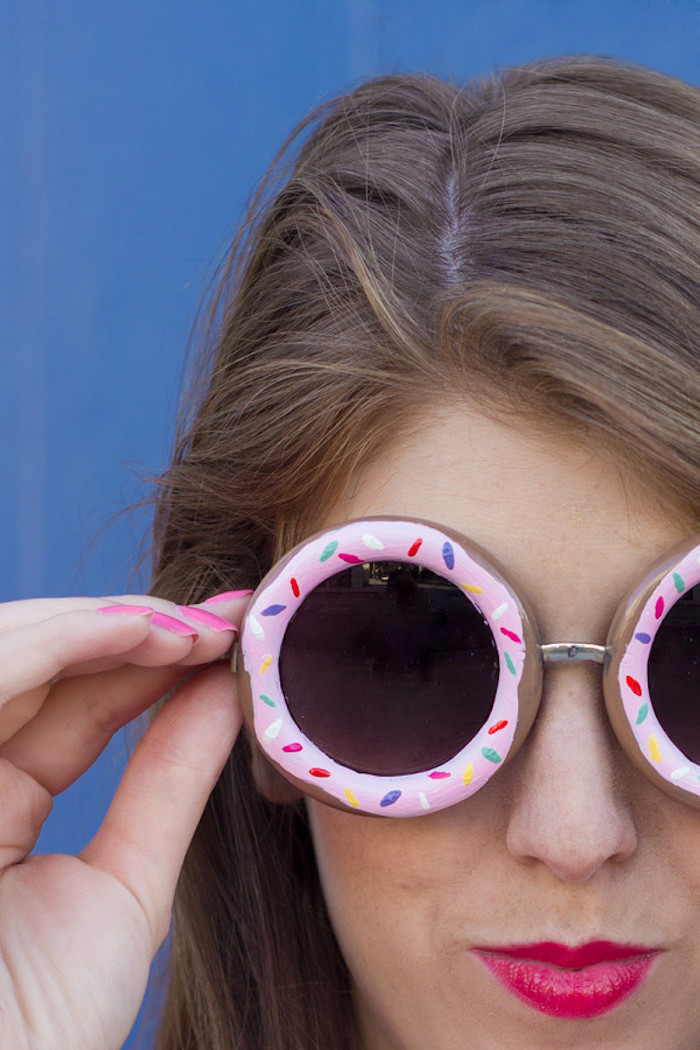
Cute DIYs


DIYs for teens
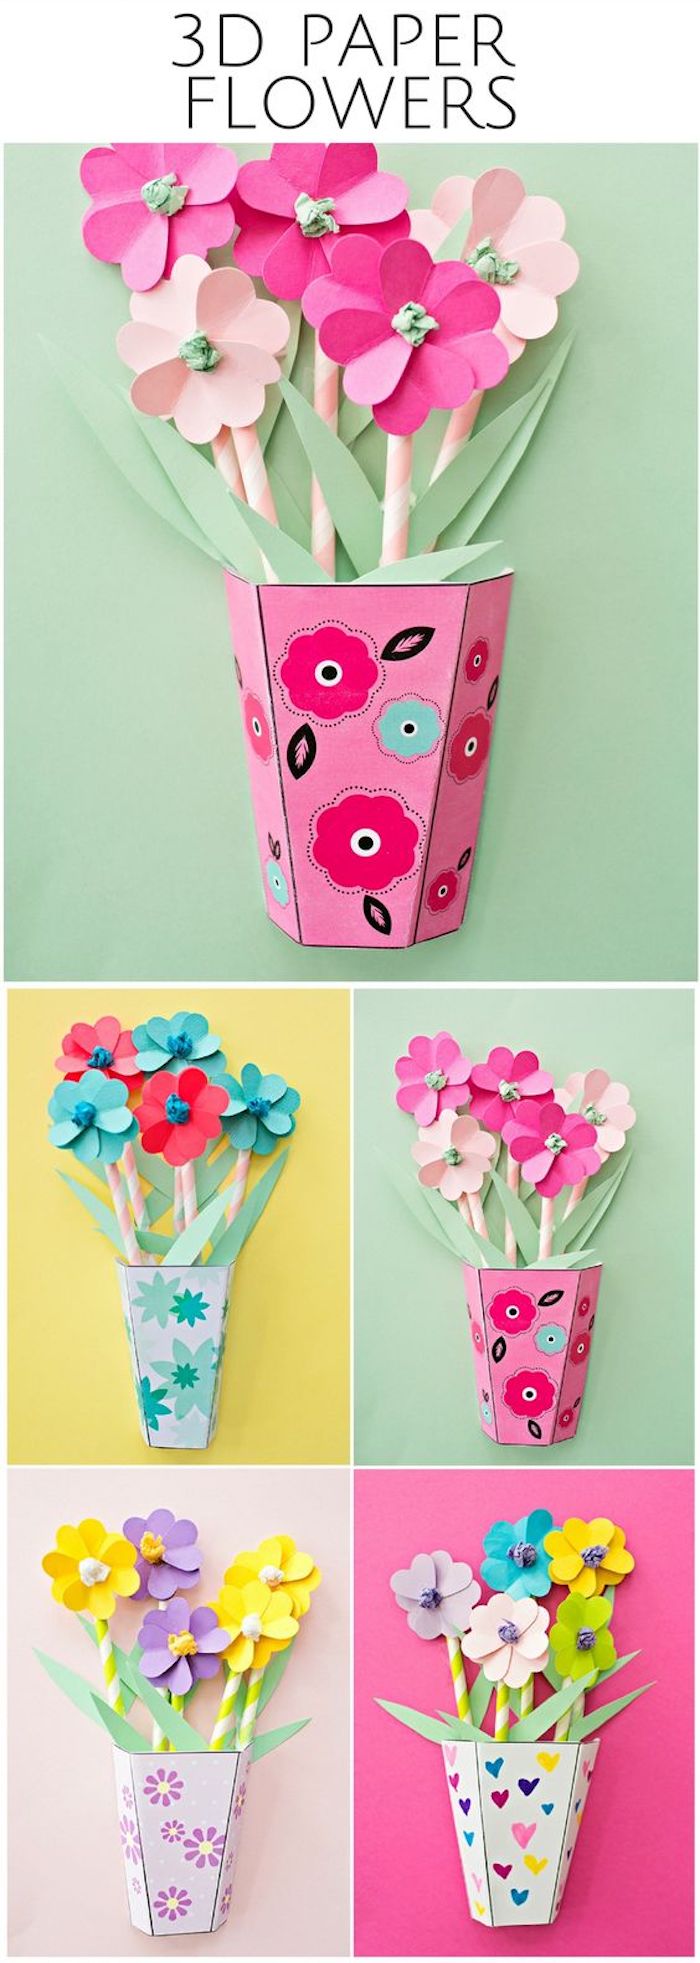
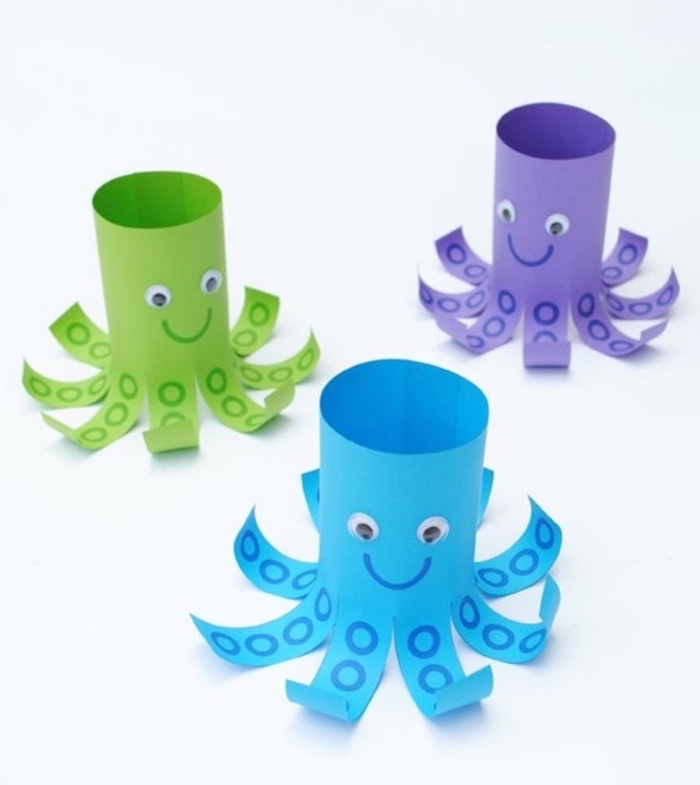
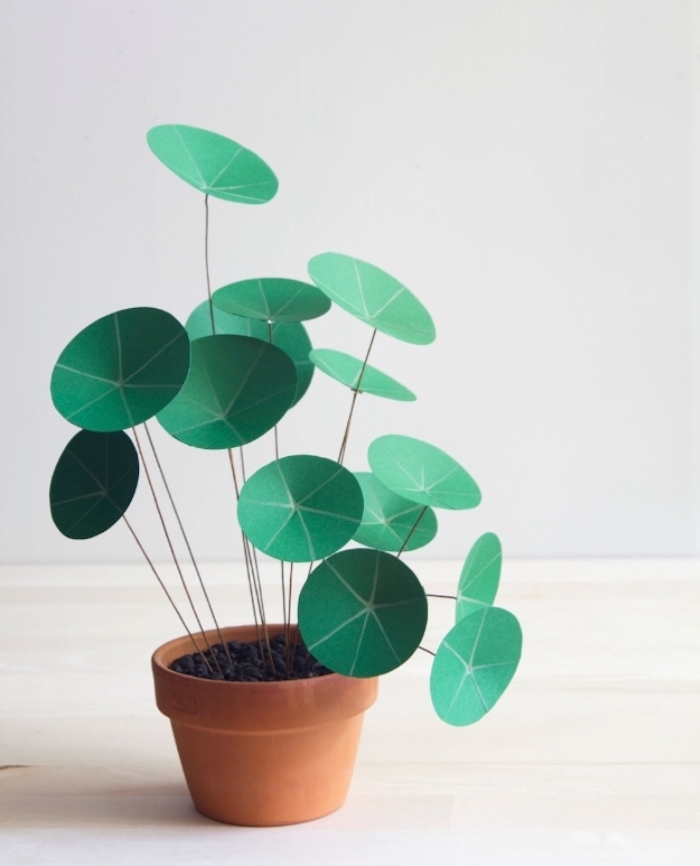

DIYs for girls
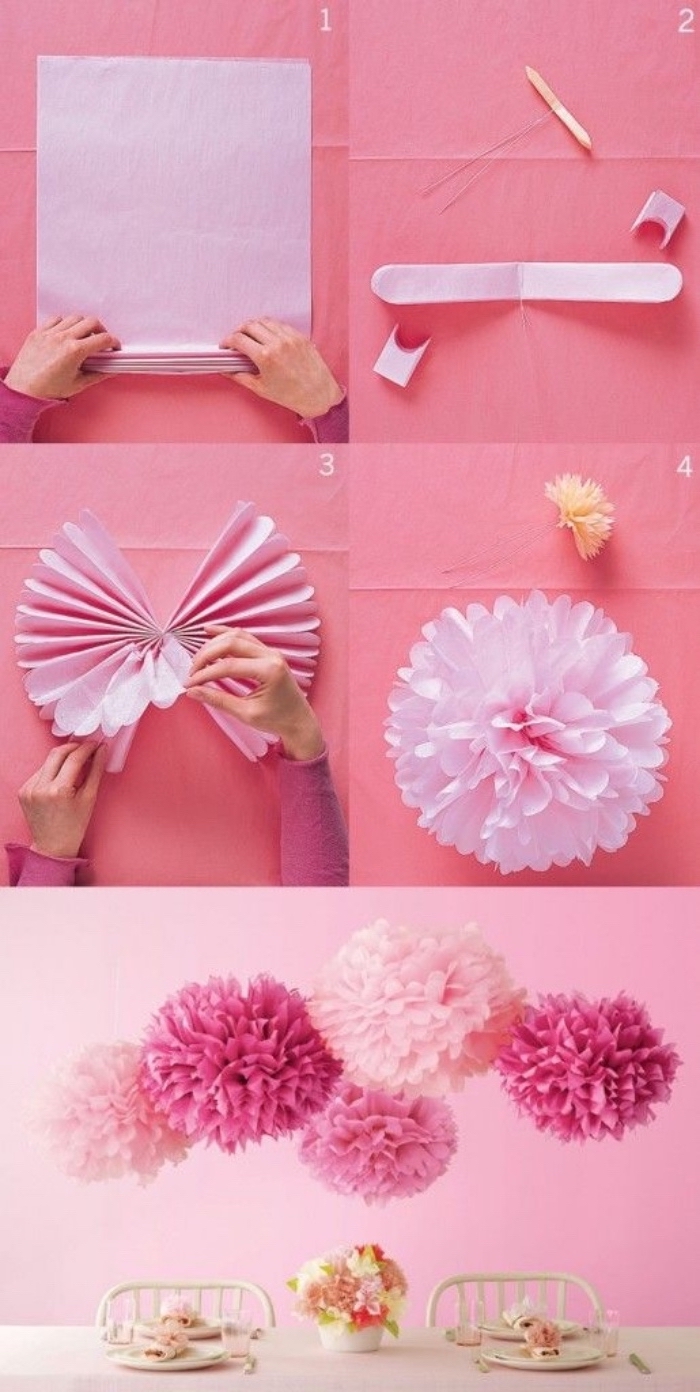

Cool DIY projects

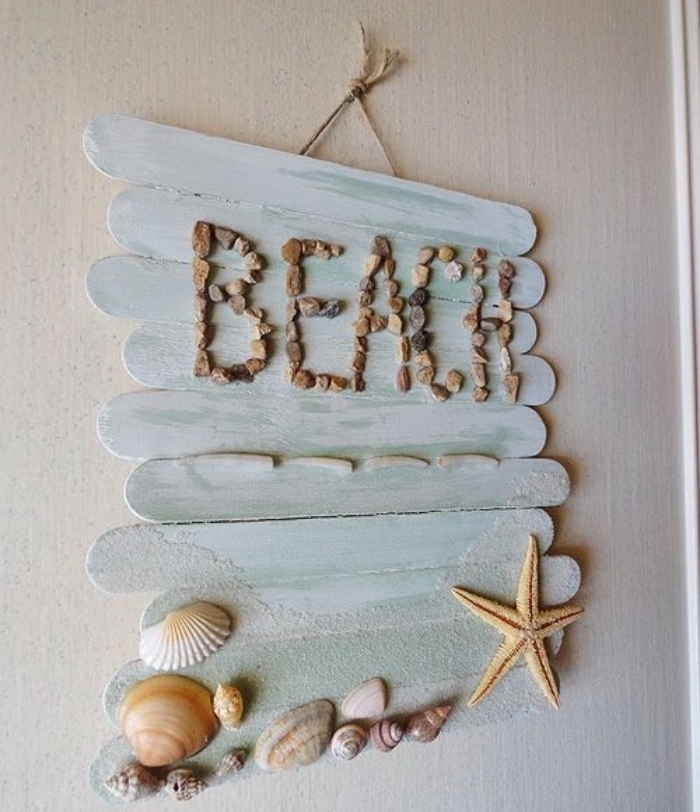
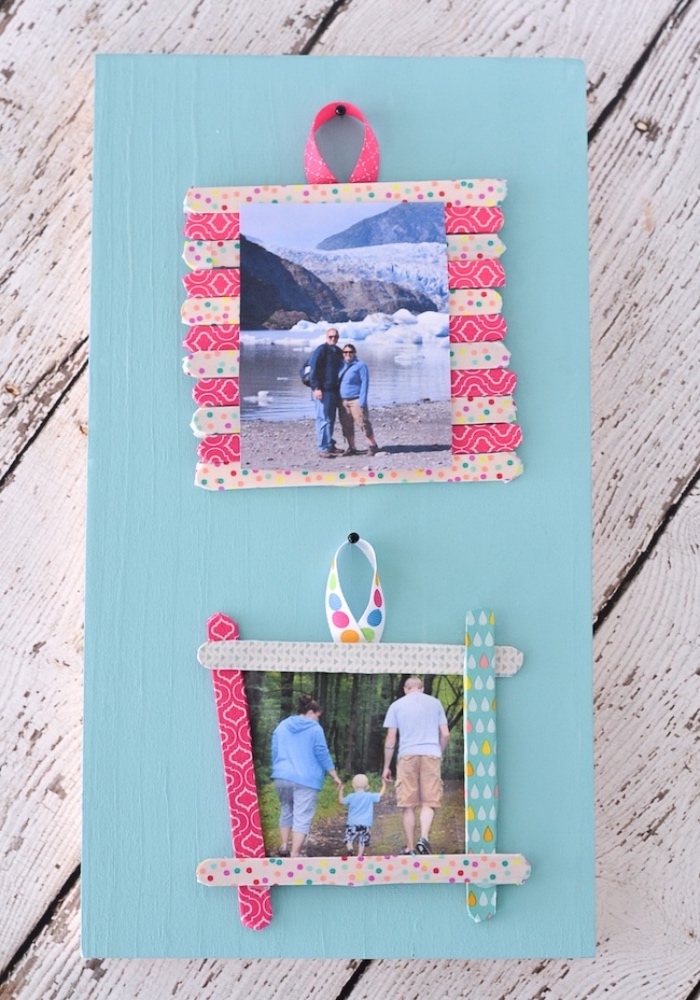
Creative things to do when bored

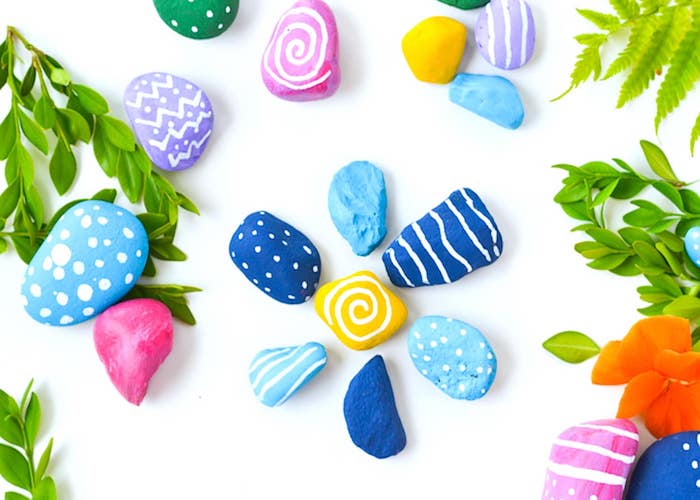
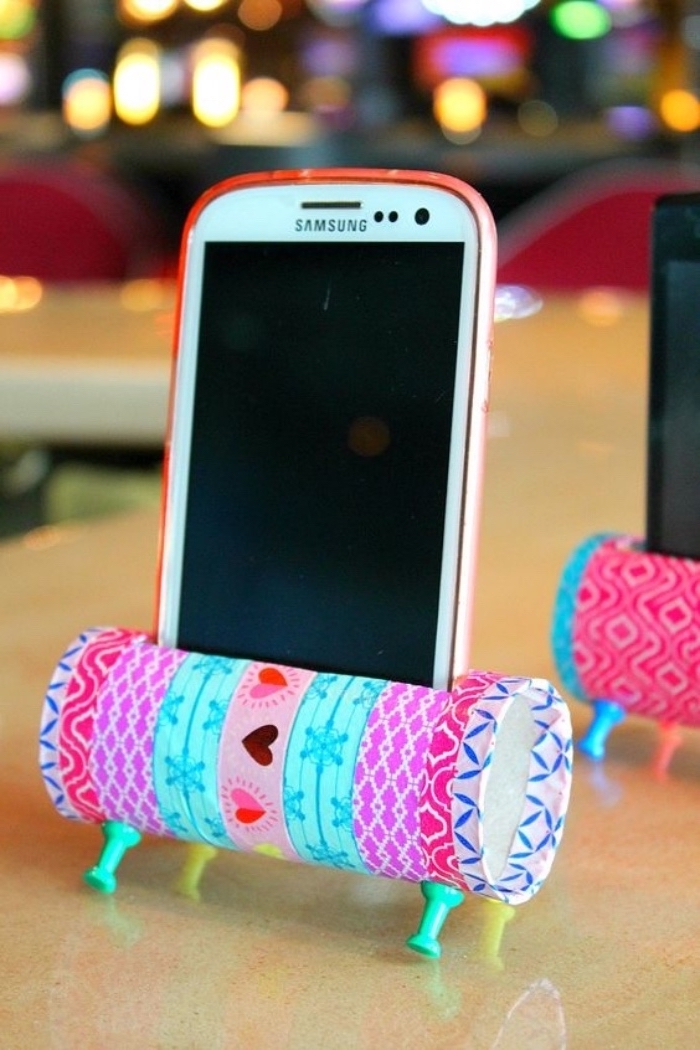

DIYs for your room


DIY things to do when bored
The post Enjoy the summer with our easy DIYs and tutorials for kids and grown-ups appeared first on Architecture E-zine.
