Can Door Hinges Be Painted? – Detailed Explanation
Oftentimes, door hinges fade into the background to such an extent that most people don’t bat an eye at them. However, rusty or flaking ones tend to stand out, making it near impossible to ignore ... Read more The post Can Door Hinges Be Painted? – Detailed Explanation appeared first on Arthitectural.
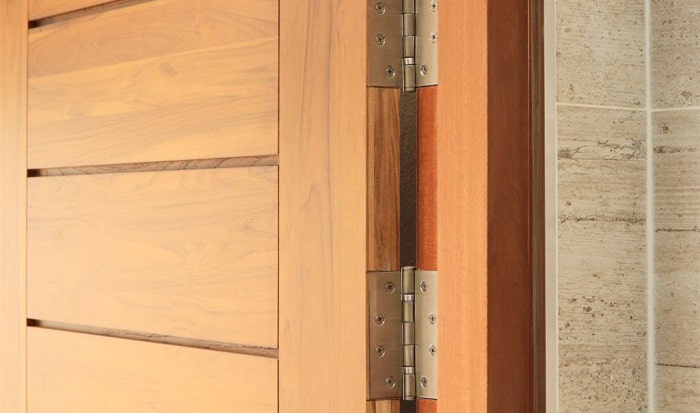

Oftentimes, door hinges fade into the background to such an extent that most people don’t bat an eye at them. However, rusty or flaking ones tend to stand out, making it near impossible to ignore the imperfection.
So, can door hinges be painted to cover up their flaws? Strictly speaking, you can paint them, but it doesn’t necessarily mean that you should do so. Only when you’re left with no other better alternative should you opt for specialized metal paint as the last resort.
Step-by-Step Guide on How to Paint Door Hinges
Most experts will advise you against painting the door hinges as it can do more harm than good. Painted door hinges will have decreased durability and a higher chance of malfunction. Plus, common acrylic paints usually peel off metal hinges at a fast rate.
However, if painting the door fixtures is your only option, check out the steps below to make sure you do it right. This tutorial can also help you paint cabinet hinges correctly.
What To Prepare
- Screwdriver
- Flat bar
- Fine-grit sandpaper
- A toothbrush
- Dish soap
- Safety glasses
- Gloves
- Face mask
- Etching primer (steer clear from all-purpose primer)
- A thick cardboard
- Rustoleum spray paint for hinges
- Brushed-on enamel paint (must be the same color as the spray paint)
Step 1. Take The Hinges Off The Door
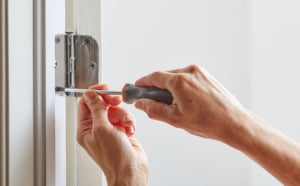
In this step, you can choose to either remove all of the hinges or only one at a time. The former option will completely take off the door, but you can paint all the fixtures at once. The latter choice does not involve removing the door, but it’ll take a lot more time.
- If you decide to paint the hinge one at a time, start from the middle, then move to the bottom, and finally the top.
- Use a screwdriver to remove all the screws from the hinge.
- Pry off the fixture with your hand. If that doesn’t work, utilize a flat bar to apply more force.
Step 2. Prepare The Hinges For Painting
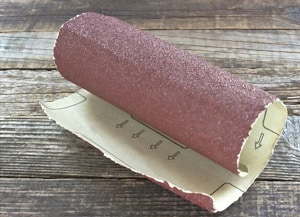
One reason hinges don’t fare well with paint is that they’re usually non-porous, making it difficult for the adhesive to stick to their surface. Whether you can successfully paint door hinges or not depends a lot on this step.
- Scrub the hinges with fine-grit sandpaper until their surface becomes rough.
- Dip a toothbrush into a mixture of warm water and dish soap.
- Clean every nook and cranny of the hinges. Leave them to dry once you’re done.
Step 3. Apply The Primer
Aside from creating a rough surface for the paint to stick to, a layer of primer will provide better adhesive properties. It’ll also prolong pigment durability. So this is a must-have step when you paint brass hinges or other metallic fixtures.
- To prevent the primer and paint from affecting your indoor air quality, bring the hinges outside. If this is not possible, choose a well-ventilated room.
- Lay the hinges on thick cardboard. Don’t place the hinges too close to one another.
- Put on safety glasses and gloves. An additional face mask is required for those working indoors.
- Keep the nozzle’s tip 8 inches away from the hinges for even primer distribution.
- Don’t spray too generously on one spot; a thick primer coating can prove to be counterproductive.
- Occasionally, move the hinges to keep them from sticking.
- Give the primer a few hours to completely dry.
Step 4. Paint The Hinges
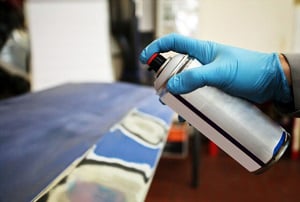
Pick your desired paint color. Remember to pay attention to the room’s color scheme and what effect you’re trying to achieve. For instance, painting cabinet hinges white would be a great choice if you want them to blend in with the white cupboards.
- Shake the can for around 3 minutes to properly mix the paint inside.
- Keep the can 6-8 inches away from the hinge and slowly spray the surface from left to right.
- Always spray in a horizontal motion. The speed should be steady to prevent drips.
- Apply one thin coating at a time. Make sure the paint is 100% dry before moving on to the next layer.
- Leave the final products alone for a couple of hours to dry.
Step 5. Reinstall The Hinges
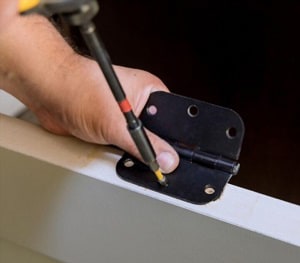
Once the hinges are good to go, it’s time to reinstall them back onto the door. At this stage, you may notice that the unpainted screw heads are rather conspicuous. While you can spray-paint them, the reinstallation process can damage the new color coating.
Here’s a better alternative to avoid scratching the paint surface:
- Fasten the screw heads in as usual.
- Test the door a few times by closing and opening it a few times to make sure everything is in place.
- Choose a brushed-on enamel paint with the same shade as the one on your hinges. Use a filbert brush to carefully apply the paint onto the screw heads.
How to Paint Door Hinges Without Removing Them?
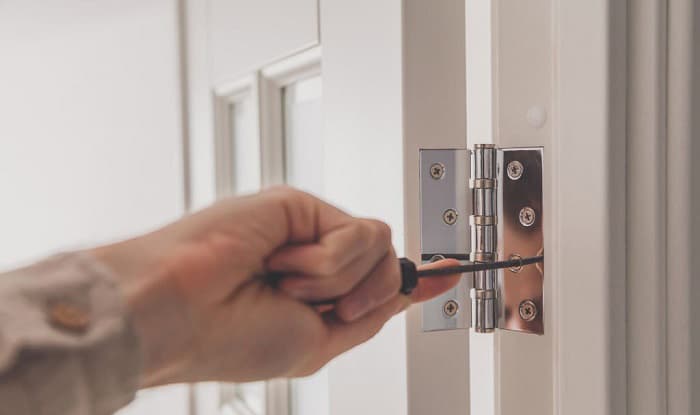
Can door and cabinet hinges be painted while they’re still in place? Yes, with the help of a spray or brushed-on paint.
1. Using Spray Paint
There’s actually not much difference in the required steps for spray-painting removed and attached door hinges. Other than the tools above, you’ll need to prepare some painter’s tape and masking paper.
- Start off by cleaning the hinges as described above.
- Cover the door and the floor with painter’s tape and masking paper.
- Carry out the painting as you would with the removed door hinges.
2. Using Brushed-on Enamel Paint For Metal
Again, you need to clean and apply a layer of primer for the paint to stick. If you’re not confident in your ability to use a brush, shield the entire working area with masking paper and painter’s tape.
- Paint the hinges using a filbert brush.
- Similar to spray paint, you should use horizontal gestures to apply the enamel coating.
- Don’t apply too much paint in one go.
FAQs
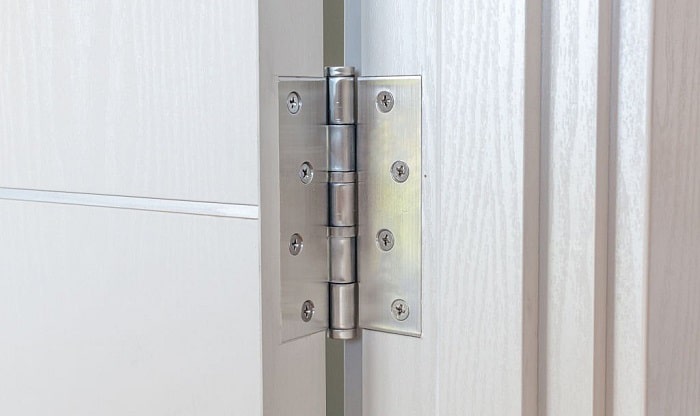
What color should door hinges be?
It mostly depends on the color of your door and its handle. Generally, hinges should be the same color as the knobs for consistency’s sake. In addition, the fixtures’ shades need to complement the door’s undertones.
For instance, the best color hinges for white doors are silver, black, and gold. With wooden doors, you should pick silver metallic or antique golden brass door knobs and hinges.
To narrow down the most ideal choice, pay attention to the wall’s color as well. Avoid door hinges’ shades that make your decor visually complex.
Do spray painting hinges work?
They do, so long as you pick the right type with fast drying speed. One notable example that comes to mind is the Rustoleum spray paint for hinges.
If you’re not confident that the spray paint will work, you can test it out on an unused door hinge. The paint needs to stick to the metal and have good coverage on the fixture.
Does spray painting door hinges last?
Although it may not peel at such a fast rate as wall or acrylic paint, sprayed door hinges don’t last really long either. Nonetheless, they should remain in good condition for at least two years, so I think it’d be worth the effort should you decide to paint the hinges.
How do you change the color of a door hinge?
The most reliable way to do so is to use Rustoleum spray paint for hinges. You’ll have to remove the hinges off the door to apply the paint. To avoid the hassle of taking the hinges off, opt for Rub-n-Buff or a brushed-on enamel paint for metal.
Whatever approach you plan to take, it’s important to thoroughly sandpaper the hinges first. Then, use a toothbrush to get the fixtures spotless. Once they’re dry, you can start painting them.
Conclusion
To answer your question of “Can door hinges be painted?” I’d say that I wouldn’t recommend doing so. Personally, I’d either clean the fixtures or get a new set. However, you can still paint the hinges if you want to, provided that you know the correct method.
In short, you should evaluate the risks. If you deem the merits to outweigh the liability, feel free to go ahead and decorate the hinges. Have fun painting!
Read more other related topic:
The post Can Door Hinges Be Painted? – Detailed Explanation appeared first on Arthitectural.
