How To Clean Construction Dust (Everything You Need To Know)
No matter what you are renovating, you’ll quickly learn that dust is an inevitable part of any project. And it sure likes to linger. Even if your contractor took all the necessary precautions the construction dust always finds its way into everything. It steeps into the carpets, lingers on the... The post How To Clean Construction Dust (Everything You Need To Know) appeared first on ArchZine.
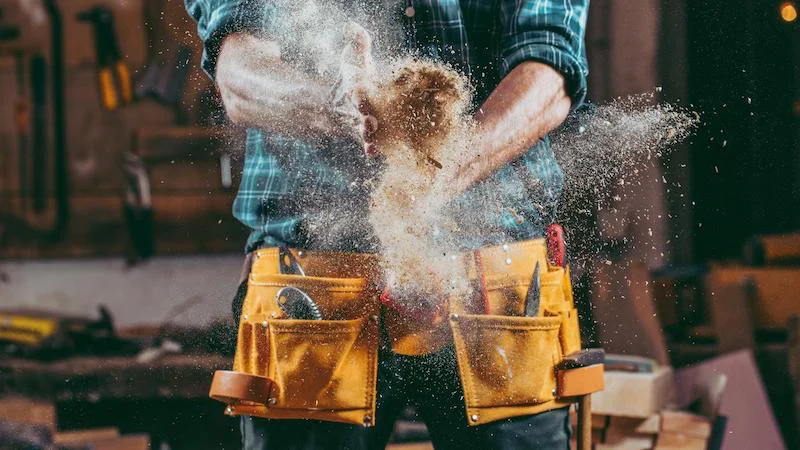
No matter what you are renovating, you’ll quickly learn that dust is an inevitable part of any project. And it sure likes to linger. Even if your contractor took all the necessary precautions the construction dust always finds its way into everything. It steeps into the carpets, lingers on the flat surfaces, and it goes into the air filters. That’s why it’s important to tackle this issue as soon as the renovations process comes to a halt. After all you don’t want to be breathing in all that dust while cleaning up. So, today we will show you how to clean construction dust quickly and effectively.
You’ll quickly learn that dust is an inevitable part of any renovation project
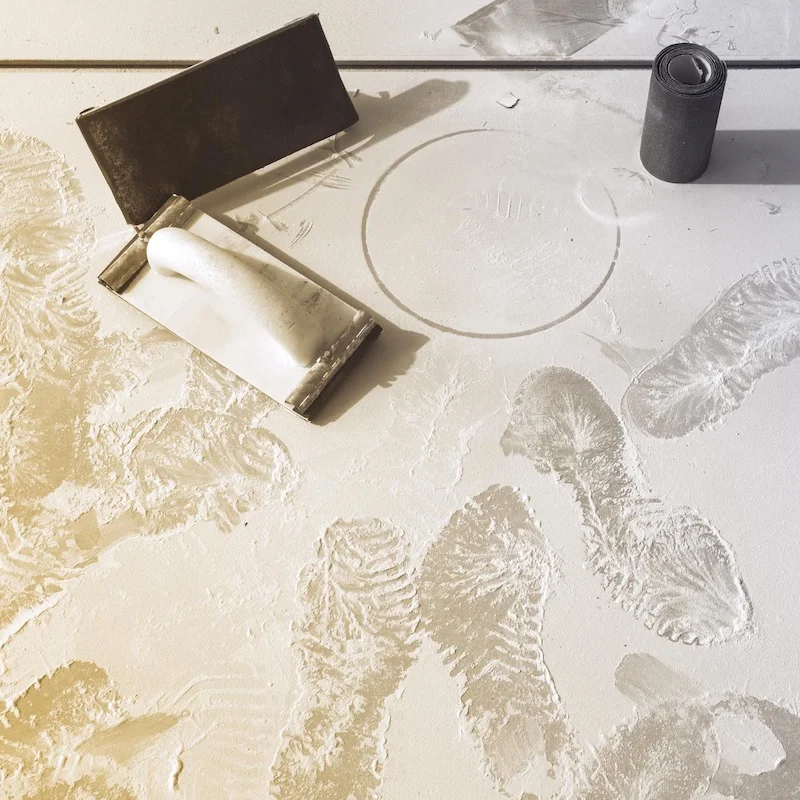
How To Clean Construction Dust
The first step in post-construction cleaning should always be dust removal. This is always a part of the rough cleaning process. However, there are different types of dust you may need to tackle, and they all require a different cleaning strategy. That’s why we’ll show you first how to easily get rid of all three of them, and then you can carry on with the other parts of the cleaning.
The first step in post-construction cleaning should always be dust removal
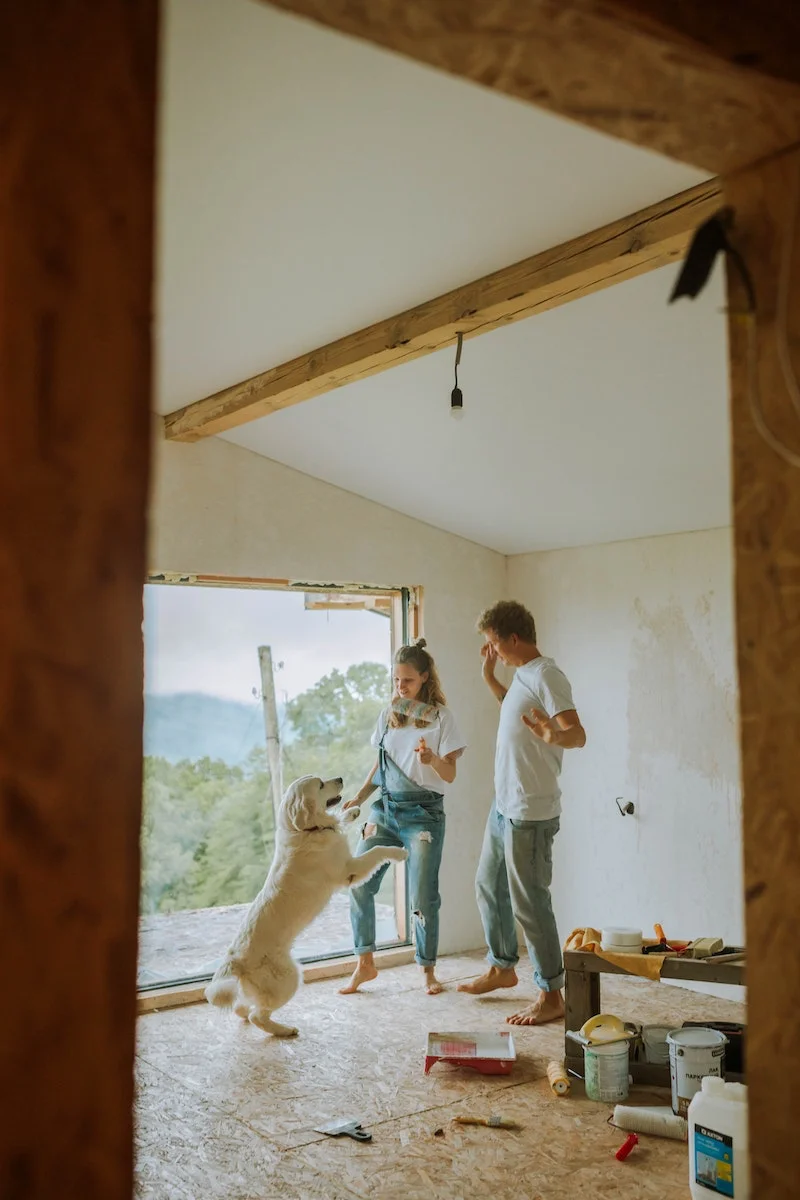
#Fine Dust
Dust is inevitable, especially fine dust. Even if the contractor took all the right precautions, this dust is nearly impossible to contain completely. And this type of dust is a menace as it can cause some serious problems if it clogs up your HVAC system or if it gets into any electronics. So, how do you clean it.
Dust is inevitable, especially fine dust
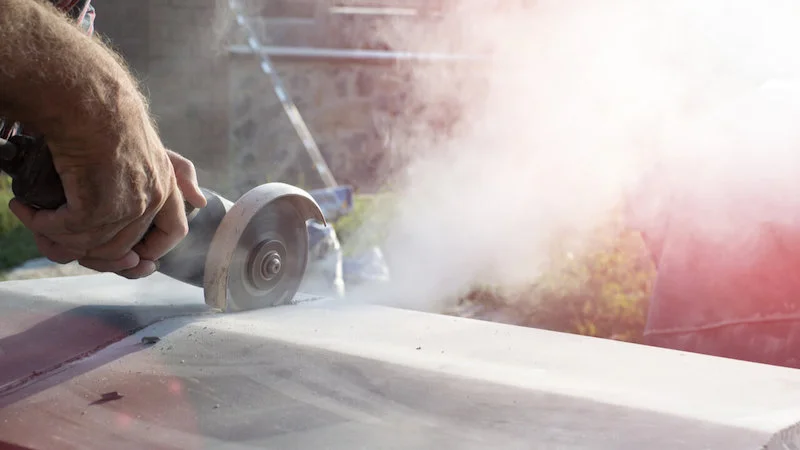
Tools:
- Microfiber cloth
- Vacuum (with brush attachment)
- Wet/Dry Vacuum (for carpeted floors)
Method:
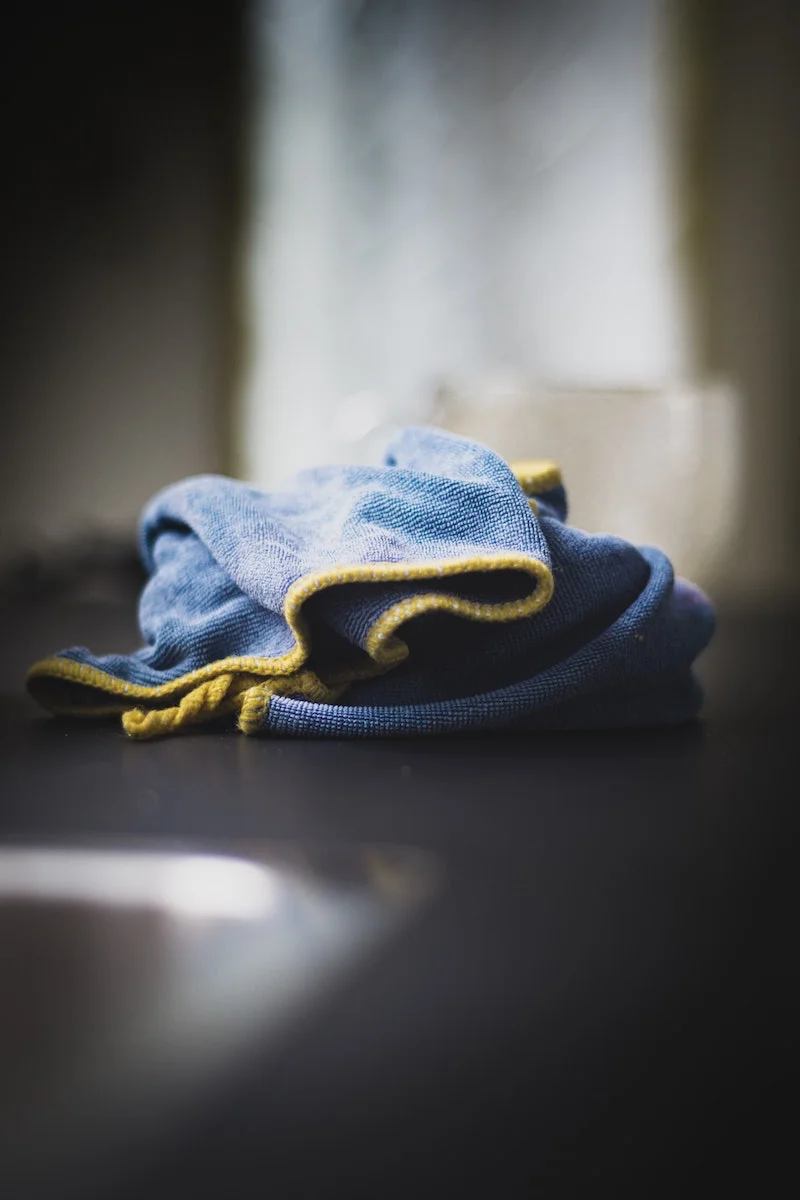
- You’ll need a damp microfiber cloth. It’s really important that you wring out the cloth until it’s just barely damp. If the cloth is wet the dust will turn into mud. What you essential want is to pick up the dust rather than soaking it. Repeat this on every surface. This includes the walls and floors, as well.
- Make sure to wash the cloth in between each pass and change the water that you are wetting it with when it starts to turn cloudy. This helps to prevent the reapplying of wet dust on areas that are already cleaned.
- Let the cleaned area dry fully. Then take the vacuum with the brush attachment and clean. This will help get rid of any dust that remains.
- If you have a carpeted floor, you will need a wet/dry vacuum to make sure no dust is stuck on it.
You’ll need a damp microfiber cloth
#Drywall and Plaster Dust
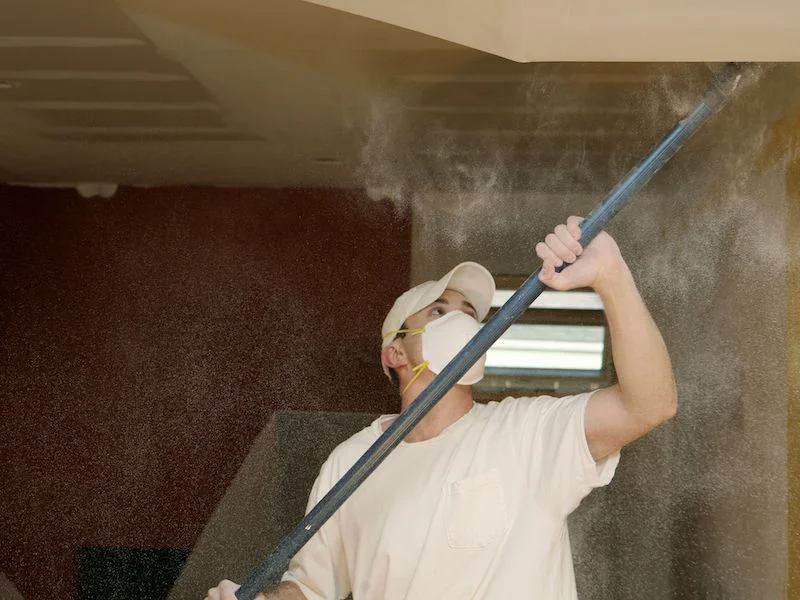
This type of dust is a real challenge for cleaners. This is because if you get this type of dust too wet it can form into a plaster and will stain or even damage some of the newly renovated surfaces. So, if you think you’re dealing with plaster and drywall dust here is what you’ll need to do.
This type of dust is a real challenge for cleaners
Tools:
- White Vinegar
- Warm Water
- Sponge
- Towel (rag)
- Bucket
Method:
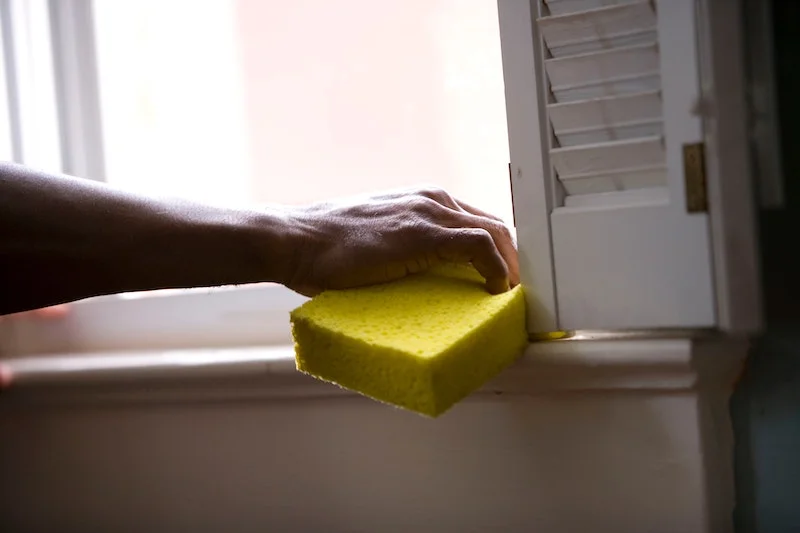
- Mix together two cups of white vinegar and a gallon of warm water. Then take a sponge and mop a small area with drywall dust with as little water as possible. Then immediately dry the area with a towel. It may take some applications to remove all the dust and white residue when it comes to tiled or wooden surfaces.
- Make sure to switch out the water and vinegar solution as soon as it becomes cloudy. This will help to prevent any decontamination. You can also use a bucket of clean water on the side to rinse out the sponge from the plaster dust. This way the solution will last longer. Make sure to also change up the drying towel if it has become too damp.
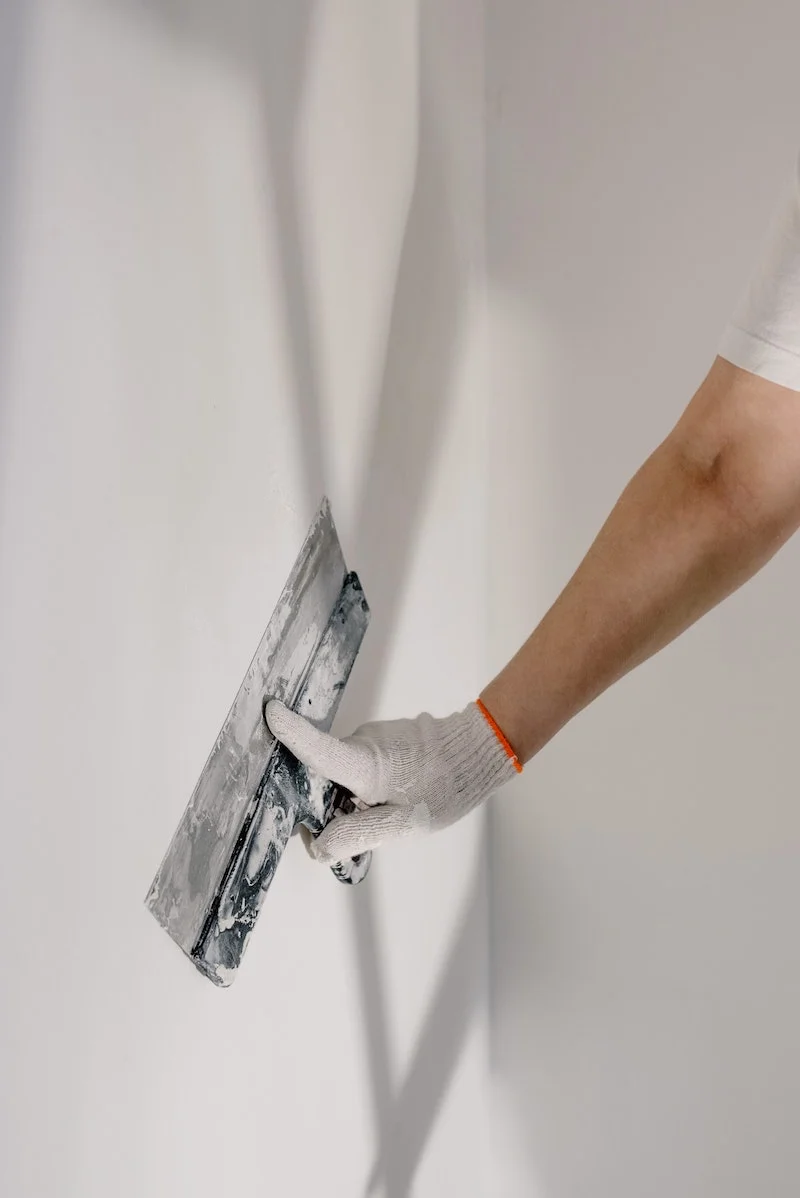
Take a sponge and mop a small area with drywall dust with as little water as possible
#Brick and Mortar Dust
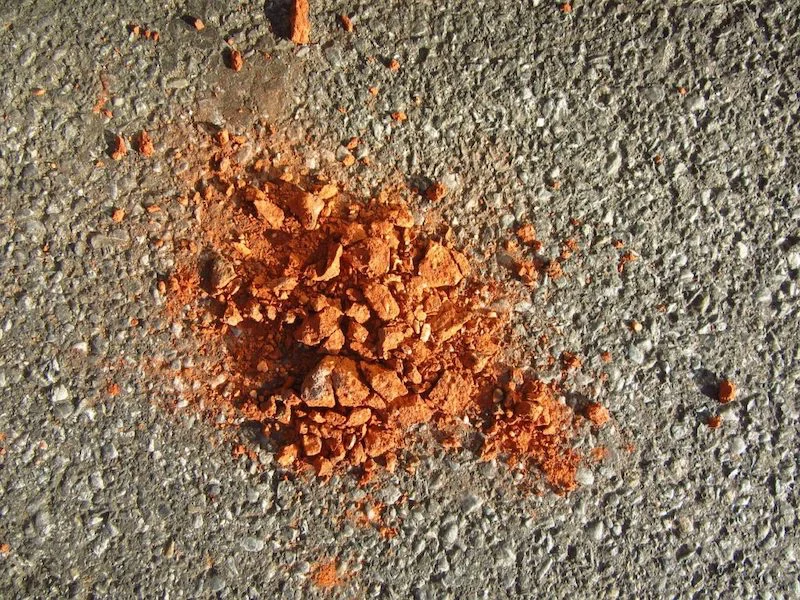
This is the heaviest type of dust, which means it’s especially tricky to clean. But don’t worry, nothing is impossible to clean. You’ll just need some extra determination and the right tools.
This is the heaviest type of dust, which means it’s especially tricky to clean
Tools:
- Powerful Vacuum
- Hydrogen Peroxide
- Water
- Soft Cotton Rags (or dryer sheets)
- Brush (soft-bristled)
Method:
- Take the vacuum and use the nozzle to suck up as muck brick dust as possible.
- Create a mixture of 1 and a half cups hydrogen peroxide in a gallon of water. Then with a cotton rag wipe off the dust from any hard surfaces. It’s important to add that this only goes for hard surfaces. You must never get brick dust wet on a soft surface. This will only cause staining.
- If you do have dust on a soft surface such as a couch or carpet, you need to scrub the dust loose and vacuum all the excess.
Take the vacuum and use the nozzle to suck up as muck brick dust as possible
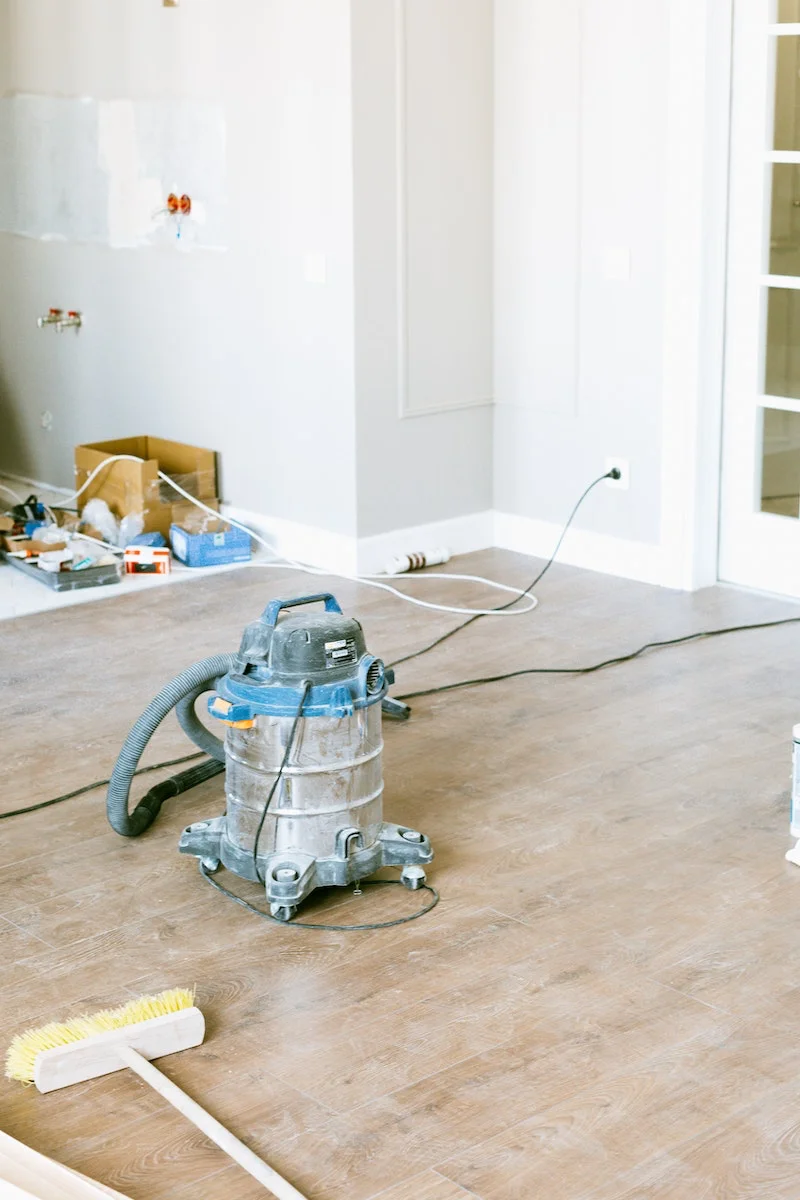
This was all you need to know when it comes to how to clean construction dust. We hope you found this article useful. Now you can clean up any dust and not worry that you’ll damage your newly renovated space.
This was all you need to know when it comes to how to clean construction dust
Sources:
The post How To Clean Construction Dust (Everything You Need To Know) appeared first on ArchZine.
