How To Install A Casement Window Air Conditioner?
Setting up a support board is the first step to installing casement window ACs. Then you need to find the center point and install the platform assembly. Following that, you have to place and align the AC in the window, secure it in place, and seal any gaps to complete the process. Getting a casement […]

What Is A Casement Window Air Conditioner?
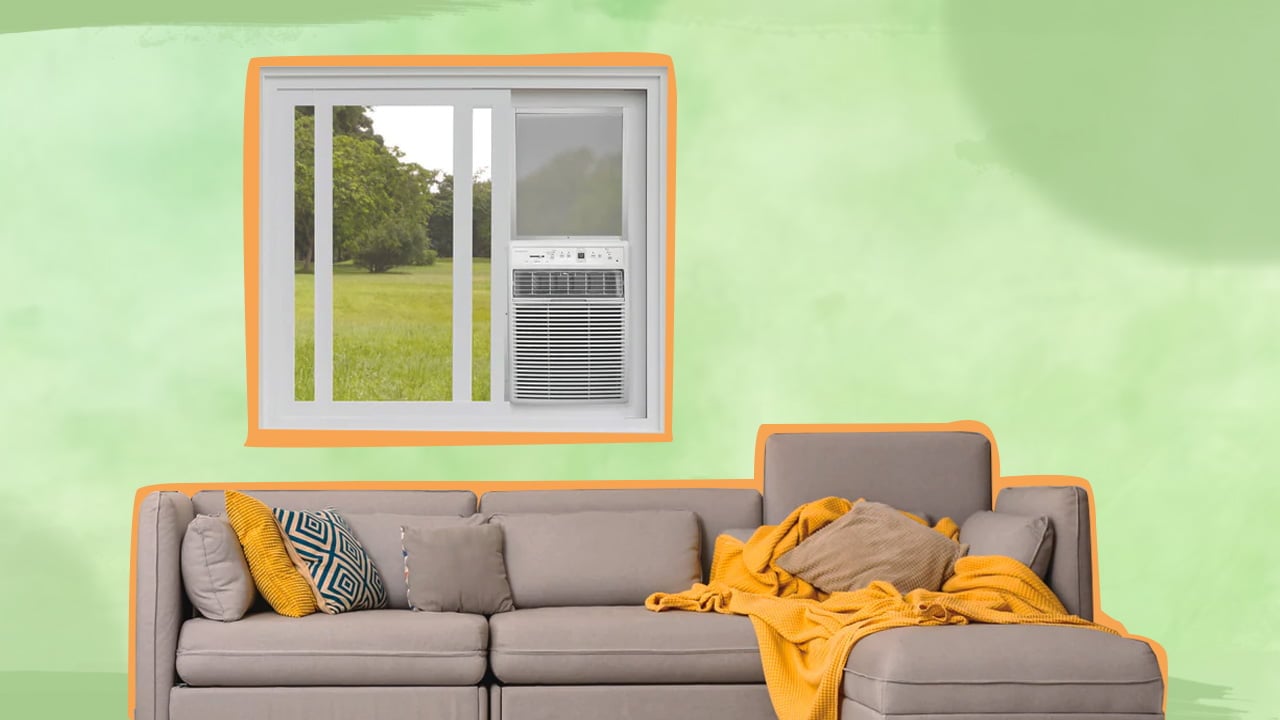
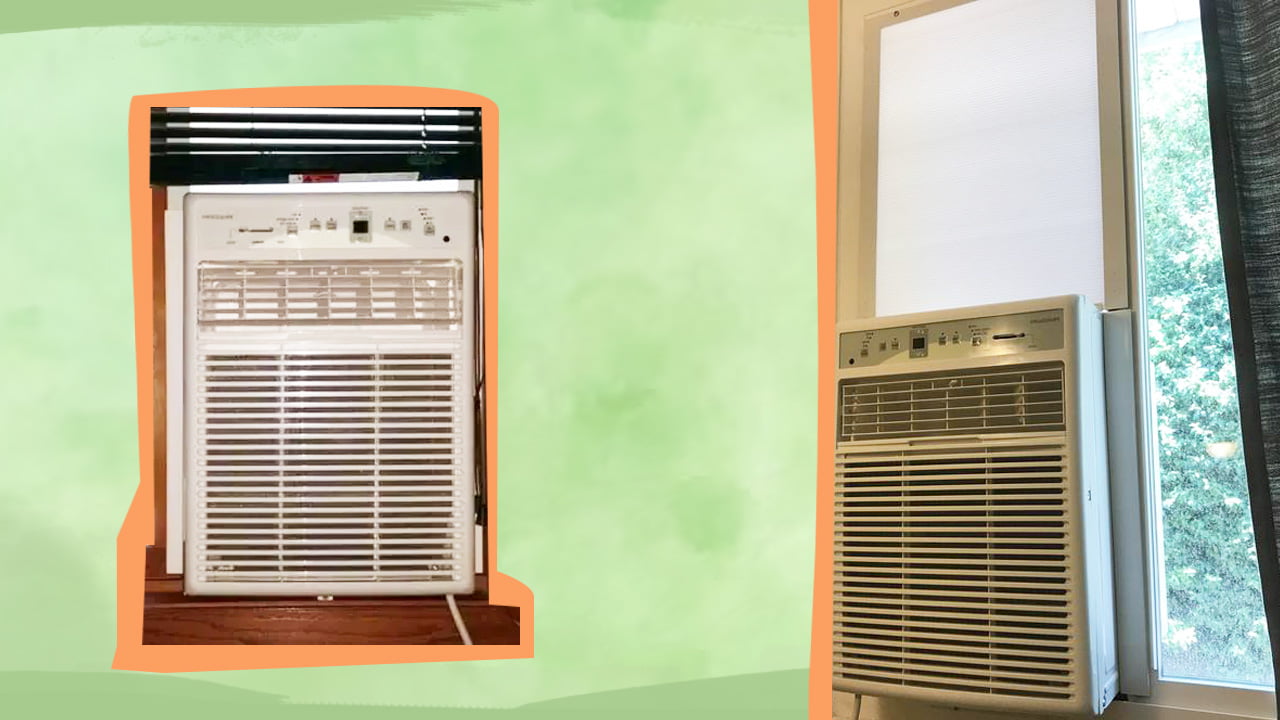
 Before getting into the meat of the topic, let’s have a brief discussion on what casement window air conditioners actually are. In simple terms, these AC units have been specifically designed to fit into casement window frames.
Casement windows have a slightly different structure than regular double-hung windows. That is why regular AC units do not fit into them. Thankfully, the casement air conditioners are vertically structured, which allows them to fit easily into these tall windows.
Because of their specialized design, these window AC units have a slightly higher price. As for the cooling capacity and performance, they are comparable to regular window units or portable air conditioner units.
Preparing For The Installation
First off, you will need to make the necessary preparations before starting the actual installation process. This includes gathering all the required tools and equipment and preparing the working area. You also need to take into account the safety considerations related to the process so that any accidents can be avoided.1. Tools And Equipment
The tools and materials needed to install a casement window AC are mostly the same as those required for installing any other window unit. Below I have listed all the necessary items that you will need to get started.- Screws
- Screwdriver
- Measuring tape
- Cutting tool
- Pencils or markers
- Drywall T-square
- Caulk
- Ladders
- Plexiglass boards
- Plywood pieces
- Hard plastic sheets
2. Preparing The Workspace
Now that you have gathered all the tools, you need to prepare the workspace. Make sure to cover up the floor and walls so that you don’t have to worry about making a mess. Also, I would recommend that you go through the installation manual to get a clear idea about the whole process.3. Safety Considerations
Besides the tools and prep work, you will need to keep in mind the safety protocols to avoid any unnecessary problems. A typical casement air conditioning unit is quite heavy, which can be a problematic aspect. Because of that, they are often difficult to hold or move around. Any mistakes and the whole thing might fall on you and cause injuries. That is why it is a wise decision to get an assistant to help with this task. Also, make sure to keep your tools organized and the workspace clean to minimize the risks of any untoward incidents. And try not to rush through the process, as that can introduce errors.
Stepwise Installation Instructions
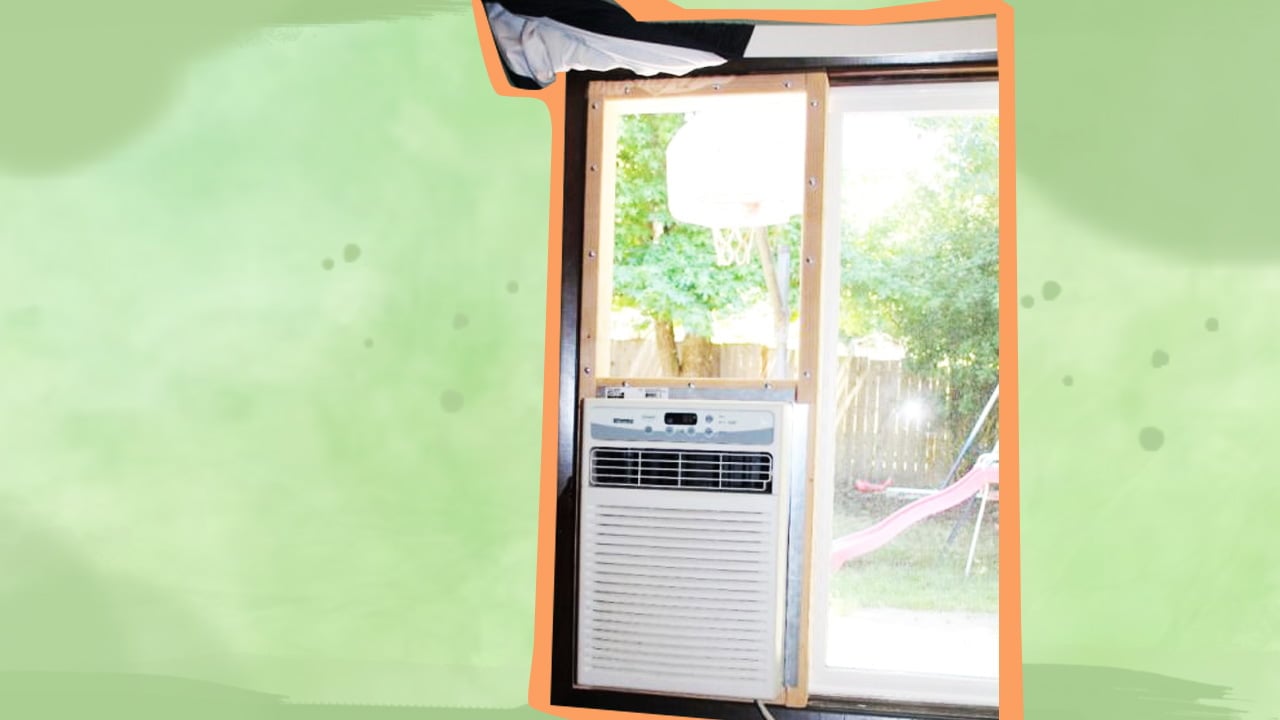
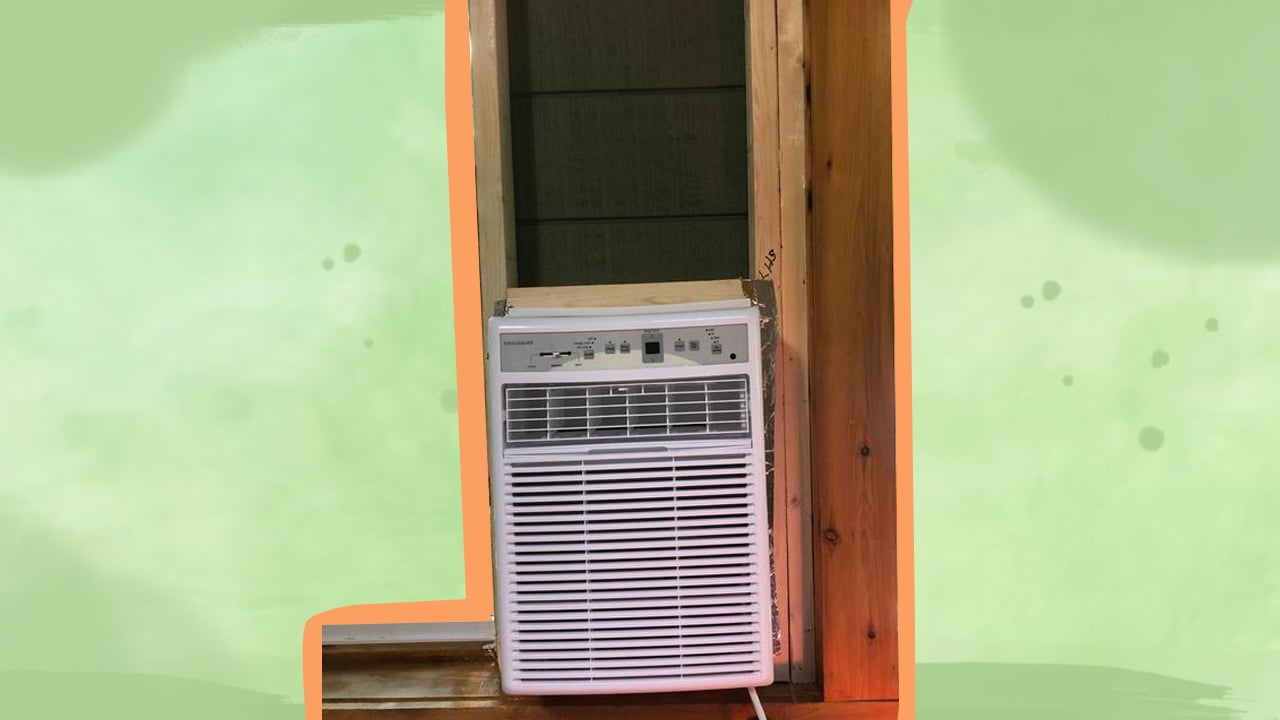
Now that everything is set, you can finally begin installing the AC. For this purpose, you can follow the steps I have described below. Step 1: Set Up The Support Base The bulky design of such an AC means that your window sill will have to bear the entire weight of the appliance. Due to this reason, you need to install a support base here so that it can distribute the weight of the AC unit uniformly. That will keep the unit from tipping either inside or outside the window. To complete this step, you will need to create a firm support platform by using the plywood boards. Once you have that ready, place it on your window sill so that it can adequately support the metal platform of the AC on top of it. This DIY platform made of wood will help to take most of the strain away from the narrow window sill. Step 2: Locate The Center Point Placement is a key aspect of installing a casement window AC correctly. This will ensure that the AC unit remains secured in its place for a long time. And to get the correct placement, you will need to locate the center point of your AC and mark it with a pencil or a marker. In order to locate this point, you will need to take the measurements of your AC and your window using the measuring tapes and drywall T-square. The measurements of the window and the units can vary. In other words, the center point will change according to the make and model of your AC, as well as the size of your window frame. Step 3: Set Up The Platform Assembly Now that you have marked the center point, you will need to install the platform assembly of the AC unit. This is the metal platform that I mentioned before, and it will support the air conditioner on your casement window. Here you will notice that one end of the platform is slightly shorter than the other end. You need to place the shorter end inside while the longer end protrudes to the outside. Make sure to align the hole of the metal platform with the center point that you had marked before. Then, you need to fix the platform in place by driving a screw through the center hole. Following that, you need to secure the platform from the outside. To do that, mount the ladder and drive another screw through the platform to attach it to the external siding. If the support base is sturdy, it should be able to hold it in place effectively. But if it is not, you will need to reinforce it further with plywood boards. Step 4: Place The Vertical Window Air Conditioner Over The Platform In this step, you will need to place the vertical AC unit into the window. For this task, you will need to slide open the windowpane according to the width of the machine first. Then, with the help of your assistant, you need to gently lift up the appliance and carefully slide it through the window opening. Make sure to hold it along the corners, which will help you to keep your balance.Post-Installation Considerations
After you have installed the air conditioner into your casement window, you should perform some post-installation checks just to be safe. Once you have confirmed that the installation is correct and the AC is functioning as expected, you can start using it. On that note, I advise you to take proper care of the AC. Doing so will extend its lifespan and give you effective cooling for years to come. If you are familiar with HVAC systems, you’ll notice that the maintenance routine for such an air conditioner is almost the same as a regular window unit. With that in mind, here are the most common maintenance tips that you need to follow.1. Wash The Air Filter
Here, you will need to take out the removable air filter and soak it in warm, soapy water for a while. Then, using a soft brush or cloth, you have to wipe off any dust and grime that has accumulated on the filter. Next, place it under running water to wash away any remaining dirt. After that, you have to dry it and put it back inside the AC.2. Clean And Maintain The Fins
Window ACs come with aluminum fins that cover the evaporator and condenser coils. These fins can become bent or accumulate dirt over time, which makes it necessary to maintain them. You can fix bent fins using a tool known as a fin comb. Place it over the bent portions and run the comb through the fins to straighten them out. And if you want to clean a dirty fin, you will need to spray them with soapy water or a detergent solution first. Allow the fins to soak for a while, and wipe them with a soft brush.3. Wash The Fans
Besides the filters and fins, you will need to wash the fans present inside the AC. To do that, you can use the same soapy water or detergent solution. Spray it on the fans and allow them to stand for a while. Then scrub them with a soft brush to clear out any dirt and grime.4. Maintain The Drainage Pans
In most window ACs, the condensate is collected in pans before being drained. If there are any blockages, the water will accumulate inside the pans and cause problems. Therefore, they need to be monitored regularly, and if you notice any excess water accumulation, you will need to sluice it out.Casement Window AC Installation FAQs
You can easily install casement window ACs by yourself, provided you follow all the instructions above and have a friend that can help. If you don’t, the installation will be erroneous, which can cause problems during usage. That said, you can seek out professional help for the installation if you don’t have an assistant or are unsure about doing it by yourself.
Typically, you cannot install these ACs on sliding windows or any other types of windows. That is because these AC units have a tall design that fits into the vertical opening of casement windows. But most of the other window types have a wide or horizontal design. However, if you have a vertically shaped slider or sash window, you may install this AC without any issues.
If your AC has heating functionality, or if the climate in your area remains relatively hot and humid during winter, you can use it throughout the year. As long as the build quality is good, there should not be any issues from such usage. However, if that’s not the case, then it is a good idea to dismantle the AC and keep it stored away during the winter months.

