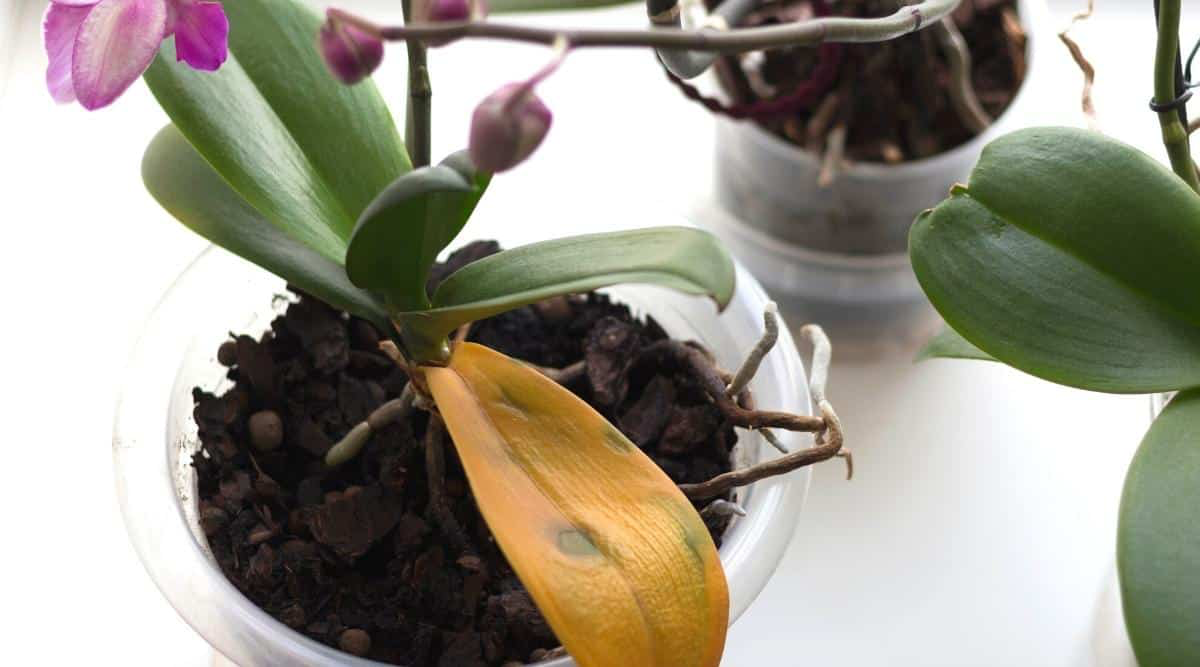
Why Are My Orchid Leaves Turning Yellow? 11 Reasons And How To Fix It
Wondering why your orchid leaves turning yellow? As an avid orchid enthusiast, I’ve often been puzzled and somewhat alarmed by the sight of yellowing leaves on my beloved plants. This common issue can be a real headache for many orchid lovers, including me. Understanding why orchid leaves turn yellow and how to address it is crucial for maintaining the health and beauty of these exotic plants. In this article, I’m going to share with you the most common reasons why this happens and the best ways to fix it, based on my own experiences and extensive research. Let’s see why […]
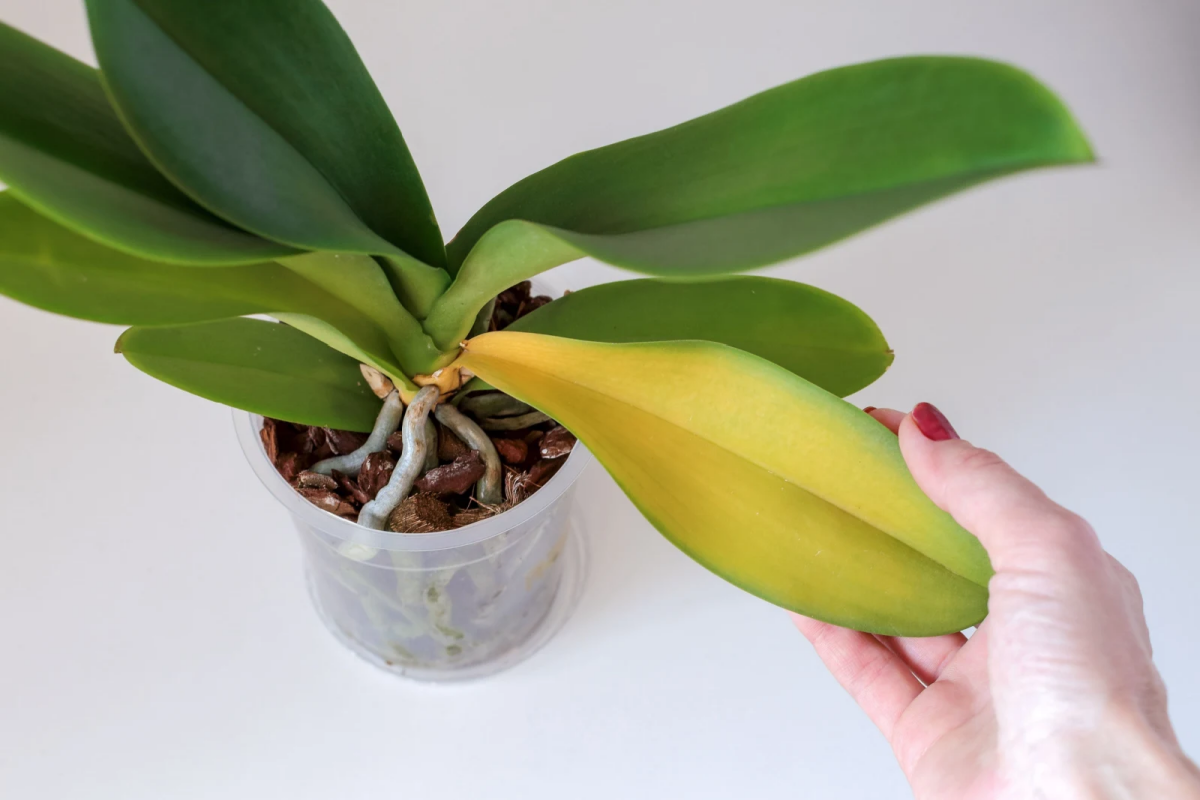
Wondering why your orchid leaves turning yellow? As an avid orchid enthusiast, I’ve often been puzzled and somewhat alarmed by the sight of yellowing leaves on my beloved plants. This common issue can be a real headache for many orchid lovers, including me. Understanding why orchid leaves turn yellow and how to address it is crucial for maintaining the health and beauty of these exotic plants. In this article, I’m going to share with you the most common reasons why this happens and the best ways to fix it, based on my own experiences and extensive research.
Let’s see why your orchid leaves are turning yellow

Why Are My Orchid Leaves Turning Yellow?
Orchids, with their captivating beauty, hold a special place in the hearts of plant enthusiasts like myself. Their leaves are more than just part of their aesthetic appeal; they are critical indicators of the plant’s health. When I started my journey with orchids, I underestimated the importance of leaf care. It’s a lesson I’ve come to value deeply, as healthy leaves are a clear sign of a well-cared-for orchid. So, let’s see why your orchid leaves are turning yellow.
Discover the secrets to maintaining vibrant and healthy orchids in your home garden
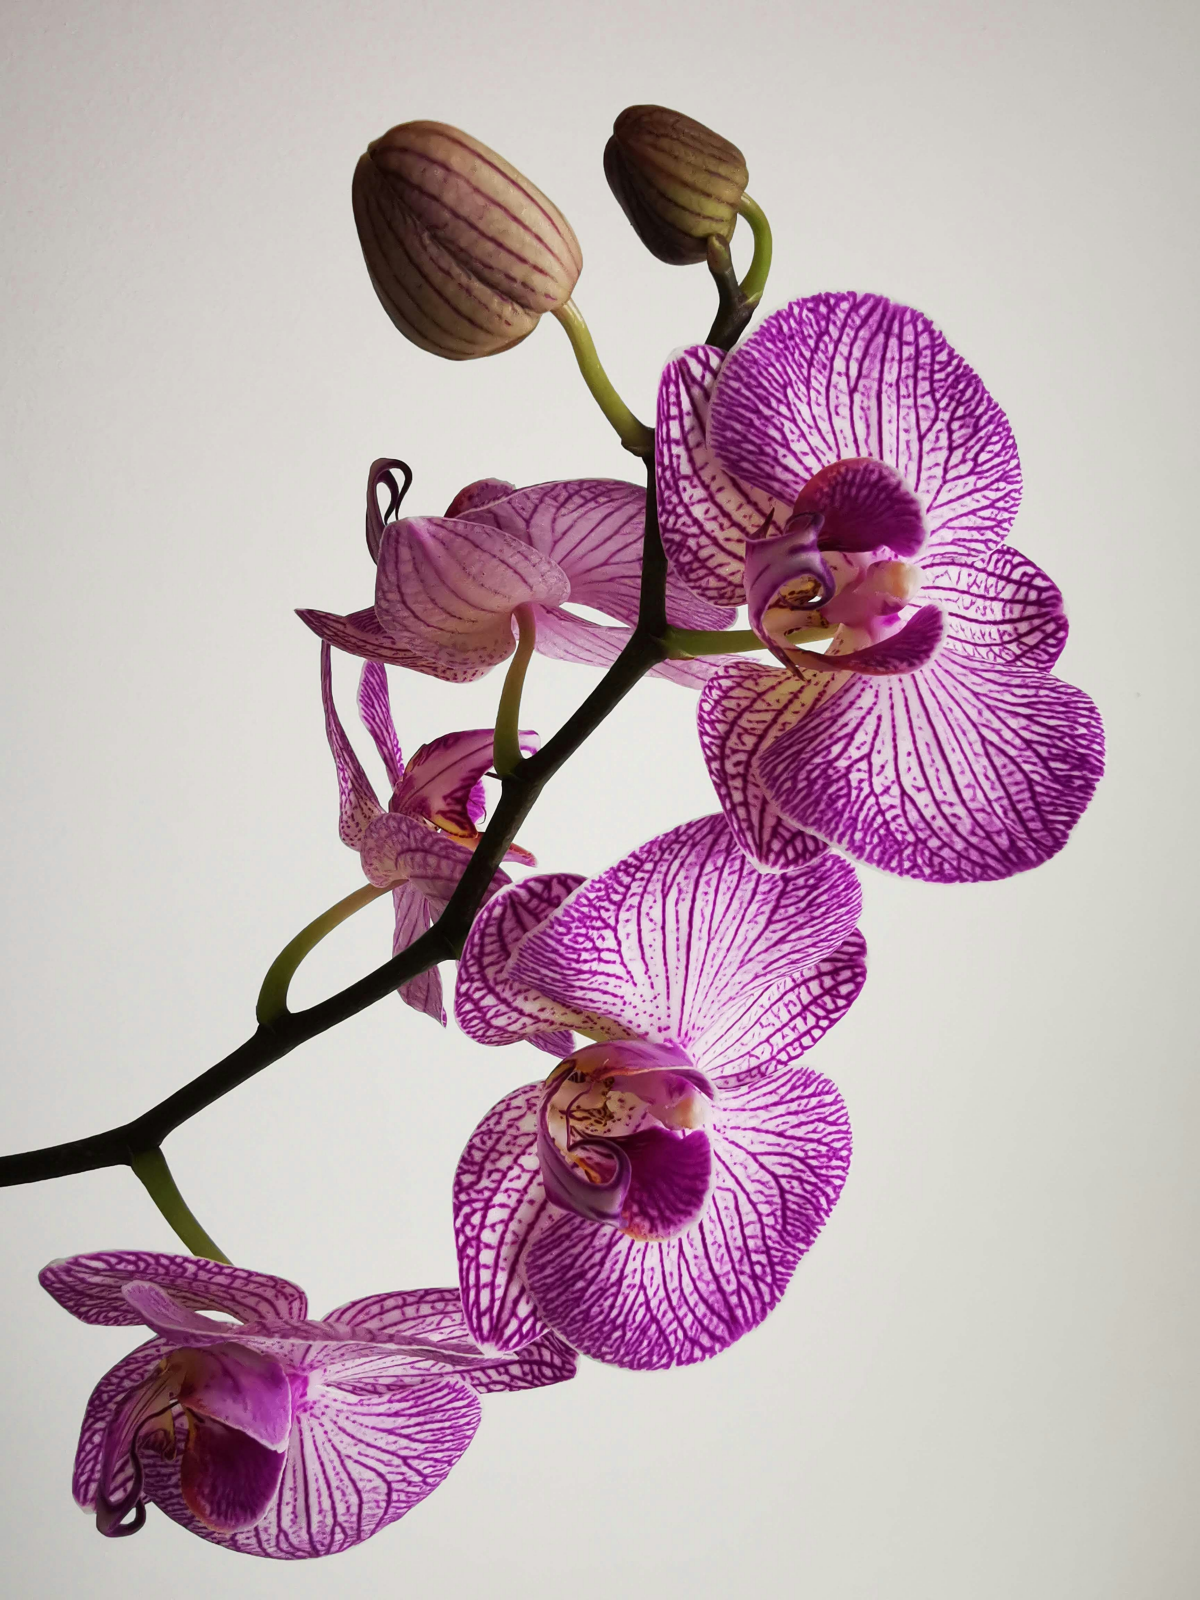
Overwatering
Problem: As a beginner, one of my first mistakes was overwatering. Overwatering orchids is a frequent error, particularly among beginners. This is often due to a misunderstanding of the orchid’s natural environment, where they typically grow on trees in humid, well-aerated conditions. When overwatered, the roots suffocate and rot in the absence of adequate air flow, leading to the yellowing of leaves. This is exacerbated in environments with poor drainage or in pots that don’t allow excess water to escape effectively.
Solution: To mitigate overwatering, it’s essential to mimic the orchid’s natural habitat. This involves using a well-draining potting mix, typically a blend of bark, charcoal, and perlite, and pots with ample drainage holes. Watering should be done only when the top inch of the potting medium is dry. Checking for this can be done by inserting a finger or a wooden skewer into the medium. If it comes out dry, it’s time to water. Additionally, the frequency of watering will vary with environmental factors such as temperature, humidity, and light, requiring regular monitoring and adjustments.
Learn how overwatering can harm your orchid and find out the right way to water it
Underwatering
Problem: Contrastingly, underwatering presents its own set of challenges. Orchids, especially those in my collection, tend to be quite forgiving, but they do require a consistent watering schedule. Underwatering, while less common than overwatering, can also lead to yellowing leaves in orchids. In their natural habitat, orchids often experience regular bouts of rain followed by periods of dryness. Underwatering typically occurs when the orchid’s watering needs are underestimated, especially in drier climates or indoor environments where humidity is low. This lack of water leads to a breakdown in photosynthesis and nutrient transport, causing leaves to yellow and wilt.
Solution: To ensure proper hydration, regular monitoring of the potting medium’s moisture content is necessary. Using a moisture meter or the finger-test method can be helpful. Orchids should be watered thoroughly, allowing water to run freely from the drainage holes, ensuring the roots are adequately moistened. Additionally, maintaining a stable indoor humidity level, possibly with the use of a humidifier or humidity trays, can help mimic the orchid’s natural environment and reduce the stress caused by underwatering.
Uncover the signs of underwatering in orchids and how to revive your thirsty plant
Light issues
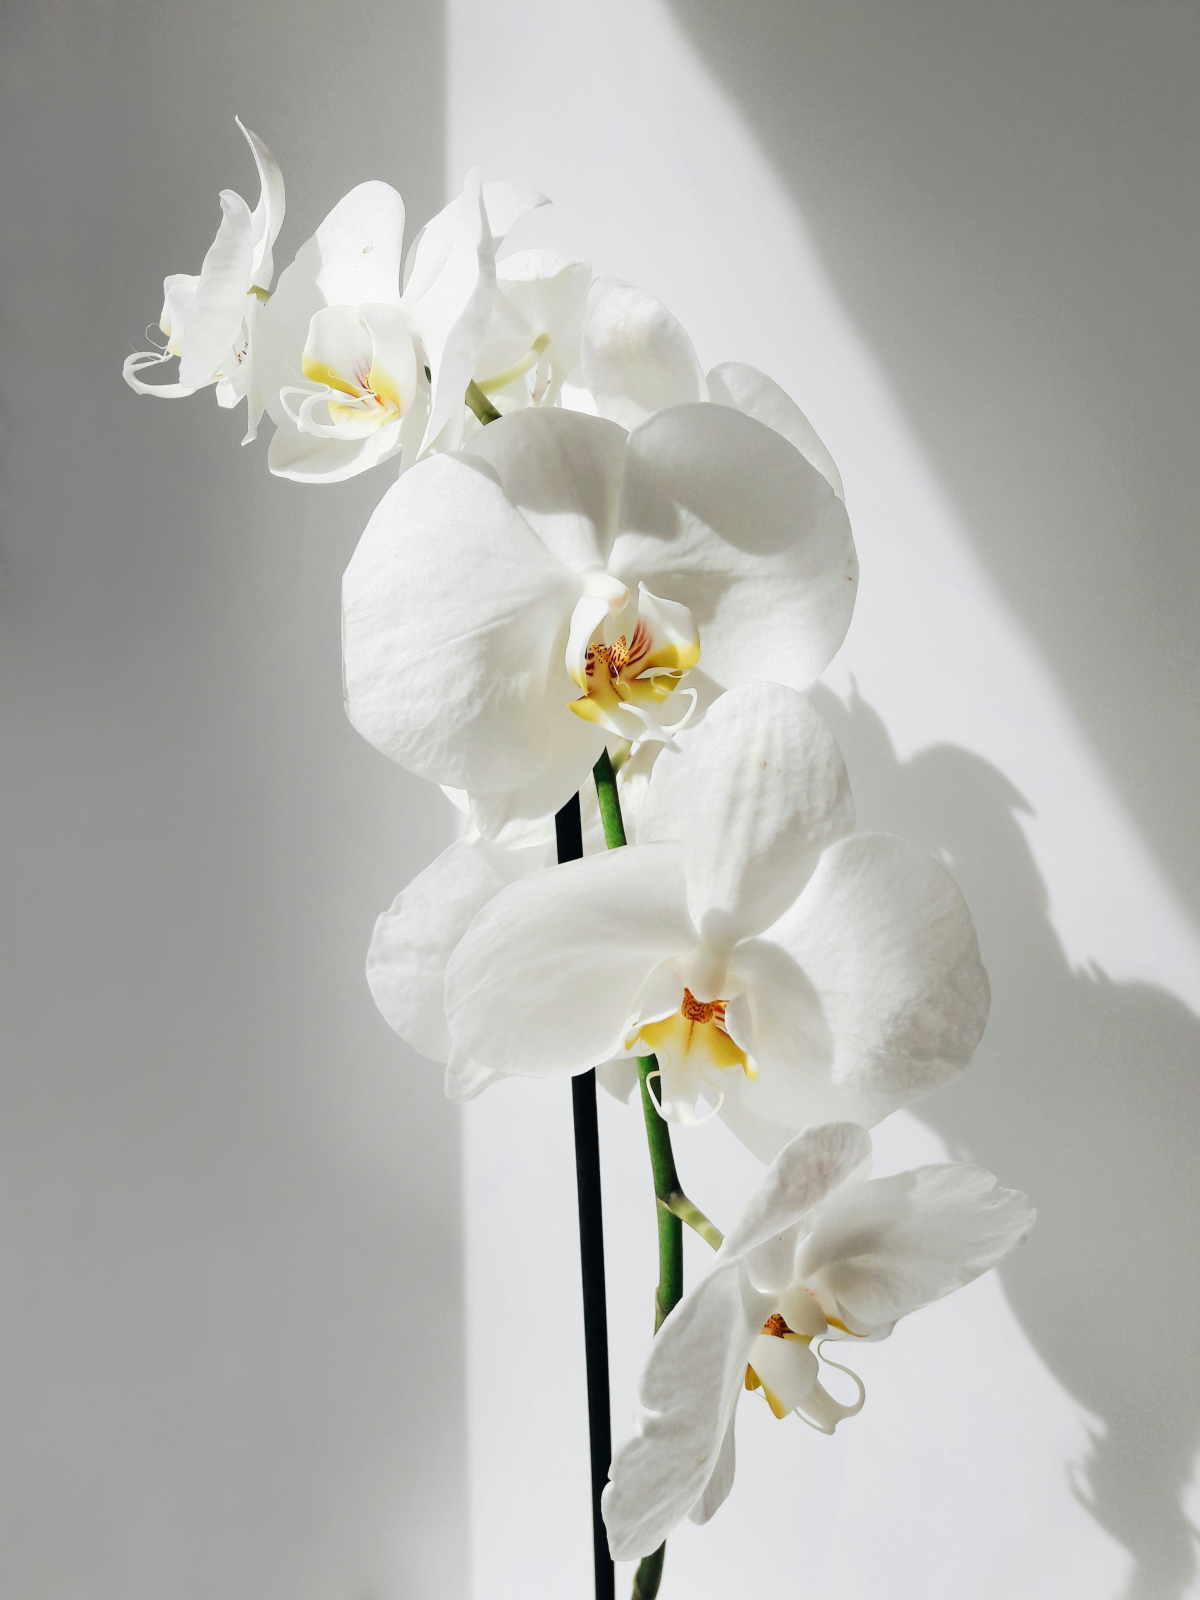
Problem: Lighting was another learning curve for me. Orchids need just the right amount of light – not too much, not too little. Orchids are sensitive to their light conditions. Both excessive and insufficient light can cause stress, manifesting in yellow leaves. Direct sunlight can cause leaf burn, while insufficient light hampers the plant’s ability to photosynthesize effectively. Finding the right balance is crucial but can be challenging, especially when growing orchids indoors or in climates with significant seasonal changes in sunlight.
Solution: Achieving the ideal light conditions for orchids involves providing bright, indirect light. North or east-facing windows are typically ideal. In cases where natural light is insufficient, artificial grow lights can be used, ensuring they’re placed at a suitable distance to avoid overheating or burning the leaves. If the orchid is exposed to direct sunlight, using a sheer curtain or blind to diffuse the light can protect the plant from the harshness of direct rays. Regular observation of the leaves for signs of light stress (such as dark green leaves indicating too little light, or bleached, scorched leaves signifying too much light) can guide adjustments in the plant’s positioning.
Find out how the right amount of light can make a big difference in your orchid’s health
Temperature stress
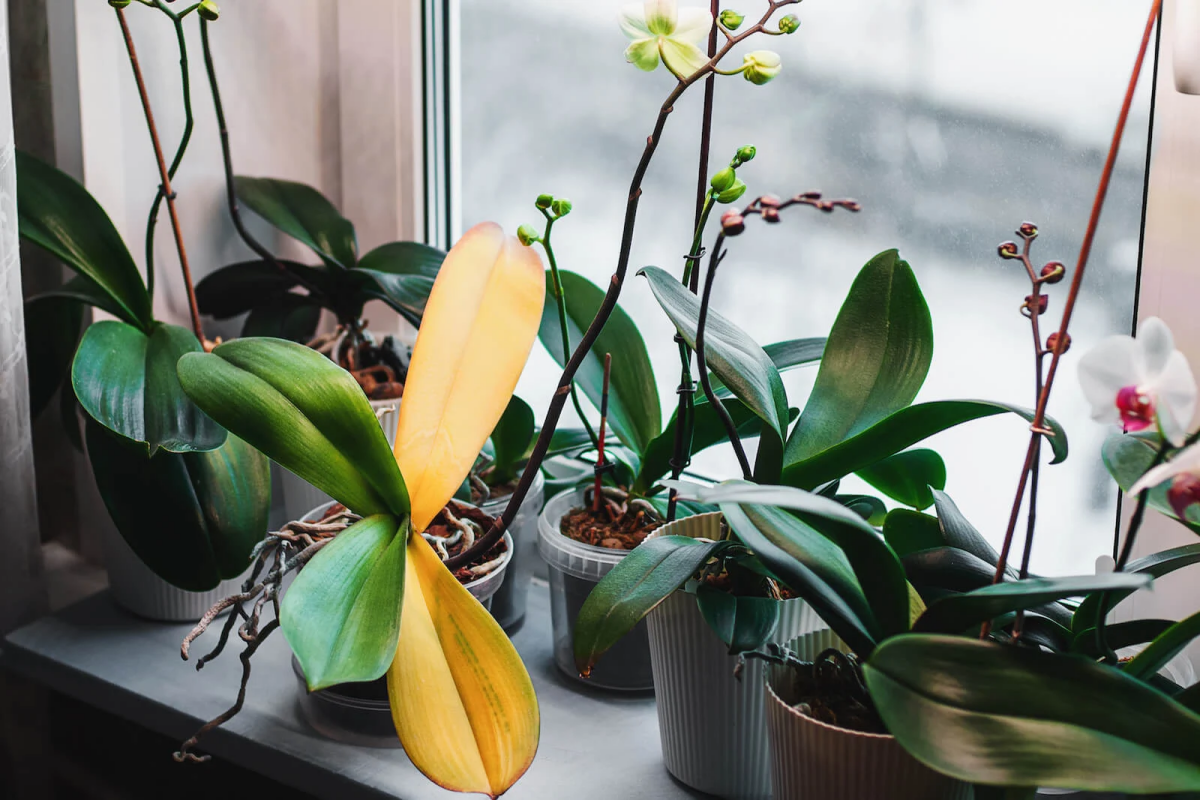
Problem: Orchids are sensitive to temperature fluctuations and prefer a stable environment. Extreme temperatures or sudden temperature changes can cause stress, leading to yellow leaves. This is particularly problematic in environments with frequent heating or cooling, such as near air conditioning units, heaters, or drafty windows. Orchids can also suffer from temperature stress when moved from one environment to another without proper acclimatization.
Solution: Orchids prefer a stable environment, so I avoid placing them near sources of direct heat or drafts, like heaters or air conditioning vents. Sudden temperature changes can shock the plant, leading to yellow leaves. When moving orchids to a new location, gradual acclimatization is key. This can be done by slowly introducing the orchid to the new environment over a period of days or weeks, depending on the difference in conditions. Monitoring the ambient temperature with a thermometer can help in making informed decisions about the orchid’s placement.
Understand how temperature variations can stress your orchid and learn to create the ideal environment
Humidity levels
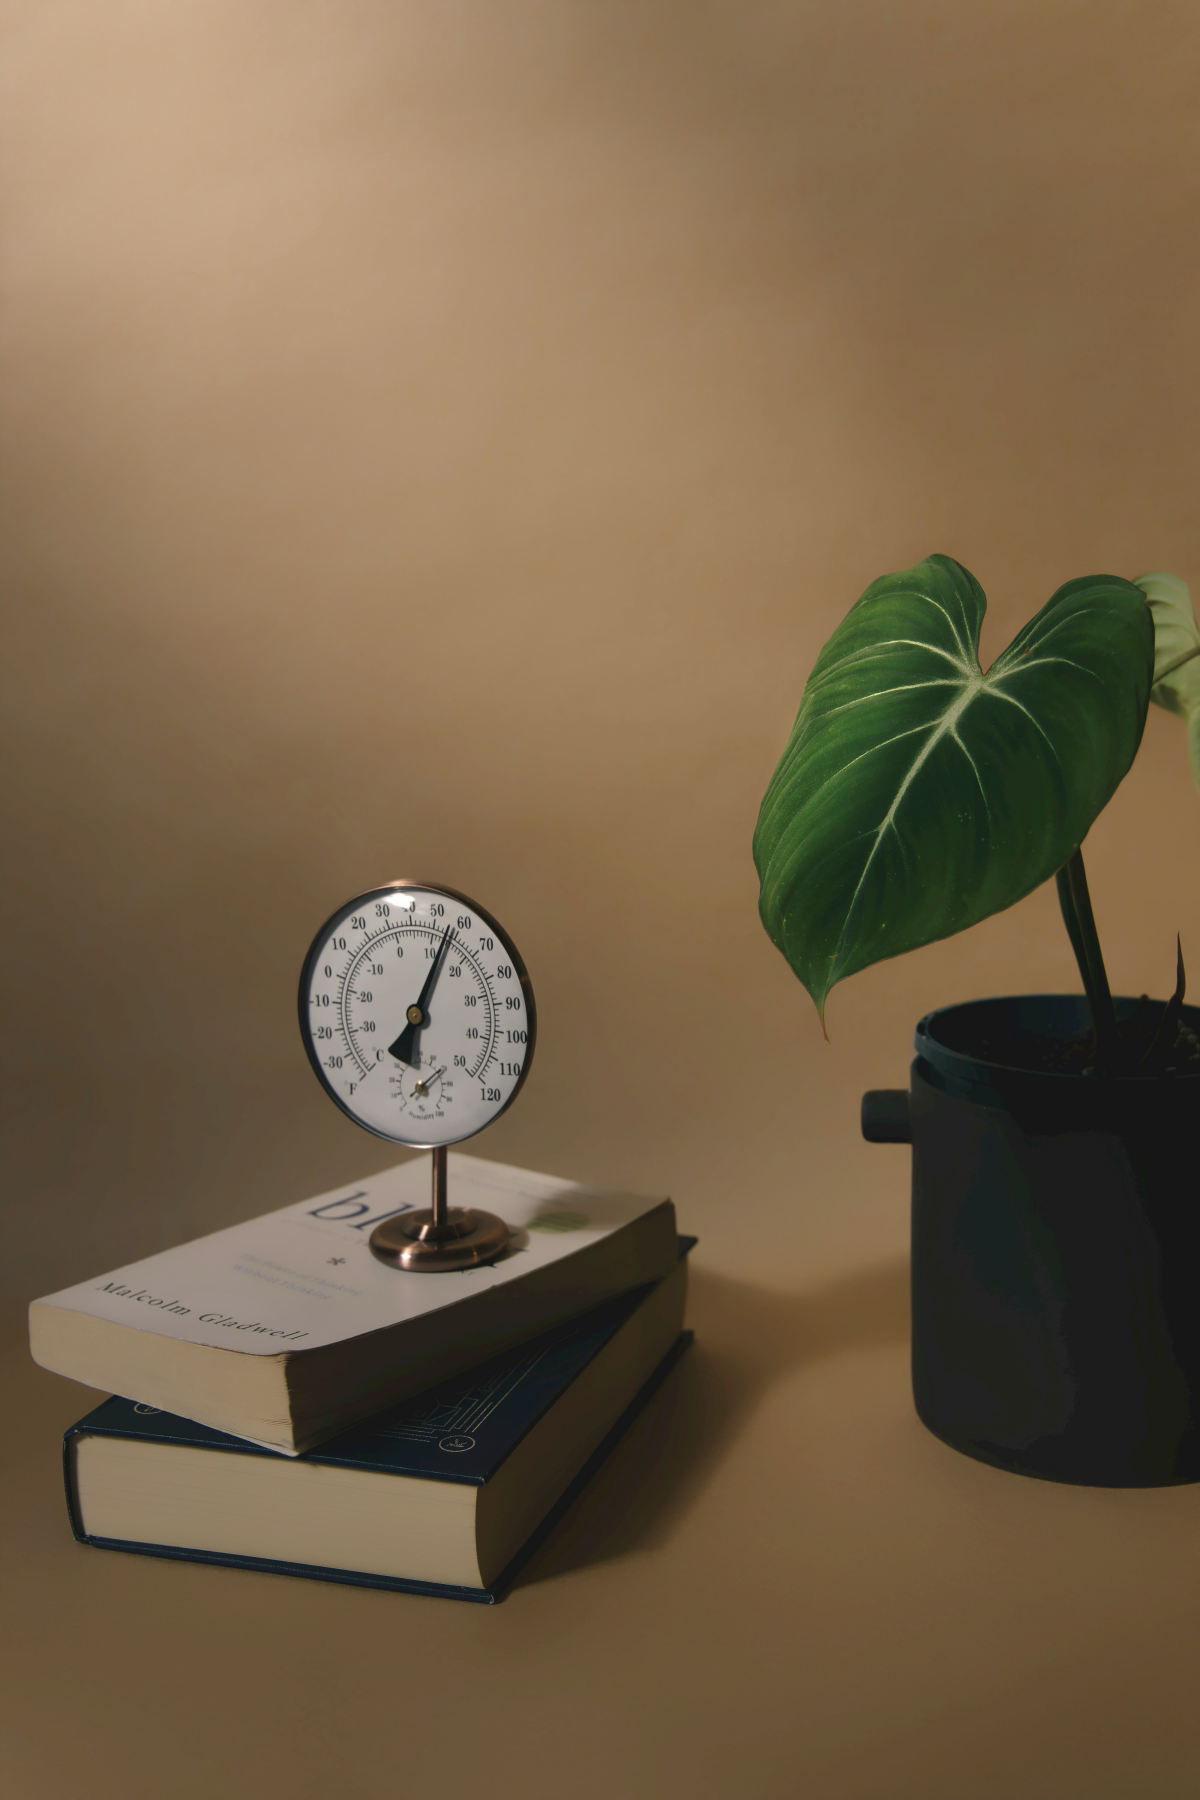
Problem: Orchids thrive in humid conditions, a fact I learned early in my orchid care journey. They naturally grow in humid environments and thus require a certain level of humidity to thrive. In my home, the air can get quite dry, especially in winter. This causes the orchid leaves to lose moisture, turn yellow, and become brittle. This lack of humidity can also impact the orchid’s ability to absorb water and nutrients from the air, a key aspect of their natural growth process.
Solution: Increasing the humidity around orchids can be achieved in several ways. Using a humidity tray with water and pebbles beneath the orchid pot is an effective method, as the water evaporates, it increases the moisture level in the immediate vicinity of the plant. Alternatively, a room humidifier can be used to maintain a stable humidity level, particularly in dry or air-conditioned rooms. Misting the orchid leaves can provide temporary relief, but it’s not as effective for maintaining long-term humidity levels. It’s also important to ensure that while increasing humidity, adequate air circulation is maintained to prevent fungal or bacterial growth.
Maintaining the right humidity levels is essential for orchids
Nutritional deficiencies
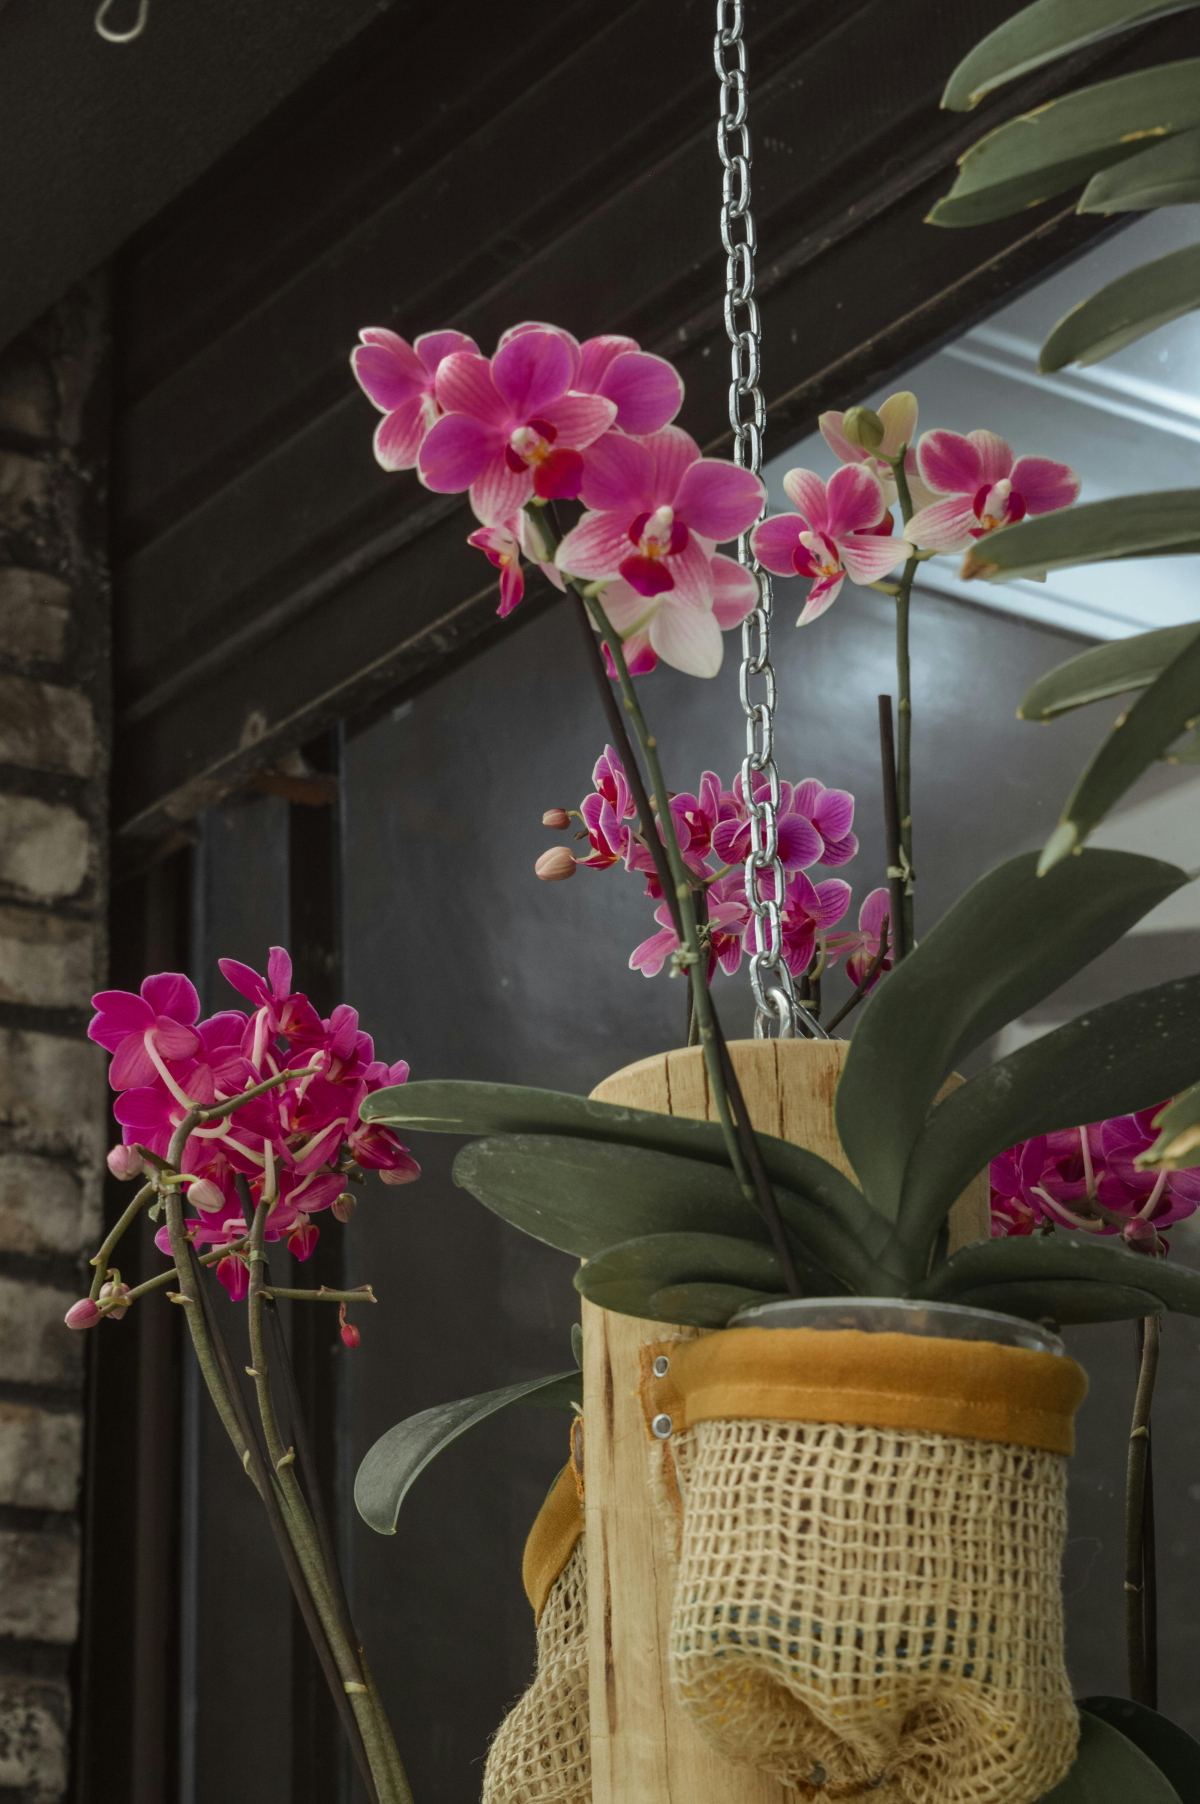
Problem: Nutritional deficiencies can lead to yellowing leaves in orchids. Orchids require a specific balance of nutrients, including nitrogen, phosphorus, potassium, and various micronutrients. Deficiencies often occur due to a lack of fertilization or the use of an inappropriate fertilizer. Over time, the potting medium can also become depleted of nutrients, especially if it hasn’t been changed or refreshed.
Solution: Feeding orchids correctly is crucial. They require a balanced diet to flourish. Initially, I was hesitant to use fertilizers, fearing I might harm my plants. However, I’ve since discovered that a balanced, orchid-specific fertilizer, used according to the package instructions, prevents nutritional deficiencies that can lead to yellow leaves. It’s important to fertilize regularly during the orchid’s growing season, usually spring and summer, and to reduce or stop fertilization during the dormant period, typically in the fall and winter. Regularly refreshing or changing the potting medium every few years can also help maintain a nutrient-rich environment for the orchid’s roots.
Explore the importance of proper nutrition for your orchid and how to correct nutrient deficiencies
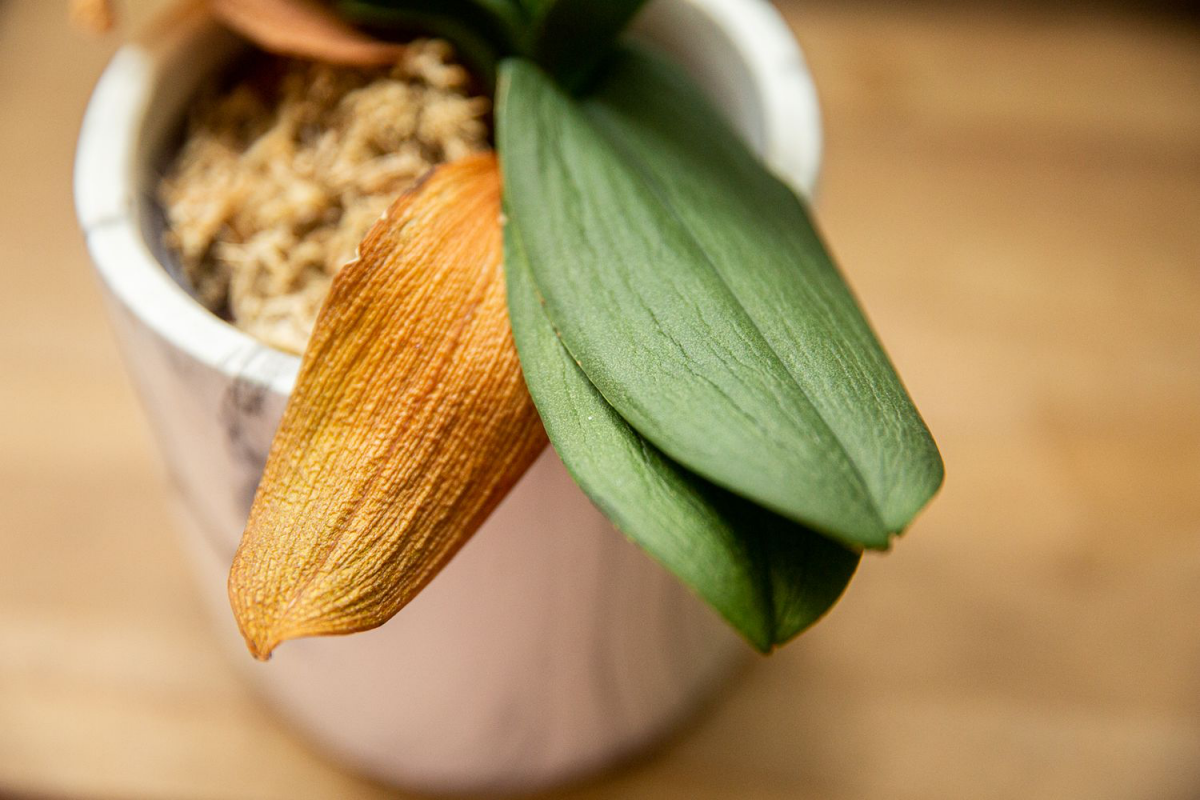
Root problems
Problem: The health of an orchid’s roots is crucial to its overall health. Root problems, including rot, disease, or damage, are often a primary cause of yellow leaves. Root issues can arise from a variety of factors, such as overwatering, poor drainage, or a potting medium that has broken down and become compacted, reducing air flow and water drainage.
Solution: The roots of an orchid are its foundation. I make it a practice to periodically check the roots for signs of rot or disease, which can lead to yellow leaves. If the roots are brown and mushy, it’s a sign of trouble. Healthy orchid roots should be firm and a healthy green or white color. I repot my orchids every couple of years in a specific orchid potting mix to ensure they have the best growing conditions.
Healthy roots are the foundation of a thriving orchid
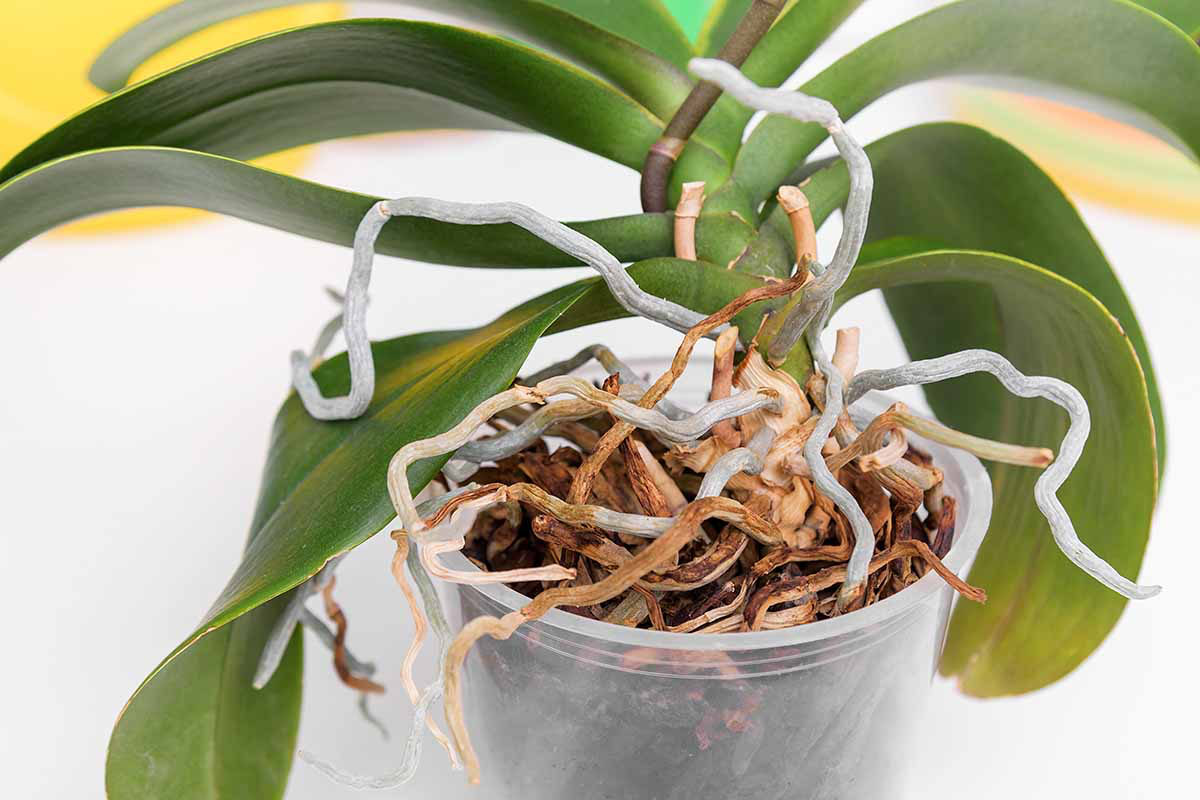
Pest infestations
Problem: Orchids can be susceptible to a variety of pests, including mealybugs, scale, aphids, and spider mites. These pests can cause significant damage to the orchid, sucking sap from the leaves and stems, leading to yellowing and weakening of the plant. Pests often go unnoticed until significant damage has occurred, as they can be quite small or hide in crevices.
Solution: Regular inspection of the orchid, including the underside of leaves and at leaf joints, is crucial for early detection of pests. If pests are found, they can often be removed physically using a cotton swab dipped in rubbing alcohol. In more severe cases, the use of specific orchid-safe insecticides or horticultural oils may be necessary. Preventative measures include maintaining good air circulation around the plant, avoiding overcrowding, and keeping the area clean to reduce the likelihood of pest infestations.
Vigilance against pests is crucial
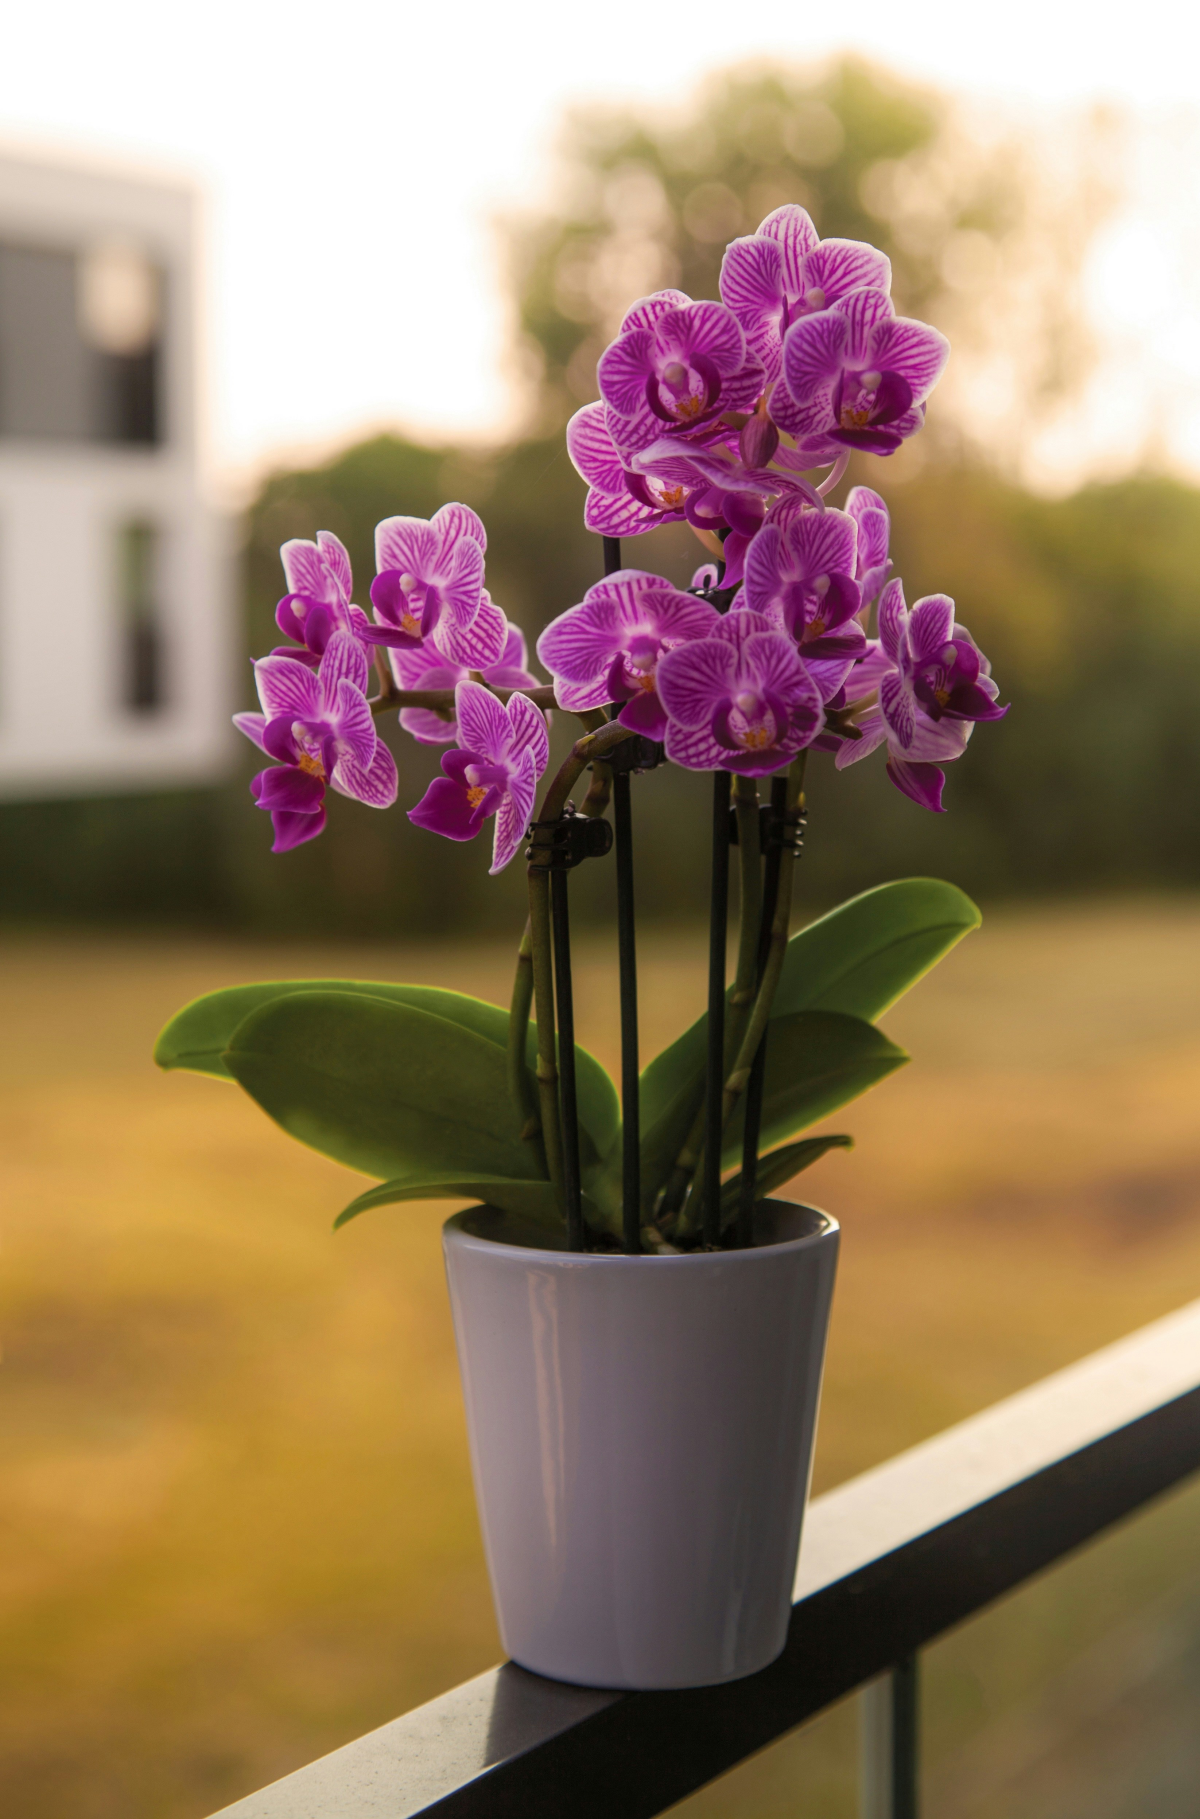
Diseases
Problem: Orchids can suffer from various diseases, including fungal and bacterial infections, which can lead to yellowing leaves. Poor air circulation, high humidity without adequate ventilation, and contaminated tools or potting media are common culprits. Diseases can rapidly progress if not addressed, potentially leading to the loss of the plant.
Solution: Ensuring good air circulation around my plants has been key in preventing these issues. I also make sure to sterilize my tools and keep the leaves dry to reduce the risk of infection. When I spot signs of disease, I isolate the plant and treat it with appropriate fungicides or bactericides. Fungicides or bactericides specifically safe for orchids can be used to treat infections, following the product’s instructions carefully. Maintaining a clean growing environment and regularly inspecting plants can help in early detection and management of diseases.
Preventing and treating diseases promptly is vital
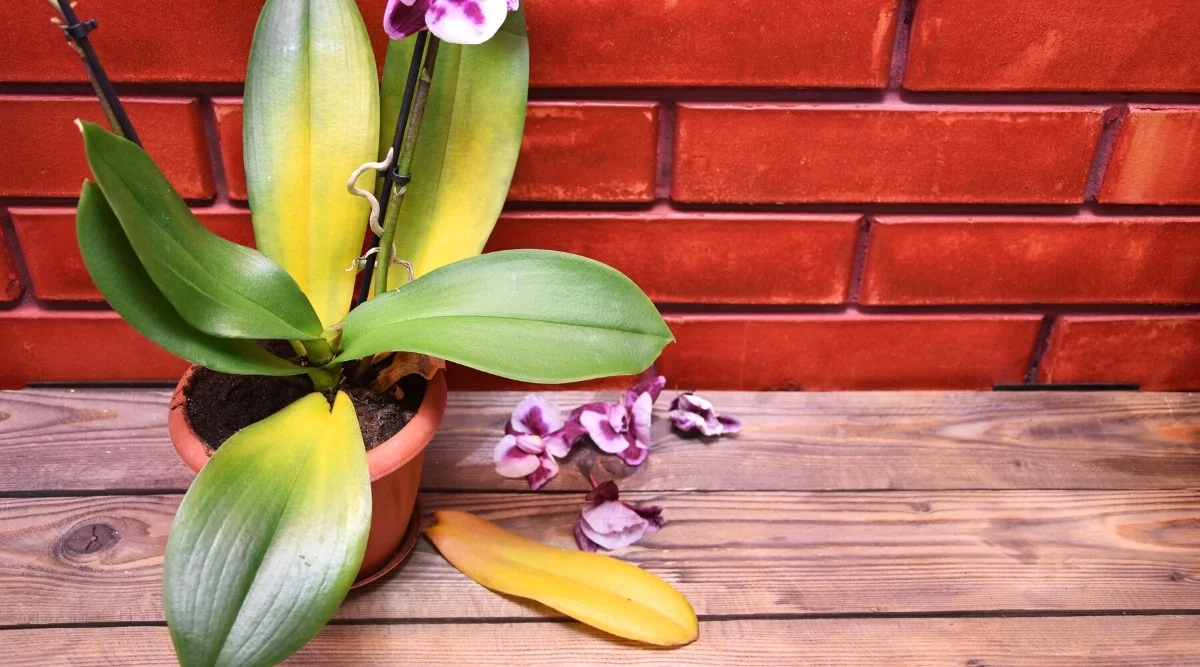
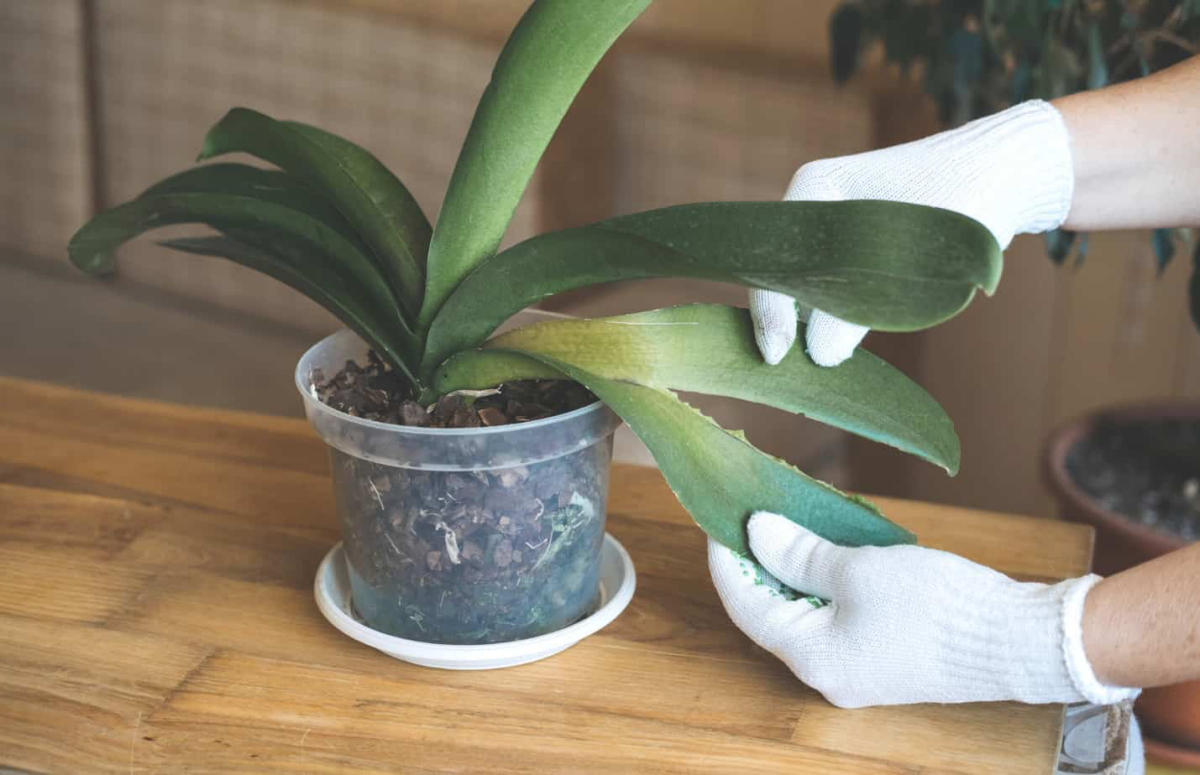
Natural aging process
Problem: Like all living organisms, orchids undergo a natural aging process. Over time, older leaves will naturally yellow and die off as the plant focuses its energy on new growth. This is a normal part of the orchid’s life cycle and not necessarily a cause for concern unless it’s accompanied by other symptoms of distress.
Solution: When an orchid leaf is yellowing due to old age, the best course of action is simply to allow the natural process to occur. These leaves can be gently removed once they have fully yellowed and dried. Ensuring the orchid continues to receive proper care, even as it ages, is important for its overall health and longevity. This includes regular watering, appropriate lighting, and fertilization, as well as periodic repotting when necessary.
Understanding the natural aging process of orchids is important
Environmental stress
Problem: Orchids can be sensitive to changes in their environment, including relocation, changes in routine care, or exposure to pollutants like cigarette smoke or volatile organic compounds from fresh paint or new furniture. These stresses can disrupt the orchid’s normal growth processes, leading to yellowing leaves and overall decline in health.
Solution: To minimize environmental stress, changes in the orchid’s environment should be made gradually. When moving an orchid to a new location, gradual acclimatization is important. Avoiding exposure to pollutants and maintaining a consistent care routine can help reduce stress. If an orchid is experiencing stress due to a change in its environment, providing optimal care conditions (appropriate light, temperature, humidity, and nutrition) can help the plant recover more quickly.
Orchids are sensitive to their surroundings

Now you have the answer to the question: why are my orchid leaves turning yellow. Yellowing leaves on orchids can be disheartening, but understanding the reasons behind it is the first step in addressing the problem. Whether it’s watering issues, light conditions, or pests, each problem has a solution. Remember, growing orchids is a journey, and every challenge is an opportunity to learn and grow as a gardener. Keep nurturing your orchids, and they’ll reward you with their stunning beauty. Happy gardening!
Now you know why your orchid leaves are turning yellow
