Is Polymeric Sand Waterproof | All You Need To Know
Polymeric sand is a semi-permeable sand that contains additives and binding agents to lock paver joints into place. And although it is not completely waterproof, it can hold its structure by firming up when completely dry. The best polymeric sand is made of binding materials such as quartz, silica and other chemical binders that offer […]

Polymeric sand is a semi-permeable sand that contains additives and binding agents to lock paver joints into place. And although it is not completely waterproof, it can hold its structure by firming up when completely dry.
The best polymeric sand is made of binding materials such as quartz, silica and other chemical binders that offer a strong bond. Due to its water-resistant properties, polymeric sand can also sustain heavy rains and bad weather conditions.
As such, carefully applying polymeric sand can improve waterproofing and increase life expectancy of the pavers. And to help you achieve the best joint stabilization, I have curated some detailed information about polymer sand and its application. Read on…
Is Polymeric Sand Waterproof?

Most types of polymer sand are activated only once during the joint stabilization process, after which the sand becomes completely waterproof. However, applying excess sand on the paver surface before adding water can interfere with its waterproof abilities and create an unsightly look.
However, some polymeric sands available on the market can be softened with water to correct minor imperfections on the surface.
Tip
Do not apply polymeric sand on paver joints if there is a rain forecast. The sand acts immediately when in contact with a moist surface and can become useless.
Benefits Of Polymeric Sand
1. Durability
A polymeric sand project can last up to ten years. And with good maintenance, it can protect concrete pavers for 15 years! Unlike regular sand, polymeric sand gets its durability from polymers and binding materials. It will bind the wide joints so tightly that even heavy rainfall won’t be able to budge the fine sand. For this reason, I always recommend using polymeric sand instead of regular sand for jointing.
2. Prevents Weed Growth and Ant Infestation
Since the polymeric jointing sand seals the tiny cracks and crevices on the concrete pavers, no space exists for weeds to grow. However, one or two pesky weeds might grow even after applying jointing sand.
My trick to prevent this is to ensure airtight uniformity during the activation process. Moreover, their anti-weed chemical construction this achieved keeps your space tidier for a long time.
This will also prevent washouts and tiny pests like ants entering and nesting in the cracks to create unwanted vegetation further.
3. Anti-Erosion And Easy Installation
Preventing erosion by tightly binding the paver joints is the main function of polymeric sand. When the activation agents bind the sand particles, even the heaviest rains cannot wash away any more sand.
Using polymeric sand is also relatively easier and less time-consuming than traditional sand.
4. Better Variety
Like regular jointing sand, polymeric sand comes in many different colors to choose from. You can use the color that best suits your patio or house, or the one that’s most appealing.
Drawbacks Of Polymer Sand
1. Accumulates Polymer Dust
Over time, polymeric sand may accumulate dust from the ground and form white specks. However, this is not a serious issue since regular cleaning makes the dust specks easily removable.
2. Expensive
Installing polymeric sand can often be expensive since a one-pound bag costs more than that of regular sand. However, if you choose polymeric sand, I suggest not to compromise on its quality. Instead, measure the joint size to determine much sand you will need for the project so that there’s no wastage.
3. Tricky To Apply
If not applied properly, polymer sand can trickle out of the pavers and harden on the surface. And fixing this mess can be very challenging, as polymeric sand hardens very quickly and tightly adheres to the surface.
Installing Polymeric Sand
Not installing polymer sand properly can ruin your patio or hardscape. That’s why I have a guide on how to apply polymeric sand to help you ensure that the jointing sand adheres to the concrete pavers.
Things You Will Need
- Polymeric jointing Sand
- Plate Compactor
- Brooms and water hose
- Leaf blower
- Pressure Washer
Steps Involved
1. Prepare Your Paver
If the concrete pavers on your patio are in good condition, you can begin your application. But first, you must thoroughly clean them since using polymeric sand on the entire depth will be helpful in the long run. Using a pressure washer and a leaf blower to dislodge the stubborn sand particles might help.
Tip
I highly recommend wearing protective goggles and gloves as a safety measure. You can also use a raincoat since the pressure wash may get you wet.
To ensure uniformity, you should also remove all existing sand from the joints and the bottom of the paver. Then, remove any weed growth between the paver joints. Make sure that all the weed roots are removed to prevent future infestations. You can apply a non-selective herbicide on the joints the day before. This will loosen the roots and make pulling up the weeds easier.
2. Avoid Staining
Polymeric sand is very easy to stain if applied on damp pavers. To prevent polymeric sand from staining, thoroughly dry the pavers to the bottom and remove any moisture. If it rains, wait for at least three to four days before the polymeric sand installation. Also, do not apply sand on the same day you pressure wash the pavers since they remain wet.
Another way you can prevent the sand from staining is by removing any stone dust created while dumping the polymer sand. When wet, this dust can cause stains that are difficult to fix. Use a leaf blower to remove any excess dust. Also, I do not recommend using polymer sand on red clay bricks.
3. Apply Polymeric Sand
Pour the polymer sand on the pavers and sweep it between the joints using a broom. Repeat this process until the sand reaches ⅛-inch of the top of the paver. Don’t go overboard with the application since adding water to it will increase the volume. In other words, don’t add polymer sand up to the surface of the paver; this will cause the polymer sand to trickle out of the joints.
Then, carefully brush away the excess sand using a brush or leaf blower. Proceed to compact the sand with the plate compactor.
4. Add Water
Using a water hose, slowly fill the paver joints with water. Remember to use enough water to provide adequate moisture to the stand, but ensure it does not overflow. If you add too much water, the polymers in the new sand will start floating. Moreover, excess water can lead to uneven application and severe stains.
Adjust the nozzle of the water hose to spray mode and spray for a few seconds at a time to observe its drainage. Repeat this process to ensure the sand is watered thoroughly.
5. Protecting Your Pavers
There are certain measures you’ll have to take to protect your pavers to help harden the sand properly. Cover the pavement or treated area with a plastic cover and hold it down with tarps. This simple covering can prevent the polymeric sand from washing away in the rain.
However, if the rain pours at a right angle directly onto the pavement, then it might be a problem. Consider putting up awnings or other covering to redirect the rain.
Moreover, you must ensure there is no pedestrian traffic for 24 hours. Close off the area for 72 hours if there are chances of vehicular traffic.
6. Apply Sealer
Applying a joint stabilizing sealer is the best way to consolidate the surface and it ensures your hard work remains fruitful for a long time. I recommend using a water-based sealer to boost the waterproofing ability of the polymers.
However, you should wait till the sand hardens before applying the sealer. After the sealant is completely dry, give a final sweep to the paver.
Mistakes To Avoid While Applying Polymeric Sand
1. Damp Pavers
Ensuring the pavers or joints are dry before installing polymeric sand is essential. Moisture will prematurely activate polymers, leading to uneven surfaces and stains. To avoid humidity, do not use this sand during morning and evening since the dew can prevent the pavers from being completely dry.
2. Over-Watering Or Under-Watering
Over-watering can cause the sand to separate while activating, leading to foam build-up. It prevents the walkway from hardening and causes poor bonding strength.
However, under-watering causes the sand to form a crusty layer on top. This crust signifies that your pavers do not have a strong bond. Over time, the crust will break away while eroding the paver simultaneously. Underwatering can also cause gaps and cracks throughout the depth of the paver.
3. Not Removing Excess Sand
Although polymeric sand can effectively stabilize your pavers, letting extra sand dry on top of them can create problems. Therefore, before applying the sealant, remove extra sand twice during the application. First, sweep it away before adding water, and then do it again before applying the sealer.
You can refer to my article “how to get polymeric sand off pavers” to learn more about the removal of excess sand.
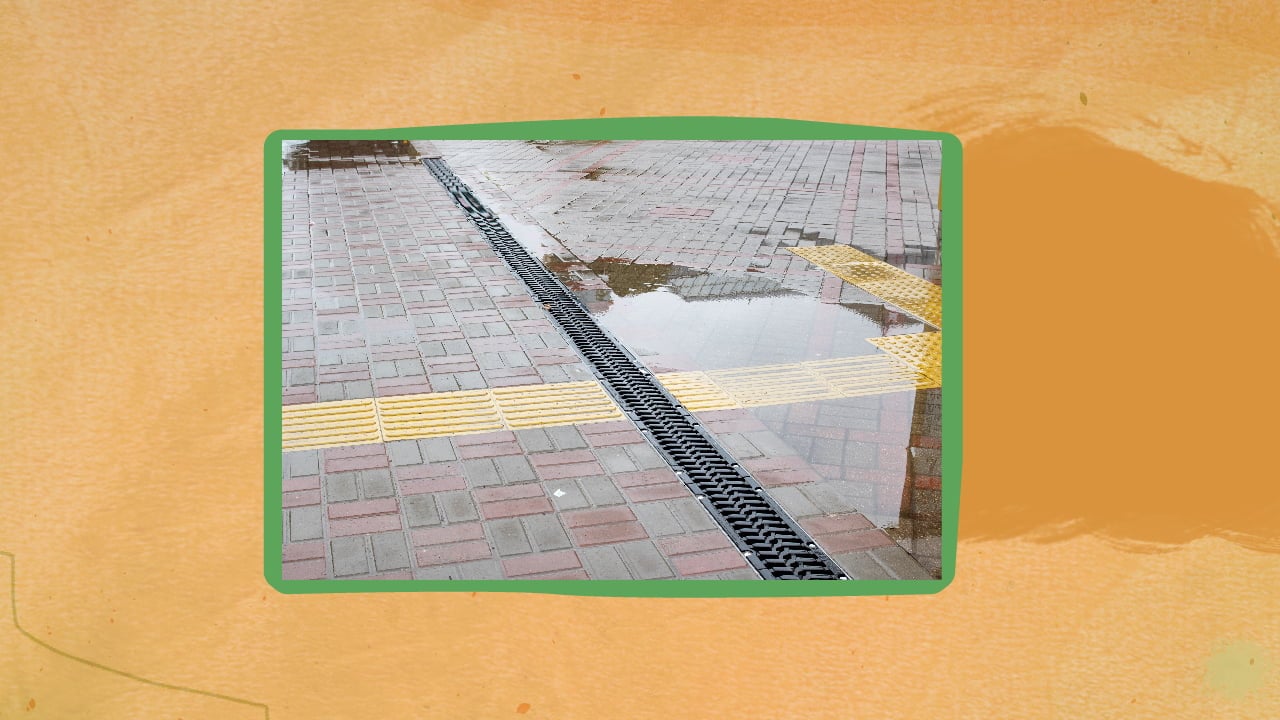
4. Poor Drainage
Consider using materials like crushed cement, aggregate or stone for the pavers along with the bedding sand. You can also add thin layers of pavers over concrete with bedding sand in between for better drainage.
Also, ensure the pavers have natural borders and are even with the ground level. Additionally, do not apply polymeric sand in areas without slopes that tend to retain water.

Is Polymeric Sand Waterproof Final Thoughts
Even though polymeric sand has inherent waterproofing traits, only correct application can guarantee it. Mistakes like overwatering or underwatering can disrupt its structure and cause it to lose its bond. Therefore, you must not take its water-resistant abilities for granted.
I highly recommend checking the compaction of the pavers and the patio slope before using this sand. Also, consider waiting three months before applying the sealer for a stronger hold and smoother application. However, if it doesn’t harden after following the necessary step, do not hesitate to call a professional to fix the issue.
I hope my detailed guide on the properties of polymeric sand and how to apply it helps you. Until next time!
